LabVIEW Tutorial
Introduction
LabVIEW (Laboratory Virtual Instrument Engineering Workbench) is an all-inclusive platform used for automating instrumentation, data gathering and systems.
LabVIEW stands out with its intuitive graphical programming interface and allows engineers and scientists to design complex systems without extensive coding requirements.
Real-time data collection, analysis and control with its seamless integration across numerous hardware protocols is made simple using this platform.
LabVIEW helps organizations remain competitive in today’s rapidly transforming technological environment by streamlining operations, increasing productivity and unlocking valuable insights.
What Is LabVIEW?
LabVIEW is an all-purpose programming language which can be utilized across a range of platforms such as Linux, macOS, Windows, embedded Windows and embedded platforms to develop different types of programs and simulations.
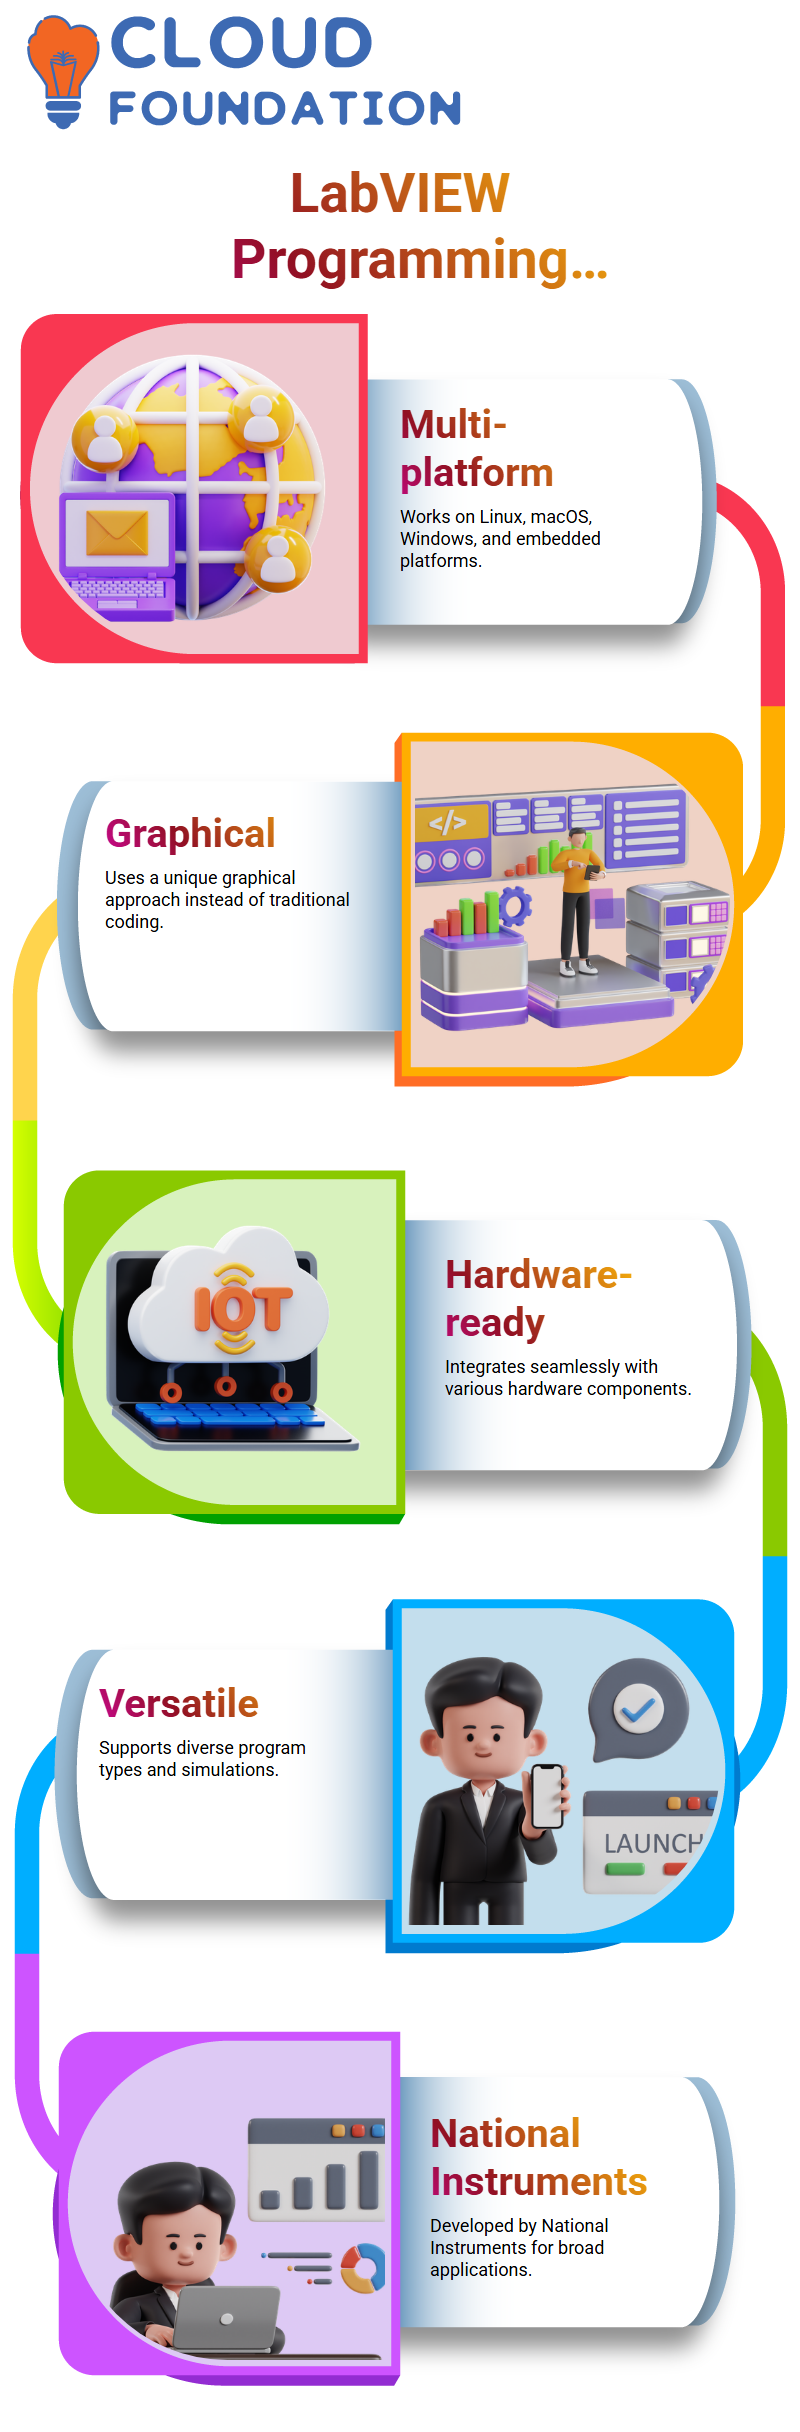
LabVIEW is an advanced graphical programming language with unique attributes that set itself apart from more commonly-used languages, like C, Maple, MATLAB and MScript.
LabVIEW programming language makes creating powerful programs easier while connecting various forms of hardware devices together.
LabVIEW was developed by National Instruments and offers various hardware modules designed for use with it.
LabVIEW features an easy graphical user interface that includes sequence language, sequence structures, arrays, property nodes and constants; everything required to develop powerful programs is included as part of this toolbox.
LabVIEW programs may involve creating an application using LabVIEW’s programming features; such as loops, local variables, subroutines/variables/methods/constants – just as other programming languages do but presented graphically – such as functions/methods vs constants etc.
LabVIEW can connect to different kinds of hardware thanks to being designed by National Instruments.
LabVIEW U Professional Development System
LabVIEW U Professional Development System stands out as being both flexible and user-friendly, enabling users to download free lab software within 14 days.
LabVIEW is an extremely flexible programming language suitable for multiple platforms – Linux, macOS, Windows (Embedded or otherwise), embedded systems or embedded platforms.
Furthermore, its versatility lends itself to creating various kinds of programs or simulations.
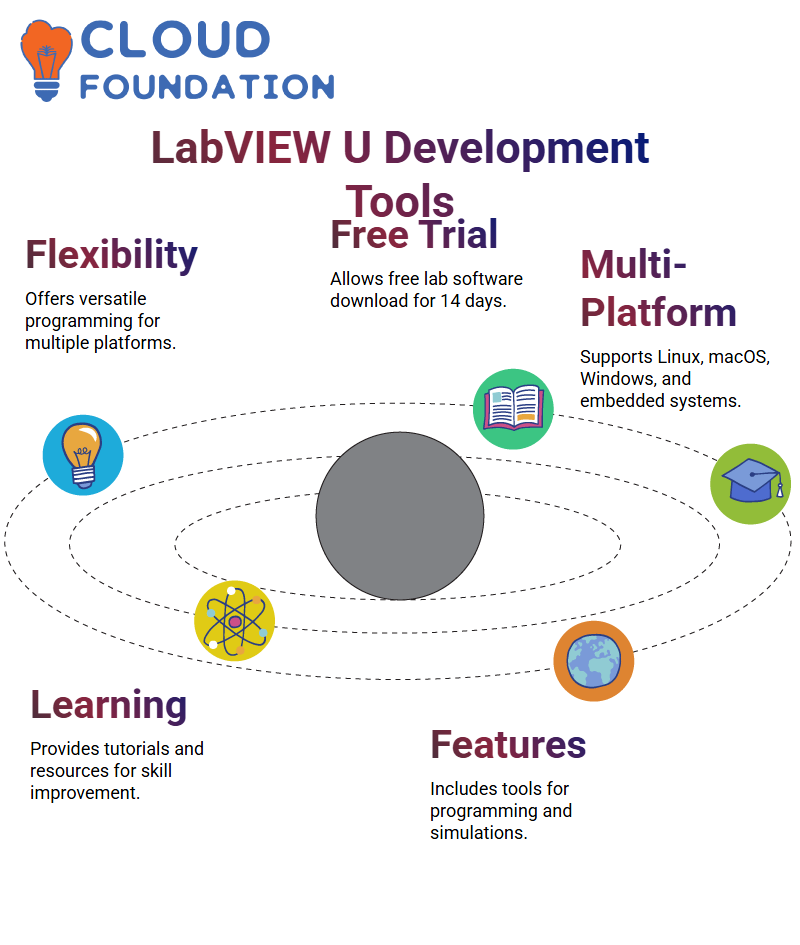
Additionally, LabVIEW U Professional Development System features various resources and tools designed to aid users in improving their programming abilities and becoming experts at LabVIEW programming.
These include tutorials, online resources, and other materials that facilitate this growth.
LabVIEW is a versatile programming language offering many features and tools designed to boost programming abilities.
Lab environment in LabVIEW
The Lab environment provides a powerful resource for creating and managing lab environments. With many modules such as the popular MCRIP module that transforms Lab into a small U lab, along with control design for control simulation purposes as well as Dock MX driver to connect hardware devices – there’s everything needed here for creating effective laboratory experiences!
Start using Lab by starting it through your menu system and choosing Lab as its destination. From there, choose Operating System then UH Window; once this window opens you’ll have access to choosing and creating files; to launch your lab create a VI through File New VI
You will then see a gray front panel where you can design user interface or graphical user interfaces. A white window known as the block diagram will open, while this white panel represents your interface.
By switching between the two windows using Control E, coding your code becomes simple. Both windows are command-based and stored together as one file whose extension ends in VII for Virtual Instruments which extend the LabVIEW program.
To create a lab, for example, open View and navigate to File New VI; from here, click File New Lab VI in order to set up your new lab.

LabVIEW Training
LabVIEW program
LabVIEW programs provide an efficient and user-friendly method for designing and editing user interfaces, or GUIs, quickly and effectively.
Comprised of several windows – such as its front panel where users can right-click various objects to form customized interfaces – LabVIEW allows for creating personalized graphical user interfaces quickly.
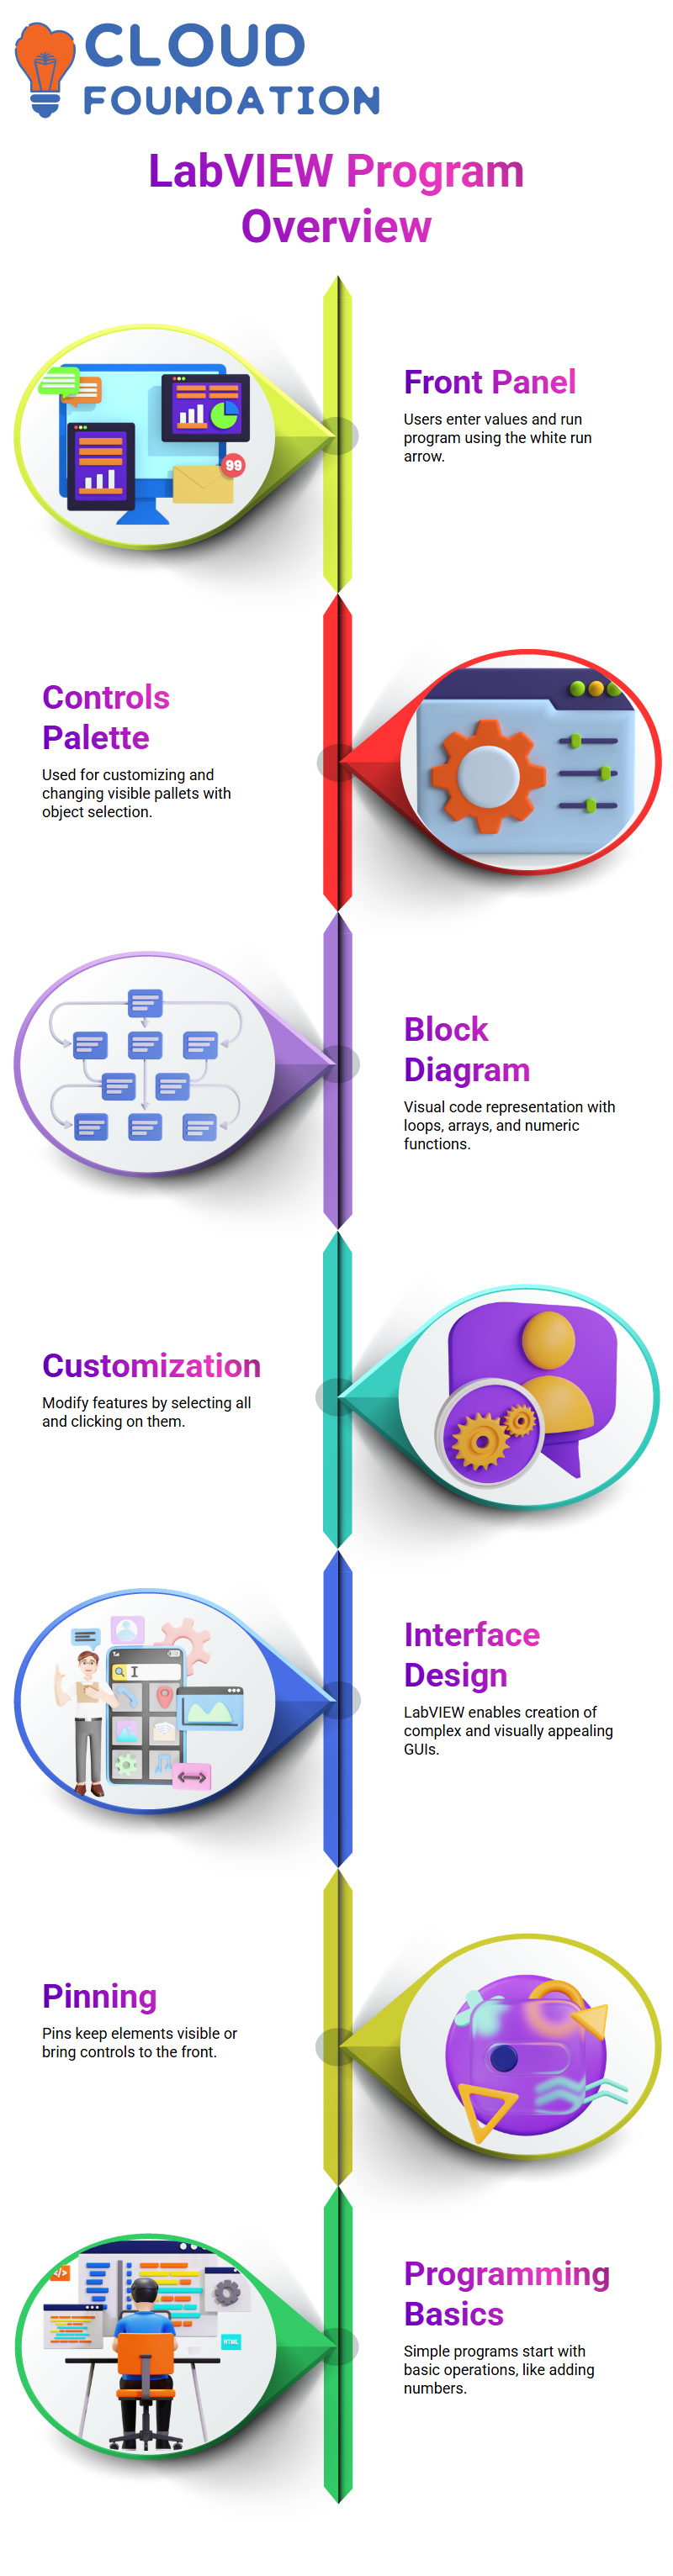
On the front panel of LabVIEW is where users enter values and run programs with white run arrow. A LabVIEW program can be created by entering three in value of number entered before running with white run arrow.
Verifying the program requires using the controls palette, which enables users to change visible pallets as needed and customize/change visible pallets by simply clicking anywhere within a program and customizing/changing visible pallets accordingly by selecting all objects before clicking “OK.”
In this example, the user enters 3 as their value before running their program with the white run arrow.
They then verify it using a controls palette which enables users to customize visible palettes; after which all objects can be selected and saved using “OK.”
LabVIEW is an exceptional program for creating and customizing user interfaces, providing users with powerful tools for designing visually-appealing designs with complex data input requirements.
By utilizing LabVIEW users are empowered to design their own interfaces enhancing experience and productivity alike.
Block diagrams provide a visual representation of code written using various features and functions such as loops, arrays, numeric functions and others.
Customization can be accomplished by selecting all features individually by clicking them off one-by-one.
Pin can be placed permanently or temporarily behind closed panels to reveal all controls when right-clicked; also the front panel and buttons may be attached directly to it for easy display of functions and buttons respectively.
Step one in creating LabVIEW programming is developing simple programs. Simply adding two numbers like “program” onto the front panel creates a button; for more complex ones like “LabVIEW and LabVIEW”, code can also be entered directly on it.

LabVIEW Online Training
Subvi and creation of a program to convert Celsius temperature to Fahrenheit in LabVIEW
Subvi is a function in LabVIEW similar to methods or functions found in other programming languages; here it serves to convert temperatures in Celsius into Fahrenheit with just one simple program with a Y Loop.
Subvi is used for creating programs which convert Celsius temperatures to Fahrenheit temperatures, taking as input the Celsius temperature and providing as output the Fahrenheit equivalent of that temperature. All code for the Subvi is located within one small block.
Subvi is programmed using a straightforward formula designed to convert Celsius temperature readings to Fahrenheit temperatures, taking as input the actual value in Celsius while outputting it as output the equivalent temperature reading in Fahrenheit; these components of its code are defined within its block diagram.
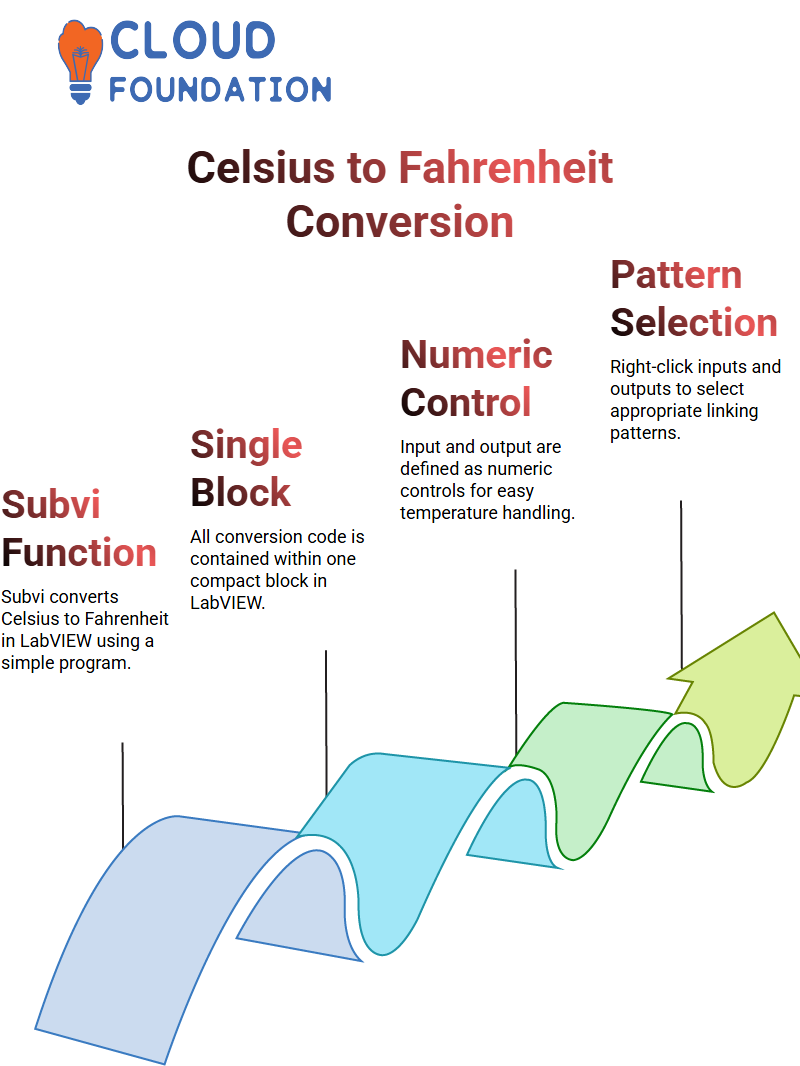
This Subvi is comprised of an input numeric control and output numeric indicator; where input represents temperature in Celsius while output displays in Fahrenheit; both are defined as functions or functions respectively, so to view both inputs and outputs simply right-click and select patterns on its surface.
Dependent upon the number of inputs and outputs, an appropriate pattern can be selected. Here there is only one input and one output – to select this configuration simply right-click an input or output and link them together by right-clicking them then right-clicking again on their controls to complete it.
Subvi is programmed using a straightforward formula designed to convert Celsius temperature to Fahrenheit temperature, using both front panel and block diagram to develop its code, with inputs and outputs defined using this simple equation.
Once complete, its code can then be displayed on either one. Ultimately it all appears in both panels simultaneously for convenient display purposes.
Creating a simple graphical user interface (GUI)
Building a simple graphical user interface (GUI) to convert Celsius to Fahrenheit involves first creating a blank VI, featuring front panel and block diagram.
Once this step has been accomplished, users select their desired temperature in Celsius from one of several Celsius models and click one of Fortnite models that displays it accordingly.
A GUI is then generated with a vertical slider to increase temperature by one Celsius unit and one Celsius model is chosen as display source to display it on Fortnite.
A GUI is then generated through using the keyboard shortcut “Ctrl+A.” Once complete, a temperature in Celsius can be selected before clicking “OK,” with its icon changing accordingly and being saved via another “OK” click.
Once back on their computer, users create a blank VI with front panel and block diagram. Ctrl+A can be used to switch between controls; once finished they begin writing code for individual variables.
Formula node in LabVIEW
Formula nodes provide a tool to generate C code used to calculate temperature for various substances. To create your formula node, right-click and drag until desired size has been reached; when finished you should see temperature output which equals multiplying substance by temperature multiplied times two. It can then be divided up further such as five, five 32 etc.
To create an input, right-click on an input border and choose TC from the drop-down list, as shown here.
When setting up outputs on a front panel, input should include temperature controls such as TC while numeric output should indicate with an icon similar to TF.
Connect the input and outputs to input control and output control respectively, repeat this for all four sets, then connect all four pairs as before.
Wire input/output combinations together using input control/input control connections as before wiring input/output combinations together using control/input control connections as before until all four pair connections have been made and can now be executed without error; however, when trying to run call an error appears that indicates there may be missing semicolons; to fix this add a semicolon at each line’s conclusion to fix.
Your program is now ready for execution and you can go directly to the front panel to add variables.
Formula node provides an effective means of creating C code which can help calculate temperature or other properties; by manipulating inputs into it you can craft custom C codes suitable for various uses.
Conclusion
LabVIEW (Laboratory Virtual Instrument Engineering Workbench) is an efficient platform widely utilized for system automation, data collection and instrumentation purposes.
LabVIEW’s user-friendly visual programming interface enables engineers and scientists to easily build complex systems without writing cumbersome codes.
Interacts smoothly with various hardware and protocols for real-time data acquisition, analysis, and control.
LabVIEW can assist companies in optimizing operations, increasing efficiency and gaining useful insights that ensure competitive edge in an ever-evolving technological environment.

LabVIEW Course Price

G. Madhavi
Author