Blue Prism Installation – Setup of Blue Prism Software and Cost
📣 3105 Participants |🎓 1527 Reviews | 4.8 ⭐⭐⭐⭐⭐
Step-by-step Installation process of Stand Alone Application:
In this section, we are going to discuss about installation and configuration of Blue Prism various components.
The first instruction for Installing and configuring the first Blue Prism component takes place.
The below are the steps required to configure Blue Prism which includes:
- Installing and configuration of the first Blue Prism component
- Blue Prism Application Server
- Blue Prism Interactive Client
- Blue Prism Runtime Resource
Install and configure the first Blue Prism component:
For a typical Blue Prism implementation, this will be the Blue Prism Application Server element.
The equivalent installer is used irrespective of the variety of Blue Prism factor being extended.
Installation of Blue Prism:
Find and verify the proper installer depending on requirement, to install a 32-bit or 64-bit version.
Examine the Supported Software for details of versions are maintained for the particular operating system and intend to set up an Interactive Resource, Client or Server.
1. 32-bit Installer: BluePrism6.2.nn_x86.msi
2. 64-bit Installer: BluePrism6.2.nn_x64.msi
When the installation is completed, start the Blue Prism application.
Configure a Connection to the Database:
While running the Blue Prism for the first time it is important to define the database contact features. This connection detail shows how the database will connect to Blue Prism.
The Blue Prism Application Server components will have a connection directly to the SQL Server and database, whereas subsequent components like Runtime Resources, Interactive Clients etc, will connect to the Application Server.
These instructions provide direction on building a direct link to the SQL database server.
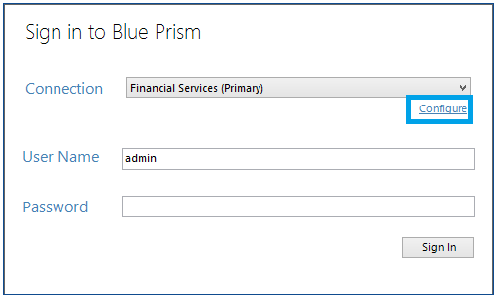
- Click Configure. To launch the wizard through the wizard we can connect.
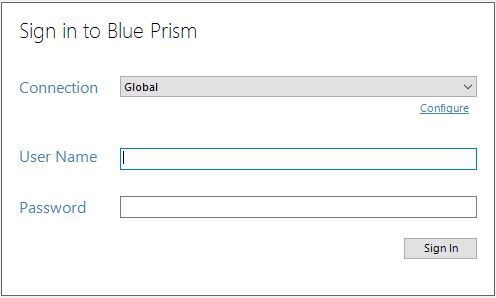
- Once after opening the Blue Prism tool, the below is displayed.
- After entering into the Blue Prism the Configuration window is displayed as below. Enter the connection details for the database that will be used.
- If the database does not exist, and permissions allow, Blue Prism can create it by entering the details.
If the database does not exist, and permissions allow, Blue Prism can create it by entering the details.
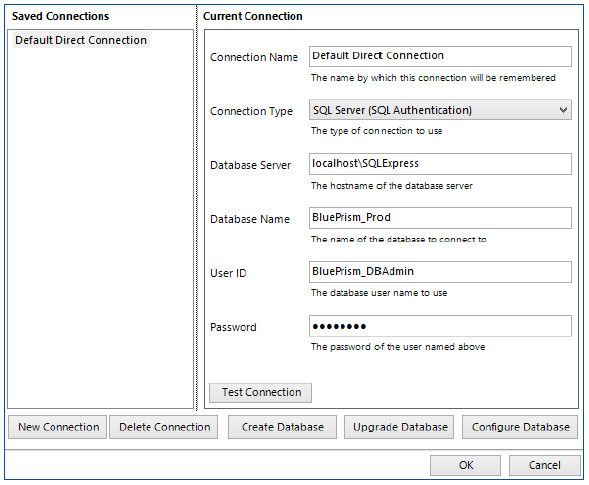
Enter the details as below:
Connection Name: Default Direct Connection
Connection Type: SQL Server (SQL Authentication) – Select the suitable connection type on the security settings of the SQL Instance and further guidance is provided within the SQL Database Guide.
Database Server: local host\SQL Express* – The path defined is the default path when SQL 2008 Express is located on the same machine. A separate path may be needed if a default install of SQL 2008 Express is not obtaining.
Database Name: Blue Prism – this is the title of the database that will be created later – this can be set to a custom name if required.
User ID: Blue Prism _DB Admin – The username configured in SQL for authenticating with the database.
Password: The password for confirming with the database.
- Now, Click Test Connection, If a connection can be confirmed with the SQL Server, usually the below information will be displayed.
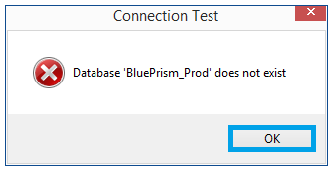
- The database does not exist this signifies that the database has not generated.
- Press OK to clear the information, and press Create Database. Follow the Creation activities within the following section: Configure or Create a Database.
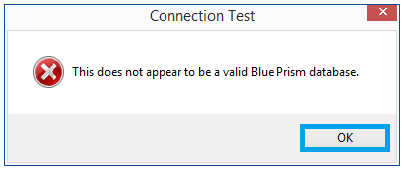
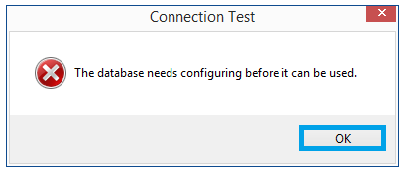
- The database needs configuring; this indicates that the database exists and that the schema has been used but that there is some further in-product configuration that is required. This would be the situation where the database has been created and should have the Blue Prism schema applied via a manually executed script.
- Press OK and press Configure Database. Follow the Configuration steps within the following section: Create a Database.
- If alternative words are given please refer to the Troubleshooting an Installation.
Create a Blue Prism Database:
Once the connection has been created, the Blue Prism database needs to be configured.
There are three stages:
1. Database Creation: A SQL Server database must be created. This can be achieved or by the use of the in-product Create Database action.
2. Application of the Database Schema: The database must be used to the created database. This is achieved through the use of this in-product Create Database action, or by applying the CreateScript.sql manually.
3. Configuration Options within the Database: A configuration options are applied to the database. The options are applied automatically when using the in-product Create Database action.
Where the database has not yet created, or the database exists but has not held the schema applied the Configure Database features should be used.
1. Select Connections from the File from the menu.
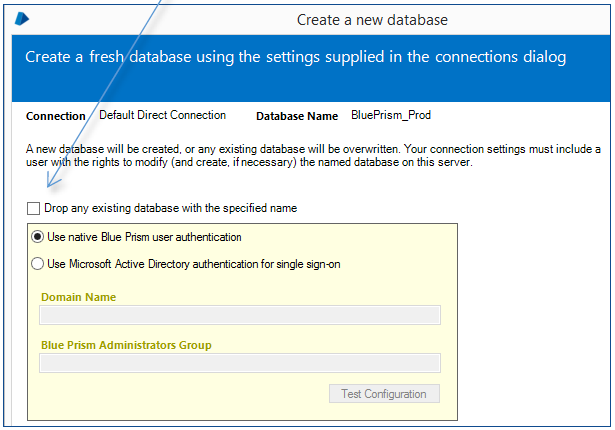
2. Click Create Database.
3. Complete the default settings.
4. Click OK to create and configure the database.
Note: Drop any existing database with the specified name
You can view the sample from below,
Creating Credentials for Blue Prism:
Set the Admin Password for Blue Prism.
Once, a new Blue Prism database is created and a particular user is created with the credentials like below:
Username: admin
Password: admin
Install the License:
To enable the software, it is important to install an original license file.
License files can be received through an Account Manager.
1. Launch Blue Prism.
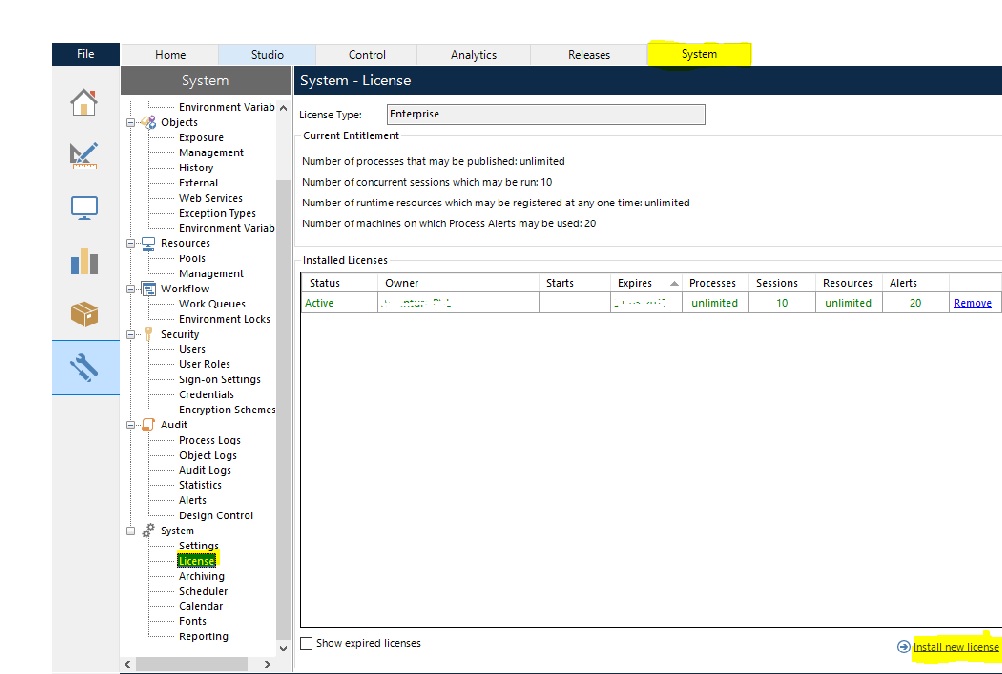
2. Click on System Manager.
3. Then Click the System menu item.
4. Click the License tab.
5. Select Install new license.
Select the License file and click on Open.
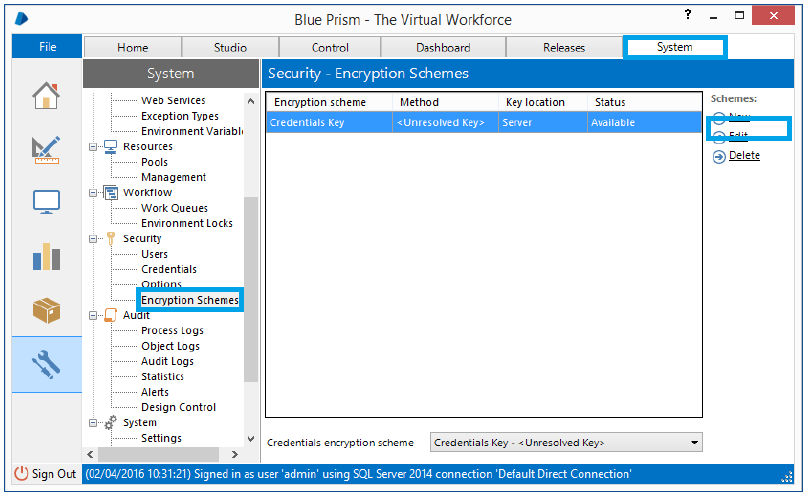
Configure an Encryption Scheme:
The Encryption Scheme will be used in order to maintain the use of the Credential Manager and configure.
1. Click System which is Under Security, click Encryption Schemes.
2. Click the scheme named Credentials Key and click Edit.
3. Follow the marks below as suitable.
Standalone Blue Prism Deployment:
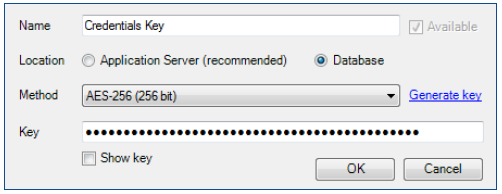
1. Select Database as a Location after giving the Credentials key.
2. Select AES-256 and Click Generate Key, then, the key will be generated.
3. Now, Click OK
Multiple Component Deployment:
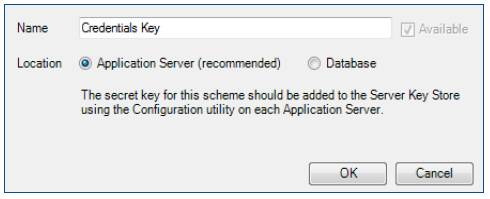
1. Select Application Server as a multiple component deployment locations.
2. Then Click OK
It is suggested that the installation is manually verified by carrying out some easy assignments within the system and verifying that they perform successfully.
Setup role specific configuration:
Finally, it is important to configure the device to have an appropriate configuration and setting for its particular deployment.
• If this verification is for a standalone deployment without an Application Server. So the installation is now completed.
• If multiple element deployments are configured, the configuration is set up must. Typically the component to be configured will be a Blue Prism Application Server.
These are the few steps which we followed and installed Blue Prism SQL server successfully.

Rajesh
Author