Pega CSA Case Life Cycles & Flows | Pega CSA Best Practices
Building Life Cycles
Let’s dive in to how Pega CSA makes creating life cycles easy. Start at the core by clicking a key step to lay its foundation, as Pega CSA helps define stages and assign meaningful names for steps with every action you take shaping its flow and shaping the project as a whole.
Configuring Case Steps
Pega CSA allows users to easily build and configure case steps. For instance, adding delivery addresses as part of the “Collect Information” stage.
Pega CSA makes this possible with flexible customization tools for each stage, giving you control to meet the exact demands of your workflow.
Review and Approve Processes
One of the outstanding aspects of Pega CSA is its capability for reviewing and approving processes. After collecting delivery/order info, users can be directed towards reviewing submissions they submit using Pega CSA for review before being routed towards approvals in line with business goals.
Payment and Resolution
Once approval has been secured, Pega CSA provides seamless transitions into payment processes by configuring payment info stages intuitively for user experiences. Pega CSA makes case resolution straightforward allowing workflows to complete efficiently without unnecessary frictions or headaches.
Understanding Flows and Life Cycles
Pega CSA stages represent flowcharts for linking life cycles and processes together, so understanding changes to one flow affect the other can be important in making changes fit your project needs effectively. Pega CSA provides you with flexibility to select where these modifications should occur for easy management of projects of various scale.
Understanding the Pega CSA Case Life Cycle
As part of working with Pega CSA, understanding its case lifecycle is of vital importance. I created a process which allows us to implement changes under controlled circumstances.

The flow has been customized to support any modifications we require; however, changes to case life cycle cannot be directly made – they must occur via changes at flow level instead. Our goal is always consistency and accuracy!
Making Modifications in Pega CSA
To make adjustments, save them at the flow level first as Pega CSA doesn’t permit direct changes to life cycles once flows have begun.
So, it is crucial that your work processes adjust accordingly, saving and altering at a flow level so as to preserve life cycle integrity.
Navigating the Rule Set in Pega CSA
Click on it in Pega CSA to access its security settings and adjust accordingly.
Checking and saving the settings are integral parts of managing an organized team environment and avoiding confusion within it.
The Role of Check-Ins and Check-Outs in Pega CSA
Why check-in and check-out processes are crucially important in Pega CSA applications; every best practice utilizes them for smooth operations and swift organization of tasks. Without it, things quickly degenerate into chaos.
Once you’ve scrolled up and opened a flow rule, refresh the page and you’ll discover a Check-Out option; it makes making modifications more effective than ever!
Applying Changes in Pega CSA
When making changes, always begin by reviewing and checking in a rule or flow first. This allows for you to edit them after making any edits; be sure to do it again afterwards for good measure! After editing changes are implemented don’t forget to do another check back in once the job is finished!
Only with an effective check-in will any changes apply across all operators, ensuring everyone stays on the same page and the application runs seamlessly.

PEGA Training
Modifying Flow Levels in Pega CSA
By inspecting the flow, you wish to modify before making your changes and saving them before checking back in – this process ensures everything runs smoothly.
Understanding Pega CSA and Px OBJ Class
When referring to pages within an application, context from this class is being pulled for each individual page reference – consider it like having someone providing information behind-the-scenes to ensure it always provides correct context!
Therefore, when working on your work page you are most likely referring to an order number 1 class context called Work-Order-1; this helps maintain clarity and ensure smooth operations throughout Pega CSA.
Creating Pages and Pre-Populating Data in Pega CSA (5)
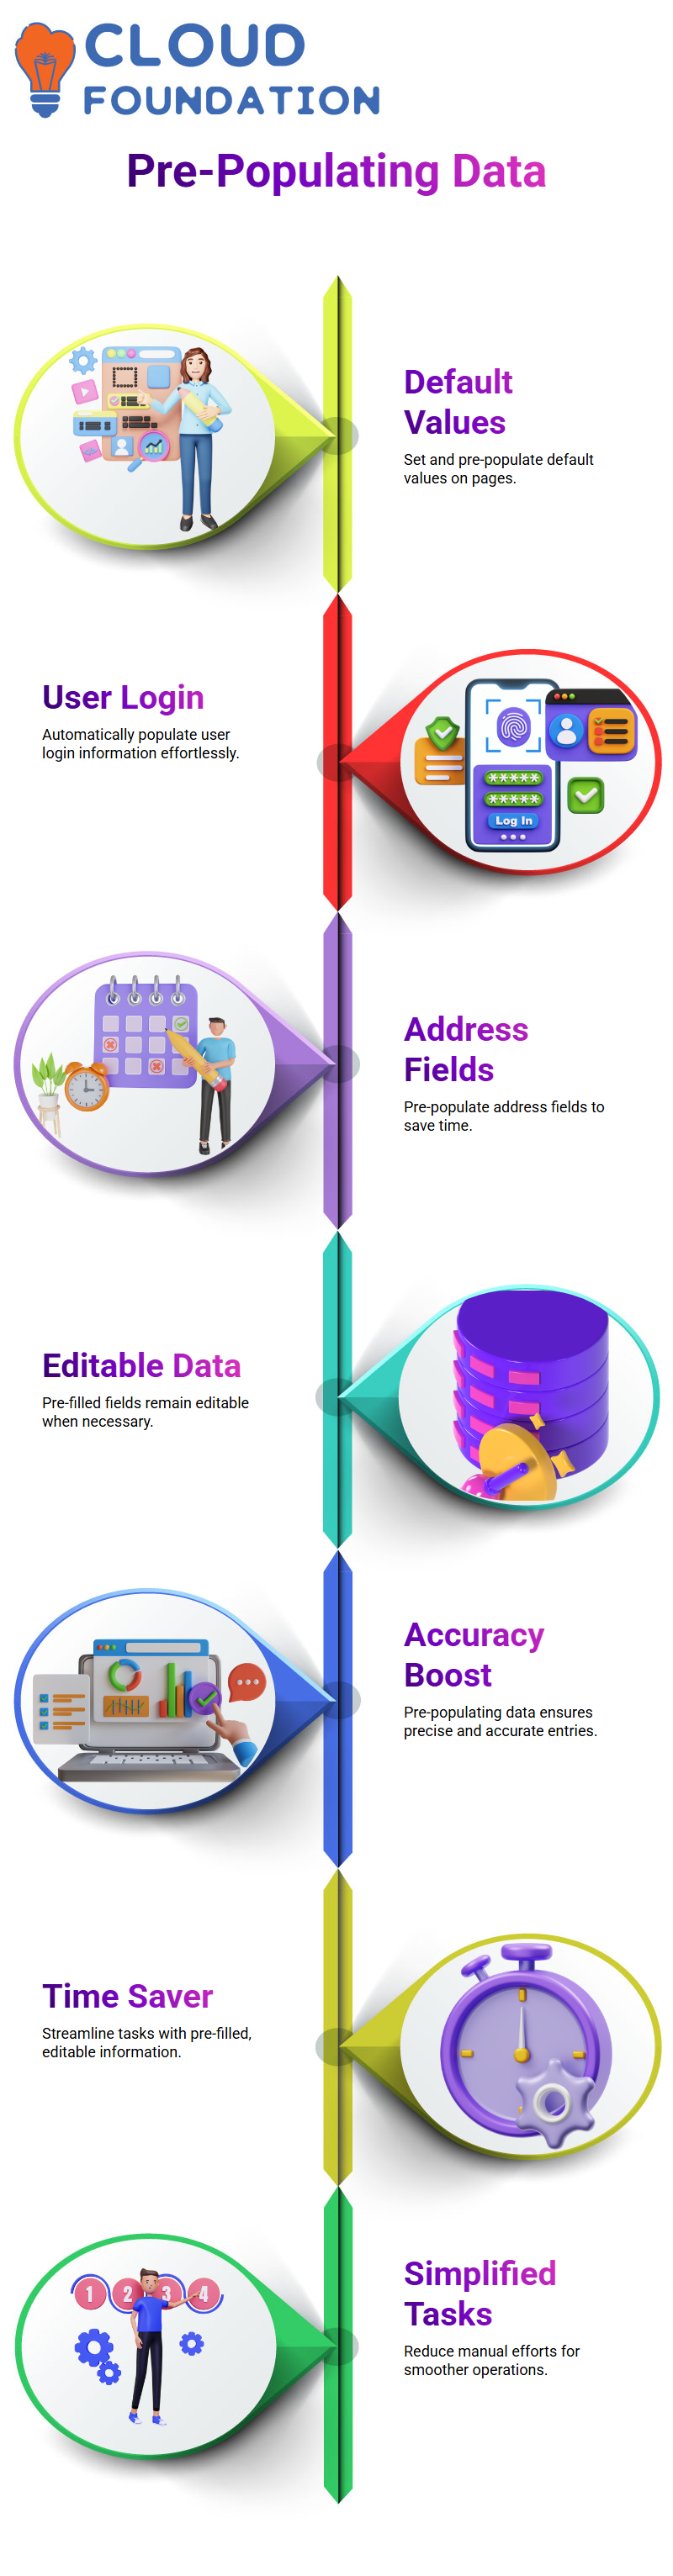
Pega CSA makes login simple by populating user information such as name and login credentials automatically when users log-in; meaning no manual entry of details necessary! Once in, Pega CSA takes over taking care of those tasks for you!
Address fields such as house number, zip code, street name and landmark can also be pre-populated to save time and ensure accuracy. Just think: when you access your screen the values will already be filled out but still editable should necessary!
Implementing Default Values Through Data Transform in Pega CSA
Map these values to sections using data transforms. Prefill an operator name.
First, we create a data transform that dynamically pulls in an operator name based on who logs-in; this approach ensures the name changes appropriately no matter who logs-in – whether that be you or anyone else logging-in.
Pega CSA ensures your operator properties, like his/her name and PY User Name for editable fields are accurately mapped to useable values by making use of reference properties like these properly referencing properties correctly as part of system pages in the Operator ID section.
Troubleshooting Pre-Population in Pega CSA
Sometimes pre-filled data doesn’t appear exactly how expected; when this occurs, debug and check the context of your pages to investigate further.
![]() Make sure that data transformation has been correctly implemented, the clipboard pages have references, and operator details have been correctly mapped under system pages.
Make sure that data transformation has been correctly implemented, the clipboard pages have references, and operator details have been correctly mapped under system pages.
Make sure that all pages and classes in Pega CSA are correctly defined to ensure context is fetched accurately for smooth operations. Once you grasp how Pega CSA simplifies data handling, you will appreciate its many advantages!
Understanding Pega CSA Data Handling
Working with Pega CSA requires understanding how data is structured within different classes and subclasses. When working with address data, it’s key to know how fields are referenced on a clipboard – Pega CSA provides us with dynamically retrieval and updating values efficiently.
Pega CSA uses the px obj class to organize data. When handling delivery information, we often refer to its related page.
Understanding when and how to use dot notation directly references and when page definitions and classes must be set up is paramount for effective data management. When rules exist in their work class, reference is easy but when located elsewhere it requires setting page definitions in Pega CSA as soon as possible.
Setting Up Default Values in Pega CSA
Pega CSA users who are creating cases may request initial values such as an address that matches predefined delivery addresses – house number “111,” street name ABC,” zip code 123,” landmarks such as “XYZ”, etc can all serve as initial values when creating cases in Pega.
Hardcoding may be possible with Pega CSA; however, best practices support flexibility across operators and default values can often be set during pre-processing to make life simpler before screen launches. Pre-processing ensures all necessary values populate before any screen opens for viewing.
This technique simplifies data input and enhances user experience for enhanced case processing efficiency.
Working with Update and Set Actions in Pega CSA
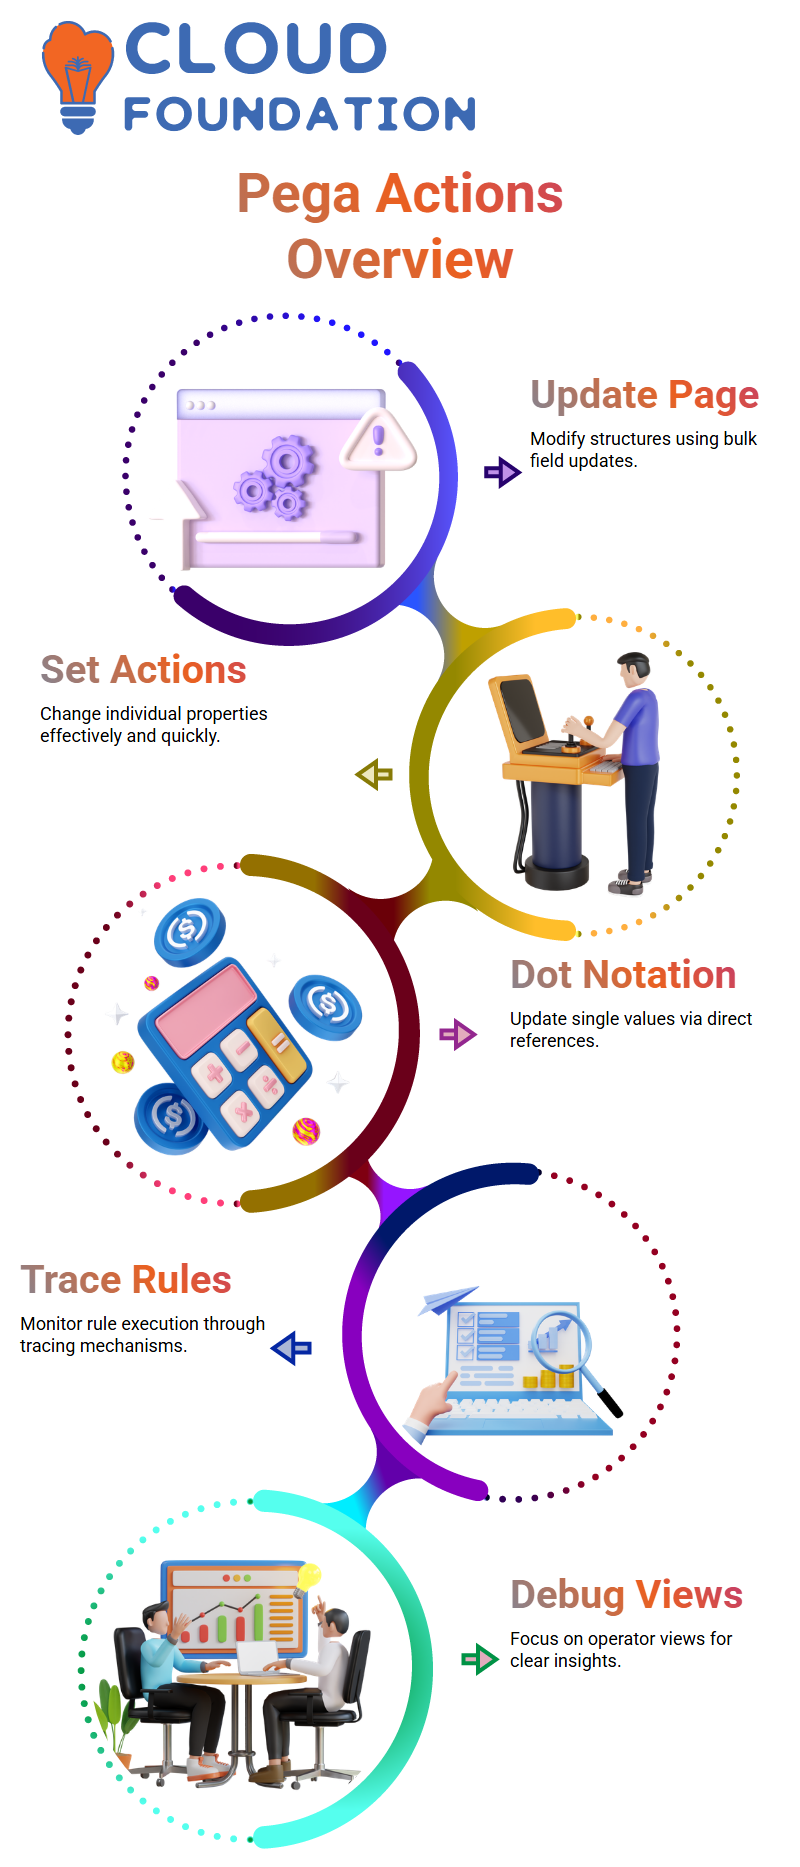
Pega CSA provides two methods to manipulate data: Update Page and Set Actions. With Update Page, users are able to modify entire structures while Set is used primarily for individual properties.
Understanding when and why to utilize different Pega CSA methods can be crucial in streamlining workflows. When updating delivery locations, users have two methods at their disposal for updating single values: dot notation for single updates and update page for bulk modifications of multiple fields simultaneously.
Pega CSA optimizes data transfers to guarantee smooth processes with minimum errors.

PEGA Online Training
Tracing and Debugging in Pega CSA
Pega CSA provides various tracing mechanisms to enable developers to monitor rule execution. Tracing at the rule level focuses on particular rules while thread-level changes can be identified via clipboard views. Users can refresh cases to observe how preprocessing influences data in real time.
Tracing can assist when working on server-hosted Pega CSA apps by helping ensure the correct instance is being watched over.
Developers must focus on operator-level views rather than server-wide traces for clarity, taking advantage of Pega CSA’s powerful debugging tools for effective rule execution refinement.
Understanding Pega CSA: Navigating the Primary Page
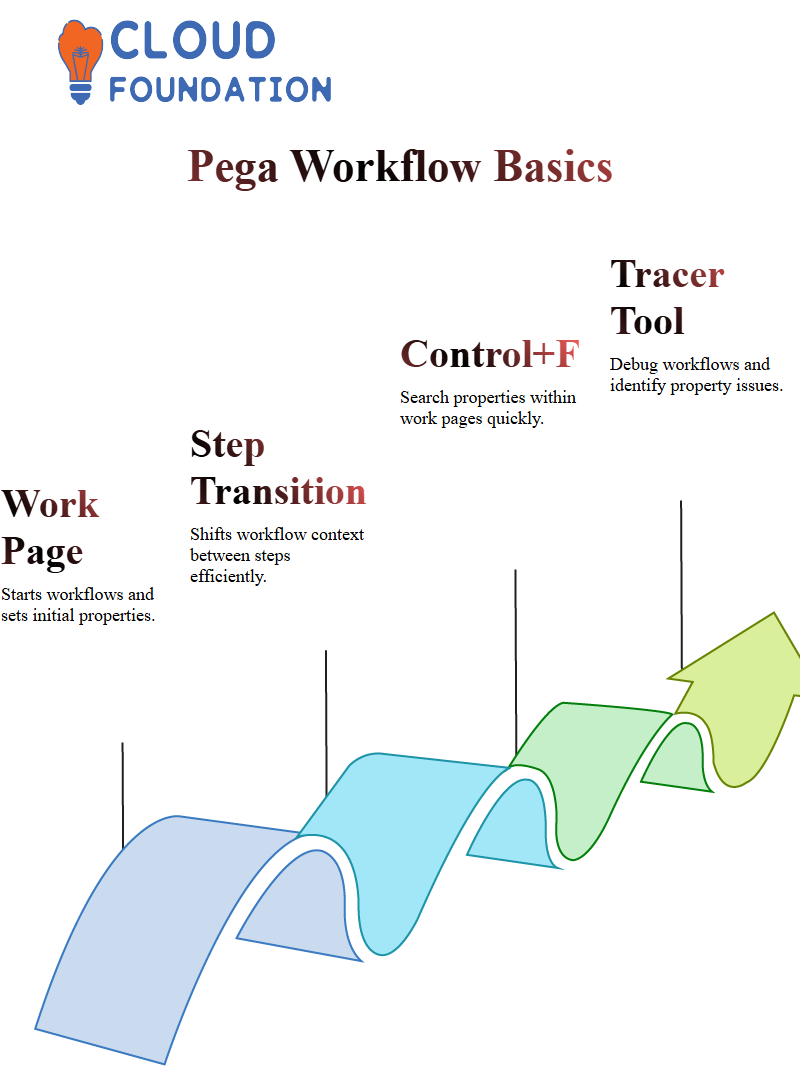
Pega CSA starts working with your Work Page as you move into step one; but then things shift as we transition into step two; at this stage, Pega begins setting properties such as name. But this system offers more.
What’s even cooler: clicking on Work Pages during step two brings up their current instance and allows for easy searching using Control+F for properties like name.
Pega CSA excels when assigning names to Work Pages – it ensures each step in the workflow has its own distinctive context for primary pages.
Have you used Pega CSA’s Tracer tool before? It can be an invaluable resource when debugging workflows; step one and two typically don’t contain name properties because they have yet to be set. By using Tracer you’ll quickly identify issues in any workflows where name properties haven’t yet been defined – all this while in one click!
Step three of Pega CSA keeps primary page context distinct at every step. By assigning names for debugging purposes and assigning debugger names accordingly, step three ensures names can be assigned for debugging purposes and the Tracer tool provides insight into this.
Example, when updating a delivery location, at that stage the primary page transitions seamlessly from Work Page to delivery Location Page thanks to how Pega CSA manages workflows – isn’t that intriguing?
Sometimes that means 10,000 lines! Don’t panic; Pega CSA makes debugging efficient. In most instances, only a handful of lines within those massive tracer files contain anything pertinent; knowing where to look is key!
Mastering Best Practices with Pega CSA
Providing meaningful comments and descriptions in Pega CSA is absolutely critical; otherwise, the application lifecycle won’t come to a satisfactory close when your project concludes; future developers need to comprehend exactly what each rule does, thus clear comments can make all the difference for understanding purposes.
My project required two fields for documentation as an effort to maintain long-term usability. This requirement serves not as just another rule but serves an integral purpose: ensure long-term usability!
As soon as a new team member comes onboard, they’ll appreciate your thoughtfully constructed descriptions. Pega CSA encourages these best practices so your workflow becomes simpler to debug and maintain.
As part of your section configurations, consider dynamic labels as well. For instance, adding clearer steps when setting up delivery locations could improve user experiences further – Pega CSA offers effortless management for these configurations.
Exploring Pega CSA Workflow Management
Every business process has an identifiable workflow, and Pega CSA makes managing it seamless. Each lifecycle stage contains steps. No matter if it involves screen flows or process flows, distinguishing them is made simpler using this software solution.Process flows feature flow actions within their connectors and may allow for the creation of sections outside the immediate workflow – providing greater customization options when managing application lifecycles.

PEGA Course Price

Koppadi Madhavi
Author