SailPoint Installation Tutorial
SailPoint Installation
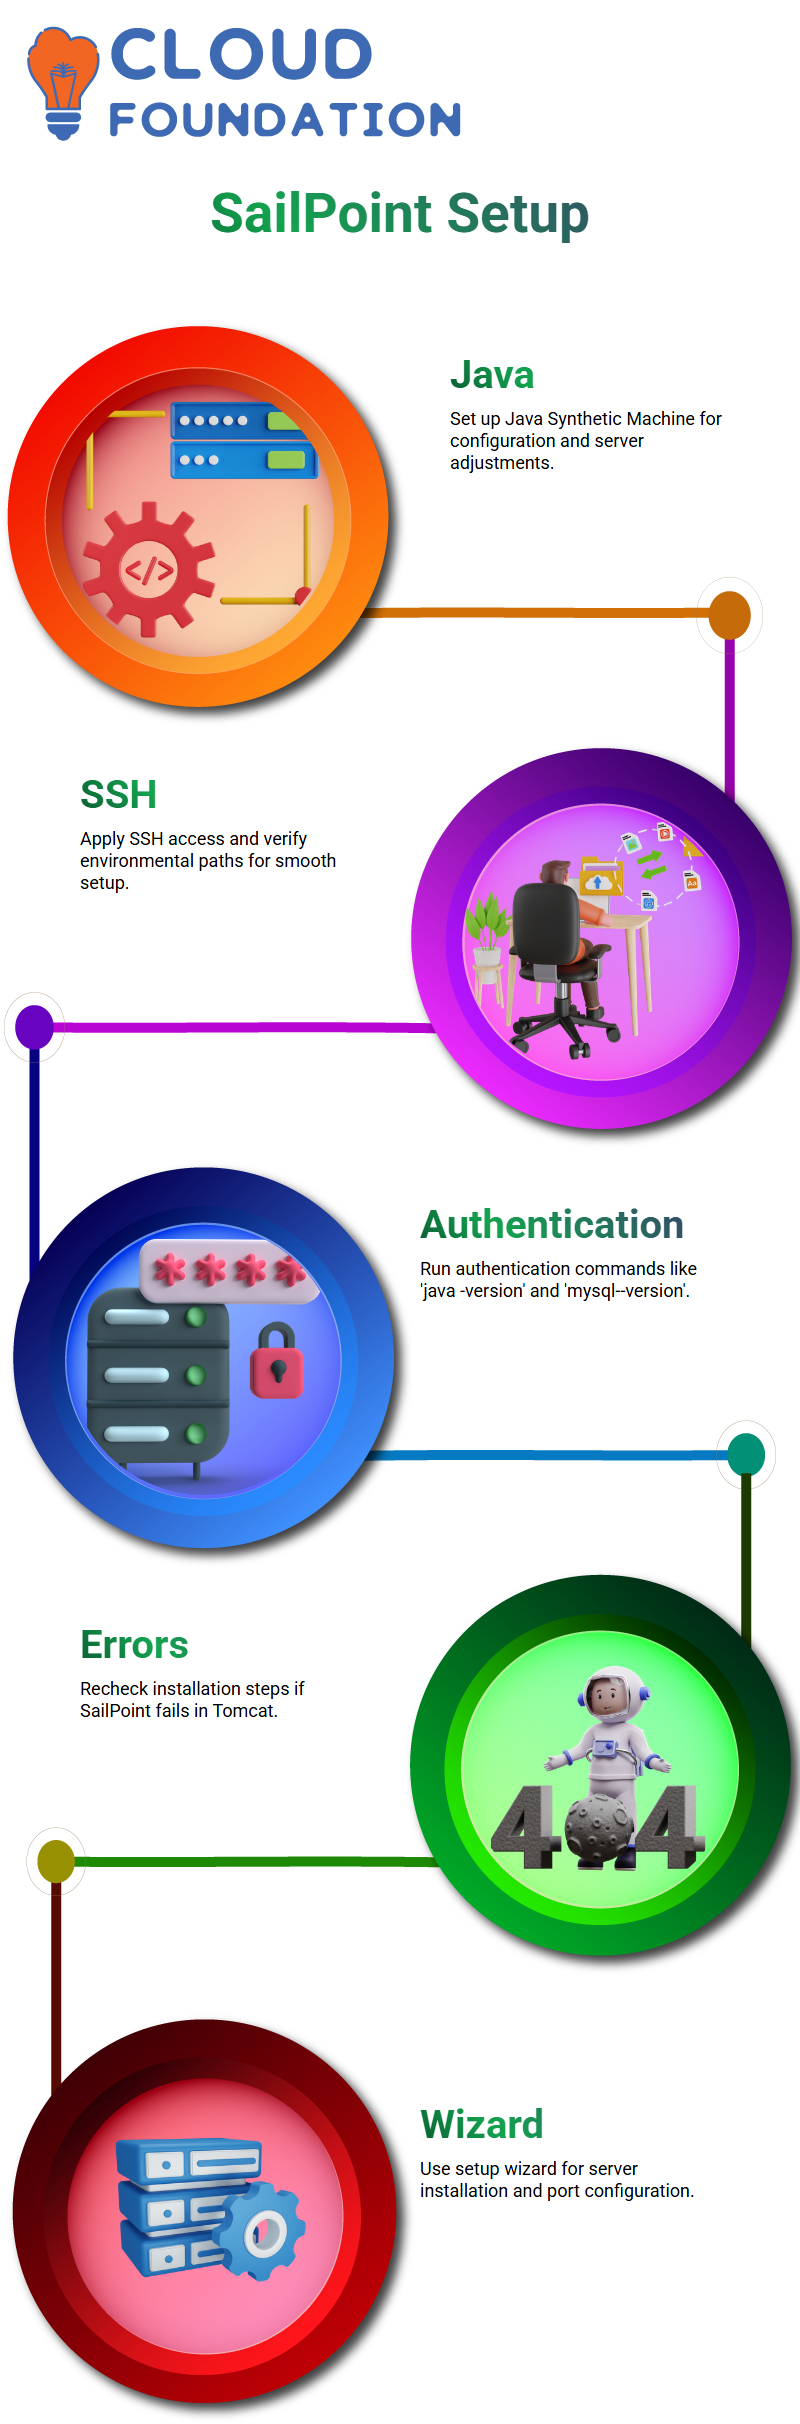
The installation process for SailPoint with you. Concentrate on the fundamentals, release and start our operation with the Java Synthetic Machine setup.
This is an essential operation as it will allow you to change the walkways for the application server and the SailPoint configurations later.
Greater yet, the whole thing is manageable. Apply for SSH access, and you will be ready to go. Just be sure to verify the environmental ways; they are the ones who can give you directions.
After the implementation of SailPoint, I always check the settings by running the indispensable authentication commands.
Applying a command prompt and typing in ‘java -version’ and ‘mysql– version’ specifies that the linking is fine.
Also, suppose SailPoint runs efficiently in your Tomcat environment, but you get errors. In that case, you should review the installation steps and recheck each configuration to confirm everything is alright.
Application Server for SailPoint
You need to move on to the application server installation as the next step. It doesn’t matter; the process is quite simple if you use RLJRE on Linux or a different setup.
Just unpack the files, use the setup wizard (click ‘Next’ nonstop), and you’re all set!
After you complete an application server installation, you can deploy SailPoint to your environment. Pick the best time to install the MySQL database before or after this step, which is yours.
The installation wizard will guide you regarding port selection (8080, for prototype) and permit you to craft a username and password for the smooth operation of SailPoint.
Installing MySQL Database for SailPoint
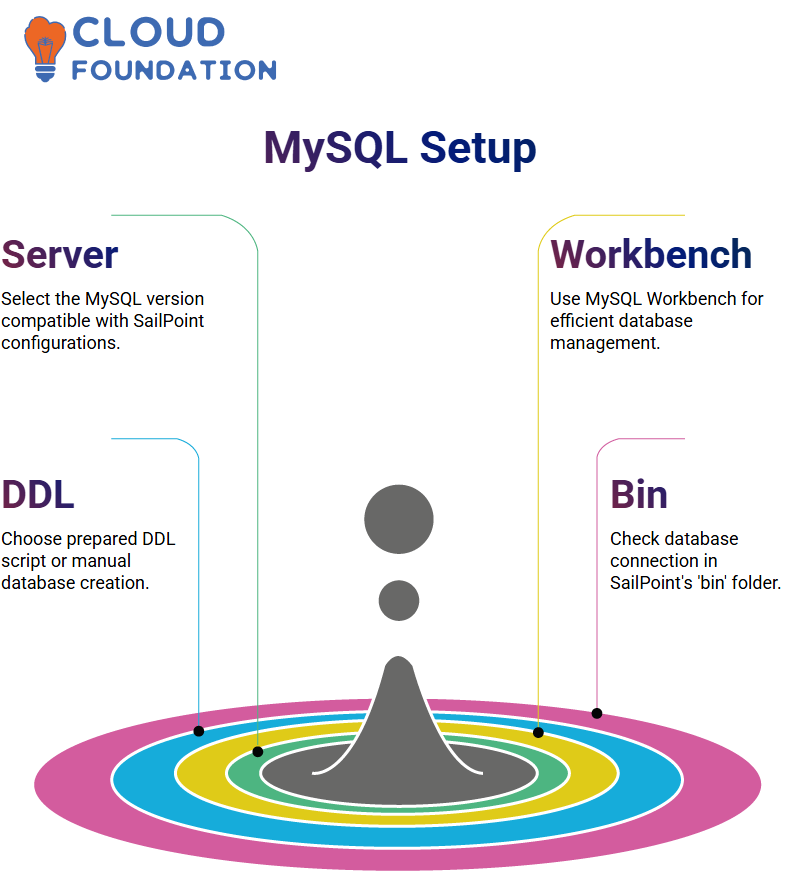
After that, we will install the MySQL database, vital for SailPoint’s general performance. You can opt for only the MySQL server or the complete product set that fulfils your demands.
Choose the MySQL server version that you want to expand the application varieties and confirm as to whether it is the version that still matches the SailPoint configurations.
Also, you can download MySQL Workbench from this link and use it for database management.
SailPoint Database
The fact that the database structure is entirely built is the main thing that makes SailPoint workable.
Besides, one can only choose between using a prepared DDL script or creating the database manually; either way, the same amount of caution in the database configuration is required.
I click on the ‘bin’ folder surrounded by the unpacked SailPoint directory and check my database connection.
If the database isn’t configured correctly, SailPoint choose not to save the identity and application details correctly.
When the application has been mobilised, the following step is to generate the database.
Proceed to the bin folder and run the `ia-schema` command. This is the way all the database files required can be created.
We are working with MySQL here, so please decide on it from the choices available and go to the next step.
SailPoint for Database and Application Server
When it comes to SailPoint, the setup has significant consequences. After installing your MySQL server, you can then go ahead and arrange it as a regular stand-alone server.
Be cautious when setting the password correctly so that the system will run smoothly for you from now on.
To unleash the full usefulness of the dais, pick a service name like ‘MySQL57’ and do not forget to start the database services that are vital to be configured for Salesforce. Check the ports, check the Java cyber machine (JVM) installation, and validate the correctness of all road configurations.
SailPoint Database Scripts
When we are already in the command prompt, we can generate the database script by capitalising on specific SailPoint command-line codes saved from previous transactions.
These scripts will be helpful in the creation of tables, columns, and indexes requisite to realise identity management within the bounds of SailPoint.
Occasionally, errors will occur, such as the failure to open a particular script target file.
If such an occurrence occurs, we uncover the issue by verifying permissions and lane configurations.
To avoid errors while transcoding the database schema, copy the right way and run a proper command for the script.
First, you need to run the database script to initialise SailPoint. Open the command prompt and use the below command: `mysql -u root -p`, then enter the password.
When done, give the database script file to the course and complete it. The procedure will take a few minutes, and everything will be done.

SailPoint Training
Database Configuration for SailPoint
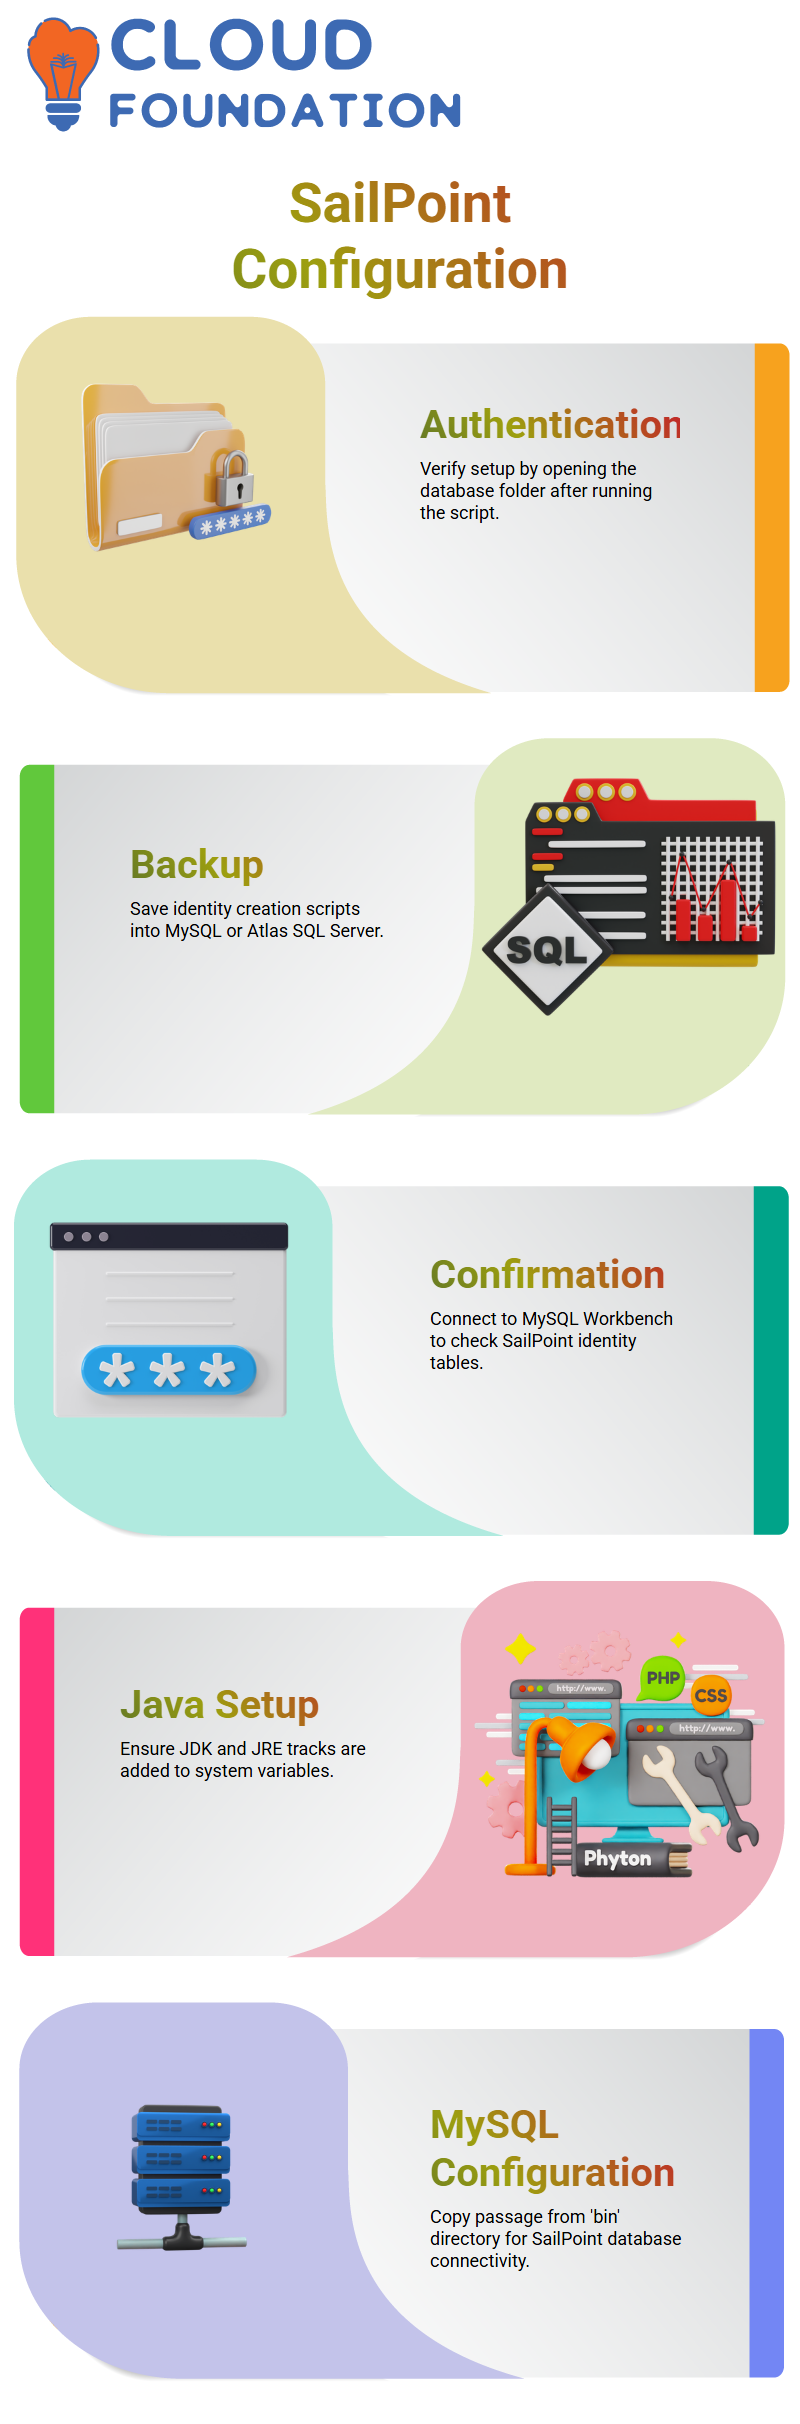
We authenticate the setup by opening the database folder after running the script.
To have a backup of the same on our local machines, identity creation scripts are provided by SailPoint, which we save into MySQL or Atlas SQL Server.
The final confirmation step is to connect to the MySQL Workbench application.
In this environment, we can inquire about the availability of SailPoint identity-related tables. A bit of progression of the database structure also shows more details like first name, last name, email, and other qualities in SPT identity.
Java and MySQL Tracks for SailPoint
Whenever I install Java, I always check it as well. Should you be planning to install SailPoint, go to Program Files, find your Java directory, and make sure the JDK and JRE tracks are added to system variables.
Adding the MySQL is no less critical. SailPoint relies on MySQL database connectivity, so please remember to get into your MySQL installation folder and copy the passage from the ‘bin’ directory.
Running SailPoint on Apache Tomcat
SailPoint becomes a no-brainer when it is practically the same on the Apache Tomcat server. The first step is to ensure that the installation of Tomcat has taken place.
If you have managed to set up everything correctly, you may integrate SailPoint by moving the war file to the ‘webapps’ directory.
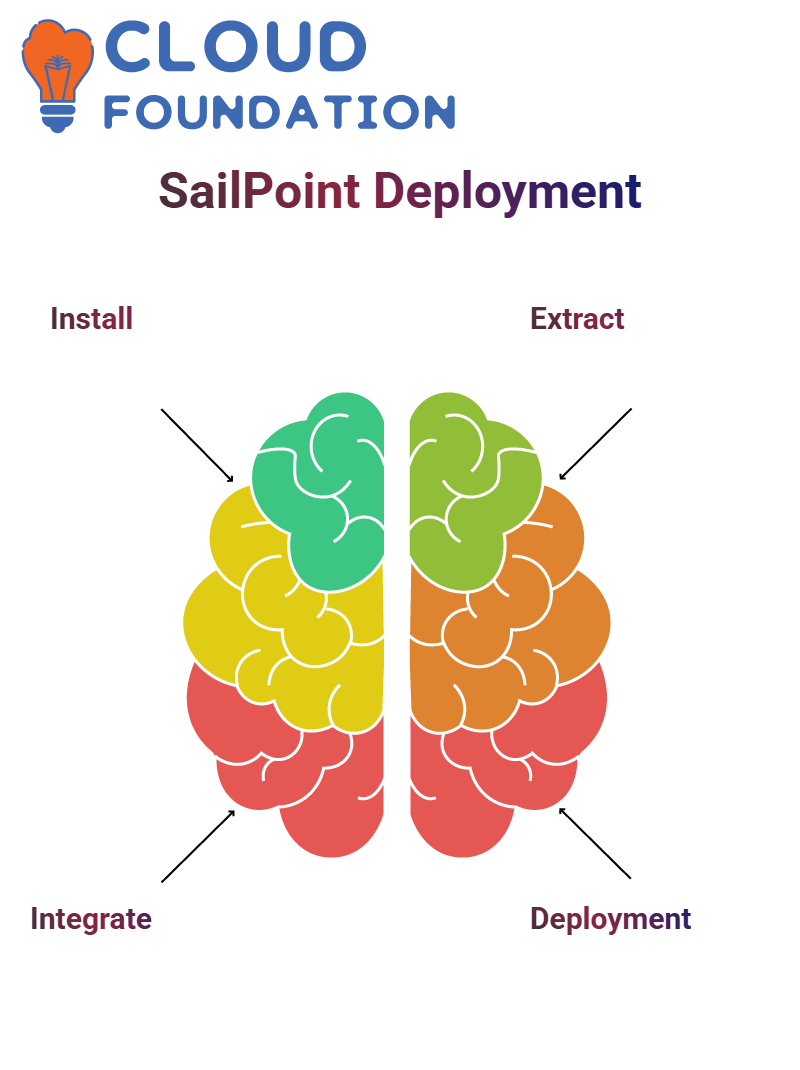
It’s my favourite method to extract the war file with a command line, directly ‘jar -xvf’ ensures the deployment goes without a hitch.
If you have extracted the War, nearly half of the prepping for the identity management environment is done.
Executing SailPoint Scripts
Once the database setup is done, we can go to the next step by running the required scripts using MySQL; the database folder should be tapped into, and then authentication, such as username and password, is provided.
To ensure no mistakes in the schema, the source commands are executed on the SailPoint database file.
This ensures that all the mandatory tables, indexes, and columns are created for identity access management.
Importing Essential Files in SailPoint
For SailPoint’s best performance, all we have to do is have standard property files and tasks. The bin folder has the files we need to sail, and the XML files should be imported using the command line.
These default settings consist of workflows, forms, and specific rules that provide the identity management systems.
After being imported, such SailPoint objects as applications and identities are now ready for use by the users in the plinth.

SailPoint Online Training
Access to the SailPoint Console
The first thing to do is access the SailPoint Console through the command prompt.
Would you go to the bin folder and type `ia-console`? No password is asked during this step.
You did great if you came across the SailPoint console interface without facing any errors! You have successfully entered the system.
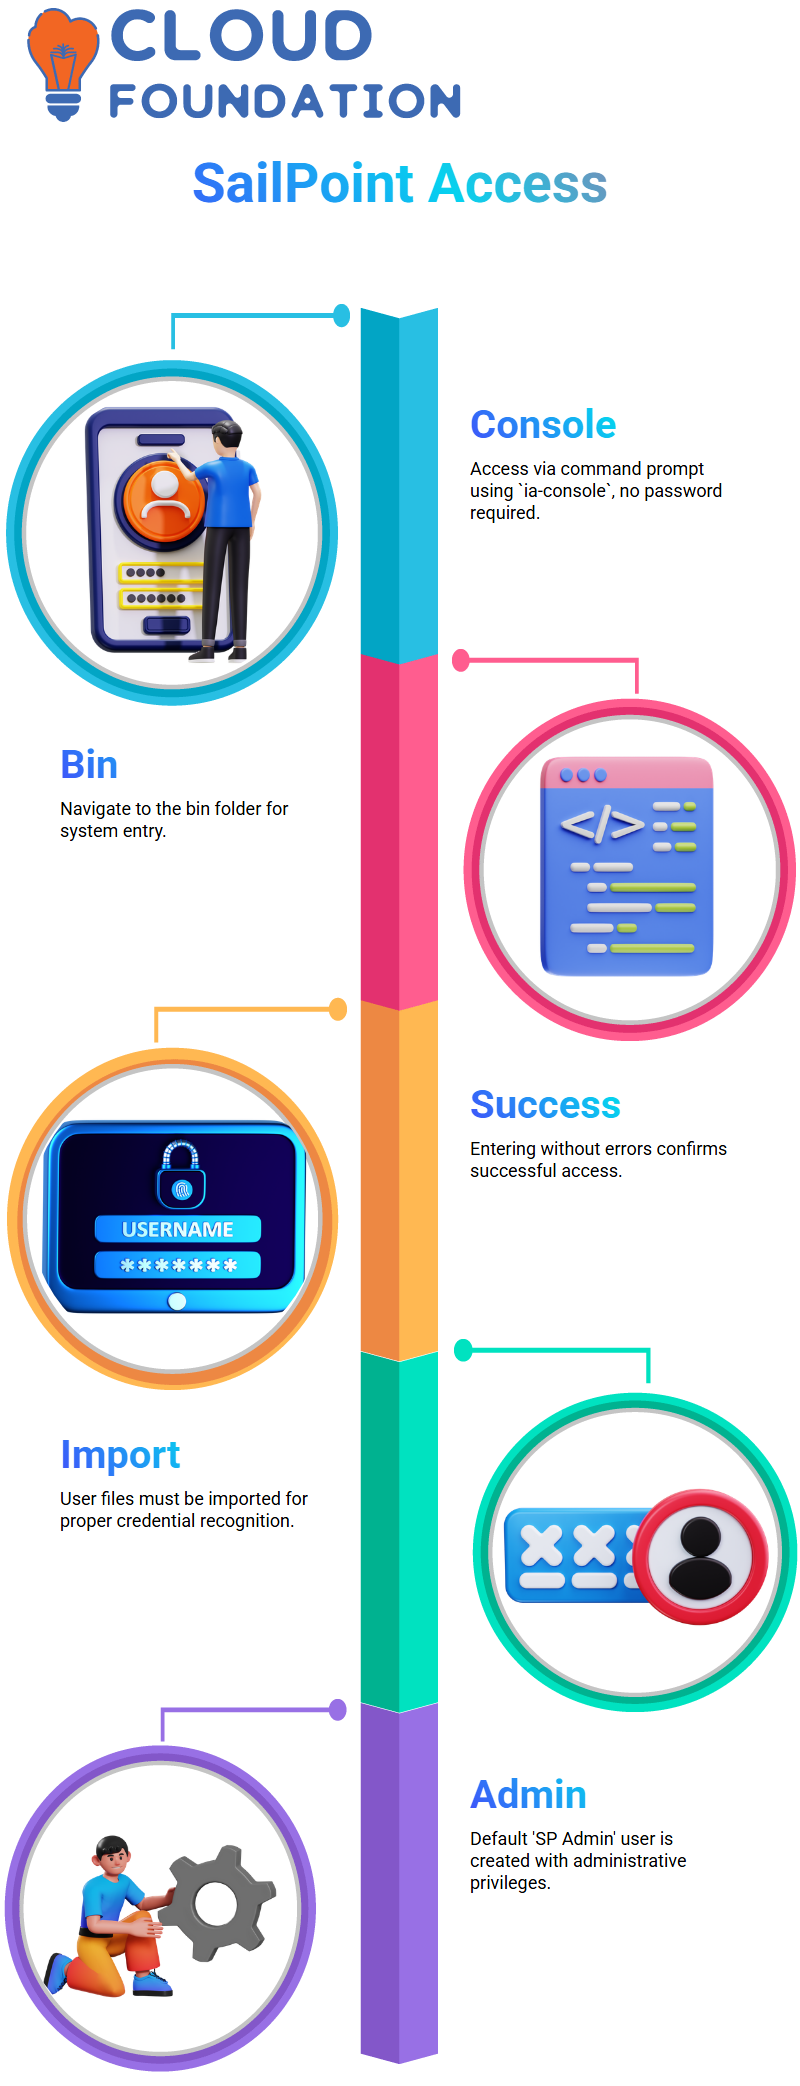
Importing User Files
User access is the most imperative thing. For the issue not to occur, it is essential to import user files so that the SailPoint product recognises the correct credentials.
The default user, “SP Admin,” will be created once the import is completed, and they will get the administrative role.
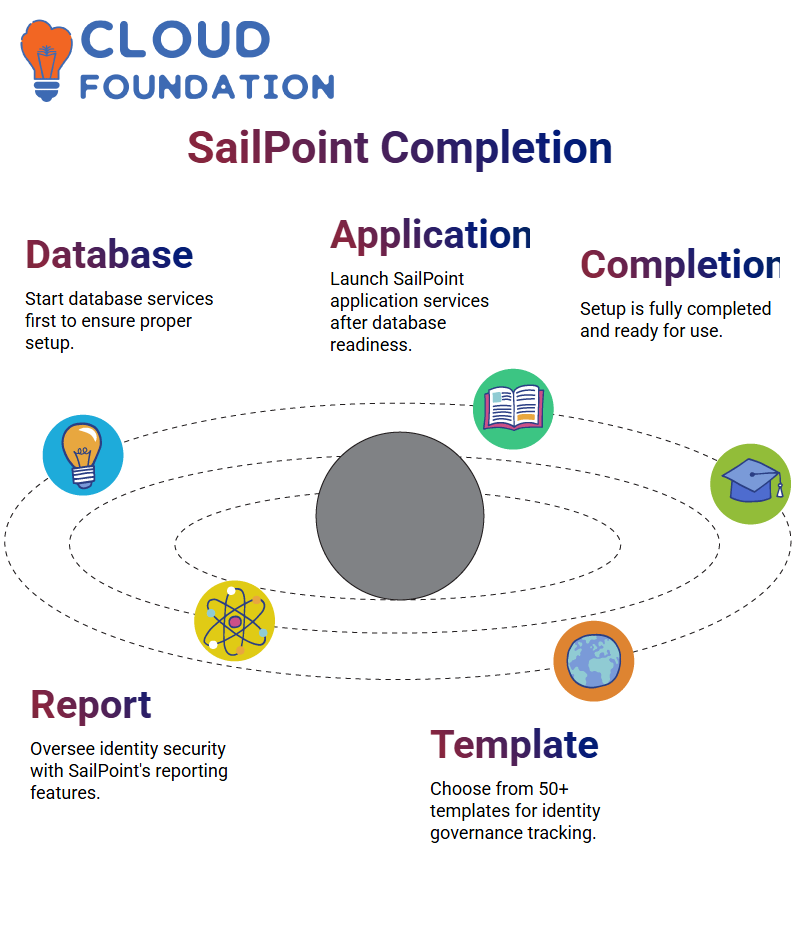
SailPoint Services
Finally, it is possible to start those services that are required. The database services have to be first; this will make sure that they are in the right state.
As soon as the database is up and running, the SailPoint application services are ready to be set.
You have reached the end of your SailPoint setup, which is now complete. It is all set for use.
SailPoint Audits
The powerful reporting attribute provided by SailPoint presents you the chance to oversee identity security very easily.
That’s a very good thing, should you have ever found yourself in a submission request or audit requirement spiral Reports from SailPoint are 100% your catch Even more, admin can choose one of 50+ templates and do the job of trackings the varied identity governance features in an uncomplicated manner.
Generating the ‘Application Status Report’ is no less than a breeze with SailPoint. Pick the right template, insert your filters, and go for it. In case of necessity, the report can be sent out via email as a PDF or CSV attachment, thus making it a piece of cake to share the discernment with the executives.
Customising Reports in SailPoint
Everyone is not always responsible for a report of the same kind. At times, companies require bespoke reports in SailPoint that are made to their need. While off-the-shelf reports are easy, the tailored reports require more time and expert knowledge, notably when Java is brought into the mix.
Those who develop for SailPoint must develop a meticulous backend logic that defines the data columns and traits. Unlike predefined reports, the traditional reports fetch statistics from the SailPoint database in real time. Therefore, detail is the key. In such a case, if the reports display only 40,000 users and not 50,000, conformance issues can pop up even if it’s a minor inconsistency.
SailPoint Reports
The process of creating reports in SailPoint is not always hassle-free It is true that the plain reports are pretty simple and don’t construct confusion, on the other hand, involved modifications are demanding and need a person with coding knowledge to do it Software developers are supposed to evaluate the SailPoint interface with the help of its APIs, they should fabricate the logic for each column and map the data correctly.
Besides, the expense for the report configuration is different. Due to the essentiality of these SailPoint reports in the company’s security and compliance, it is commonplace for companies to be stingy with their budget while considering the possibility of investing in bespoke solutions.
Some organisations opt to employ pre-built SailPoint reports to cut costs that are not imperative.
Making use of SailPoint for Identity Governance Reporting SailPoint is a podium that makes it much easier to conduct your identity governance and access controls Reports that follow configurations of forwarding, assignments of entitlements, and the usage of applications are required for a safe parallel process of security Companies that rely on SailPoint’s reporting can control risk superior, reduce their headcount, and still comply nonstop given that the reports are standard or norm-made, SailPoint will still be the identity management solution of choice.
SailPoint is more than just a software for identity management; it is an essential instrument for complying with the rules.
Organisations count on SailPoint-provided documentation for auditing, identification of security issues, and compliance with the law.

SailPoint Course Price

Navya Chandrika
Author