Salesforce Admin Data Loader Training
Salesforce Admin and Data Loader
Salesforce Administrator, one of our most effective tools – Data Loader. As an administrator, you may have found yourself wondering how to best handle thousands of records without spending hours manually processing them; Data Loader exists.
The Data Loader was successfully launched, and all prerequisites have been installed. Once authenticated, select the Patient as the object and initiate an export operation.
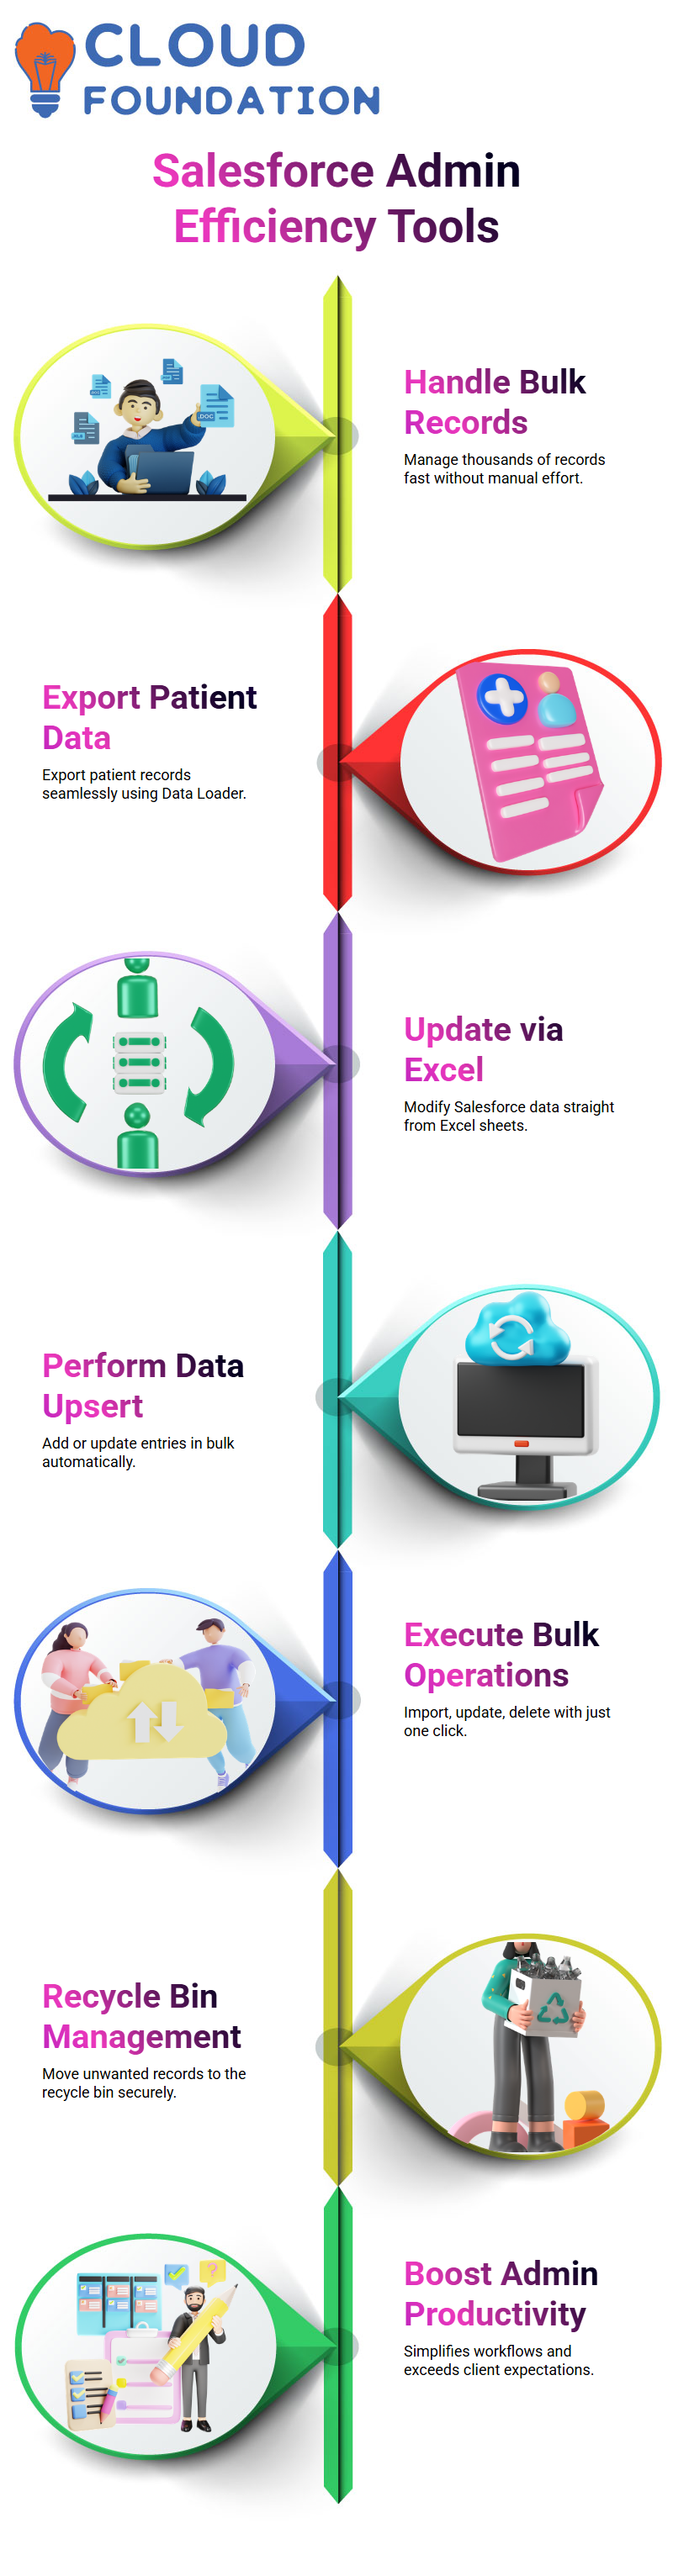
Imagine that part of your Salesforce Admin responsibilities involves updating 10,000 patient records from an Excel sheet – that would be impractical without Data Loader. Now, with just one click, you can import, export, update, or delete records efficiently
Salesforce Admin and the Power of Data Loader
As a Salesforce Administrator, quickly came to appreciate that manual data entry wasn’t sufficient for managing patient records. Entering each record manually into Salesforce becomes too cumbersome and time-consuming, which is when Data Loader steps in and becomes invaluable.
An integral component of Salesforce Admin toolbox is knowledge of Data Loader operations. As Salesforce admins, we rely on it for export, insert, update, delete, hard delete, upsert and export/insert operations – every operation providing quick yet secure management of our data.
Inserting data is another essential task of being a Salesforce Administrator, from pushing data directly from Excel sheets into Salesforce to updating and tweaking existing records based on new inputs, and finally moving any unwanted records into the recycle bin.
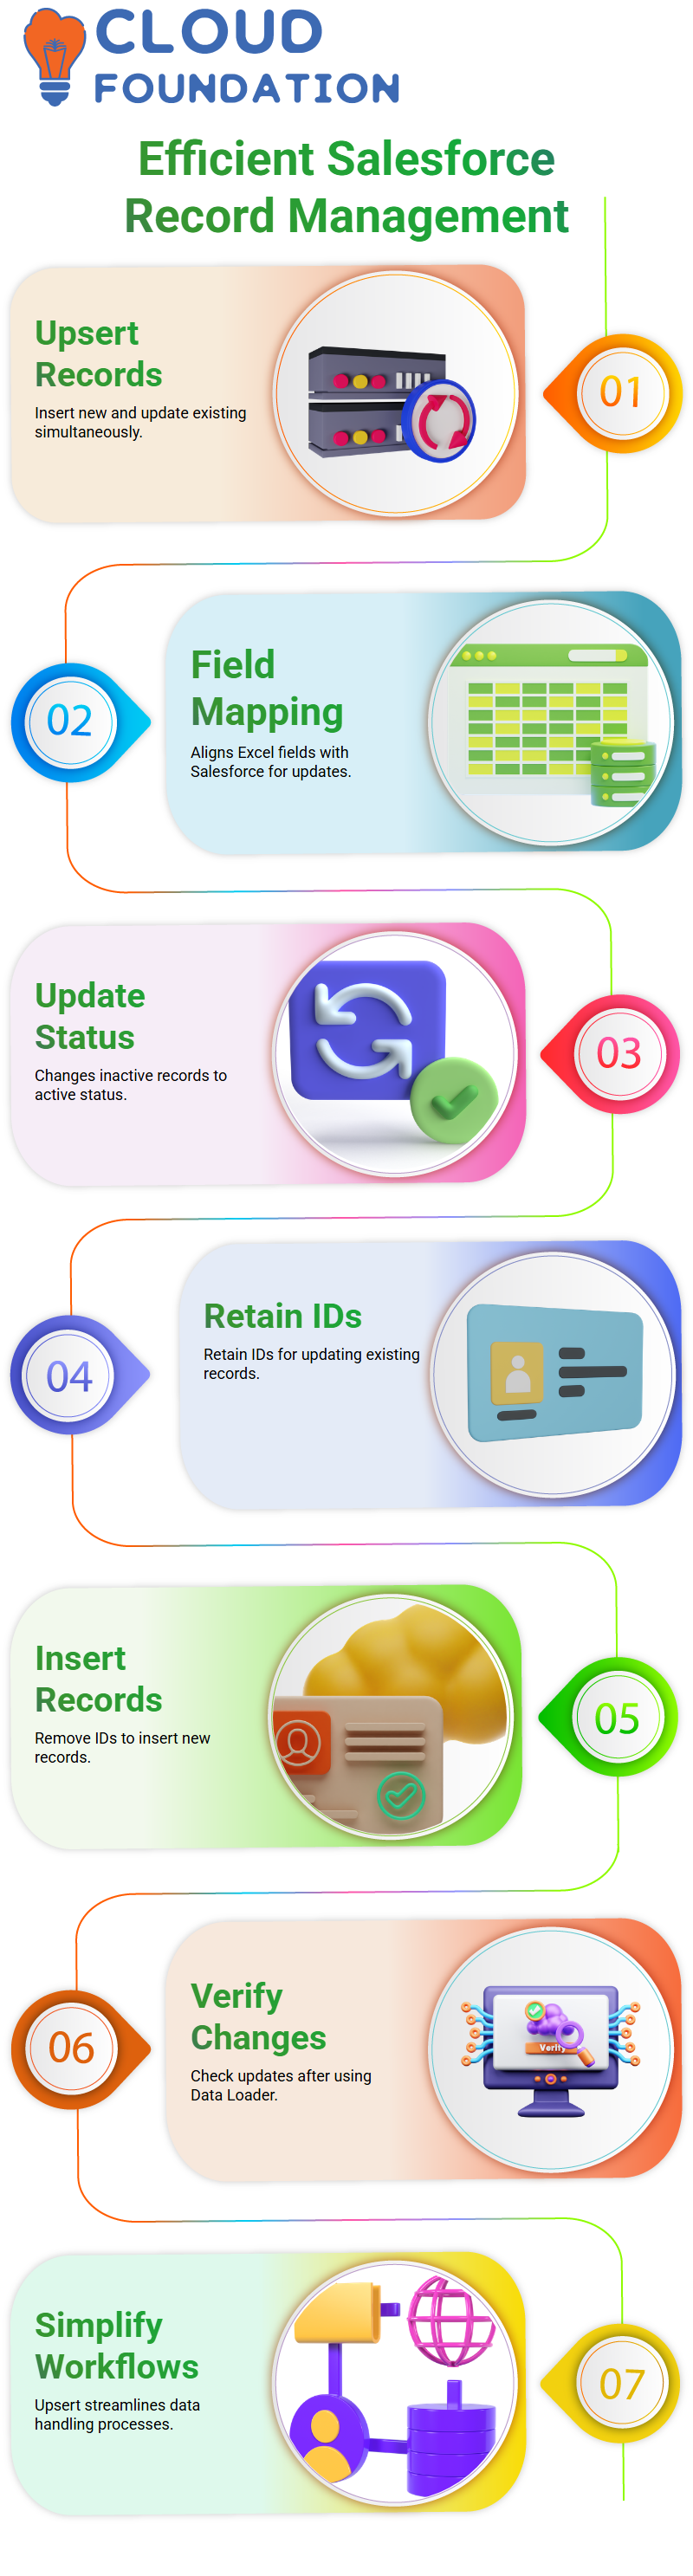
Salesforce admins appreciate efficiency, and upsert is an exceptional bulk operation tool. Tested it with records of various existence statuses; all new data was added or existing entries were updated simultaneously by the upsert’s action.
After multiple upsert attempts failed, several upsert attempts eventually succeeded, with three records successfully added or updated via the Data Loader’s interface, which was mapped for upsert via Salesforce authentication.
The Data Loader’s interface was used for upserting them, and Data Loader was successful on each occasion.
A Salesforce administrator involves more than just clicking buttons; it means understanding workflows, optimising data management strategies, and exceeding client expectations. Data Loader enables administrators to perform bulk operations seamlessly.
Salesforce Admin Operations in Data Loader
As a Salesforce Administrator, use the Data Loader to perform seven powerful operations: export, export all, insert, update, delete, hard delete, and upsert. Each serves a distinct role in smoothly handling data.
Export is designed to remove data from Salesforce Admin to local computers without including entries in the recycling bin. In contrast, Export All consists of this data – an essential distinction every Salesforce Administrator should be aware of.
As a Salesforce admin, it’s imperative that you understand all the operations provided by Data Loader, including Extract, Export All, Insert, Update, Delete, Hard Delete, and Upsert.
Extract, Export, and All. Include all available Salesforce data – even that in your recycle bin. Insert pushes Excel data straight to Salesforce while Update updates record information in real-time.
Delete removes data but keeps it within its recycle bin, while Hard Delete permanently erases records. Upsert, on the other hand, allows users to insert new records while updating existing ones simultaneously.
Data Mapping Made Easy for Salesforce Admin
Mapping fields correctly when updating records is essential to their successful transformation. When updating membership IDs for specific patient records, use the “Create or Edit a Map” and “Auto Match Fields” features in Data Loader to correct their mapping.
Being an effective Salesforce Administrator means having a thorough knowledge of your source file structure. Field mapping ensures that data is updated in its appropriate fields, saving you time and money by preventing mistakes and redo work.
New Data Like a Pro Salesforce Admin
The two new patient records were to be inserted, but an error was initially received due to an invalid source field value. Later, corrected it by switching it directly; everything then worked perfectly.
As a Salesforce Admin, understanding validation issues is part of your job responsibilities.
Mastering Upsert with Salesforce Admin
Upsert is one of the most powerful features in Salesforce Admin, and we took special care to emphasise it during this demonstration.
 We demonstrated how it’s possible to simultaneously update existing records while inserting new ones using a single file that contains both types of records — one with IDs for updates and another without IDs for inserts.
Once we completed the upsert, Salesforce Admin provided both success and error files. When reviewing these, we discovered that they were caused by approval processes locking records.
This provided us with an excellent opportunity to learn how Salesforce interacts with approval workflows and how to resolve such issues best.
As part of our analysis, we reviewed the Salesforce Admin’s success file, which contained newly generated IDs for freshly inserted records. This demonstrated how its transparency and traceability are guaranteed during every operation.

Salesforce Training
Mixed Records in Salesforce Admin
Upsert took an innovative approach when inserting two new records and two existing ones simultaneously.
Instead of splitting them up into smaller chunks, Upsert removed IDs from new records while keeping them intact for existing ones, allowing the Salesforce Data Loader to insert and update all at once.
Upsert makes Salesforce administration seamless. Upsert simplifies and optimises every aspect of the process beautifully.
Updating Data as a Salesforce Admin
Two patient records needed updating–changing from inactive to active status. Used Data Loader’s Update feature and selected patient object before creating mappings that align.
Excel fields to Salesforce fields, and created mappings between Salesforce fields and Excel ones for updating, verifying the changes after update completion, verifying them after updating, and everything went off without a hitch.
As a Salesforce Administrator, creating a straightforward mapping process is crucial for avoiding errors and ensuring accurate updates.
Salesforce Admin: Deleting Records
We proceeded to delete records using Salesforce Admin. Here, we used two test records as examples and demonstrated how easy deletion is, using just their IDs – no other parameters are necessary.
After completing the deletion process, we reviewed our results in the recycle bin to assess their success and observe a decrease in record counts, indicating that the data deletion had gone smoothly.
This step helped everyone gain insight into how Salesforce Admin handles data removal, while reinforcing the critical importance of a recycle bin for recovery purposes.
Deleting Records in Salesforce Admin
When the time comes to delete records, simplify your file down to only contain ID information; that way, data loaders don’t waste their time searching through unneeded fields for data they don’t require.
Salesforce administrators find this task one of the easiest – simply map the ID, hit Finish, and let Salesforce take care of everything else!
After each operation completes, constantly refresh screen to confirm that record has indeed been removed from Salesforce’s system.
Deletion in Salesforce doesn’t become permanent unless its recycle bin is cleared out. As an Administrator, you should stay aware of this as part of your daily duties.
Next, utilised the Delete operation to securely remove two records. Data Loader immediately verified their removal – something any Salesforce Admin will find invaluable .Remember, deleted records remain in your recycle bin until you use the Hard Delete option.
Salesforce Admin Guide to Delete and Hard Delete
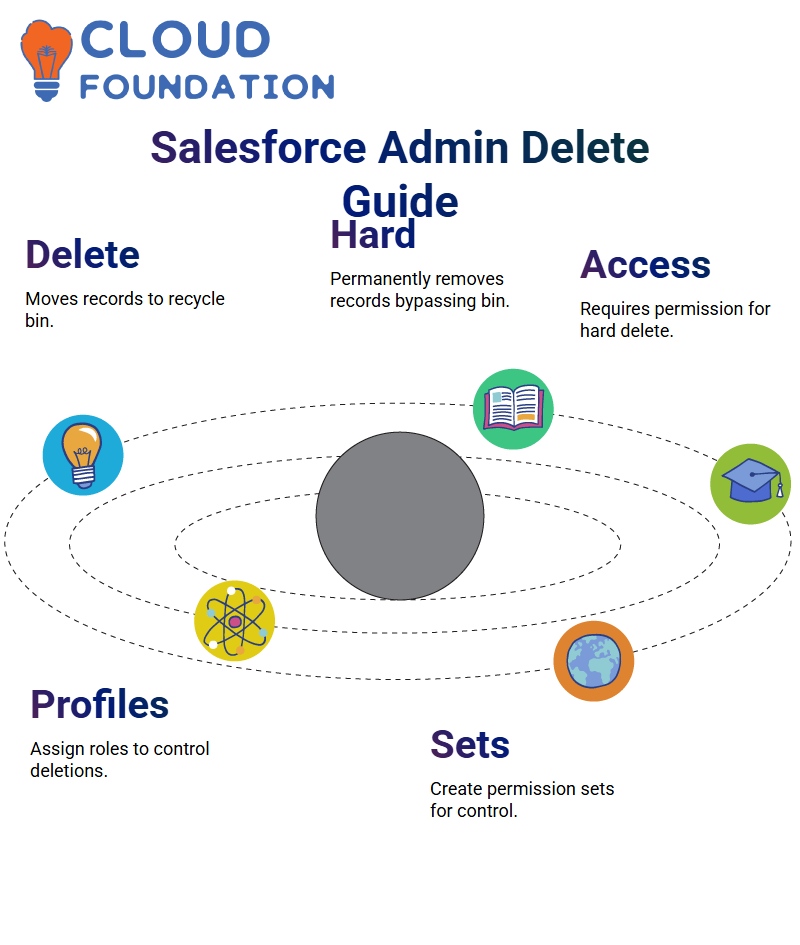
As a Salesforce Admin, my delete operations send records directly into the recycle bin as a form of safety net.
However, when certain documents must be permanently deleted, using the Hard Delete option is preferred over the Recycle Bin.
This method avoids the issue altogether, and irreversibility cannot be reversed. Additionally, accidentally deleting records could have serious repercussions that are irreparable.
Hard Delete in Salesforce Admin
To enable Salesforce Admin’s Hard Delete functionality, identify and assign all required permissions and profiles; only then can the Salesforce Admin perform this action.
 After several accidental data deletions, the Salesforce Admin implemented this permission safeguard to ensure that only trusted users with adequate authorisation can execute hard delete operations.
An additional measure of protection highlights the importance of Salesforce Admins fully understanding all possible outcomes from their actions.
Finally, addressed hard delete. While attempting to delete a record using Salesforce Admin permanently, it encountered permission issues – an excellent teaching opportunity. To perform such actions successfully, an account requires access to perform “Bulk API Hard Deletes.”
Since we cannot directly change their system admin profiles, taught students to create permission sets for themselves and assign them. This method provides essential knowledge when working with Salesforce Admin’s advanced data operations.

Salesforce Online Training
Salesforce Admin: The Power of Hard Delete
Sotis needs a way to delete data permanently without leaving behind traces in their recycle bin, which is where Hard Delete comes into play.
As a Salesforce Administrator, Hard Delete ensures quick deletion from their system.
Hard Delete bypasses the recycle bin for more permanent results, so use with extreme caution as its impact cannot be reversed.

Every Salesforce Administrator must understand these implications before engaging in this operation.
Validation and Permissions in Salesforce Admin
One of the newly inserted records had validation issues; knowing this, Salesforce Administrators removed one status field before inserting.
That way, everything ran smoothly and insertion was completed without incident.
Review the file to confirm that its absence and alignment were accurate; as an essential Salesforce admin duty, every detail must be checked twice when undertaking sensitive operations.
Focus your attention on the Salesforce Admin’s Hard Delete option; it was previously greyed out due to specific profile permissions.
Keeping an Eye on Errors and Success Logs as a Salesforce Admin
Every operation generates success and error logs that you can refer back to when running processes that encounter issues, providing more transparency into their work as Salesforce Administrators.
When dealing with errors, use those log files as an effective means for troubleshooting. Perhaps correcting an individual source field helped resolve an issue and worked successfully again.
The ability to effectively troubleshoot makes your job as a Salesforce Admin more reliable and transparent.
Troubleshooting Techniques in Salesforce Admin
As a Salesforce Administrator, navigating unexpected challenges posed by hard deletes while managing feedback data has proven challenging.
When we were faced with updating both record sets simultaneously a while back, this presented even greater hurdles than expected.
Began investigating my issue and noticed that a profile permission was missing. As an administrator of Salesforce, I couldn’t move forward without first rectifying it.
Thus, they needed a way out — in fact, they tried out multiple solutions simultaneously.After many iterations and solid team discussions, we developed an effective solution.
It was emphasised that consistent practice is crucial, as every successful Salesforce administrator hones their skills through repetition and reflection.
Never under-estimate the power of structured troubleshooting! From hard deletes to updating permissions or debugging user flows, resilience as a Salesforce Administrator will prove your most invaluable ally.

Salesforce Course Price

Vinitha Indhukuri
Author