CyberArk Vault Installation Training Material
Cyberark Vault Installation and Prerequisites
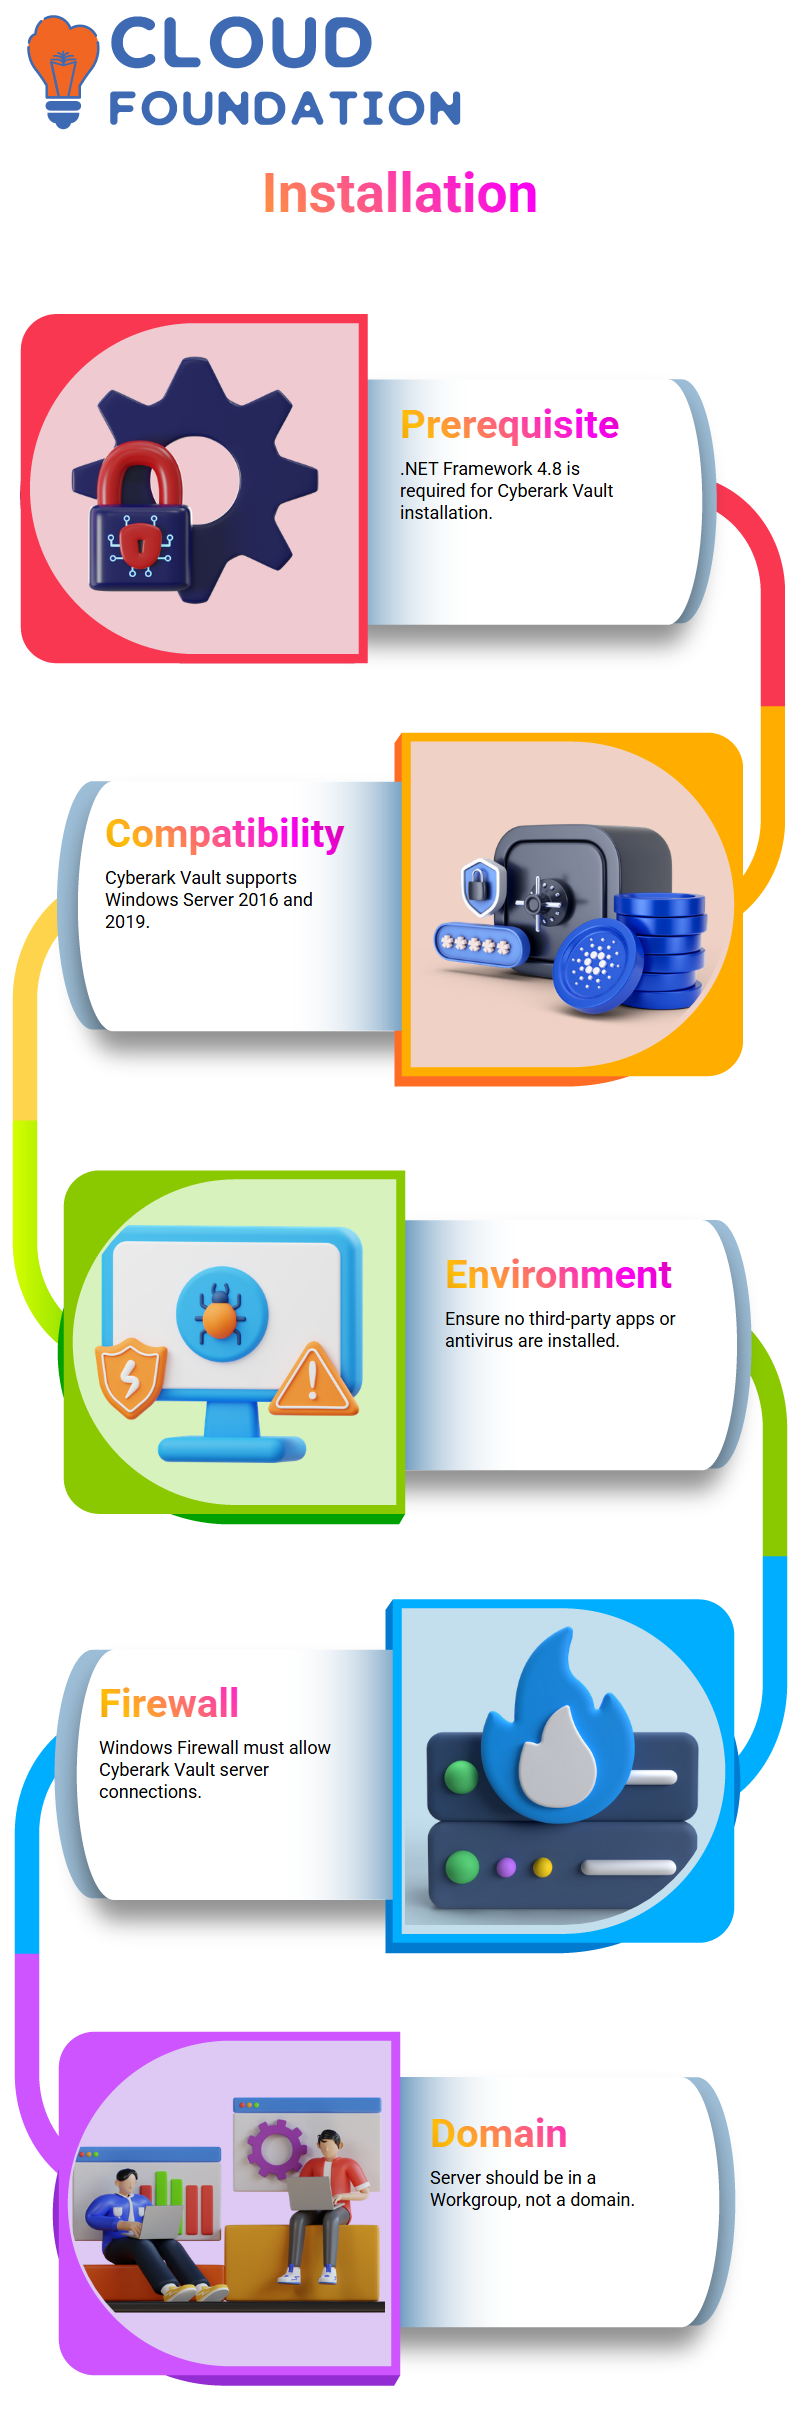
Let’s start by going over the requirements, which is the first step in installing Cyberark Vault. The.NET Framework 4.8 is the first essential need for installing Cyberark Vault.
Installing this is a prerequisite. I went to HKEY_LOCAL_MACHINE > Software > Microsoft >.NET Framework > v4.0 > SKUs in the Registry Editor to confirm it. I can verify the installed version of.NET here. It displayed 4.7 in my instance, but Cyberark Vault needs 4.8, so I downloaded and installed it nonetheless.
I used Google to get the Microsoft.NET 4.8 offline installer in order to install.NET 4.8. The first link from Microsoft’s help page was flawless. After downloading the setup file, I created a new folder on my C drive called “Setup Files” and placed the installer inside.
I then chose “Run as Administrator” from the menu when I right-clicked on the file. I began the installation procedure once the files were extracted. Installing.NET 4.8 is essential as Cyberark Vault’s backend functions depend on it. All files were correctly checked throughout the installation process, and I hit Finish when it was finished.
After installing.NET, it’s crucial to restart the server. To confirm the installation, I rebooted my vault server and signed in again. The successful installation of.NET 4.8 was verified by doing another check in the Registry Editor.
Cyberark Vault Environment Preparation
Since Cyberark Vault is compatible with Windows Server 2016 and 2019, I then confirmed my operating system. That condition is satisfied since my server is running Windows Server 2019. Third-party apps shouldn’t be on the vault server, so I looked for them next.
I proceeded to apps and Features in the Control Panel and looked over the installed apps to verify this. Everything else was part of the OS itself, with the exception of Google Chrome and AWS components.
Since Cyberark Vault needs to operate in a pristine, isolated environment, it is crucial that there were no antivirus or scanning technologies installed. The two primary prerequisites—installing the.NET Framework 4.8 and making sure no third-party software was installed—were now finished. Nonetheless, the firewall setting is an additional crucial necessity.
The Windows Firewall must permit connection with the Cyberark Vault. I verified the incoming and outgoing rules, enabled connectivity for the vault server, and accessed the firewall’s advanced settings. When the Cyberark Vault is operational, this guarantees seamless communication.
Cyberark Vault System Requirements Verification
After setting up the environment, I double-checked the Cyberark Vault system requirements using official documentation. Since I was installing version 12.1 of Cyberark Vault, I referred to the Cyberark Vault 12.1 system specification guide. It clearly mentioned that the vault requires at least Windows Server 2019 and .NET Framework 4.8, both of which were already set up on my machine.
I also confirmed that the server was not part of any domain. This is a mandatory requirement for Cyberark Vault installation because the vault must not be domain-joined—it should remain in a standalone workgroup setup for security reasons.
To check this, I went to Server Manager, then to Local Server, and confirmed that it showed ‘Workgroup’ instead of a domain name. This means the server setup aligns perfectly with Cyberark Vault installation standards.
Cyberark Vault Installation Process
After completing all the requirements, I proceeded to install Cyberark Vault. I took the Cyberark Vault installation package and extracted the setup files. I found the setup file, “setup.exe,” within the installation folder when the extraction was finished, right-clicked on it, and chose “Run as Administrator.”
As part of its preparatory procedure, Cyberark Vault additionally automatically installs Microsoft Visual C++ 2019 components during installation. For vault services to function properly, this step is necessary. A pop-up message that said, “Setup has detected that the vault is being installed over an RDP session,” appeared while I was keeping an eye on the procedure. If installation is left unfinished, subsequent RDP access to the vault server computer may be possible, thereby jeopardizing vault security.
Since it is preferable to limit RDP access after setup, this is a crucial caution to keep in mind while using Cyberark Vault. In Cyberark settings, the complete installation is classified as an L3-level implementation job. L1 engineers manage administrative duties in professional settings, whereas L3 engineers take care of setup and execution.
One essential step in putting the Cyberark security system into practice is setting up a Cyberark Vault server.
Cyberark Vault Implementation Insights
The Cyberark Vault installation process is comparable to getting a new home ready for occupancy. Cyberark Vault’s environment must be appropriately setup before to real deployment, just as you would make sure there are water and electrical connections before relocating there.
Making sure the firewall is configured correctly, the.NET Framework is installed, and no third-party software is installed is similar to preparing the home. The whole Privileged Access Security ecosystem is strengthened at each stage of the Cyberark Vault installation procedure.
The core of the Cyberark architecture is the vault, which safely stores and safeguards credentials. It is crucial to make sure it is setup correctly because of this. Every aspect counts, from firewall rules to system requirements.
I worked directly on my vault server throughout this setup, making sure that every criterion was met.
The Cyberark Vault serves as the safe foundation of your whole privileged access control system when installation is finished. Carefully following these steps guarantees a successful installation and a solid Cyberark security foundation, regardless of your level of experience or if you’re deploying Cyberark in an organization.
Cyberark Vault Installation Made Simple
I discovered that a solitary installation was the only choice available when I started configuring the Cyberark Vault. Although it isn’t generally advised for use in production settings, it is ideal for laboratory configurations.
So, I confidently clicked through the setup panels and continued with the solo Cyberark Vault installation.
The Cyberark Digital Vault installation location was requested by the setup wizard. I went with the C drive’s default path, but you may browse and choose a different path if you’re in charge of many disks on your server. Using the default location worked nicely for my lab.

CyberArk Training
Cyberark License and Operator Key Setup
I was then requested by Cyberark to find the license.xml file. I swiftly proceeded to the setup files folder on my C drive, where I had previously put it.
It then requested the Operator CD path.
The operator keys are kept here, once again in the setup files directory. After making sure the location was correct, I extracted the required files and carried on installing Cyberark. Because Cyberark employs these operator keys to control administrative access and secure communication, they are crucial.
Double-checking the folder locations before continuing will help you avoid installation difficulties later if this is your first time.
Cyberark Remote Control and Hardening Decisions
Cyberark asked whether I wanted to configure the Remote Control Agent during setup. Since remote control access is often not desirable unless it’s a regulated production configuration, I avoided this for my lab environment. Although Cyberark offers flexibility in this regard, I usually advise minimizing needless access.
The Cyberark Vault might then be made harder. By turning off unnecessary services, preventing RDP access, and limiting a number of processes, hardening the system improves security. However, I decided not to harden the vault since I was operating this in a lab environment.
However, Cyberark hardening is required in a real business to guarantee compliance and security against unwanted access.
Cyberark Installation and Service Setup
Cyberark started installing all required parts, such as internal services that power the vault and private database services, once I verified the selections. I saw as the installation generated a Cyberark Vault user account named “master.” The procedure was simple.
In Cyberark, this master account serves as the super administrator and ought to be utilized only in dire circumstances. In addition, an administrator account is created for day-to-day administration.
This difference is crucial because Cyberark protects privileged accounts by enforcing stringent control over who may access what.
Cyberark User Roles and Best Practices
I was reminded throughout the master account creation process how important it is to keep the administrator and master passwords distinct. To guarantee improved security hygiene, Cyberark highlights this. Reusing passwords between jobs is a serious danger in real-world Cyberark scenarios and should be avoided.
Cyberark requested that the system be restarted when the installation was finished. I made sure nothing was banned by my firewall rules before resuming. I could safely restart the server since I hadn’t hardened the vault and my firewall settings were unaltered.
Cyberark Vault Access and Firewall Behavior
I restarted and used Remote Desktop to connect to my Cyberark Vault server. A successful installation was confirmed by the appearance of a new Cyberark Vault icon on the desktop. The Cyberark Server Center showed that the vault was operational when I opened it.
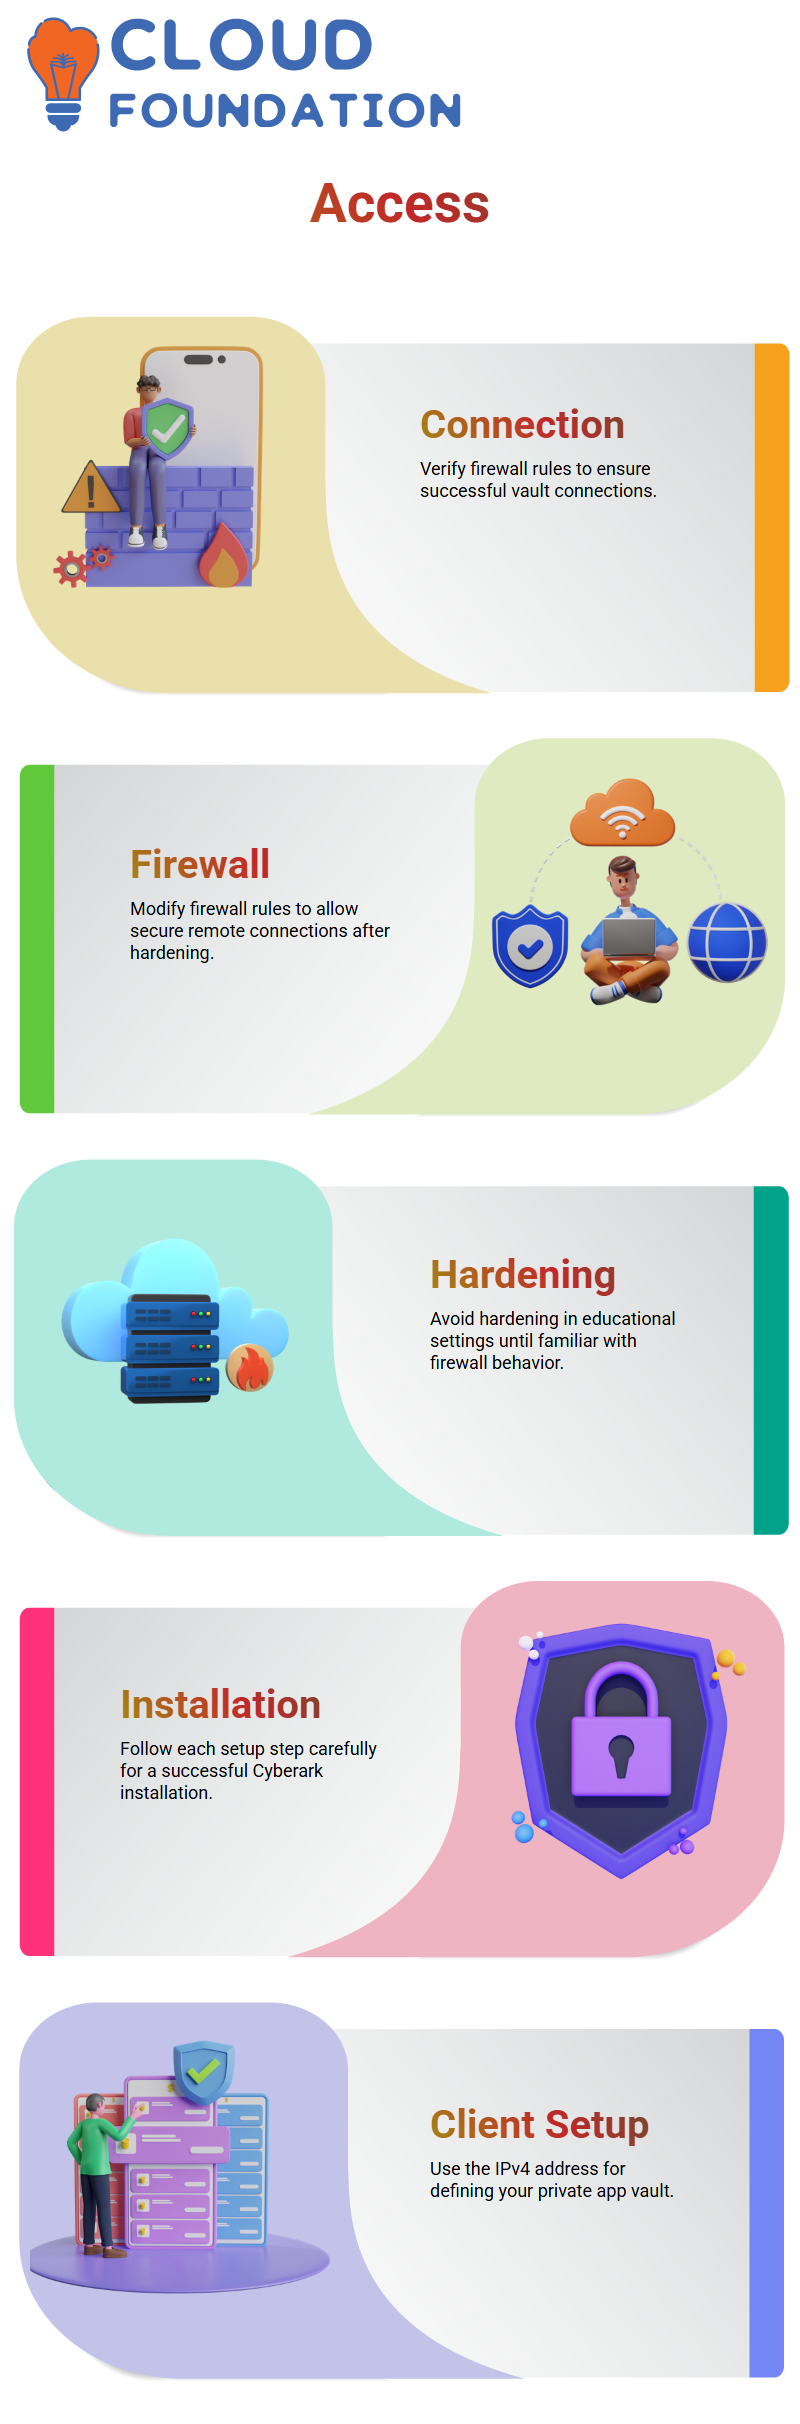
I remembered a time when the system was hardened and the firewall rules weren’t changed, which prevented the vault from connecting. All incoming connections functioned flawlessly this time as I had omitted hardening. One important lesson from Cyberark is to carefully check firewall rules before moving forward, even if your vault is protected.
Cyberark Troubleshooting and Practical Insights
I assisted a student who was having trouble getting in after hardening the vault during one of my previous Cyberark lab sessions. RDP and all other remote connections were prohibited by the firewall.
The IT staff just needed to modify the incoming firewall rules to permit secure connections once again.
Because of that experience, I often warn students that although Cyberark hardening is essential for business installations, it is best to forego it in educational settings until you have a firm grasp on how the Cyberark Vault interacts with firewall and network settings.
You may safely experiment with more complex Cyberark settings once you feel comfortable doing so.

CyberArk Online Training
Cyberark Installation Recap and Key Takeaways
At this point, my Cyberark Vault was operational. The administrator and master accounts operated as they should have, and I could see that every Cyberark service was operating correctly in the background.
The installation procedure reaffirmed how important it is to comprehend every Cyberark setup step.
The correct folder directories, operator keys, and hardening settings are crucial whether you’re installing Cyberark in a lab or a production setting. At first, Cyberark could seem complicated, but with practice, it becomes instinctive.
Cyberark Client Installation
Allow me to guide you through the Cyberark client installation process. Find the client version RLS 12.1 setup file first. Use the right-click menu to choose “Run as Administrator.” To prevent conflicts, please sure to shut down any other applications before beginning the setup.
Enter your information, accept the licensing agreement, and follow the instructions. Click next since the default route is ideal when the setup asks for an installation path.
Choose ‘Typical Installation,’ which is the installation style that most users are advised to choose.
You will be prompted to define your first private app vault once the client has been deployed. Your Cyberark vault server’s IP address is needed for this step.
I normally use the private IPv4 address when I run ‘ipconfig’ on my computer to locate this. For emergency access, choose the administrator user as your master user and paste this URL when requested.
Cyberark Vault Setup
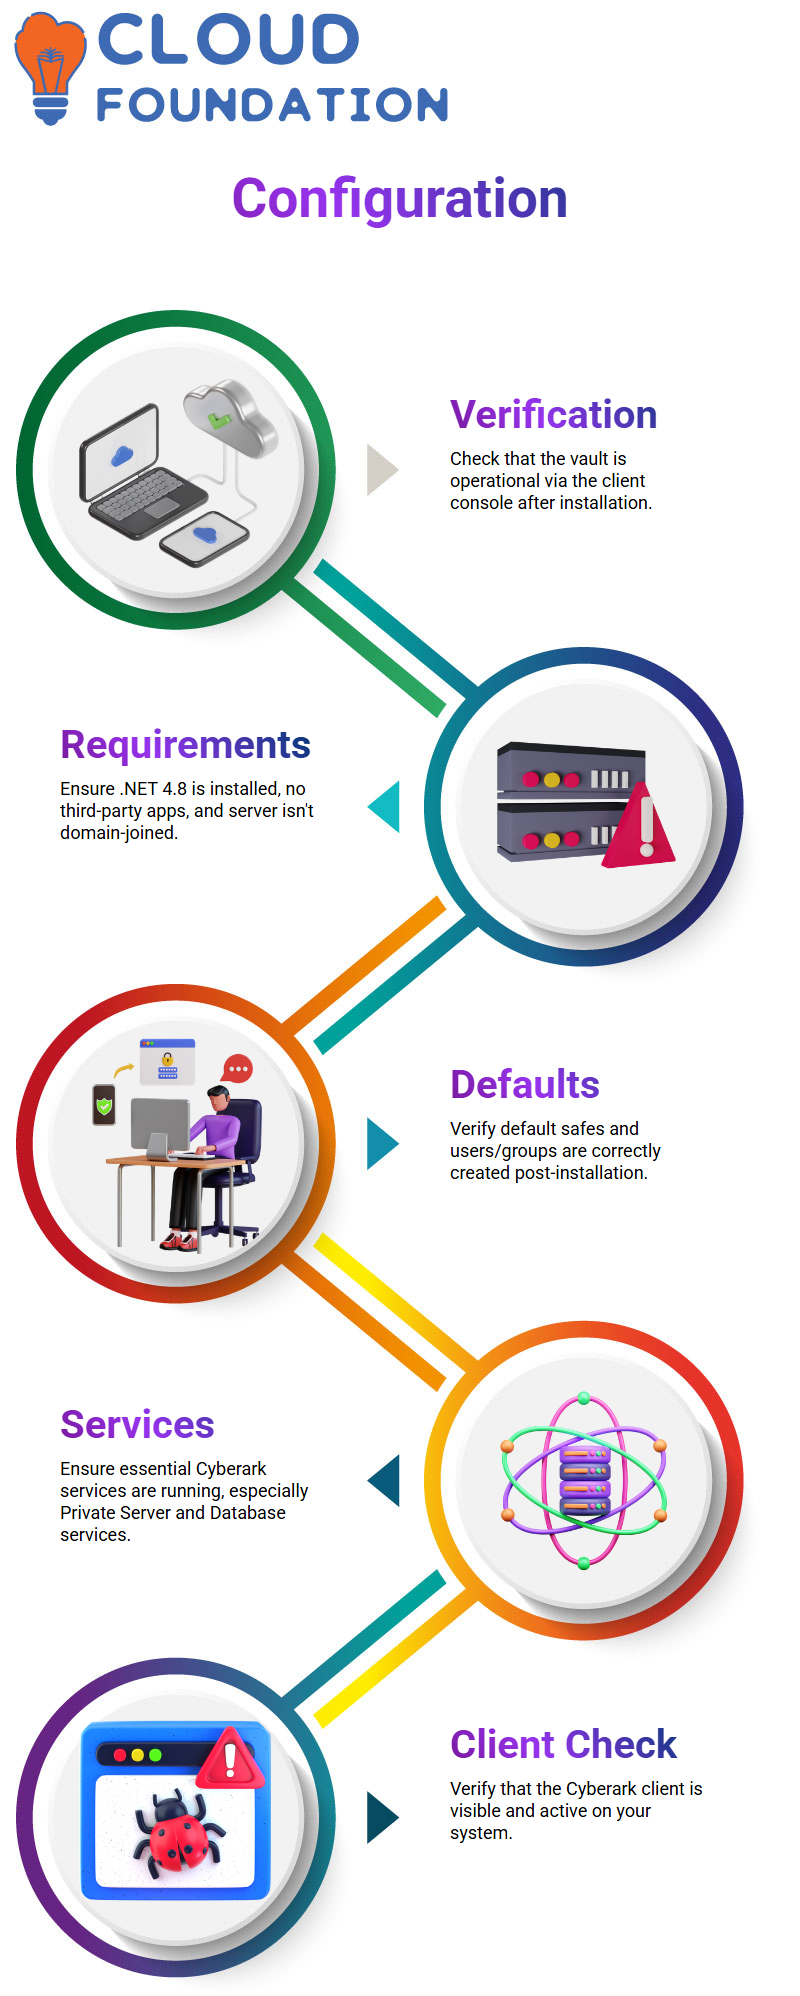
Verify that the vault is operational after installing the Cyberark client. Launch the vault console, which is a client-side representation of the Cyberark vault.
To access the vault, log in using your admin credentials.
As you install PVWA and other Cyberark components, additional functionality will show up in the console, which will initially seem empty.
Keep in mind the following three requirements while setting up your vault: the server has to have.NET 4.8 installed, no third-party apps should be running on it, and the server shouldn’t be a part of any domain.
By doing these, you may be confident that your Cyberark vault will function well.
Cyberark Default Users and Groups
Three default safes—Notification, System, and Vault Internal—are automatically created by the system once the Cyberark vault is installed.
Verify that they are there. Additionally, go to Tools > Administrative Tools > Users and Groups to verify the default users and groups.
Users are represented by single-headed icons, whereas groups are represented by multi-headed symbols.
Cyberark Services Overview
Five essential services are also set up during the Cyberark vault installation. These consist of the Private Database Service, Private Remote Control Agent, Cyberark Event Notification Engine, Cyberark Logic Container, and Private Server Service.
These services guarantee the proper operation of your Cyberark vault. The Private Server Service is worth mentioning. For the vault to function, it has to be operating. The Private Database Service, which depends on the Cyberark Logic Container, is necessary for this service to function.
The Cyberark database’s segmentation is controlled by the Logic Container. Your Cyberark vault’s core is made up of these three services.
Cyberark Client Verification
Make that the Cyberark client is operational and visible on your PC after installing the client and vault. To make sure the vault is operational, open the console. You can observe active services, safes, users, and groups via the client, which acts as a window into the vault.
Always make sure that no users or default services are absent. This lessens the possibility of future problems with Cyberark’s operations.

CyberArk Course Price

Navya Chandrika
Author