A Beginner’s Tutorial on how to import data into Salesforce
Intro to Salesforce Data Import
Learning how to use Salesforce can be challenging, as it is a highly complex process; however, once you become familiar with it, controlling data will become a breeze.
Today, I’ll show you step by step how to import data into Salesforce, making it easy to work with records.
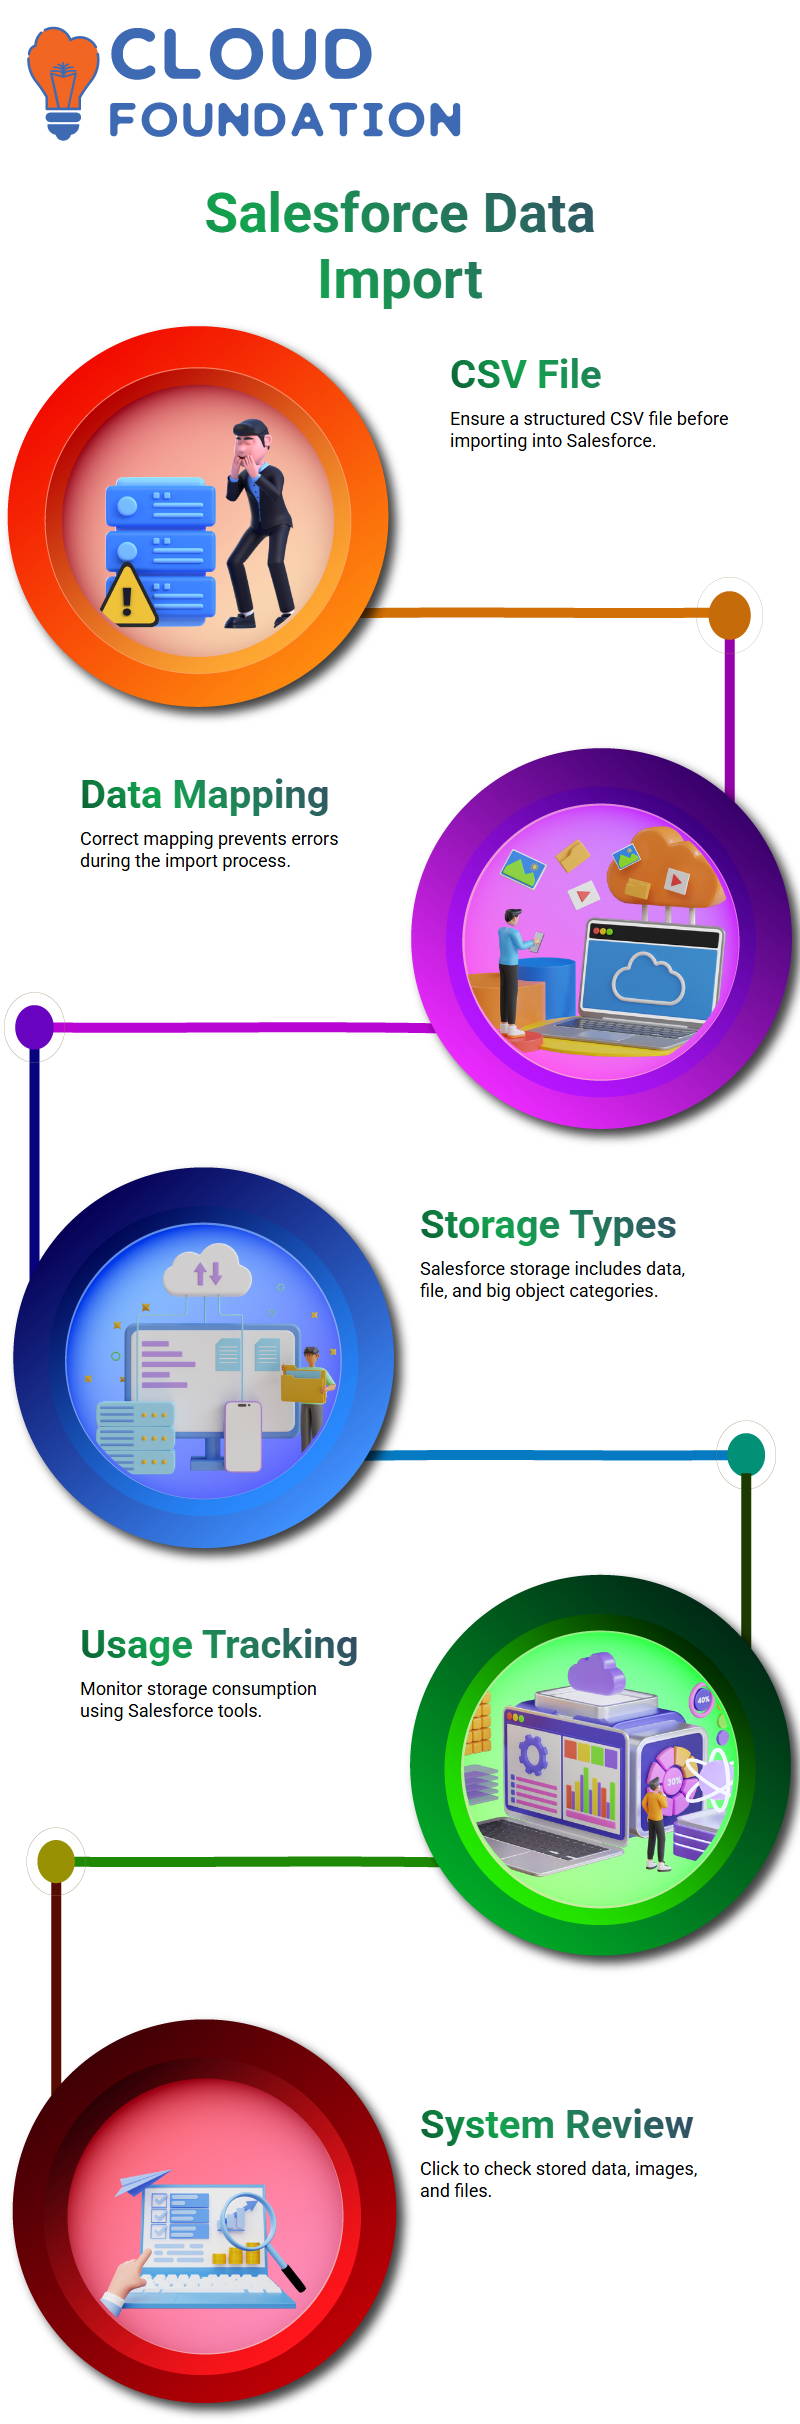
The first step in the Salesforce data import process is to ensure that you have a well-structured CSV file. We then choose the required regions, delete the redundant columns, and adjust the set to our needs.
This reject only tolerates data that is correctly mapped in Salesforce, but also prevents errors during data import.
Storage in Salesforce
Salesforce provides a straightforward way to monitor your storage consumption. Perhaps you have always wondered how much of it you are capitalising on, and what else could be utilised in the future?
Answers to these and other questions you may have concerning your data are available through the Salesforce system.
Each of your storage parts is easily visible. Your company’s storage is divided into data storage, file storage, and big object storage categories, a strategy that can help you manage your organisation in Salesforce.
Click the button to review your data, images, and other files. Your fulfilled usage information will then be added to the system.
Send Records in Salesforce
Have you ever been required to relocate the account ownership in Salesforce? Let’s assume that Sharon is securing a new position within your company, and she needs to have her data sent to Vinay.
Here is where the Mass Transport tool in Salesforce proves quite handy.
With just a few mouse clicks, you can complete the account transfer, review available opportunities, and transfer ownership smoothly. Salesforce offers filtering solutions that enable you to easily categorise data for sending and maintaining control at every step.
![]()
Managing Opportunities in Salesforce
The process of managing opportunities in Salesforce is speedy and competent. You can easily find and review opportunities, check their status, and modify them as needed.
Do you want to reassign the Ownership right? Salesforce is designed to provide the necessary functions for the account that is intended to be responsible, and also to enable the transfer of ownership with just a few clicks. By simply refreshing the page, the opportunity is now in the hands of the new owner. Waving a magic wand could do no finer.
Data Deletion of Salesforce
Salesforce is a big fan of the data a user has, remarkably, when it comes to its deletion. It is a well-known fact that deleting all data is challenging and requires considerable effort to remove all data related to your organisation. The system was about to permit users to proceed with their tasks with a warning that the action would be irreversible.
Even if removing some data is always the best idea, in some instances, such action may be imperative. If the situation changes, the procedure will be carried out safely and efficiently by Salesforce.
State and Country Configurations in Salesforce
Salesforce is a significant help in configuring setups for states and countries.
When a nation is chosen, its related states are immediately shown, resulting in the easiest data input.
Through cascading picklists, Salesforce builds a hierarchy of parent-child relationships, where countries are the parents, states are the children, and cities are the subcategories. This structural approach makes data picking easy and hassle-free.
Picklist Settings in Salesforce
Salesforce offers empowered picklist settings that simplify data administration.
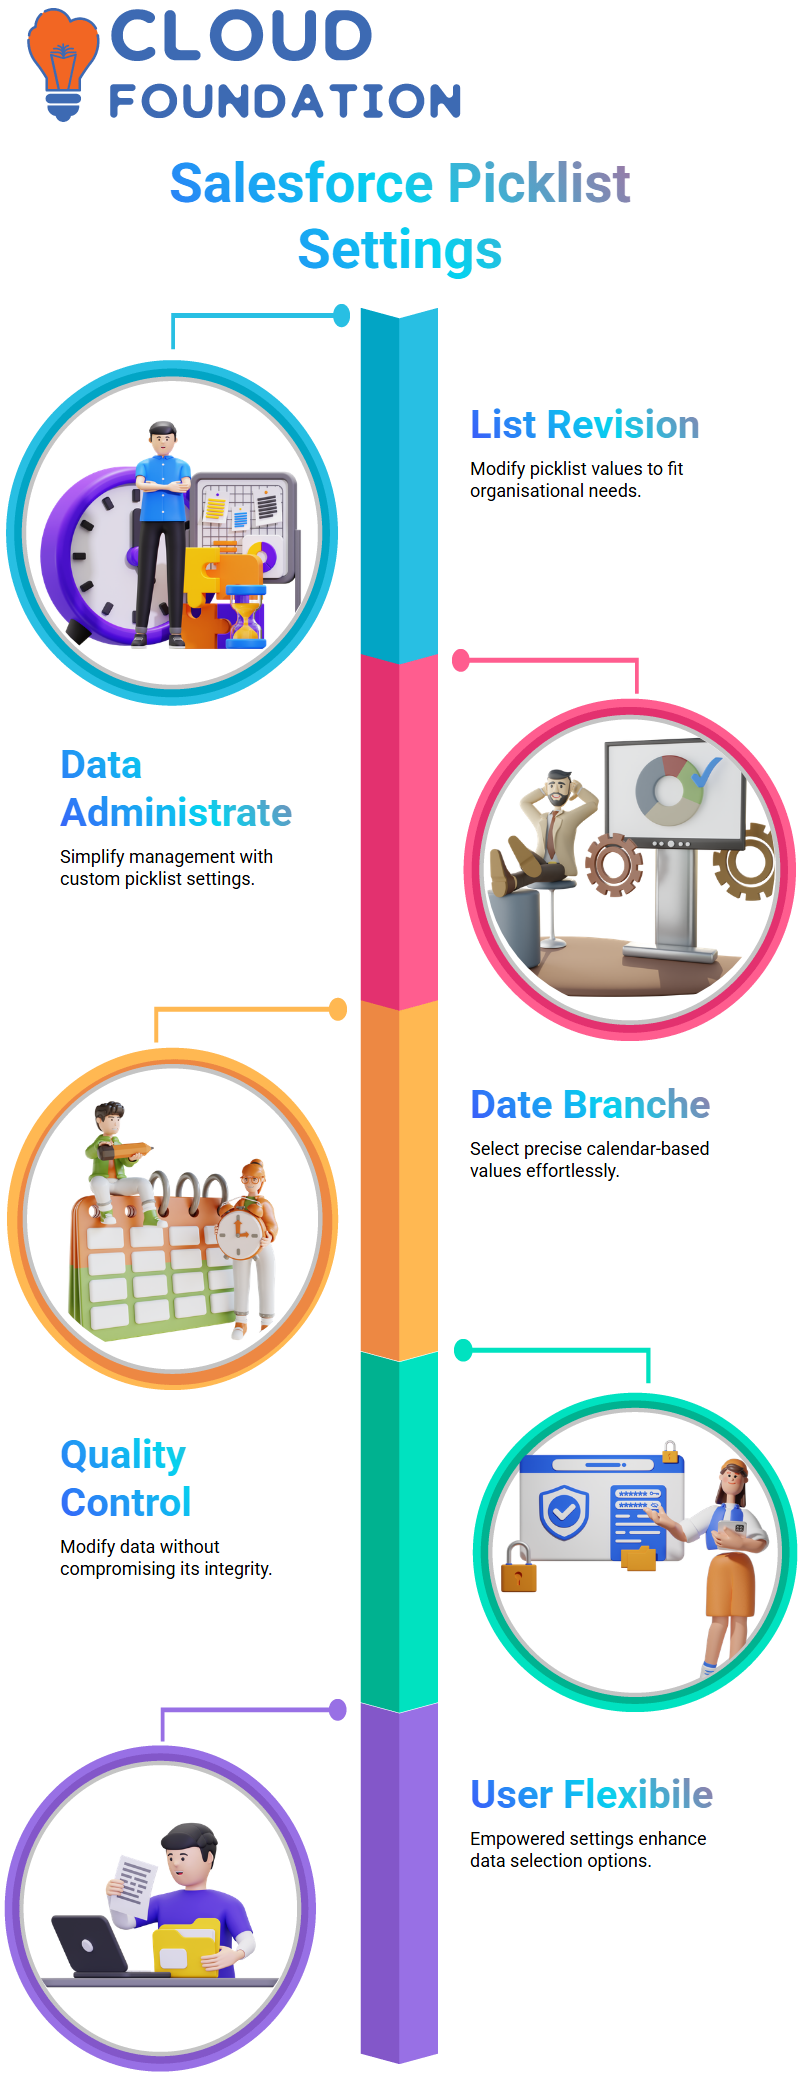
By modifying the picklist selections, the users can revise list values to the needs of an organisation.
Moreover, the solution includes date branches, which provide users with the option to select the exact calendar-based values. They provide users with the capability to modify data without compromising data quality in Salesforce.

Salesforce Training
Salesforce Date Disciplines
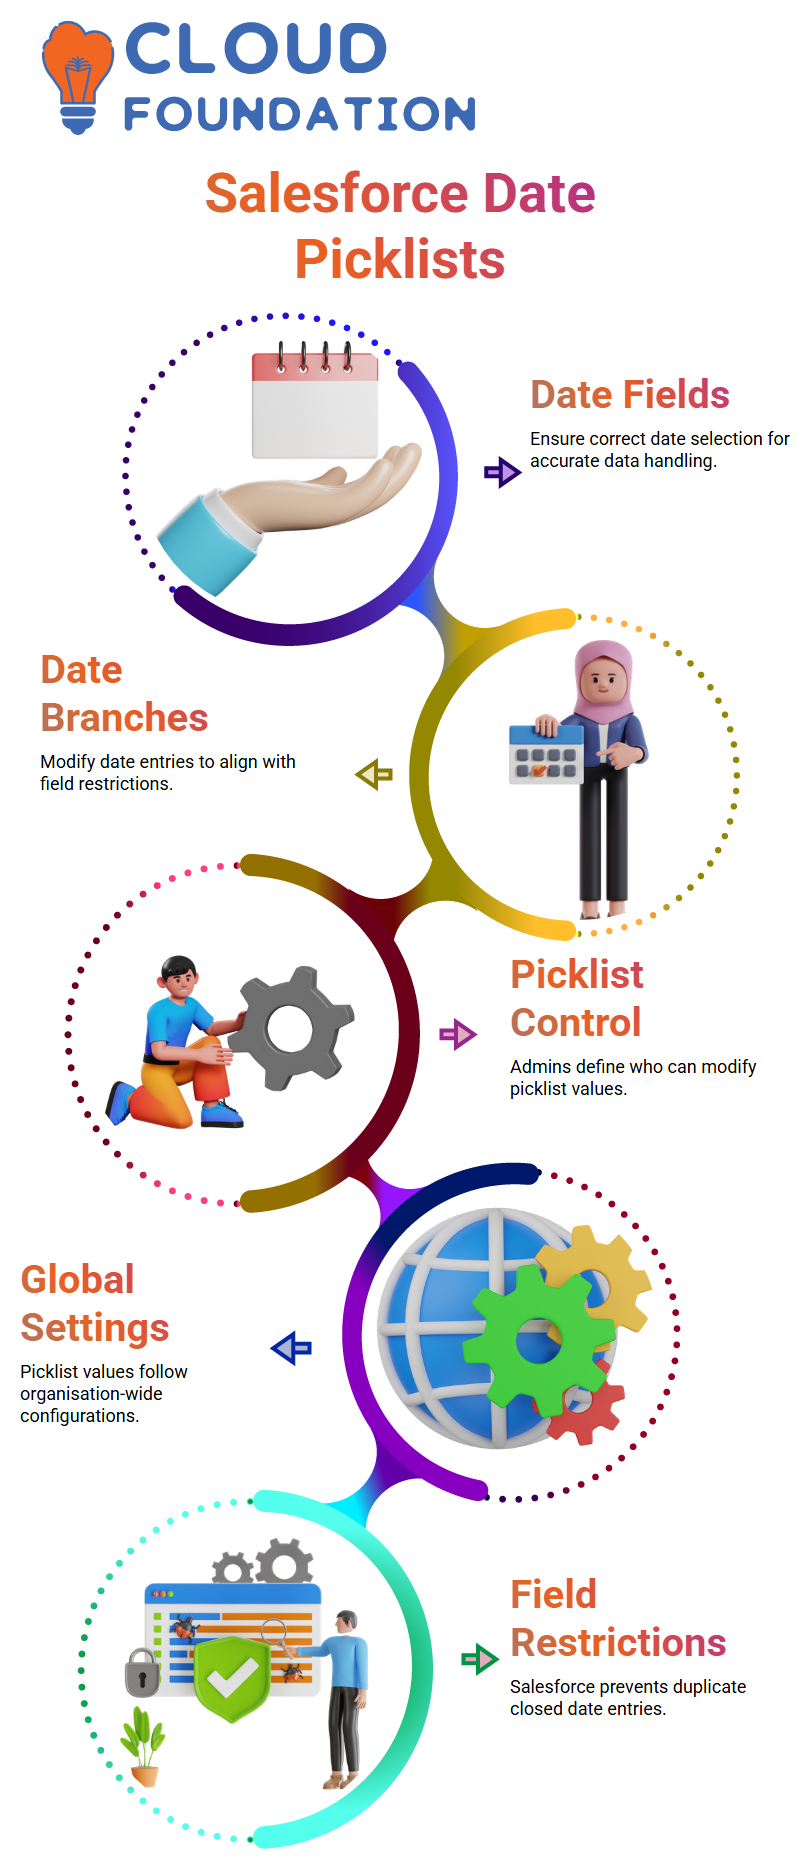
Selecting the correct date field is crucial during your time in Salesforce; this is undoubtedly the case.
If you have selected a date, e.g., 31/10, and it’s already in the closed date field, Salesforce will refuse to allow it to be there again, as it’s already in the field.
However, don’t worry; you can always change by selecting other numbers, such as 1, 2, or even 10. That’s how date branches in Salesforce work.
Customising Picklists in Salesforce
The norm configuration of picklists in Salesforce revisions the organisation as a whole. Unlike standard lists, picklist values aren’t assigned directly in the regular lists, but the settings themselves dictate their etiquette across the globe. Some setups are limited, meaning the admin determines who can access and modify picklists in a client’s organisation.
Schema Settings and Metadata in Salesforce
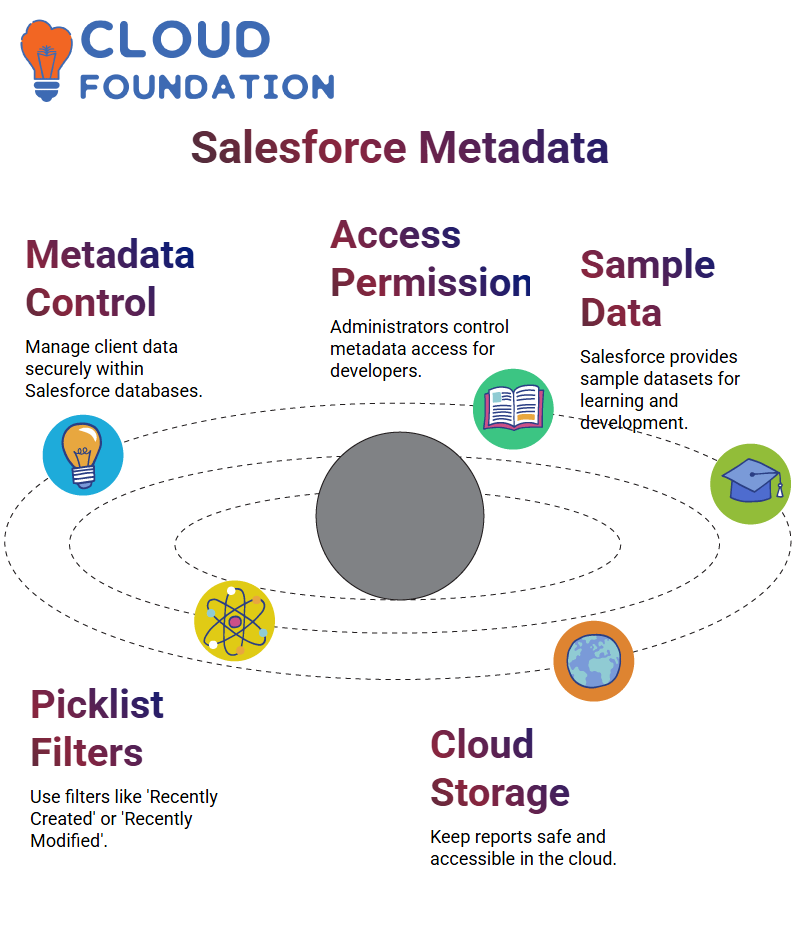
Schema settings in Salesforce are constraints for ceremony metadata types. Metadata is akin to a sample database, comprising client data that is imported into Salesforce. It is an indispensable part of the development process, as developers will either use existing metadata or import new datasets from the client, ensuring the correct establishment of Salesforce databases.
One way to properly oversee data is to control access to metadata through schema settings in Salesforce. For example, there may be developers who require restricted access due to their mandates. The administrators can operate this by authorising or denying permissions, thereby keeping the reports safely in the cloud and ensuring the project’s needs are satisfied.
Sample Data in Salesforce
Salesforce provides several samples of data for companies to learn and develop their work processes, allowing you to see exciting ventures and leads that representatives have recently viewed. Picklists with different filters like ‘Recently Created’ or ‘Recently Modified’. This metadata does not, to the nucleus, reveal how real-world Salesforce implementations operate.
Address Updates in Salesforce
Salesforce mass address updates are a quick way to uniform the zones that belong to different records e.g. contacts, leads, orders, and assets This step is vital when territorial partitions are on the move, as was seen in the Andhra Pradesh and Telangana split in 2014, safeguarding that the locations in Salesforce represent the explicit state and country details validly.
Data Management in Salesforce
Salesforce simplifies data management by providing schema settings, metadata access controls, and bulk data capabilities.
By adjusting date specialities and refining metadata, administrators and developers are responsible for managing high-quality data in Salesforce, which is open and valuable for business purposes.
Salesforce is a platform that requires effective data management, without a doubt. In our case, using CSV file formats with relatively large records to be fed into the system is a standard practice. The knowledge of this process assures that we are confident in data administration.
To get started, we must locate a completely formatted CSV file that contains all the required data.
In other words, this file contains essential details, including names, email addresses, and phone numbers. Checking the data exactness before uploading to Salesforce eliminates mistakes in the future.
Exporting Data in Salesforce
Salesforce can utilise the data export tool to download data easily. The Data Management tab, located under Setup, features an export solution that enables users to export data quickly.
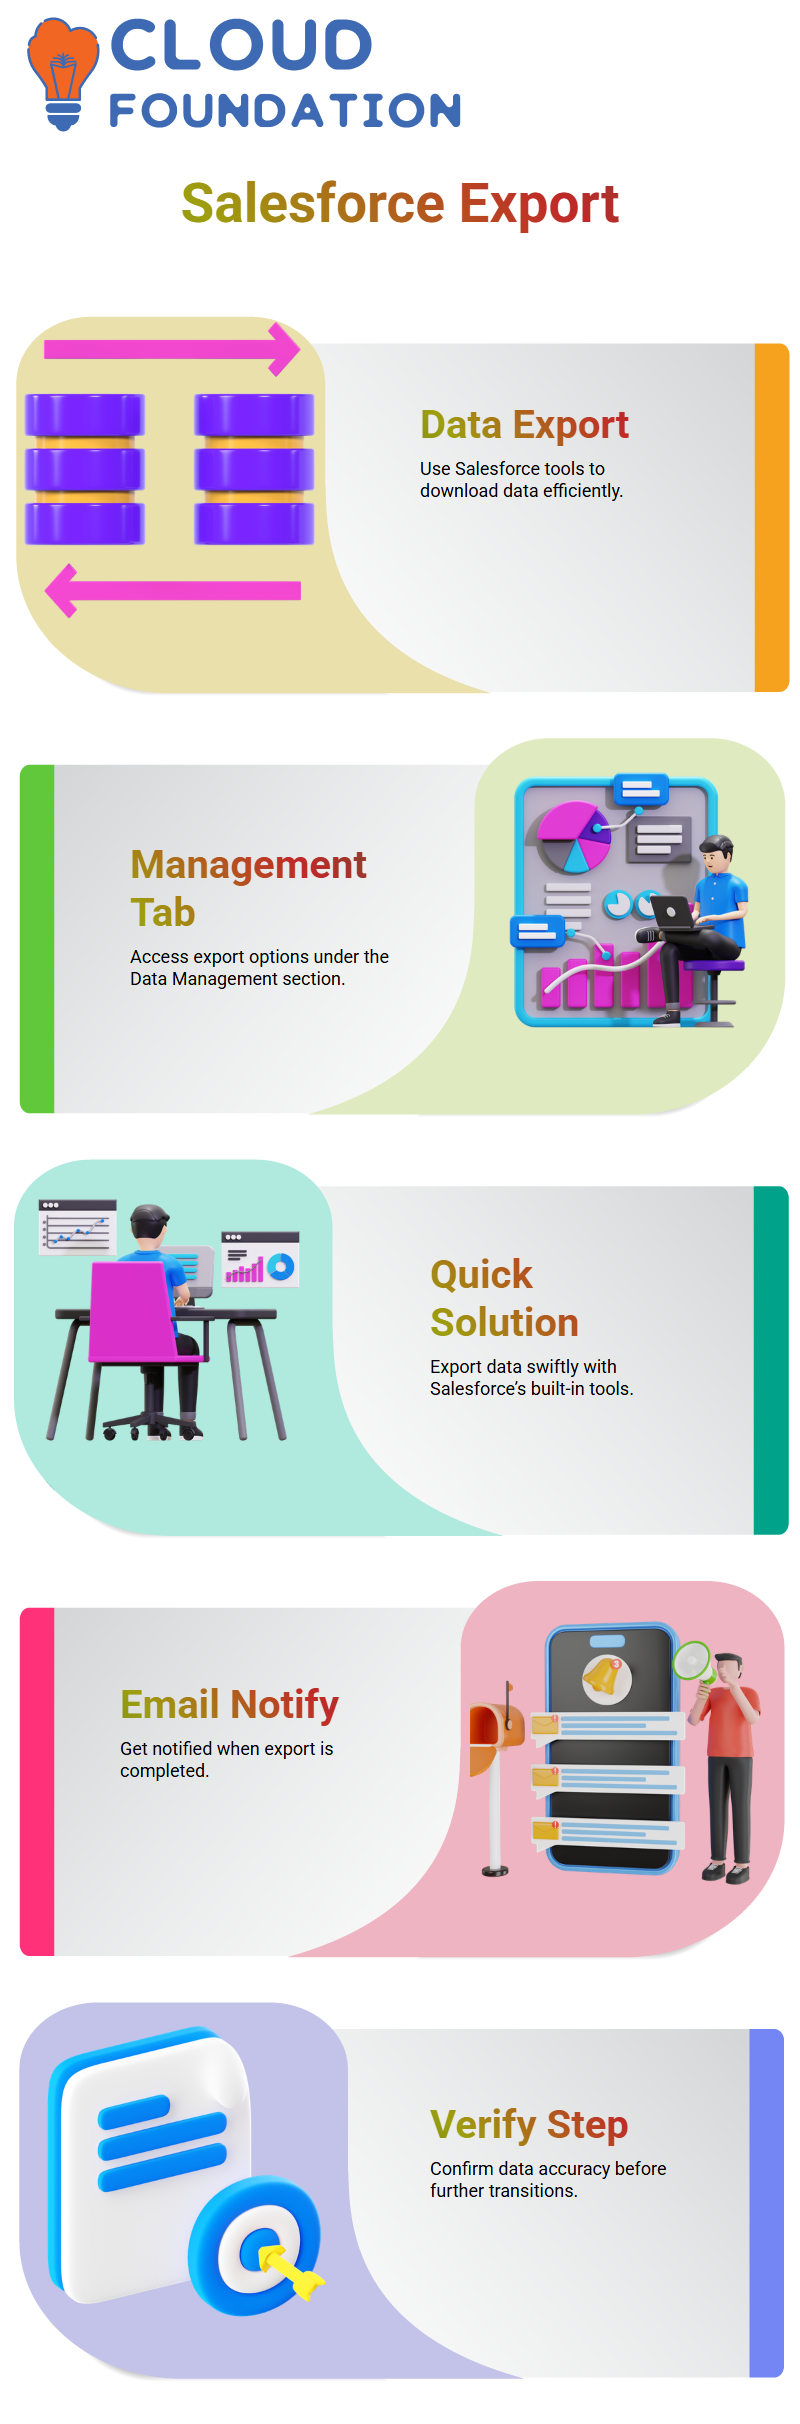
When the export from Salesforce is finished, the system sends an email notification. This is to ensure that we receive confirmation of the exported data and can verify its details before any transitions occur.

Salesforce Online Training
CSV File for Import in Salesforce
After obtaining your data from Salesforce, the most crucial step is to clean the CSV file by removing unnecessary columns.
You don’t need it, and the fulfilment of all the required categories can no longer be built faster than with four hands.
From the doorstep of Salesforce, upkeeping the proper layout of a CSV file is an inevitable step. Earning rid of the territories between commas, lack of data, and repetitive entries can be avoided by the import process.
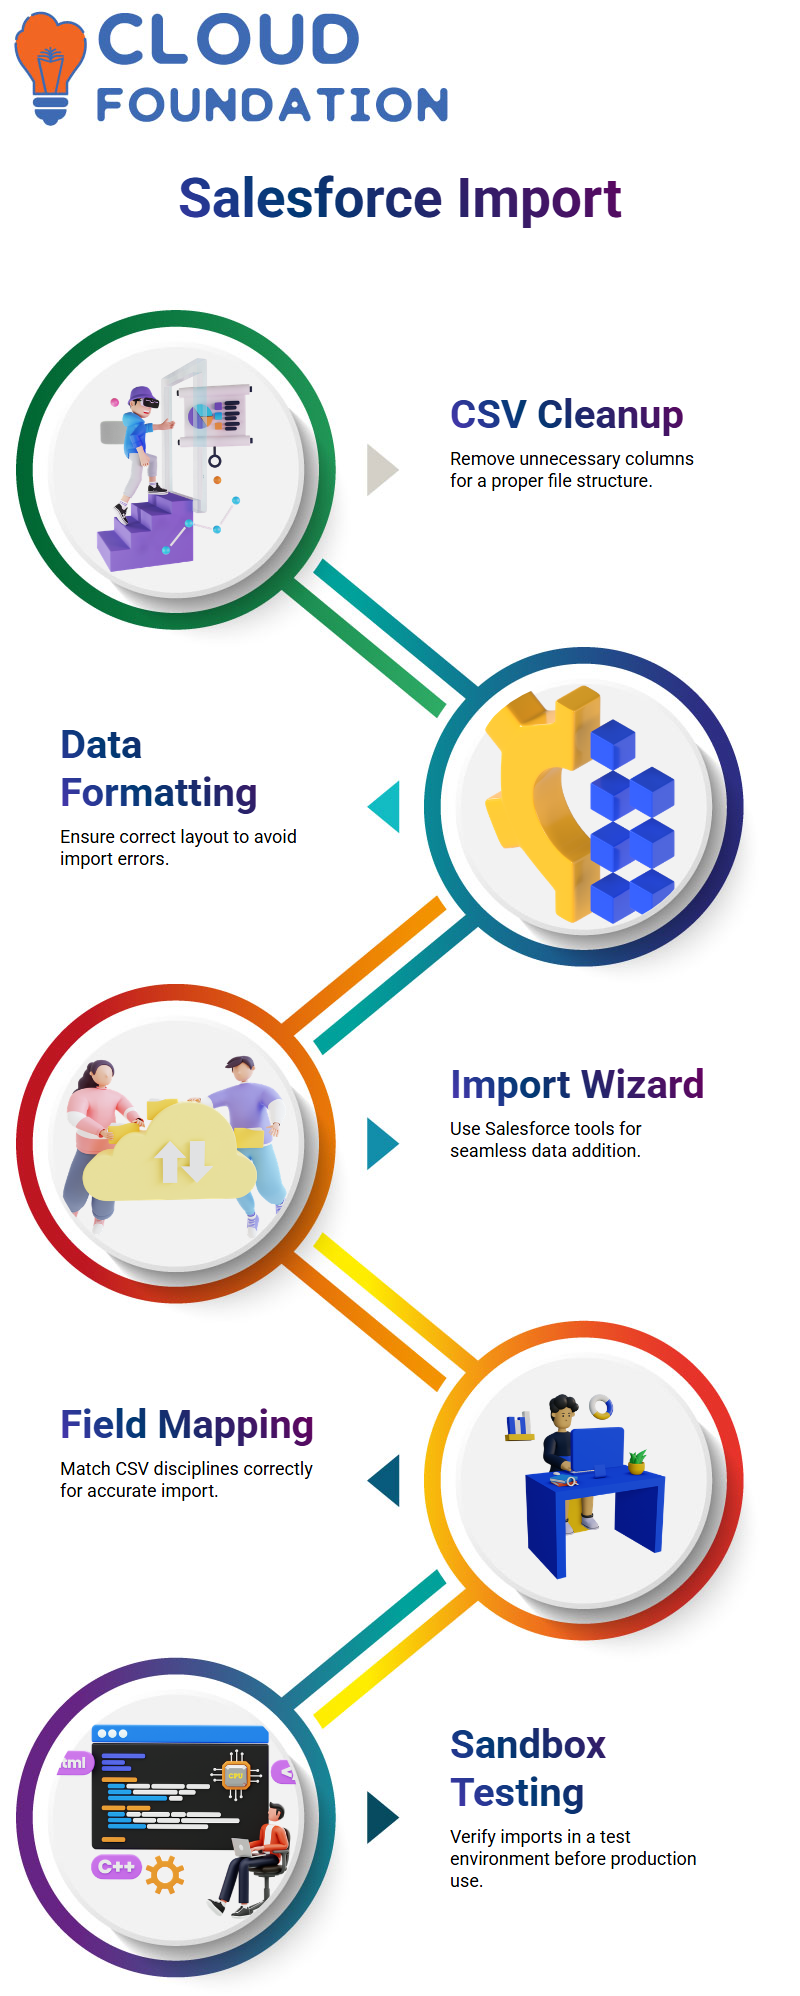
Importing Data into Salesforce
salesforce.com’s import wizard helps to add new datasets in a hassle-free manner
When the correct file is selected and the domains are mapped correctly, the import process confirms truthful entry of the data
It’s an imperative task to map disciplines from the CSV file to Salesforce. Salesforce provides a sandbox and production environment to safely test and confirm the import before using it in the production system.
Post Data Entry in Salesforce
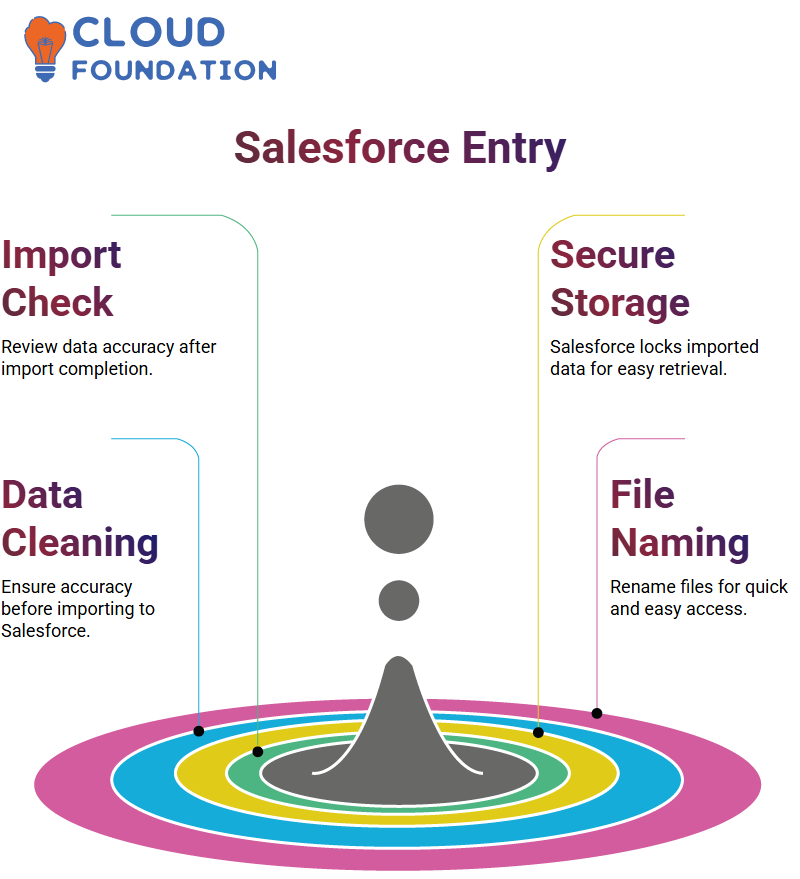
Once the data has been imported, we receive a notification indicating whether the data import was successful or not. In the meantime, this allows us to review all data entries and ensure that the correct mapping was done.
Salesforce provides a secure and locked storage space for the imported data, making it easy to retrieve later. The use of these processes guarantees smooth data management in Salesforce.
Cleaning and Formatting Salesforce Data
Please note that before importing the data into Salesforce, it must be clean and accurate.
I always ensure that I rename email templates correctly, eliminate redundant columns, and refine department details to ensure accuracy. This ensures that only the necessary data is stored, and Salesforce’s data management is progressively optimised.
After the formatting is fixed, I rename the file with an obvious name for quick and easy retrieval. So, when I start the import wizard, I can promptly locate and use the file, which is imperative without being confused.
Mapping in Salesforce Import Wizard
The exact matching of data regions is a notable step in Salesforce. Through the import wizard, I perform matching of domains, such as name, email, address, and other vital statistics, to ensure they are directed to the correct destination.
Whenever any specialities are not matched, I review each of Salesforce’s predefined mapping options very slowly and with great care.
This is to help ensure that the data is input effortlessly and that there is no data inconsistency throughout the process.
Finalising Salesforce Data Import
Before importing the data, I ensure that all categories have been correctly mapped. The Salesforce wizard enables me to view the mapped data and make any necessary adjustments before importing it.
With everything okay, I click on the ‘Start Import’ button and wait for Salesforce to process the records.
Once done, I can double-check the newly imported data by reviewing individual contacts and accounts to verify that everything is in the correct place.
Existing Records in Salesforce
In case I need to alter the existing data at any time, the system provides a way for me to update it instead of adding new data.
This attribute ensures that customer details are kept up to date uniformly, eliminating data duplication.
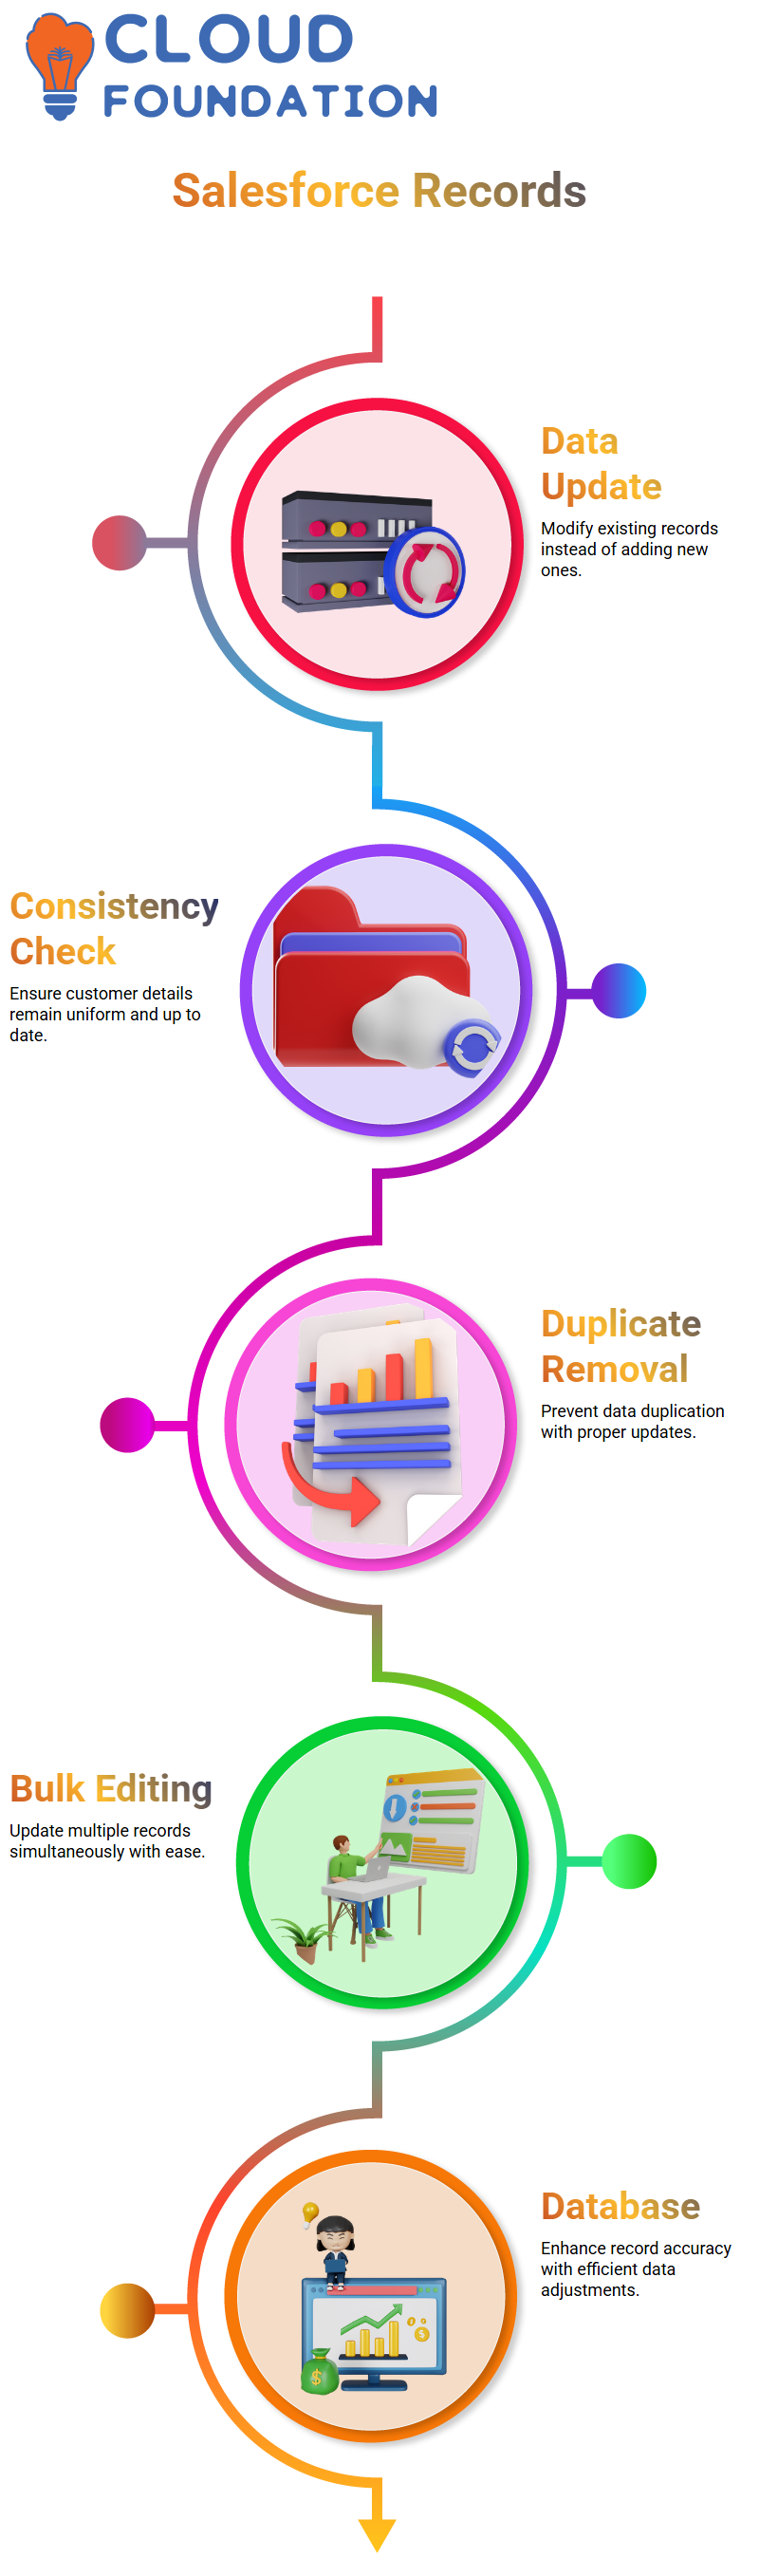
If I choose ‘Update Existing Entry’ in the Salesforce import wizard, I will ensure that the previous records are updated with new evidence.
This aspect simplifies the task of updating multiple documents simultaneously, thereby enhancing database management.

Salesforce Course Price

Navya Chandrika
Author