Pega CSA Features & Techniques | Pega CSA Essentials
Understanding Pega CSA Decision Trees and Tables
When working with Pega CSA, understanding decision trees and decision tables is crucial. These structures help define logic conditions, ensuring streamlined automation.
A decision tree in Pega CSA functions like nested ‘if’ conditions. Each evaluation leads to another condition or an action, making it a dynamic way to handle multiple rules.
Meanwhile, a decision table simplifies logic conditions by evaluating rows systematically. If the first condition is met, a predefined outcome is returned without checking further entries.
Building Logic with Pega CSA
The Pega CSA platform allows configuration of conditional logic through decision tables and trees. Each setup enhances automation by minimizing unnecessary checks.
For instance, within a Pega CSA decision table, every row represents a distinct condition. If the evaluation leads to a match, the table returns the appropriate response.
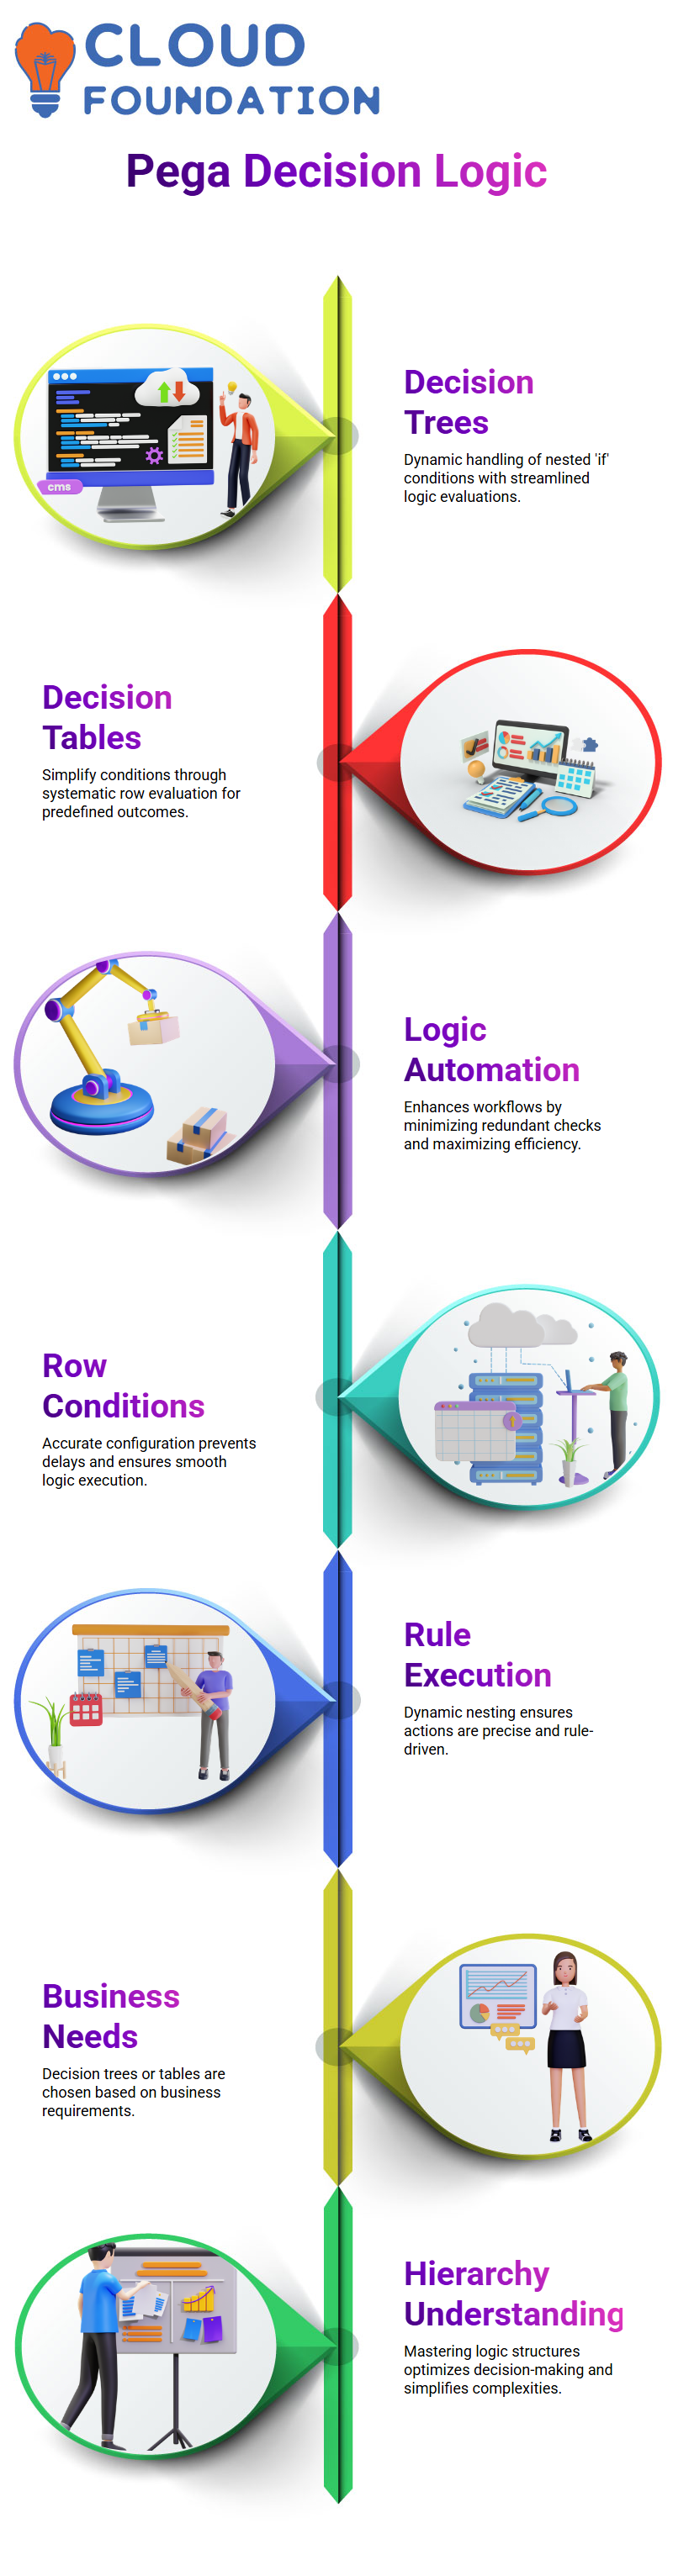
On the other hand, decision trees within Pega CSA allow dynamic rule execution. If conditions nest, subsequent evaluations continue until reaching an actionable outcome.
Pega CSA Implementation Techniques
Using Pega CSA effectively involves understanding the hierarchy of decision trees and tables. Business requirements often dictate whether a decision tree or table is preferable.
When configuring a Pega CSA decision table, ensuring accurate row conditions prevents unnecessary processing delays. Selecting the right logical path streamlines execution.
Likewise, decision trees in Pega CSA enhance control over complex conditions. Evaluating structured steps ensures each action follows a precise, rule-driven flow.
Exploring Key Features of Pega CSA
Hey there! Let’s dive into some fascinating aspects of Pega CSA. I often find myself checking how various functions work within the platform.
To start, you can click on actions and references to explore where specific functions are used across different rules. It’s super handy to see how these are utilized and learn patterns for using effectively in Pega CSA.
While exploring, I recommend focusing on the ‘gear icon.’ It’s your gateway to understanding how rules are implemented. Clicking the pencil icon instead of the rule on the right opens up another layer of insights into Pega CSA functionality.
You’ll notice functions like px GetStuck being applied along with decision tables it’s all about figuring out how to integrate these into your rules efficiently.
Mastering SLA Concepts in Pega CSA
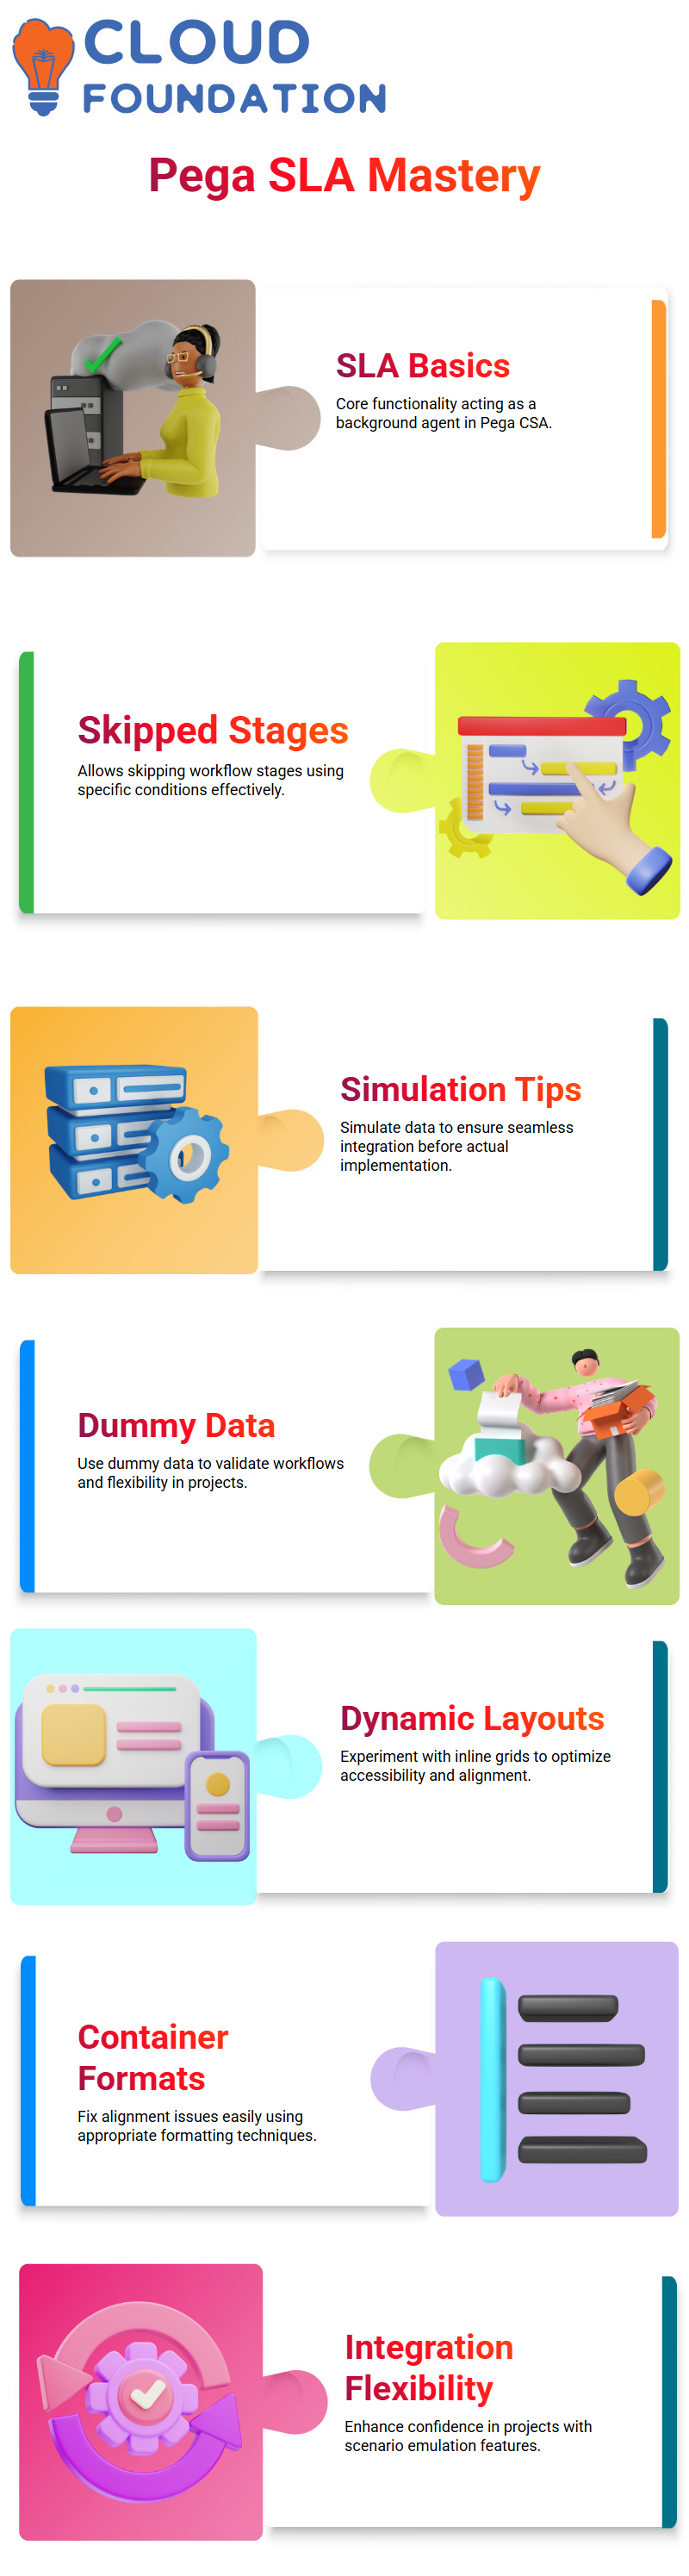
Now, let’s talk about SLA (Service-Level Agreements). Did you know that SLA functions as an agent in the background? It’s a core part of Pega CSA, and understanding its basics is essential.
You might face questions on SLAs in your Pega CSA exams, but don’t worry; tracing and applying SLAs is simpler than you think!
Another cool feature in Pega CSA is the ‘skipped stage’ concept. This feature allows you to skip certain workflow stages specific conditions. It’s such a neat trick that makes managing flows much more streamlined.
Using Simulation in Pega CSA for Seamless Integration
Here’s a tip for working with integrations. If your external application, like a weather API, isn’t ready yet, you can simulate data within Pega CSA.
It’s a clever way to display dummy data and ensure everything works perfectly before the actual integration happens. This ability to emulate scenarios gives you a lot of flexibility and confidence while working on your projects.
Achieving Accessibility and Alignment in Pega CSA
Accessibility is another area where Pega CSA shines. For instance, when setting up a dynamic layout, you can opt for options like inline grids double or triple.
I noticed that alignment might sometimes look off, but that’s easily fixed with container formats. It’s all about experimenting and finding what works best for your requirements.
Exploring Mobility and Administrative Features in Pega CSA
Mobility features in Pega CSA are worth checking out too. If you navigate to the design studio and switch to administrative options, you’ll find interesting concepts tied to mobility.
Even though it’s not always prominently highlighted, exploring these features offers a high-level understanding that enhances your usage of Pega CSA.
Understanding Pega CSA Flow Types
In Pega CSA, we work with two primary types of flows: screen flows and process flows. Screen flows provide flexibility, allowing users to navigate forward and backward within a given screen.
On the other hand, process flows enforce a linear progression you move forward from start to finish, with no option to return to previous steps.
Flow Actions in Pega CSA
Flow actions are integral to Pega CSA workflows. In process flows, flow actions reside within the connector shapes, ensuring a structured movement from one step to the next.
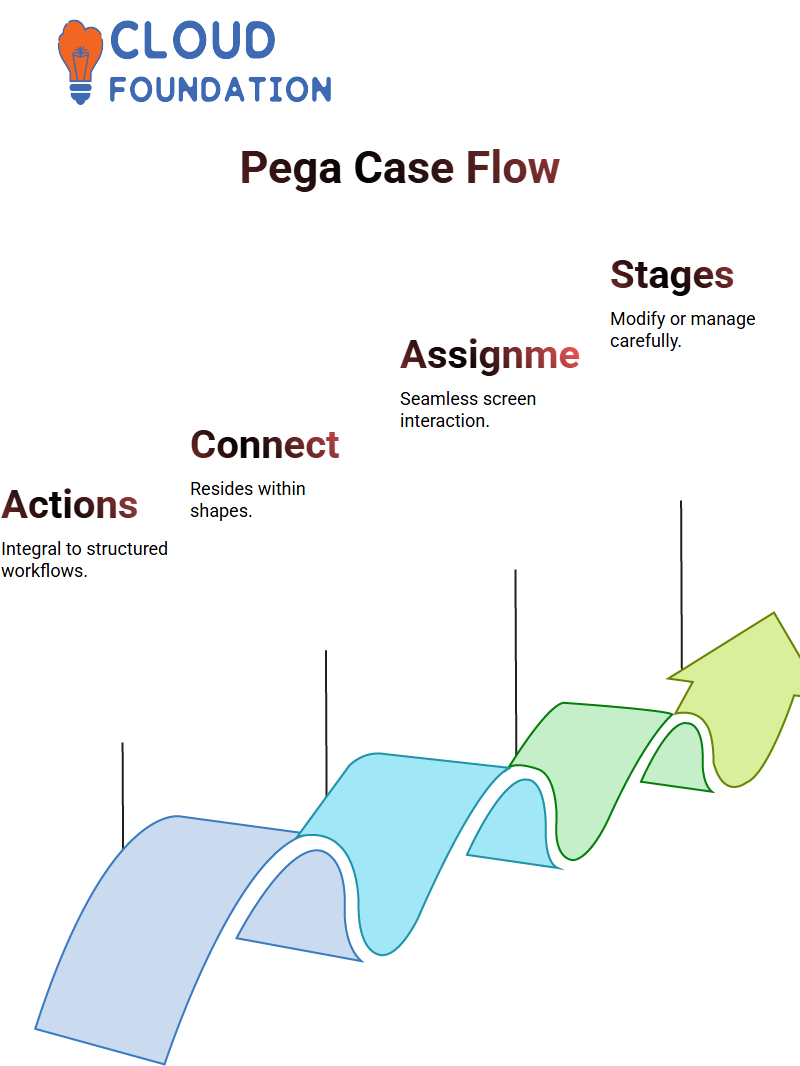
Meanwhile, screen flows embed flow actions in assignment shapes, maintaining a seamless interaction within the screen.
Navigating the Pega CSA Case Lifecycle
When working on a case in Pega CSA, the order case type plays a crucial role. After initiating a case, modifications can be made by adjusting stages and settings.
For instance, clicking on ‘collect information’ within the process lets users refine data collection .
Adding or removing a stage within the Pega CSA case lifecycle requires careful management. In certain versions, deleting an initialization stage may not be possible, necessitating a workaround by dragging stages or modifying settings.

PEGA Training
Configuring Processes in Pega CSA
One essential feature in Pega CSA is the ability to define process initiation conditions. If a process is set to ‘never start,’ it won’t launch until directed to move to the next stage.
This ensures structured execution and prevents unwanted triggers.
To test changes, creating a new case in Pega CSA and running various workflow configurations helps verify adjustments. Refreshing the workflow and checking lifecycle stages ensures proper case flow.
Understanding Pega CSA Case Creation
Creating and managing cases in Pega CSA is an essential part of workflow automation. If you’ve ever wondered how processes initiate and progress through various stages, you’re in the right place.
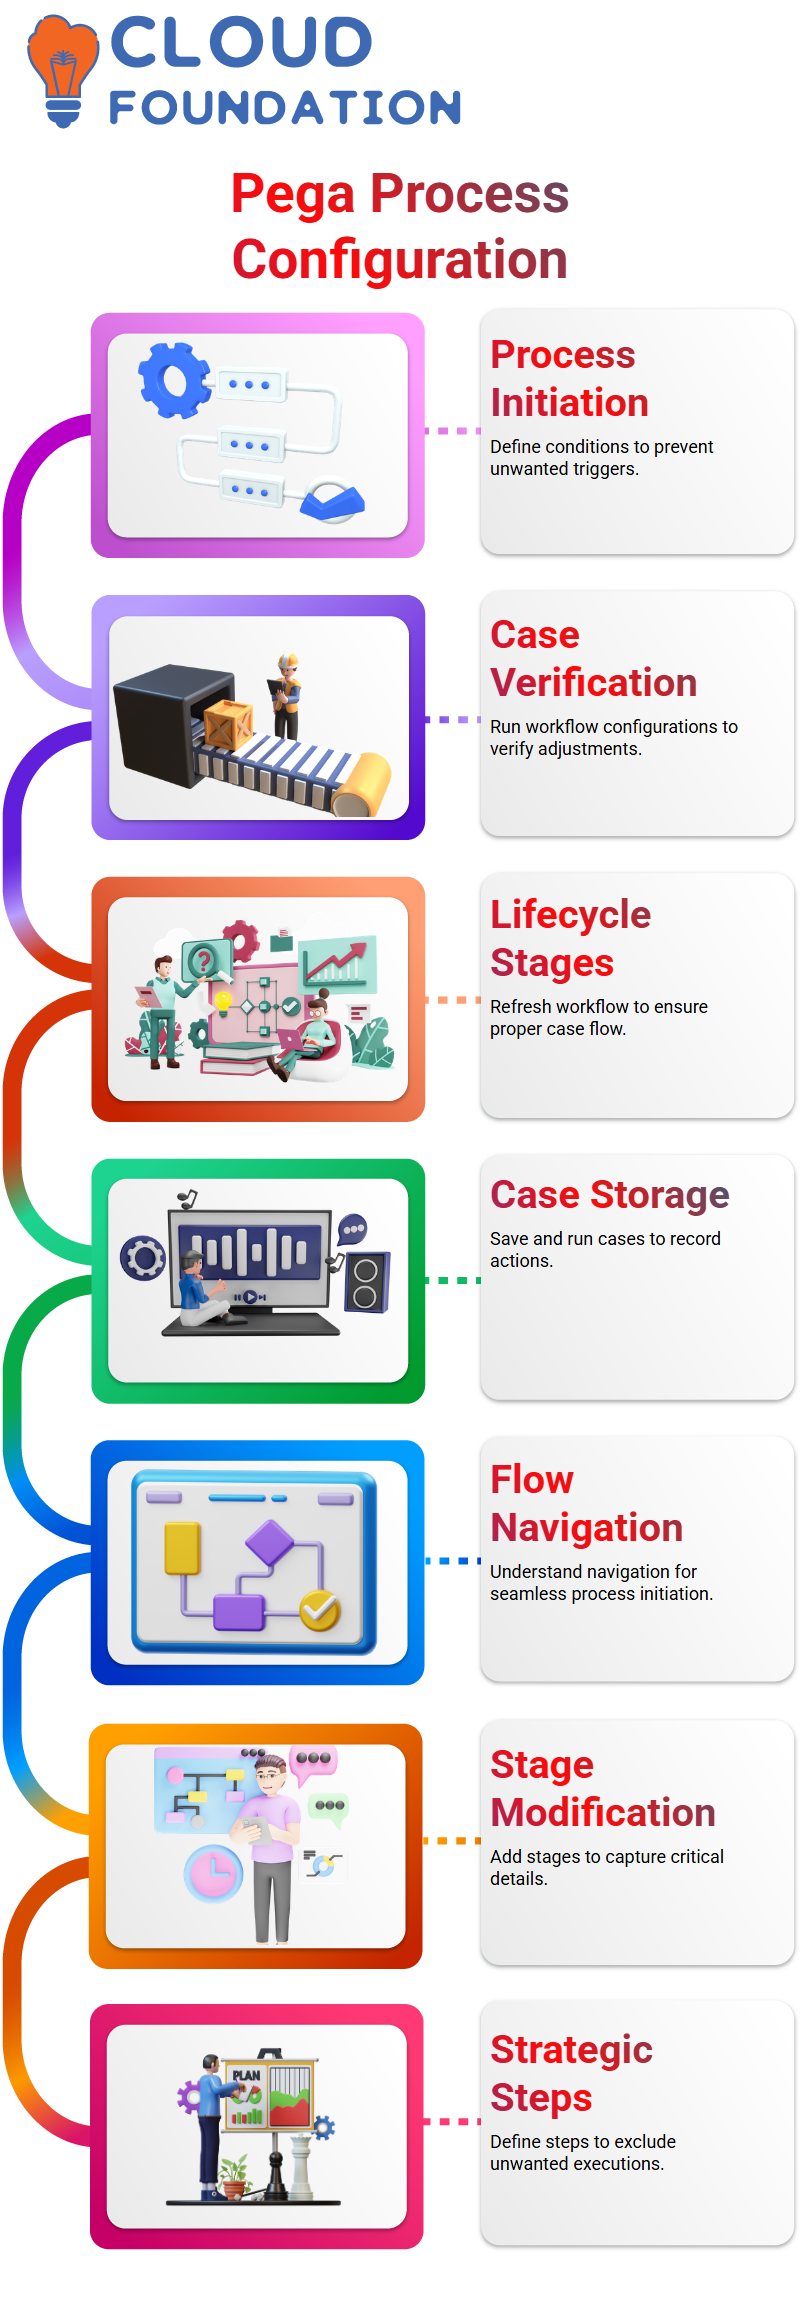
In Pega CSA, when you click on ‘Order’ and hit ‘Save and Run,’ the case gets stored, ensuring that all necessary actions are recorded.
But have you ever encountered a scenario where a process simply refuses to start? That’s where understanding flow navigation becomes crucial.
Stages and Steps in Pega CSA
Once an order case is created in Pega CSA, modifying it is just as important as creating it. Adding a second stage, such as ‘Collect Information,’ helps ensure vital details are captured efficiently.
Unlike typical processes, Pega CSA to define steps strategically. For example, setting a ‘Create’ step to ‘Never’ ensures that unwanted steps are excluded from execution.
Types of Flow in Pega CSA
Pega CSA provides two primary flow types: screen flow and process flow. Screen flows allow users to navigate forward and backward, whereas process flows follow a strict forward path.
When working with a process flow in Pega CSA, flow actions are present in connectors, dictating the movement between stages. Understanding these distinctions ensures seamless case management.
Configuring and Modifying Cases in Pega CSA
To refine case configurations in Pega CSA, users can adjust life cycle settings, delete unnecessary processes, and introduce parallel workflows when needed.
With each modification, refreshing actions and checking for validation ensures smooth execution. Pega CSA offers flexibility in workflow customization, making it a powerful tool for managing business processes.
Getting Started with Pega CSA
Let me guide you through setting up your Pega CSA workflow! First, you need to enter some details like address information or a delivery address.
Anything is fine as a starting point. Once that’s done, open a section to create a new entry. Save your work, and don’t worry, properties can be created tomorrow.
Understanding the Basics of Pega CSA
Saving your progress is crucial when working in Pega CSA. If your section is still new, it won’t save until you finalize certain details.
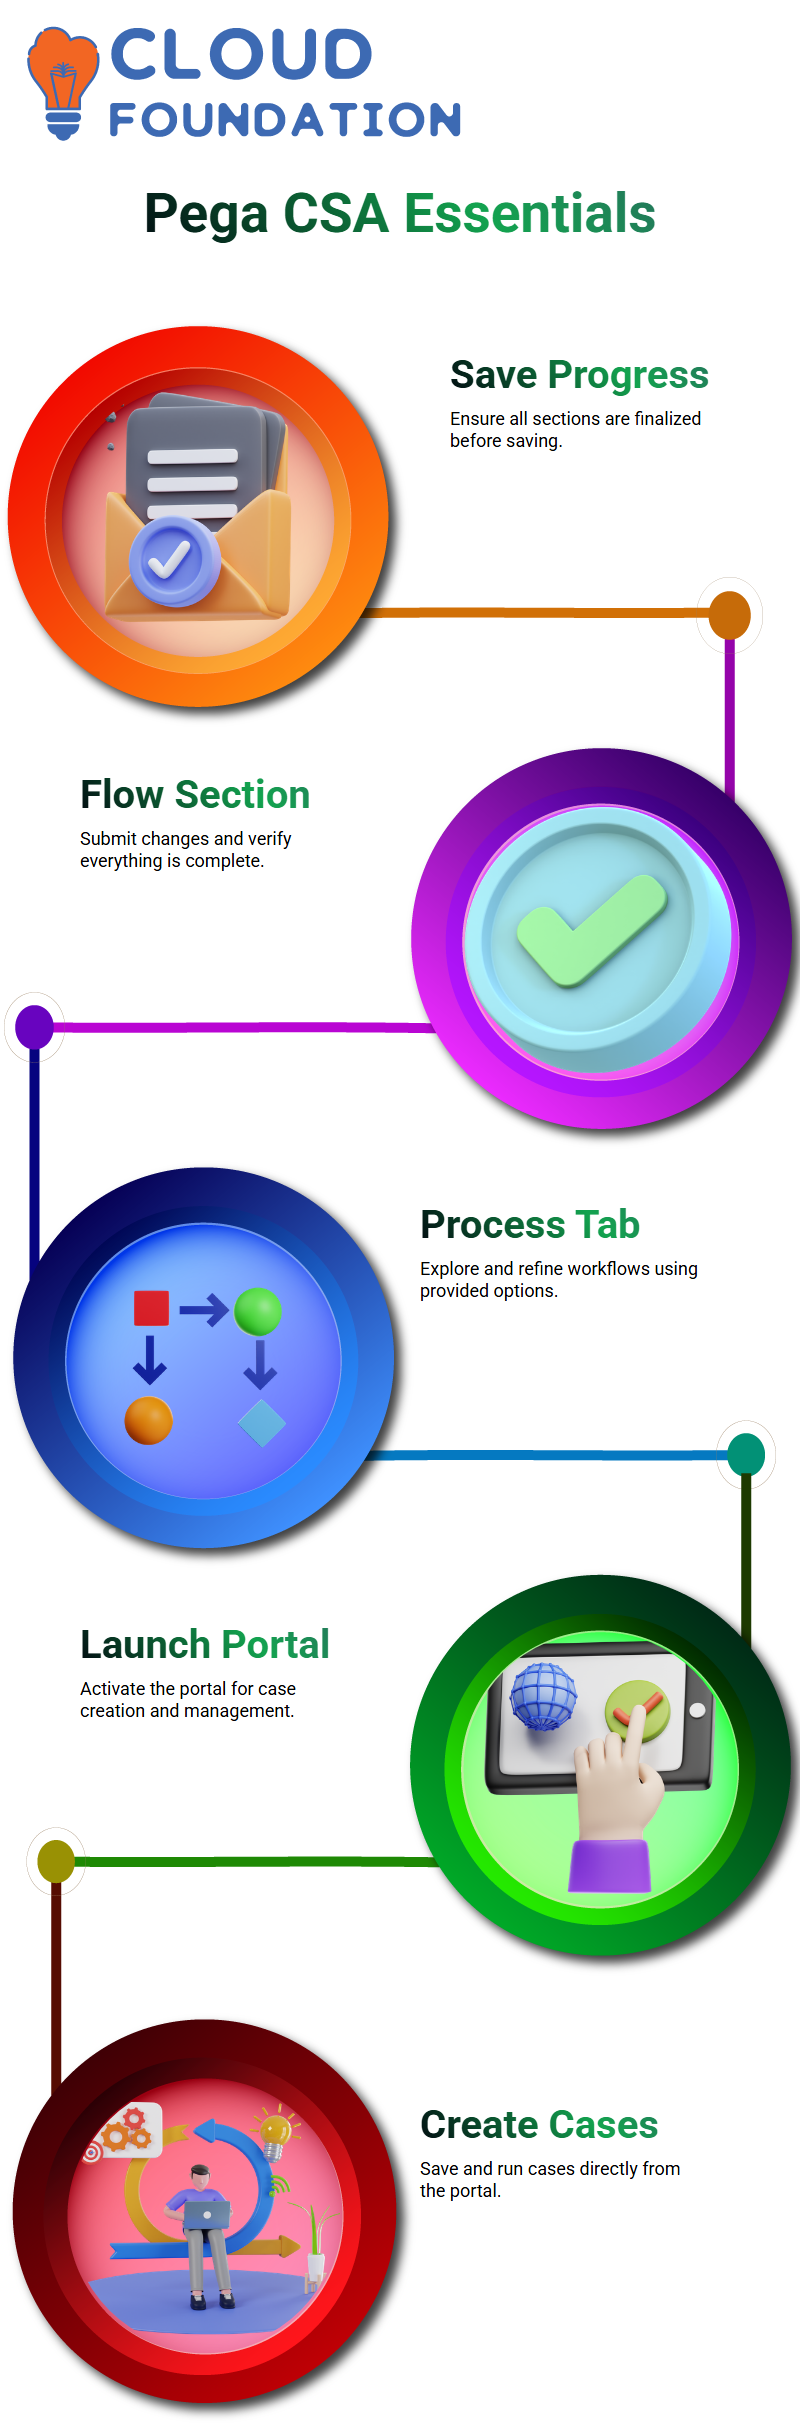
Head to the flow section, submit your changes, and verify everything is in order
Pega CSA Processes Made Easy
Let me walk you through the process tab in Pega CSA. Navigate to your workflow. On the right side, below the save button, you’ll find options to open different processes. This area allows you to explore and refine your setup.
Launching Your Portal with Pega CSA
Launching your portal is a straightforward step in Pega CSA. Click on ‘Launch Portal,’ located at the top-right corner of your screen. It might be slow initially, but a single click should get things moving.
Once the portal is active, you can start creating cases from either ‘Save and Run’ or directly within the portal.
Managing Rules in Pega CSA
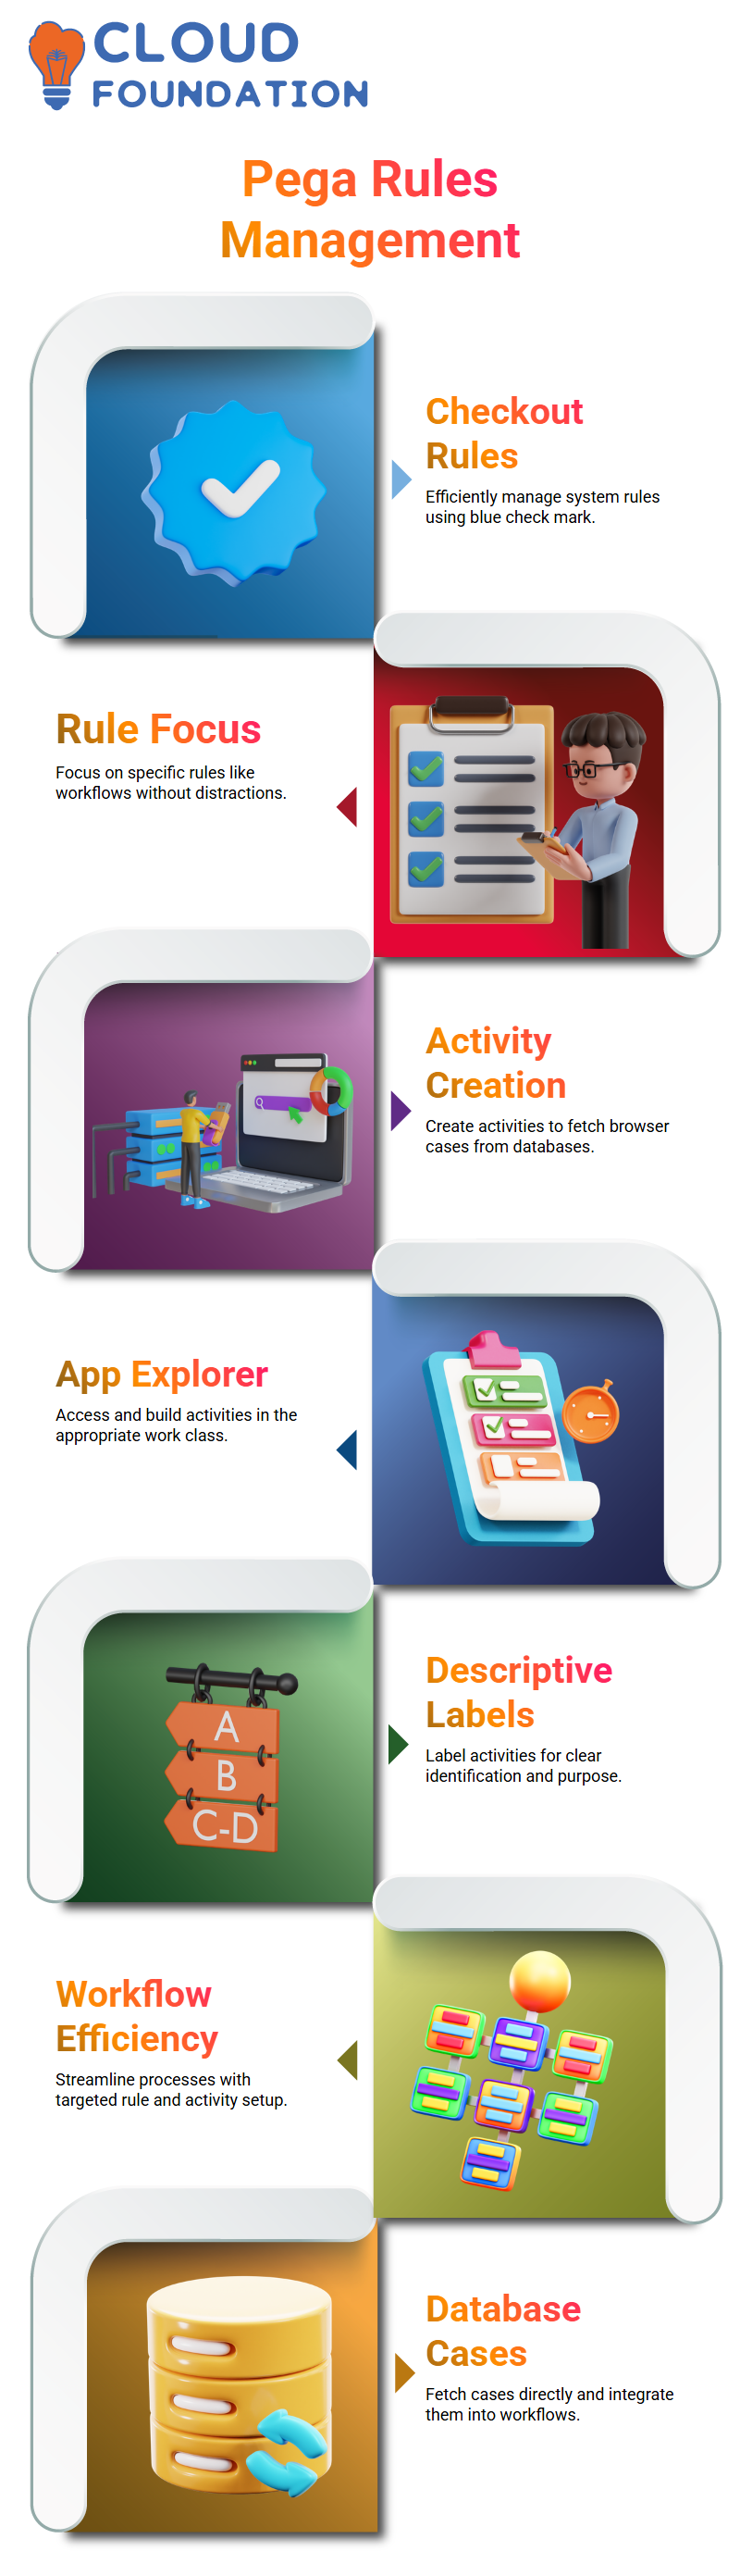
Pega CSA provides tools for managing checkout rules efficiently. Click on the blue check mark at the top of your screen to see all checkout rules in the system.
For example, ‘pwd fault’ can be opened and checked in as needed. The system lets you focus on specific rules like order workflows without distractions.
Creating Activities in Pega CSA
Let’s dive into building activities in Pega CSA. Today, I’ll Walk you through creating an activity that fetches browser cases directly from a database. It’s simpler than you might think!
First, head over to the App Explorer in your Pega CSA environment. Create a new activity under the appropriate work class.
Make sure you give it a descriptive label like ‘Fetch Cases’ or ‘Order Details’. This makes it easier to identify its purpose at a glance.
Using Object Methods in Pega CSA
Now, let’s use an object method to retrieve data from the database. For fetching multiple records, we’ll use the ‘Obj-Browse’ method. This method is perfect for getting multiple records in a structured way.
You’ll start by giving your activity a page name. Let’s say ‘Order Info’. Map this page to the correct class in the ‘Pages and Classes’ section. For example, map ‘Order Info’ to ‘Code-Pega-List’.
Fetching and Mapping Data in Pega CSA
With the page set up, specify the properties you want to fetch from the database. This ensures you only retrieve the columns you need. For instance, you could include properties like ‘py ID’ and ‘Order Status’.
Make sure your mappings are correct. The results should map appropriately to your clipboard structure. This is crucial for seamless integration with other Pega CSA components.
Testing Your Activity in Pega CSA
Testing is straightforward in Pega CSA. Run the activity as a standalone process to see the output. Open the clipboard to verify that the data has been fetched correctly. Look for the page name you provided, like ‘Order Info’, and expand it to see the results.
If something doesn’t look right, check your mappings and ensure the ‘Obj-Browse’ method is configured correctly. Adjust the activity and test again until it works as expected.

PEGA Online Training
Debugging Tips for Pega CSA Activities
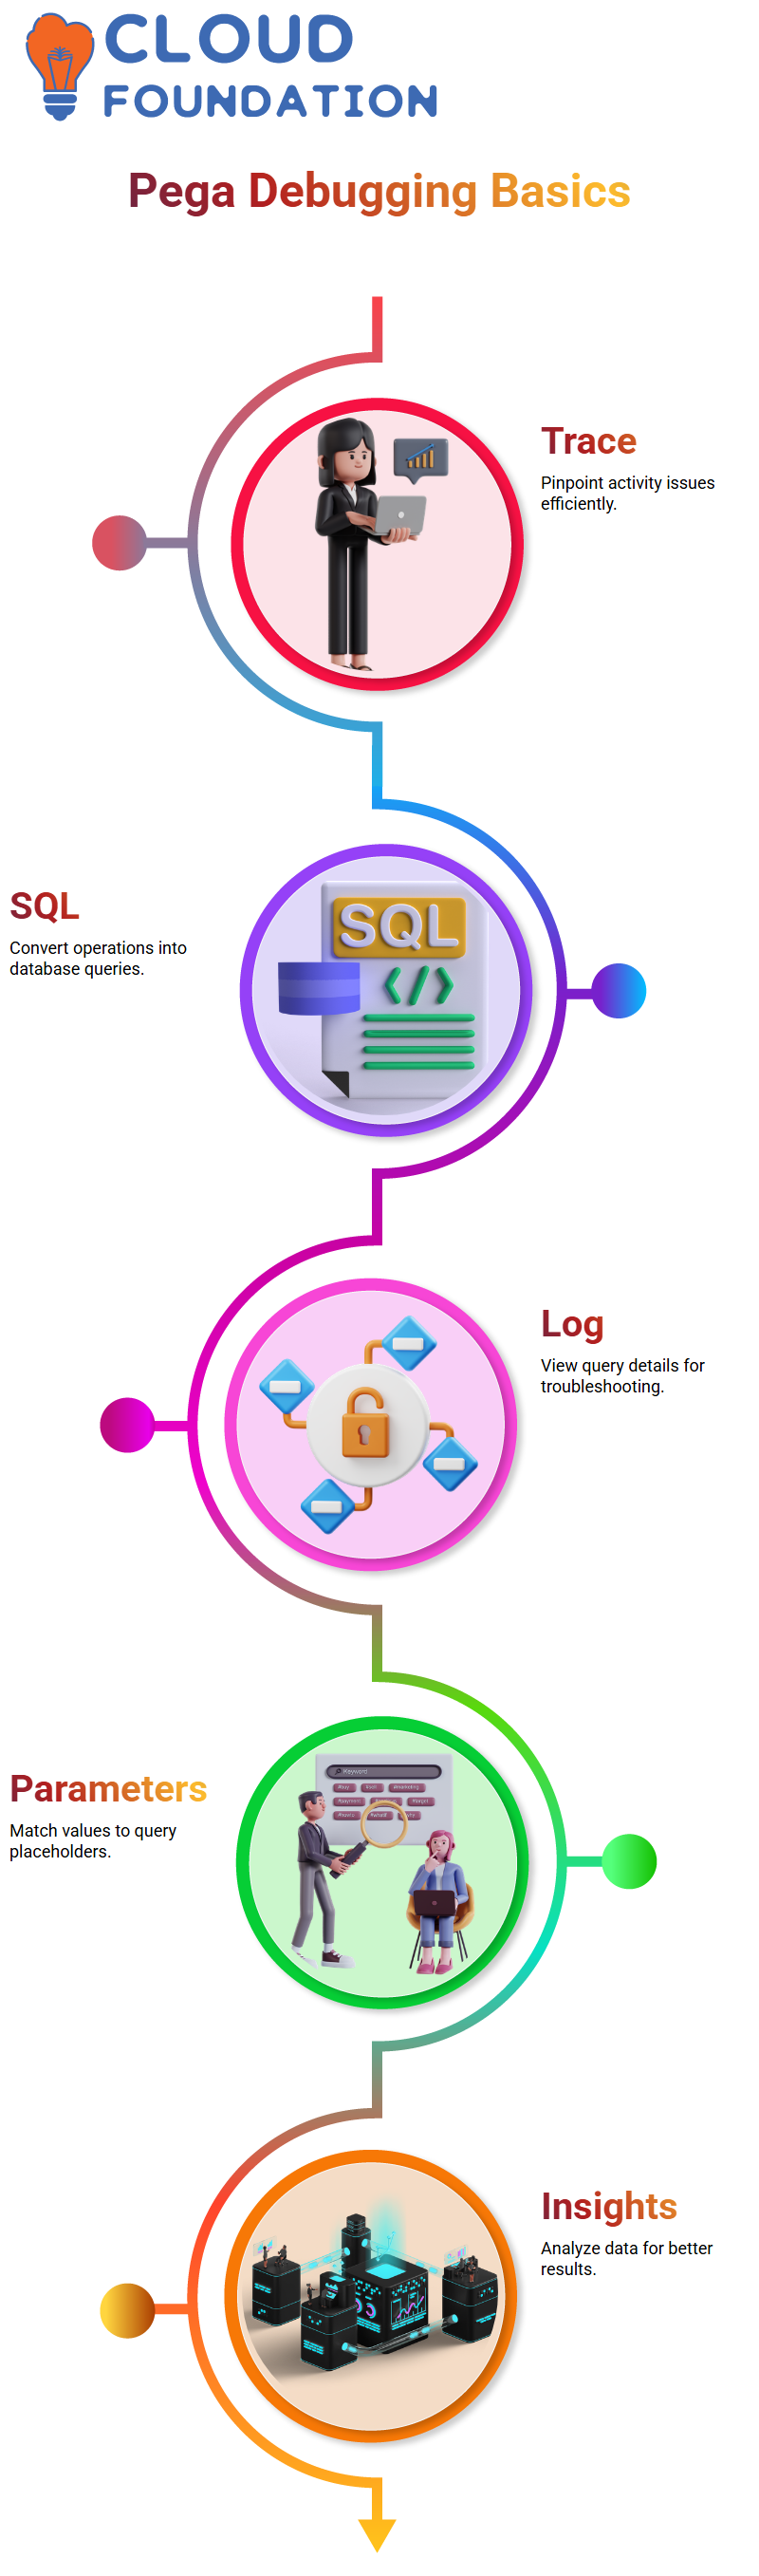
When debugging, use tools like ‘Trace’ and ‘DB Query’ to pinpoint issues. Pega CSA provides a detailed trace log that helps you understand what’s happening at each step of your activity.
Enable database query logging to see the actual SQL statements generated by Pega CSA. This is incredibly useful for troubleshooting any data-related issues.
Understanding SQL Queries with Pega CSA
Pega CSA simplifies database operations by converting what we write in plain English into SQL queries.
When fetching data, Pega CSA generates queries in the background for you. For instance, a simple operation may result in a one-line query, whereas tracing functionalities like ‘Get Next Work’ could generate multi-line queries, up to eight lines long.
When you encounter queries with question marks in them, these question marks represent parameters. Pega CSA ensures these are filled correctly.
If a query has two question marks, the corresponding SQL insights will provide two parameters to fill in. You just need to insert the appropriate values into the question marks.
Using Pega CSA to Trace Queries
Tracing queries in Pega CSA is straightforward. First, copy the query and pause the trace. Then, head to the Designer Studio and use the database query runner to execute the query.
While some versions may not have a query runner, you can still see the results by directly running the query.
For advanced operations, like opening a specific case, Pega CSA provides SQL-generated queries. You can use these to fetch a case such as ‘A101’ or others.
This functionality is invaluable when dealing with large datasets where only relevant cases need to be filtered.
Filtering Cases Effectively with Pega CSA
In real-world scenarios, Pega CSA helps filter cases using logical conditions. You can apply labels and logic to refine your search.
For example, you might add a filter condition like. Py Status Work’ and check for cases containing ‘New’. By applying logical strings like ‘A and B’, only relevant cases are retrieved.
If you need more custom filters, Pega CSA allows you to include multiple criteria. This ensures that even in massive datasets, you get precise results tailored to your needs.
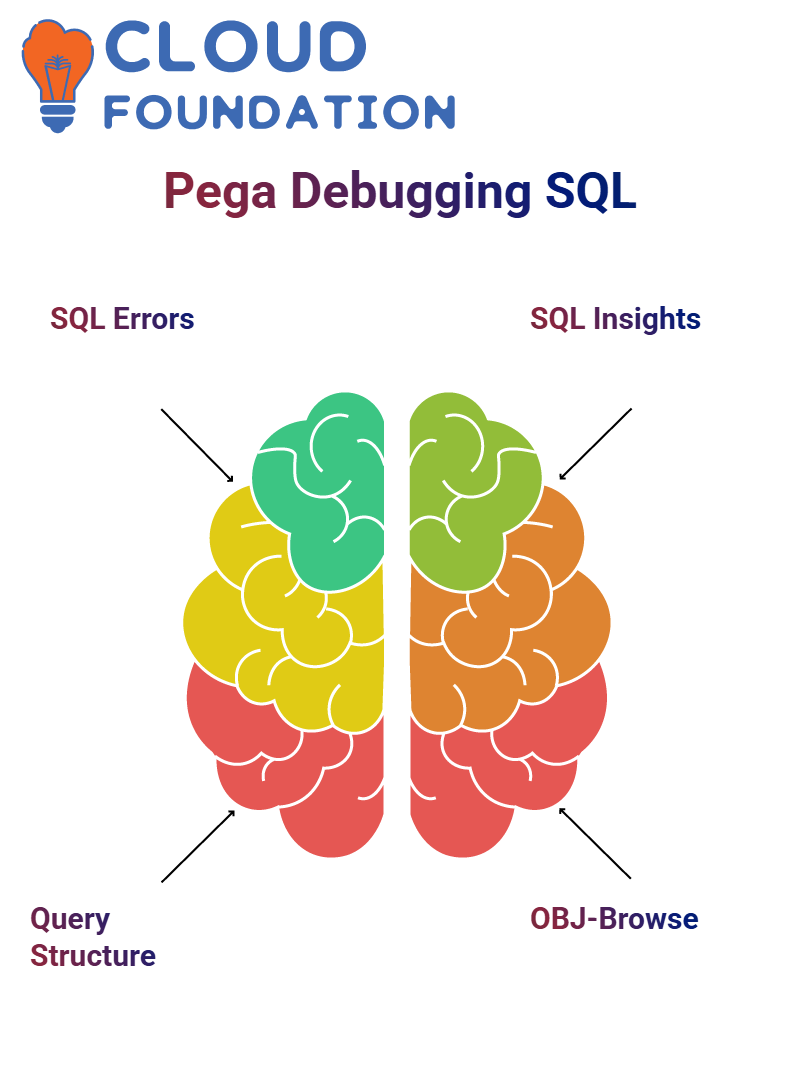
Debugging SQL Queries with Pega CSA
Pega CSA makes debugging SQL queries simpler. Sometimes, you might get unexpected results or errors in report definitions or activity rules.
In such cases, you can copy the SQL query generated by Pega CSA, replace the parameters SQL insights, and run it independently to identify issues.
Understanding the structure of these queries helps in troubleshooting and data retrieval.
Understanding Pega CSA
Welcome, viewers! Today, I want to walk you through an essential concept in Pega CSA. If you’re databases and queries, understanding how Pega CSA handles them is a game-changer.
In Pega CSA, when you run a query, you’re not just executing a command you’re interacting with a structured database system. You need the run SQL checks effectively, ensuring that your data inserts align properly.
Working with OBJ-Browse in Pega CSA
Let’s talk about OBJ-Browse in Pega CSA. This method allows you to retrieve records efficiently. Instead of manually hardcoding queries, Pega CSA provides mechanisms to dynamically fetch data.
Imagine setting parameters like OBJ-Class dynamically. This means instead of being restricted to a fixed class, you can pass the required class at runtime, making your process adaptable.
Optimizing Queries in Pega CSA
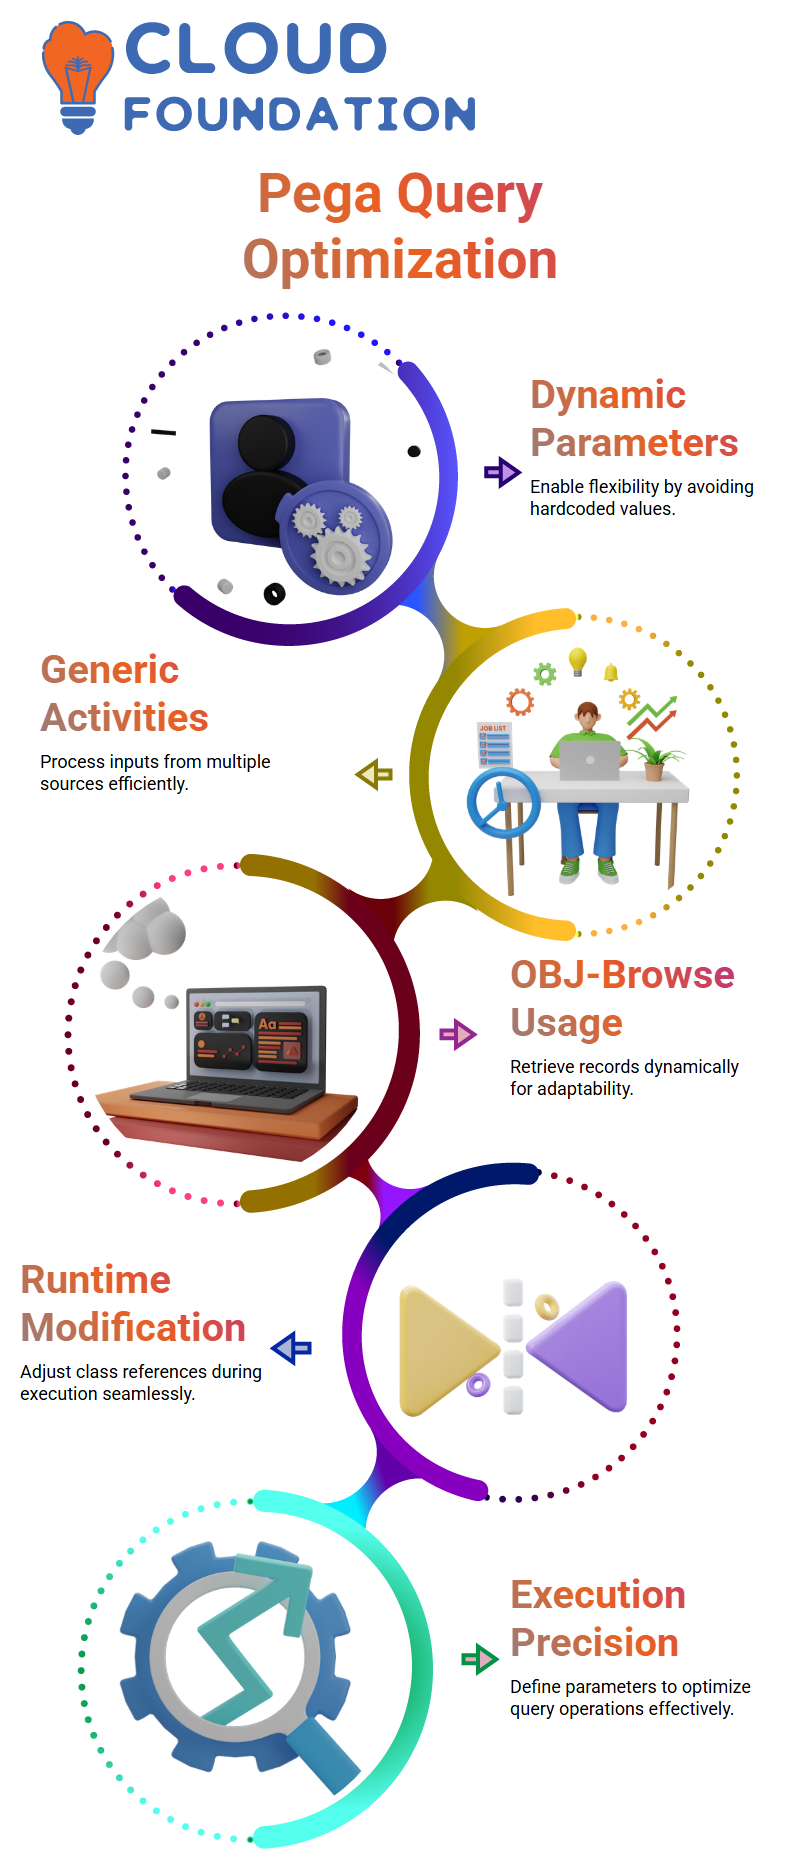
In Pega CSA, query execution needs precision. When you set parameters dynamically, you give yourself the flexibility to interact with different classes without hardcoding values.
This approach ensures that your activity remains generic and can process inputs from multiple sources, depending on runtime conditions.
Parameter Passing in Pega CSA
In Pega CSA, passing parameters effectively is crucial. Whether you’re using OBJ-Browse or sending inputs to an activity, defining the right parameters can optimize execution.
The advantage of using parameters is that they allow adaptability. You can modify the class reference during runtime rather than restricting yourself to fixed configurations.
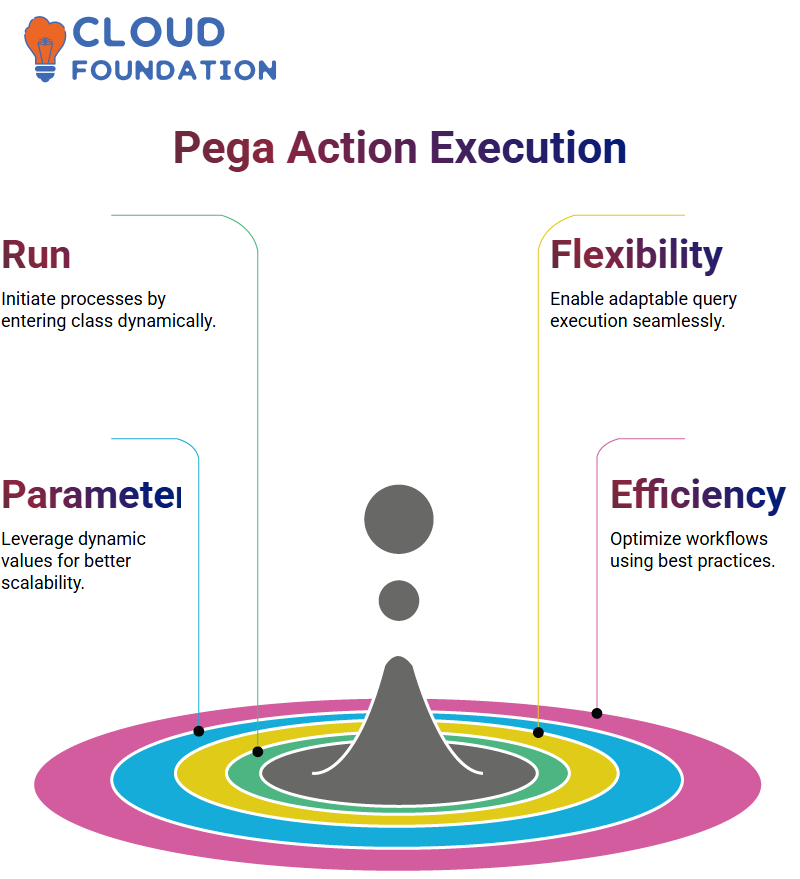
Executing Actions in Pega CSA
Now, let’s dive into executing actions in Pega CSA. When you click ‘Run’, the system prompts you to enter the class dynamically, enabling a flexible query execution process.
Instead of hardcoding values, Pega CSA encourages best practices by leveraging dynamic parameters, making your workflow efficient and scalable.

Power Platform Course Price

Koppadi Madhavi
Author