SQL Server Tutorial
Introduction to SQL Server
SQL Server is an ideal database management and data analytics system with powerful features and capabilities such as connecting to multiple databases simultaneously and creating new ones. A key feature of SQL Server, its master database serves to manage multiple databases by offering an overall view of its system.
Server applications provide services that host databases storing all of your information; in turn, these databases interact with operating systems via SQL Servers and related modules.
Interacting with data is one of the core capabilities of SQL Server, including accessing it using its various components: msdb database, maintenance database within SQL Server, temp DD DB database and pad for SQL Server which enables it to complete queries you request it to perform.
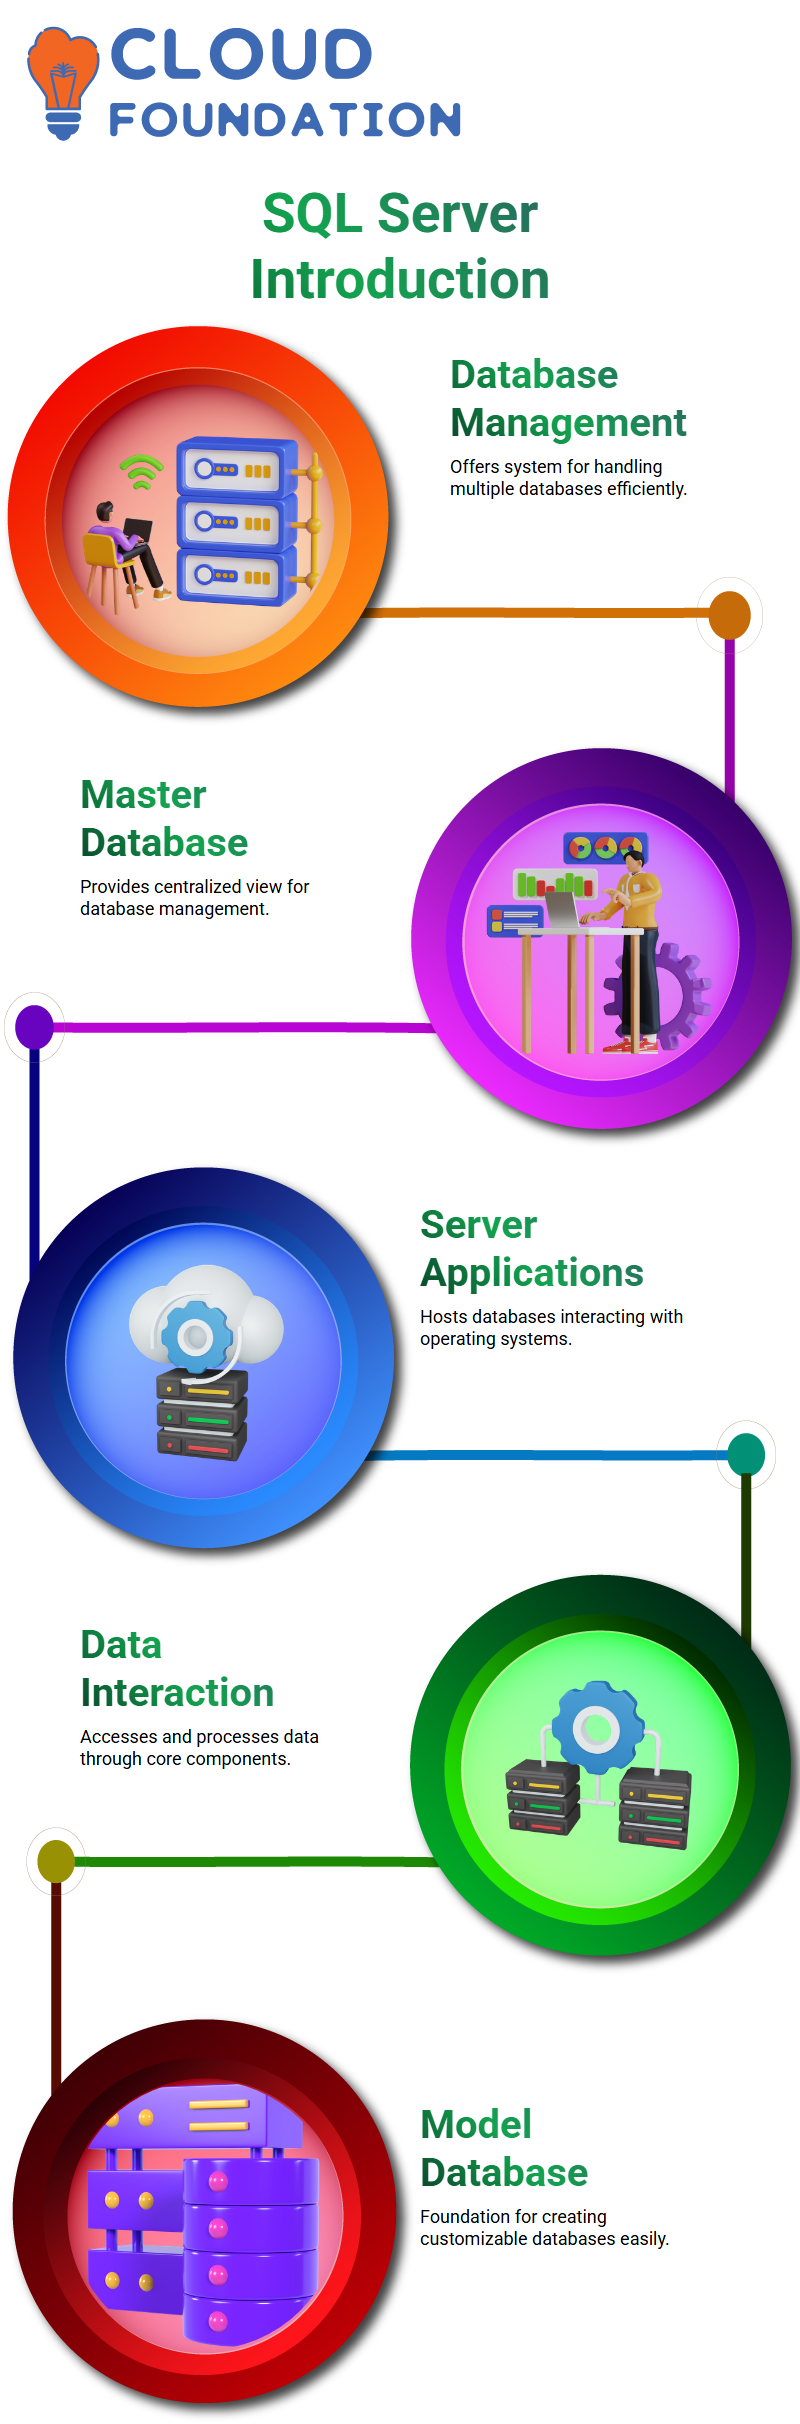
SQL Server offers another essential feature in its model database – providing an essential foundation upon which to build new blank databases. This database serves as a model database to make creating new databases easier when necessary.
Users can use it as an excellent starting point, creating one with features they require without worrying about the version of SQL Server they’re running on.
Installation Process of SQL Server on a PC
Begin your SQL Server Installation on PC by visiting Microsoft’s official website to download SQL Server, where two free editions – Developer Edition and Express Editions are offered as download options.
Each option caters to specific user requirements and provides distinct benefits.
The Developer Edition features all available services from Microsoft; making it perfect for advanced users or those wanting to explore all capabilities of SQL Server. However, due to its advanced functionalities, installation may require some more complex steps.
By contrast, Express Edition offers quick and straightforward setup process. This version provides all of the essential tools required for learning and practicing SQL, making it the ideal option for novice users or projects of smaller scope.
After selecting their preferred edition (most often Express Edition due to its ease), users download an installer file to get things underway and setup can begin.
Installers will encounter three options during setup: Basic, Custom and Download Media. With regards to Basic installation mode being the quickest and least intrusive experience for novice users; for those needing customization the Custom option provides flexibility allowing for manual adjustment of settings as needed by an end-user.
Download Media allows users to store installation files for offline setup or reuse. Once an Express Edition installation begins, simply follow prompts until completion is achieved.
Repeating an installer enables greater control over how software is configured, giving more access and ease-of-use for users. Even though multiple installation methods exist, overall process remains straightforward and accessible for everyone involved.
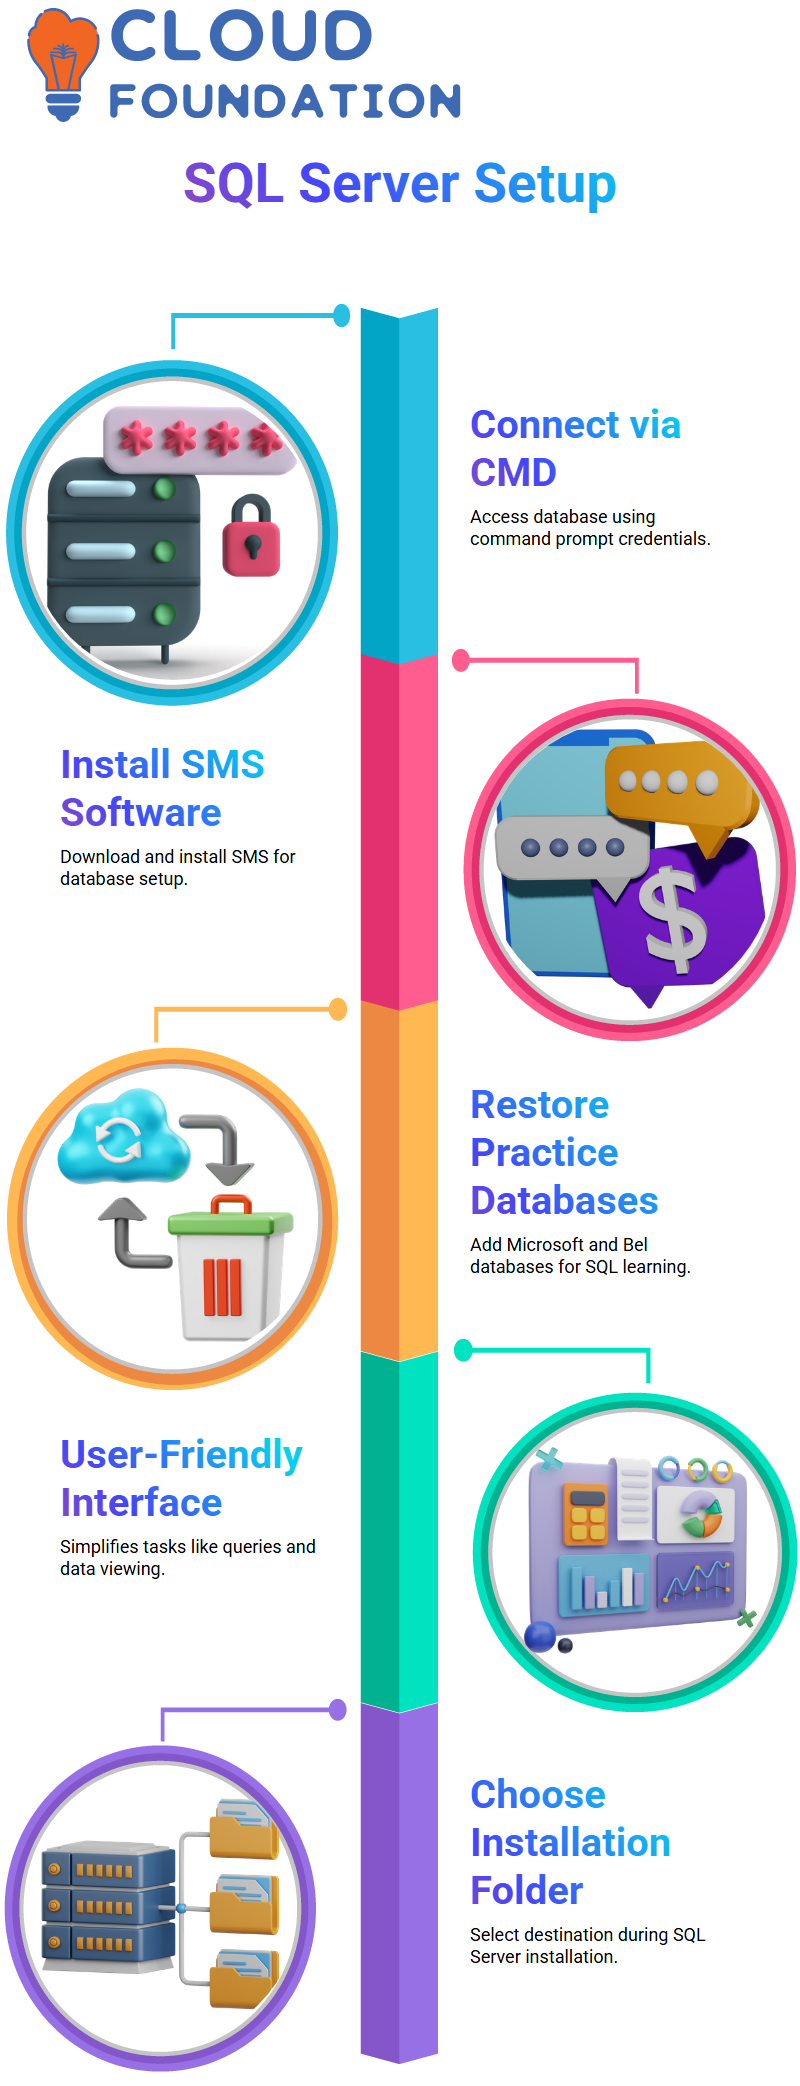
Once installed, SQL Server software is ready for both local and server deployment. Users can interact with it using its user-friendly graphical user interface – making everyday tasks such as viewing data, writing queries and solving SQL issues much simpler than before.
Users looking to start working with the database simply have to press “Install” and follow the on-screen instructions during setup. An essential step of installing software involves choosing its destination folder.
Installing SQL Server on a PC involves downloading it from Microsoft’s website, selecting between Developer and Express Editions and Basic or Custom installation settings, then specifying its install location.
Once this step has been completed, users can utilize SQL Server’s interface for managing data, writing queries, and practicing SQL directly from their personal computers.
Connecting to SQL Server and Setting Up Databases
Step one of this process entails connecting to a database via command prompt (CMD), then selecting your PC name when creating an account on that database. After being asked for their current username and password, users will then successfully connect to their SQL Server, ready for use.
Next, users are instructed to download and install SMS software onto their PC, after which everything will be ready for use. When this step has been completed, three databases sourced from various sources (Microsoft and Bel) must be restored for practice of SQL programming language.

The first database contains several sales records designed specifically to aid SQL practice, while the other two provide hands-on learning environments and user prepared databases respectively. Finally, Microsoft provides one specifically targeted at sales with their third database offering.
Users looking to view the data model of these databases can click on “Download Course Data.”
Data Models for Effective SQL Management
Data Models for Effective SQL Management Once downloaded; this table-style data model displays relationships among various components within its database. This model serves as a simplified representation, helping users better comprehend how data is organized and interrelated.
Familiarity with this data model is vital to effective data management and visualization. Next, tables and their interrelationships within databases will be explored.
With examples including orders, employees and customers as subjects for discussion, tables are interlinked; each serving an essential purpose in managing and organizing data. Furthermore, differences between AltTP (Online Transactional System) and Data Warehouse are explored as well.

AltTP is an industry standard transactional system used by businesses to oversee day-to-day operations efficiently, including transactions among tables, employees and customers. Data Warehouses on the other hand are more compact systems designed to store and analyze large volumes of information rather than to facilitate transactions.
Each type has their own advantages for businesses managing vast volumes of information. With knowledge of table structures and relationships as well as an understanding of different databases such as AltTP and Data Warehouses, users can effectively enhance their SQL skills while making better decisions regarding managing data and business operations.

SQL Server Training
SQL Server for OLAP and Business Analytics
Utilizing SQL Server for OLAP/Business Analytics provides users with additional capabilities in these regards. Traditional and Online Analytical Processing (OLAP) databases play a pivotal role in business operations.
Utilised across companies and optimized to handle both read and write requests efficiently, traditional and Online Analytical Processing (OLAP) databases form the backbone of modern business intelligence solutions.
Data warehouses are databases designed specifically to handle large volumes of information efficiently. They specialize in organizing the information into usable reports while offering efficient analysis capabilities.
Data warehouses enable organizations to gain valuable insights through intelligence-driven reporting tools. Dashboards contain vast amounts of data that utilize analytical models based on dimensions and facts for better decision-making.
These models enable users to organize data more effectively for analysis and visualization by organizing it into cubes for easier analysis and viewing from various perspectives. Such cubes allow a deeper comprehension of data through detailed examination from multiple vantage points.
Users wishing to work with these databases can download essential files like “altb adventure work” and “data warehouse” by pressing the download button. These files, comprising altab and data warehouse components, must be downloaded separately, with the “simple database” zip file being unzipped first.
These databases include two Adventure Works databases from Microsoft, two Adventure Works databases from Altb and one simple database. Each database is intended to manage specific types of information, from transactional records and analytics data through to visualization.
They all play an integral part of data management and decision-making, such as retrieving lost databases in SQL Server using SSMS or rebuilding them using backup.
Restoring Databases in SQL Server Using SSMS
Beginning this process requires opening SQL Server Management Studio (SSMS), where initially only some or all required databases may be visible. To restore them, the user clicks on “Restore Database”, selects their source location where backup files reside and their device type, before clicking the three-dot “Add” button to locate and add specific backups files.
Each database must be restored individually; once restored, users are required to confirm each action by repeatedly clicking “OK”, until their target database appears within SSMS and appears fully functionally restored. This process should continue with each database to ensure accuracy and proper configuration.
After recovering, the user imports or accesses additional data from other related databases, which may appear differently within their interface such as one being visible on the left while another appears on the right depending on how the workspace has been organized.
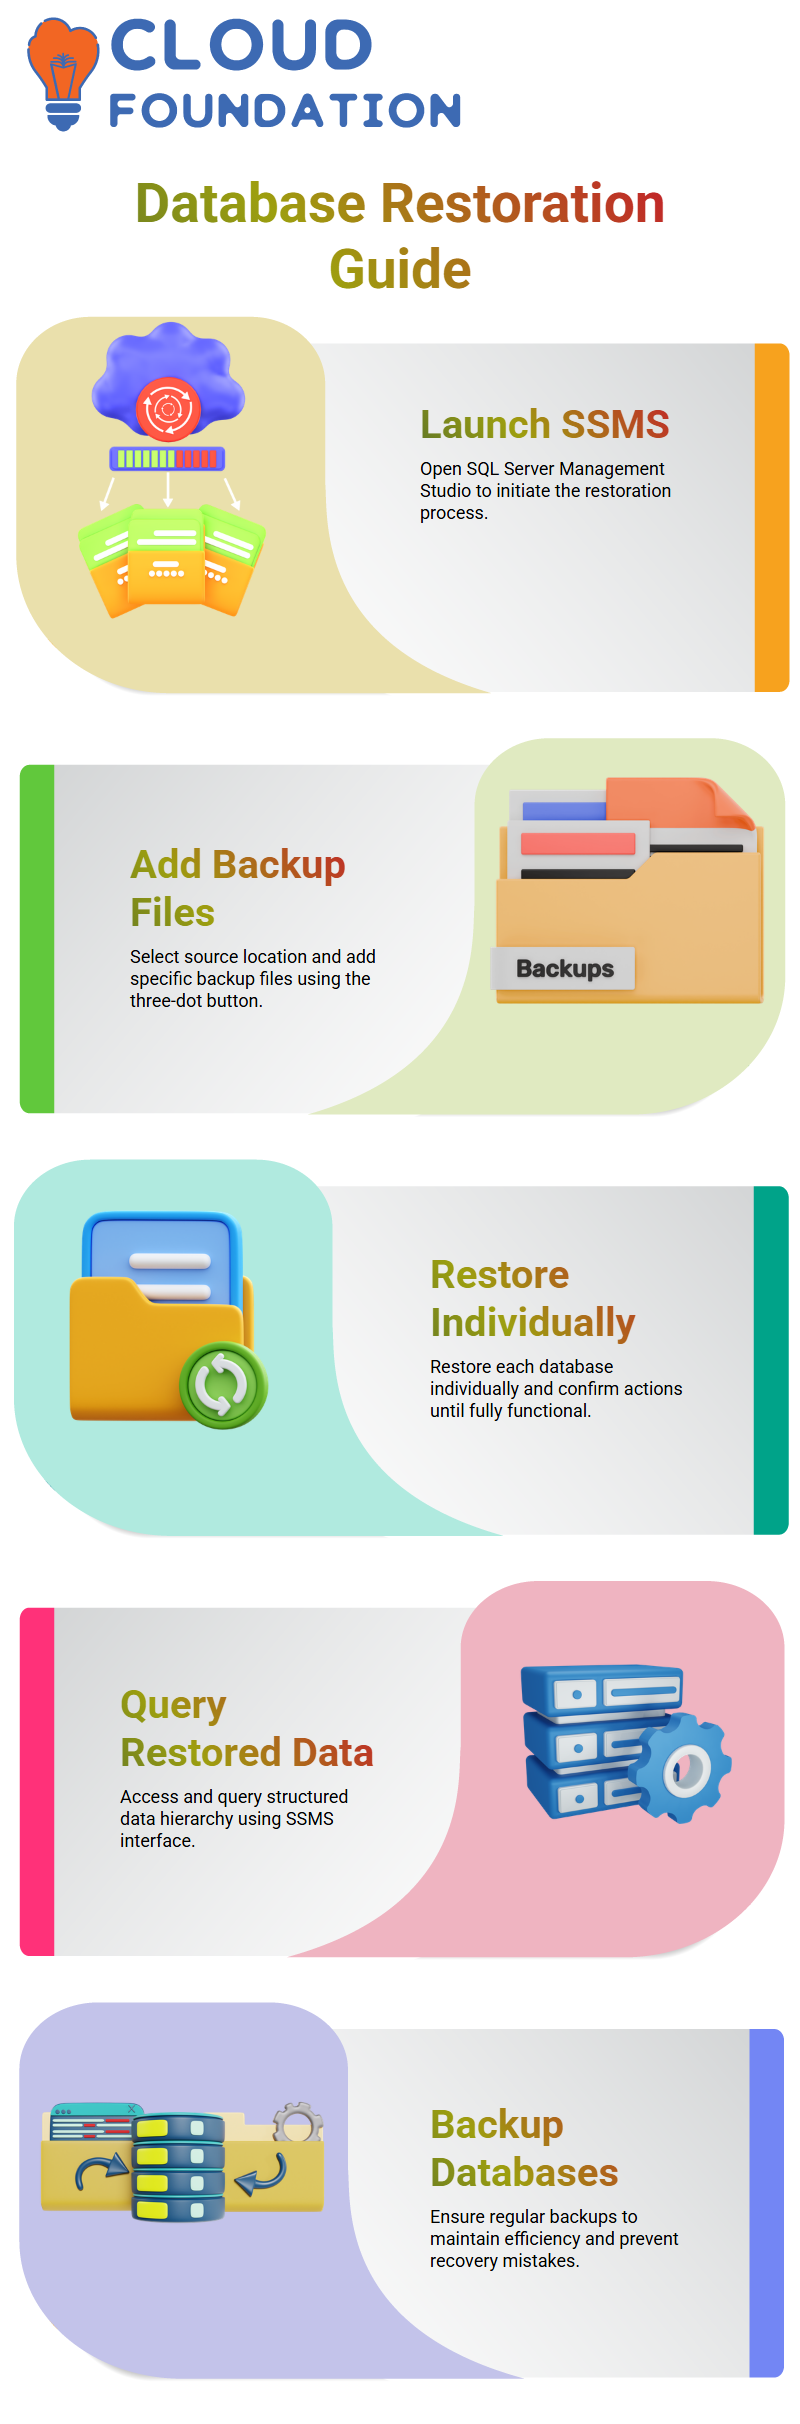
Once restored, data can be queried using SSMS for access and query. Data appears as a structured hierarchy with key areas like sales database taking center stage. Users can directly interact with this data using the SSMS interface to extract insights and perform business operations.
Users are advised to backup individual databases to maximize efficiency in data management and prevent potential mistakes during recovery processes. Follow these systematic steps to maintain application stability, ensure data integrity and secure robust database management.
Writing and Executing SQL Queries to Retrieve Data
SQL provides users with an efficient means for retrieving data from tables by selecting the top 10,000 rows from them and viewing a sample of orders, employees and more. These tables also act as sources for creating queries.
Utilizing a query editor, users can craft customized queries to access specific data. They have the freedom of selecting columns and rows pertinent to their specific needs such as filtering out certain orders or employee records.
The query editor also allows users to customize results by eliminating unnecessary columns or rows, which helps optimize query performance. Once complete, users can click the Execute button which runs their queries and displays results as grid formats.
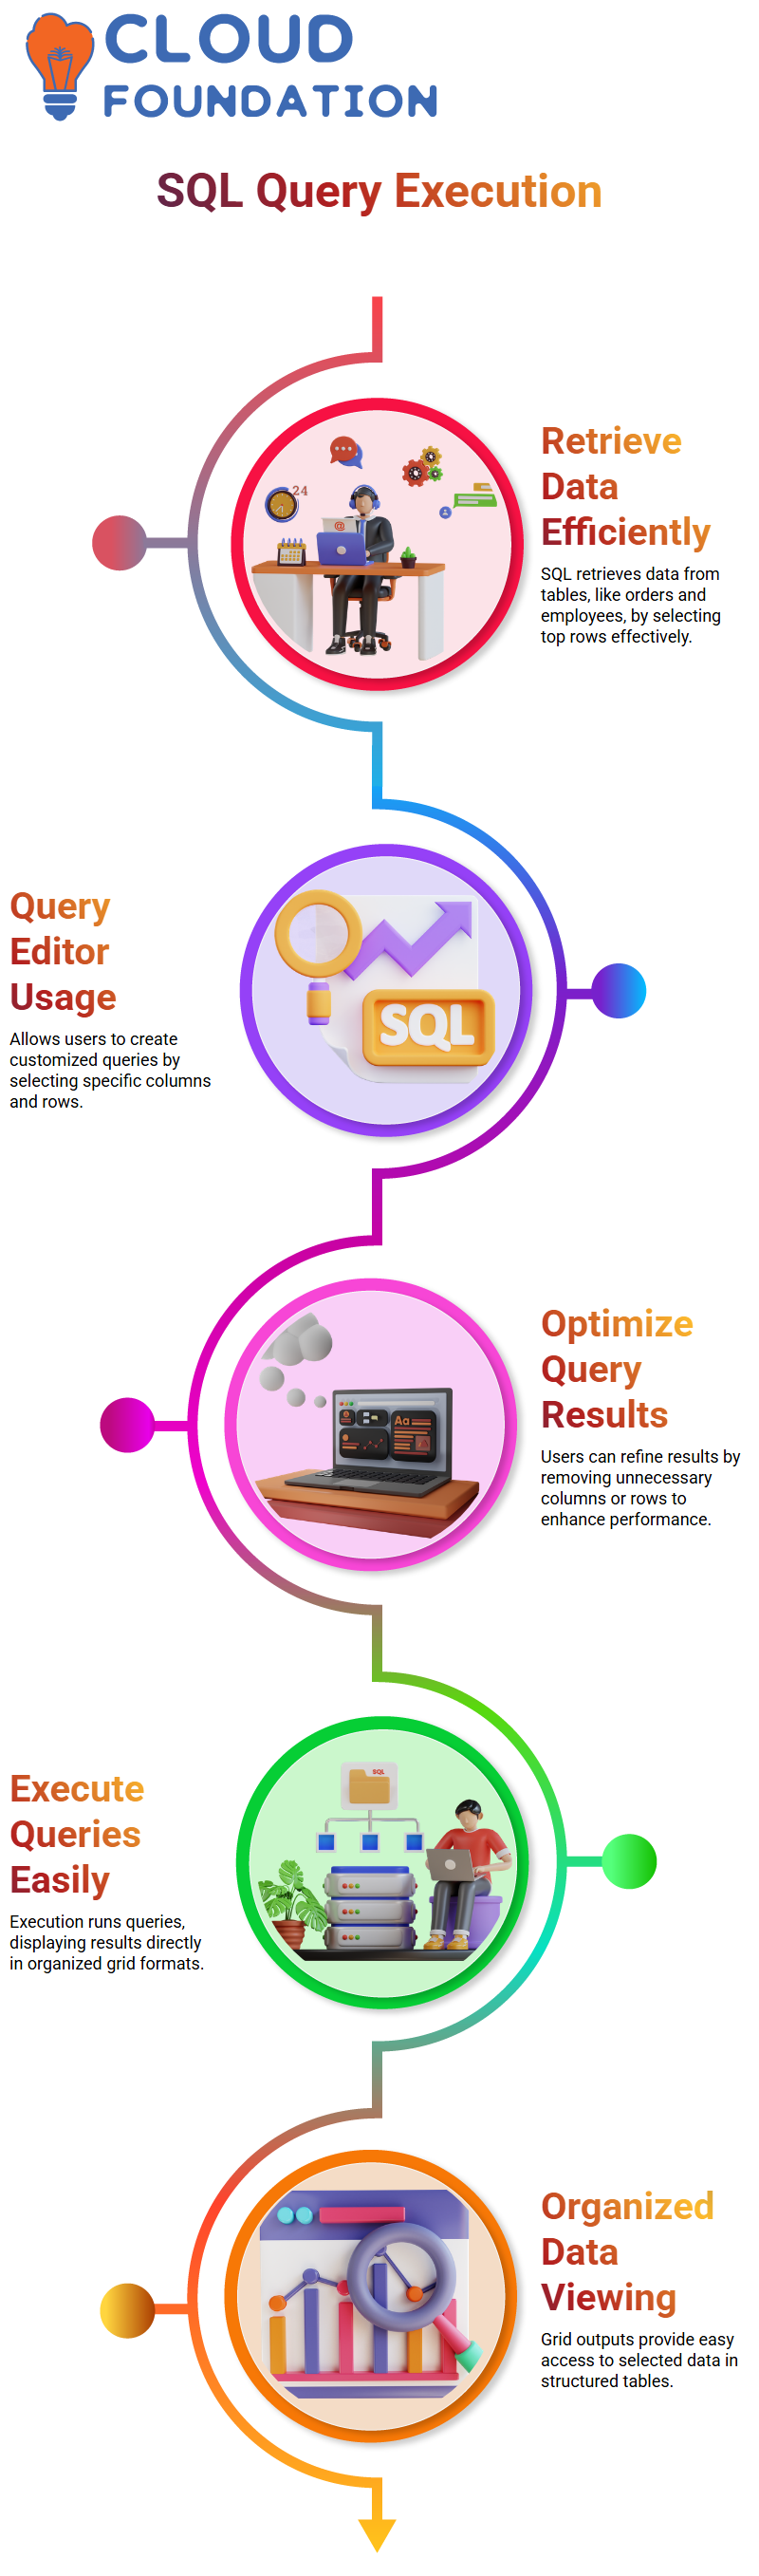
These grids make it easy to view output directly within the interface, providing access to selected data in an easily organized table format.
Working with Multiple Databases & Optimizing SQL Queries
Working With Multiple Databases & Optimizing SQL Queries A common issue when conducting SQL queries lies with selecting the proper database; otherwise known as incorrect selection. Errors like those generated by SC Scale can occur when running queries that attempt to access tables that cannot be found, thus leading to inaccuracy in results.
It is therefore vital that when performing queries, it is selected the right database before running them. Users working across databases may define table references explicitly using an approach such as salesDB.schema. table.
Table (for instance sales. Customers), so SQL Server recognizes which table they need. This approach helps establish both source database and schema while querying for specific tables within them.
Users seeking to query multiple databases within one query window have multiple methods at their disposal for doing so: either prefixing table names with their appropriate database names or switching databases using the USE statement.
Example: Writing “USE sales DB;” at the start of a query instructs SQL Server to operate within its specified database context and to execute queries without errors; additionally, data from multiple sources can be efficiently combined within one session.
Users will also gain an appreciation of data warehouse models. A data warehouse gives business data a comprehensive view through dimensions and facts displayed as models.
These models help visualize data relationships, improve analysis and reporting capabilities and optimize reporting capabilities.
Another notable system is OLB (Order Management) database which offers detailed views of order related information that facilitate decision-making and operational insight.
With such an environment available for practice purposes, three databases should be connected for hands-on exercises as well as real-time data processing tasks.
Future learning will include more advanced concepts, including SQL window functions. These functions offer powerful ways of analyzing data across rows and providing deeper insight into trends and patterns; unfortunately, they tend to be neglected topics during basic SQL training but essential when advanced data work needs are undertaken.
SQL Server Setup & Key Functions for Data Analysis
SQL functions offers an essential set of functions for effectively storing, managing and analyzing large volumes of data. Utilised effectively when handling real world analytics projects these essential SQL functions form the core of effective data handling practices.
Before diving in with SQL, it is necessary to install SQL Server on a Windows computer. Here’s how you can download and install it:
Navigating to your preferred web browser
Search “SQL Server Download,” before reaching Microsoft’s official SQL Server Download Page;
Click Download Button to complete install process
Select the version of SQL Server which best meets your requirements from among the available choices, click “Install,” and wait for installation to complete before clicking “Ready to Go!”.
Once complete, your SQL Server installation will be ready for use on your system. After installing SQL Server, users can begin taking advantage of SQL functions for data analysis.
These functions play an essential role in querying databases, manipulating information and extracting insights that inform decision-making. Utilizing SQL Server alongside its core functions enables users to build efficient solutions for managing and analyzing data efficiently.

SQL Server Online Training
Installation Docker and Setting Up MySQL Server
Installing Docker on any system is a straightforward process that starts by downloading, installing, and then launching the app. Once complete, they gain access to key Docker components like its GUI and Dashboard.
While installation should generally go smoothly, users’ perception of available images may differ significantly between users.
Some might see several, while for other it may initially show none at all. Users must double-check that Docker has been successfully installed by checking its icon and opening up its interface. After installing MySQL server images, users must run an image download command (sudo dool MC) again to retrieve and install their desired MySQL image server image.
At this stage, entering a password to authorize this step of setup process may also be required. Proper completion of these steps ensures Docker is installed successfully and MySQL server is ready for use.
While setup should generally be user-friendly, users should proceed carefully during set up to prevent installation problems like missing images or images not found by Docker itself.
Creating a Database Using Localhost and Sample Data
Beginning the Process by Selecting Local Host in Database Manager To create a database using Localhost and Sample Data, simply accessing “Local Host” within database management interface is sufficient to begin this step of creation.
After installation is completed, users will be asked to enter both their connection name and password for authentication purposes and initiating connection. This password must also serve to protect data while initiating secure sessions between client machines and servers.
Once connected, the user is presented with a list of available databases. To begin working, they click “New Query,” opening an editor where SQL commands may be written directly in. Subsequently, they search online for suitable SQL scripts before creating new databases using those scripts as starting points.
Search Google and type in “Stores Sample Database,” the user will discover an easy-to-use script or tool for database creation. They then click on “Load Sample” button to import sample database into their environment.
Once created, users execute either their custom query or use the sample database script to complete its creation process and load sample data successfully into their system, making their database ready for use.
These steps detail how to set up and establish a database with a master account, authenticate with password, import sample data and import into it a master database with sample tables available from public resources for practice and learning purposes.
Taking this approach simplifies database creation while emphasizing their usefulness for practice and education purposes.
Establishing a Sample Database in SQL Server
Creating a sample SQL Server database starts by downloading its sample database file, then finding it using your system’s file explorer. A user decides to open their SQL file with an SQL editor compatible with their system, not knowing exactly which applications or files exist on it, yet is confident they’ll run successfully.
After copying and pasting the contents of a sample SQL file into SQL Server Management Studio (SSMS) query editor, and connecting to Localhost server for execution. A user then opens a separate query window and pastes their script there for further execution.
Prior to creating the database schema, a test database “bike_stores” will be established through an SQL command for testing or demonstration purposes. Key SQL commands USE and GO can be utilized to switch into the context of another database and start working with it immediately.
Once executed, such as with bike_stores as in Example 3, all context is established, and system is ready to accept further commands related to that database. These steps ensure the database has been successfully initialized and is ready for object creation such as tables, views and schemas.
By following these steps, users can efficiently load and manage a sample database in SQL Server for practice or testing queries in an easy manner.
SQL Server on Azure and Its Advantages
SQL Server on Azure offers users an on-cloud solution for managing SQL Server databases, making access more flexible in both on-premises and cloud environments.
Users are able to query databases remotely while providing full control.
However, one must keep certain factors in mind before using SQL Server in the cloud – one being cost. Though not an outright expense, cost remains an essential component. Microsoft provides its Developer Edition free download; for production use a paid edition is necessary.
Additionally, SQL Server comes in various editions tailored specifically for both on-premises and cloud environments. Though SQL Server on Azure offers incredible flexibility and scalability, it is still essential to carefully consider both its costs and benefits before choosing whether an on-premises or cloud solution would best meet your database management requirements.

SQL Server Course Price

Vanitha
Author