CyberArk Installation Training for Beginners
Getting Started with CyberArk
Starting the Cyberark environment, checking the instance state, and seeing the “running” status display is always an exciting moment.
I know we’re prepared to go right in at that point. Making ensuring the Cyberark vault server is operational should be the first step.
It’s a simple yet important step that often prevents us from doing needless troubleshooting later.
Understanding the Cyberark Vault and PVWA Setup
I logged into the Cyberark vault server and showed how the private server connects without any problems.
I want to emphasize that before we take any more action, we must make sure the private vault server is up and running. Only then do we go on to PVWA (Privileged Vault Web Access), one of Cyberark’s core components.
Cyberark Prerequisites and Installation Steps
I usually emphasize how important it is to finish the Cyberark requirements before installing PVWA. For example, Windows Server 2019, Internet Explorer 11.0, and.NET 4.8 are needed for the Cyberark PVWA configuration. Although they may seem simple, these specifics constitute the cornerstone of a good Cyberark installation.
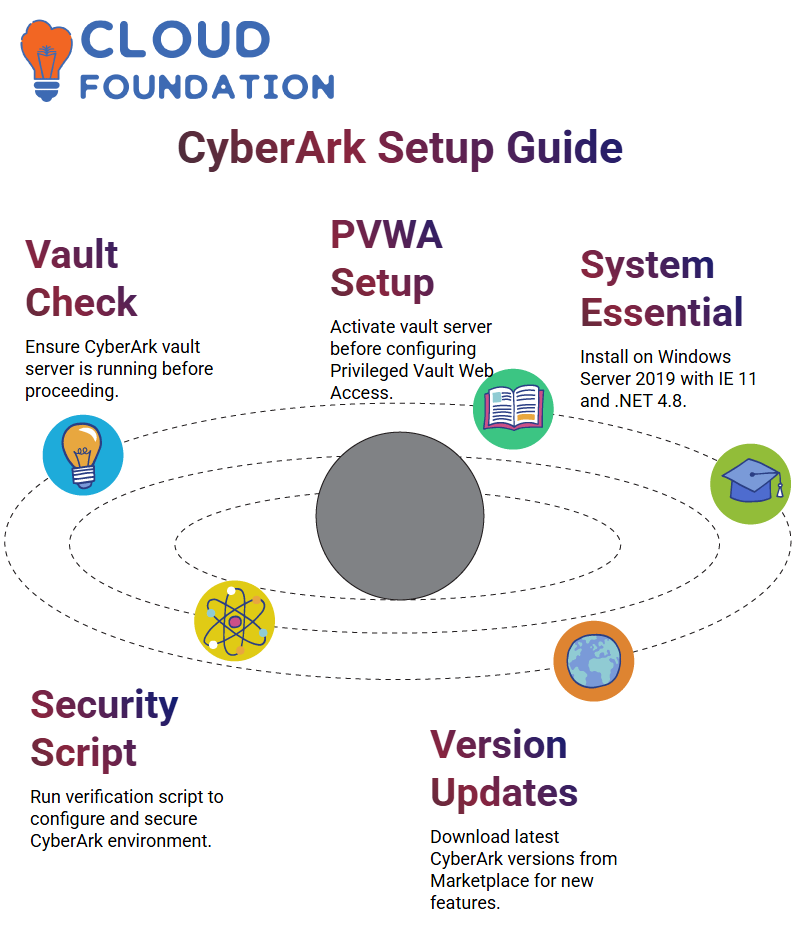
Additionally, we go through a Cyberark verification script that installs web server roles, disables IPv6, sets up a self-signed certificate, applies TLS settings, and validates the.NET version.
Every action guarantees the stability and security of the Cyberark ecosystem.
Accessing the Cyberark Marketplace and Versions
to get Cyberark parts. I lead you to the Cyberark Marketplace, a central location for all necessary installation packages. They may then download Cyberark versions such as 12.1 or the most recent 14.6 release from that location.
Every six months to a year, Cyberark releases new upgrades.
Every update includes new features to increase security and usability in addition to fixing issues.
Practicing with Cyberark
The actual learning starts when Cyberark PVWA has been installed and configured. I urge everyone to connect to their instances, practice every day, and try new things in the Cyberark ecosystem.
They gain confidence the more they work with Cyberark servers and setups.
Understanding how Cyberark works in actual situations is more important than memorization. When dealing with live systems or interviews, that is helpful.
Installing and Configuring Cyberark: A Hands-on Experience
Rebooting the server after finishing a.NET installation was the most crucial thing to learn. The system must restart after installing.NET in order for all settings to be applied correctly.
I restart and then proceed to download the Cyberark setup files. The official source for Cyberark software components is the Cyberark Marketplace, which is where I often go.
Then I download the necessary setup files, like PVWA and server components, and choose the most recent version, like 14.6.
Setting Up Cyberark Components the Right Way
After downloading the Cyberark setup files, I connect to my server using the Remote Desktop Protocol (RDP) client. After connecting, I can attest that the.NET Framework was correctly installed.
I open the Registry Editor, go to HKEY_LOCAL_MACHINE, and then dig down to “Software,” “Microsoft,” and “.NET Framework” to do that.
I check the “SKUs” line to make sure version 4.8 is in the v4.0 subfolder. This is a trustworthy indication that the installation of Cyberark prerequisites.NET is complete.
Running the Cyberark Prerequisite Script
It is essential to run the required PowerShell script included in the Cyberark installation files prior to installing the primary Cyberark component PVWA.
I launch PowerShell in administrator mode, enter “pvwa_pre,” and press the tab key to have the command autocomplete.
The script automatically performs a number of tests and installations, including installing IIS components, configuring the required web server settings, and verifying.NET.
“Succeeded = 0” indicates that all Cyberark requirements have been successfully deployed. I can always look up the error information in the logs in the designated log route if there is a problem.

CyberArk Training
Verifying Cyberark IIS Installation
I check to see whether Internet Information Services (IIS) is installed correctly when the script is finished. I just launch the IIS Manager after searching for “IIS” on the server.
The availability of version 10 indicates that Cyberark PVWA’s web server configuration is complete.
By doing this step, we can make sure that Cyberark’s web components will function properly throughout the installation process.
Launching the Cyberark PVWA Setup
I now proceed to execute the PVWA configuration. I choose “Run as Administrator” from the menu when I right-click on the Cyberark setup file. Installing missing components, such as C++, may be prompted by the installation.
If that occurs, I either manually download the package from the internet or let the installation take care of it automatically.
I navigate through the setup pages after completing the requirements, using the default installation paths for convenience.
To keep system and application data separate, many businesses, however, opt to put Cyberark files on a D or E disk.
Configuring Cyberark Authentication and Web Settings
I get to the part of the installation process when Cyberark requests the name of the website and application. The program is called “Password Vault” and the website is called “Default Website” by default.
Setting authentication types is the next important step. Cyberark native, LDAP, Cognito, OAuth, SAML, PKI, Oracle SSO, and other authentication methods are among those that Cyberark provides.
I often use LDAP and Cyberark for my configuration, making Cyberark the default authentication mechanism. Because of its adaptability, Cyberark may be used in a variety of corporate settings with varying security requirements.
Providing Vault Address in Cyberark Configuration
The setup requests the vault address when the authentication settings are complete. This address is the Cyberark Vault server’s IP address.
Usually, the cloud instances page or my Cyberark deployment manual is where I discover this. Since it guarantees smooth and safe connection between PVWA and the Cyberark Vault, entering this properly is crucial.
When logging in or retrieving policies later on, a single error here might lead to connection problems.
Final Steps of Cyberark Installation
I complete the setup and allow Cyberark PVWA to finish the installation when all settings are finished. It’s wonderful to see the process come to life; from setting up the environment to executing scripts and setting up authentication, each stage lays the groundwork for a safe Cyberark deployment.
After finishing, I may utilize Cyberark’s vast privileged access management features by logging into PVWA. Every arrangement helps me educate others how to learn Cyberark from start and solidifies my grasp.
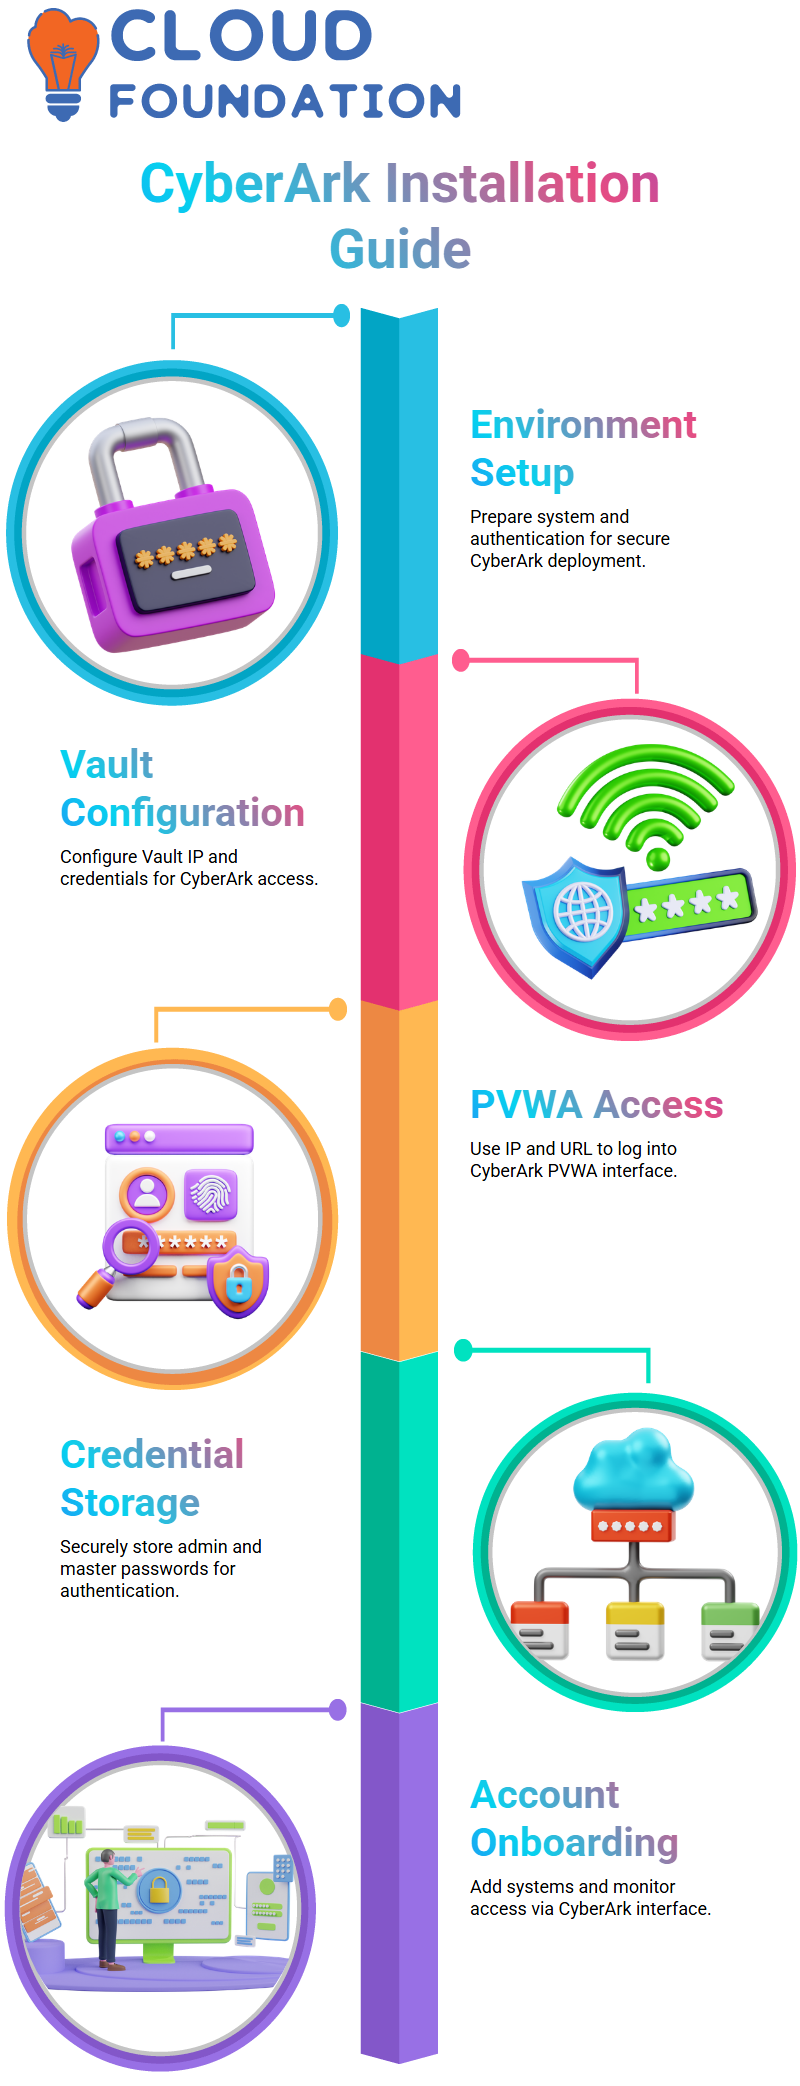
Setting Up CyberArk Vault and PVWA
My vault was open when I began working on the CyberArk Vault configuration. I opened the command prompt on my vault server and entered “ipconfig.”
I was able to see my CyberArk Vault server’s IP address, 172.31.69, thanks to this command. After receiving it, I proceeded to the PVWA server and modified the IP address.
This phase is essential since CyberArk depends so much on precise setting. After that, CyberArk requested my PVWA URL, which I choose to keep basic, but you are free to alter it anyway you see fit.
After I finished, CyberArk asked for the administrator password I had already established during the Vault installation, and I selected “Next.”
For the administrator and master users, I had to remember the password exactly. Credentials must be securely stored since CyberArk needs them for setup and authentication.
Accessing CyberArk Through PVWA
After everything was set up, I stored my CyberArk URL for future use. I then used the server’s IP address and the HTTPS URL to test it. At first, it didn’t function since the URL wasn’t registered yet.
I was able to verify the PVWA server’s accurate IP address by using “ipconfig” once again. After I entered the correct address, CyberArk asked for my login information.
The PVWA interface was successfully opened by CyberArk when I signed in using the administrator account that I had setup during installation.

Seeing it operate was quite rewarding! You may begin onboarding accounts into CyberArk as soon as this interface is operational.
These accounts may stand in for server login information or other system-level access points that you would want CyberArk to protect and keep an eye on.
Onboarding Accounts in CyberArk
Onboarding accounts in CyberArk refers to adding servers or systems that you want to safeguard. The IP address of your Windows server used for the PSM component, for instance, might be added.
Instead of utilizing more conventional remote access technologies like RDP files, you can connect to that server straight from the CyberArk interface after you’ve onboarded it. CyberArk may log and record each session using this method for security and auditing reasons.
All of the onboarded accounts are visible on the CyberArk “Accounts” page, if you have seen it. Each one stands for a CyberArk controlled credential or system.
A recognizable interface displaying all accounts, their connection status, and associated information appeared after I finished this step.

CyberArk Online Training
Exploring the CyberArk PVWA Interface
I started examining CyberArk PVWA’s features as soon as it was live. An overview of the CyberArk environment is given via the system health page, which displays the vault state, PVWA connection status, and general health indicators.
I could begin doing onboarding and discovery tasks under the “Accounts” page. However, the CyberArk CPM component must be installed before the policies tab may be accessed.
Similar to this, you may create operational reports in CyberArk by selecting the “Reports” option. These reports can include information about which accounts have been onboarded, who has accessed which system, and when.
L1 and L2 operating teams may audit CyberArk activities with the use of these reports.
Understanding CyberArk Reporting and Monitoring
There were several download choices available when I created my first report in CyberArk. Administrators may use these reports to keep track of every activity taken in CyberArk, including who did what, when, and how.
CyberArk also permits session recording when PSM is enabled, guaranteeing accountability and compliance for all privileged activities.
For those who want to confirm activities on a particular server, CyberArk’s reporting module offers comprehensive information. This functionality, which enables teams to keep visibility across privileged sessions, becomes an essential component of CyberArk’s operational usage.
Preparing for CyberArk CPM and PSM Installation
Installing the CyberArk PSM (Privileged Session Manager) and CPM (Central Policy Manager) came next once PVWA was configured.
While the PSM is in charge of session control, the CPM is in charge of password management policies. Install the.NET components that CyberArk need if you set up both CPM and PVWA on the same server.
CyberArk has to enable the Remote Desktop Session Host role on the PSM server prior to deploying PSM.
This step guarantees proper session recording. In a test configuration, the CAL license may be omitted, but all compatibility tests need to be confirmed.
The seamless installation of CyberArk PSM, which integrates session control with the entire privileged access flow, is possible if certain conditions are met.
Reviewing CyberArk Version and Activity Logs
Clicking on the “About” part of the CyberArk PVWA interface displays the version information and login history. It logs the source IP from which the login took place, the timestamp, and the administrator user ID.
For instance, CyberArk showed that the administrator had signed in from a particular IP address at 4:03 PM.
This recording system aids in preserving full traceability of CyberArk’s privileged access.
The thorough audit trail provided by CyberArk enhances responsibility across the company. It is among the factors that contribute to CyberArk’s widespread reputation for managing privileged access.
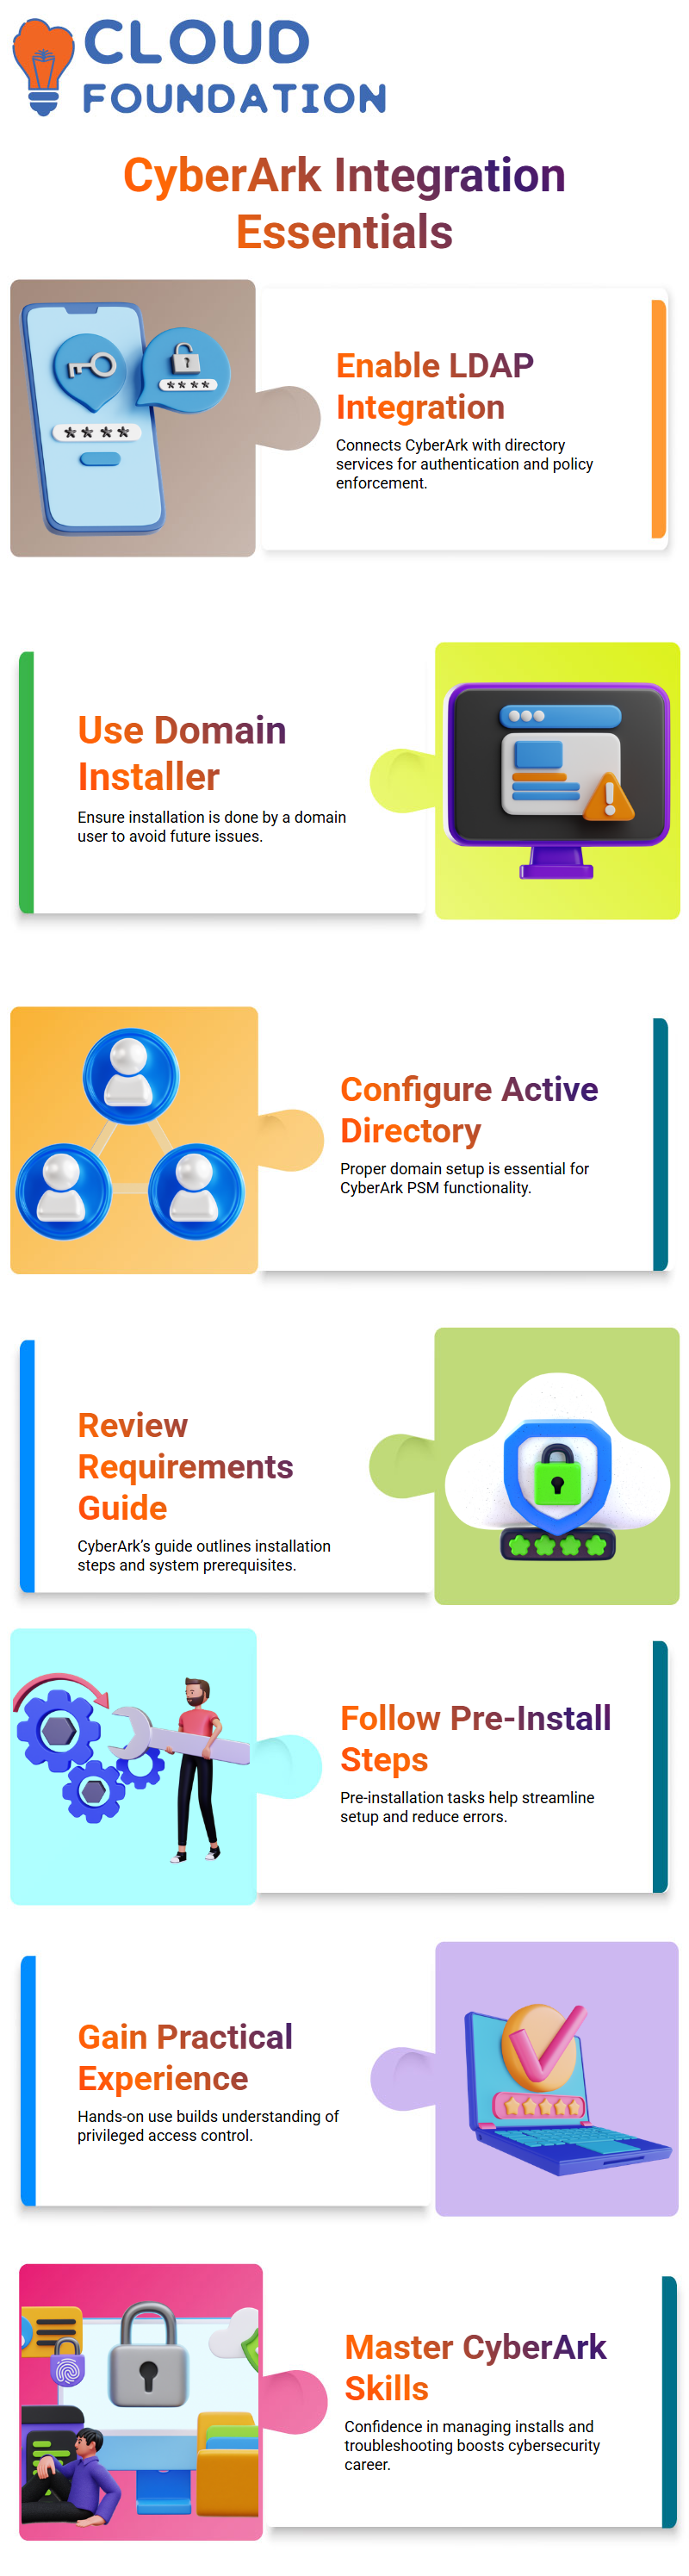
CyberArk LDAP Integration
LDAP integration comes once the main installation of CyberArk Vault, PVWA, CPM, and PSM is finished. This makes it possible for CyberArk to integrate with a company’s directory service in order to enforce policies and authenticate users.
By enabling administrators to log in using domain credentials while CyberArk maintains seamless control over all privileged access, CyberArk’s LDAP configuration improves security and convenience.
Setting Up Your Domain Environment in CyberArk
One of the first things you should make sure of while installing Cyberark is that a domain user is doing the installation. I’ve seen a lot of novices skip this little but important step.
It saves a ton of troubleshooting later, I promise. You need to have your domain set up correctly using Active Directory before beginning the Cyberark setup.
This is a crucial need for setting up Cyberark’s PSM component.
Preparing for Cyberark PSM Installation
Make sure you read the Cyberark requirements paper before beginning the PSM installation. It’s more than just a checklist; it’s a comprehensive guide that covers every aspect, from installation concerns to system requirements.
I always advise my students to go over the pre-installation duties and the Cyberark installation overview.
It provides you with a clear picture of what to anticipate and what must be done before moving on.
Building a Career with Cyberark Skills
What really counts is gaining practical experience with Cyberark, regardless of whether you’re going for an on-site or hybrid job.
You will have a deeper understanding of privileged access control the more you work with Cyberark.
You’ll see how effective Cyberark is at protecting organizational credentials once you begin using it in actual settings.
You’ll acquire the self-assurance necessary to manage installs, settings, and troubleshooting—all crucial competencies in today’s cybersecurity.

CyberArk Course Price

Navya Chandrika
Author