Workday Integration Calculated Fields Training Online
Workday Integration Calculated Field Basics
Calculated fields are necessary for working with complex data in Workday Integration.
Workday Integration makes sure that if an estimate goes wrong, the field can return 0 instead of an error. This keeps your reports clean and correct.
For example, you can take the year from a person’s date of birth, turn it into a number, and then add a few years to get an idea of when they will retire.
The integration with Workday makes this process clear and simple.
Creating Calculated Fields in Workday Integration
Today, I’m going to show you a useful Workday Integration idea that I often use when making calculated fields. I’m going to keep it simple and easy to understand from the start.
I usually start with a simple example, like taking the first two letters of a first name, putting them together with a hash symbol, and adding the first two letters of the last name at the end.
After that, I go to the “Create Calculated Field” task and carefully build the logic one step at a time to make sure it is clear.
I make it a point to set clear and uniform naming standards early on, because having a lot of derived fields can be hard to keep track of.
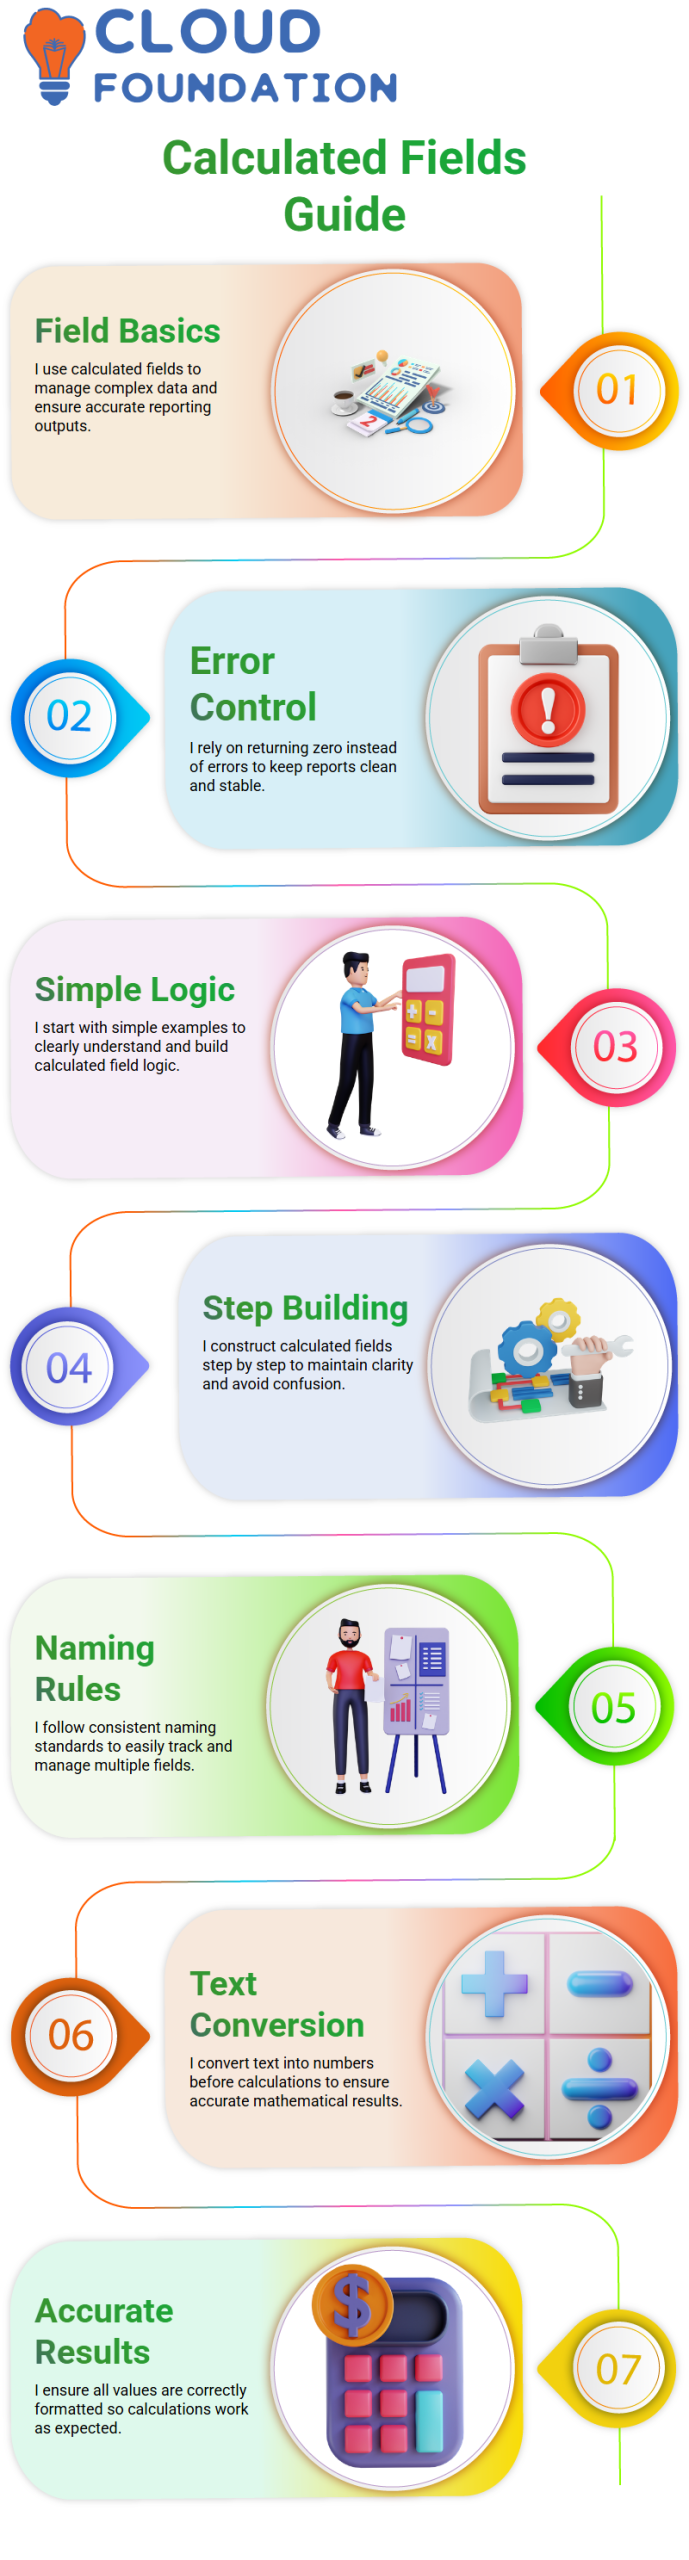
Finally, after making sure everything is set up correctly, I pick the best function to finish the process correctly.
Using Convert Text to Number in Workday Integration
When I work with Workday Integration, the “Convert Text to Number” tool helps me a lot with values that are taken out as text but need to be used in calculations.
When I take a value from a date field, even something as easy as “2000,” Workday Integration treats it as text.
When I try to do math, like adding 20, without first changing it, the system joins the numbers together instead of calculating them.
Before I do any math in Workday Integration, I make sure that both amounts are numbers so that this doesn’t happen.
When I turn the text into a number, the calculation works properly, and I get correct answers like 2020.
This usually happens to me when I use the substring or formatting tools in Workday Integration, since they give me text outputs.
I use the Convert Text to Number function right away whenever I want to use those outputs in math tasks.
This small step makes sure that my Workday Integration calculations are always correct and work the way I expect them to.
Handling Derived Text Values in Workday Integration
To meet certain needs in my Workday Integration scenarios, I often get values from fields that are already there, like post names or job profiles.
When I extract these numbers, they are saved as text, which works fine until I need to do some math with them.
After that, I use Workday Integration to turn the resulting text into a number format to make sure it is correct.

I learned that I can’t just type any number into the field selection box while setting this up because Workday Integration only lets valid field selections be made.
Because of this, whenever I need to use a constant number, I first make a text constant calculated field and then use it in my logic without any problems.
Formatting Numbers Based on User Locale in Workday Integration
Number formatting is another part of Workday Integration that I pay close attention to, especially after turning words into numbers.
I make sure to set the decimal separators and digit grouping, and to help organizations around the world, I often choose the “Based on User Locale” option.
I’ve learned that phrasing is very important because different parts of the world use different ways to show numbers, like the US uses millions instead of lakhs.
Workday Integration reads user profiles smartly and shows numbers based on where each user is located.
By setting it up this way, I make sure that reports stay clear, useful, and easy for teams in different places to use.

Workday Integration Training
Using Return Zero on Error in Workday Integration
I always make sure to check the “Return Zero on Error” setting when working with calculated fields in Workday Integration, since numbers might not be present.
I know that changing empty areas to numbers can easily lead to mistakes that stop the whole process.
This doesn’t happen because I always turn on the option to return 0 on error, which takes care of missing numbers without any problems.
This method helps me keep my reports stable and trustworthy for people in the business world who count on them.
In the end, this setting keeps my Workday Integration reports running easily even when there are gaps in the data.
Workday Integration Increment and Decrement Dates
Workday Integration makes it easy for me to figure out important times like probation and confirmation.
When a new employee starts, I just add the set probation time, like 15 months, to get the confirmation date.

To do this, I set up a calculated field that uses the hire date to determine whether to increase or decrement the date.
I also make sure that if something goes wrong, the field gives a blank value. This keeps the process running smoothly and reliably.
Once it’s set up, I add this field to reports so that I can see exact confirmation dates for all workers at once.
Workday Integration Date Difference Calculations
I’ve found it easy to find the difference between two times in Workday Integration, especially when I need to know something like an employee’s age on a certain date.
Most of the time, I make a calculated field and enter the start and end dates. I then choose whether I want the result to show up in years, months, days, or even hours.
What I like most about this feature is that it lets you handle mistakes nicely by setting the field to return zero instead of breaking.
I can easily fix things that don’t look right by switching the times or ignoring smaller units like hours and days.
This level of adaptability helps me make sure that my numbers are correct and reliable across all reports.
Workday Integration Best Practices for Calculated Fields
It is important to always check the box that says “Return a blank date on error” when you use calculated fields in Workday Integration.
This keeps your info safe and stops mistakes from messing up your reports.
Integrating Workday lets you test your calculated fields by adding them to test results. You can check to see how the calculations work for various workers and make changes as needed.
By learning these calculated field methods in Workday Integration, you’ll be able to do math with dates, deal with missing data without a problem, and always give correct reports.
Advanced Workday Integration Calculated Field Usage
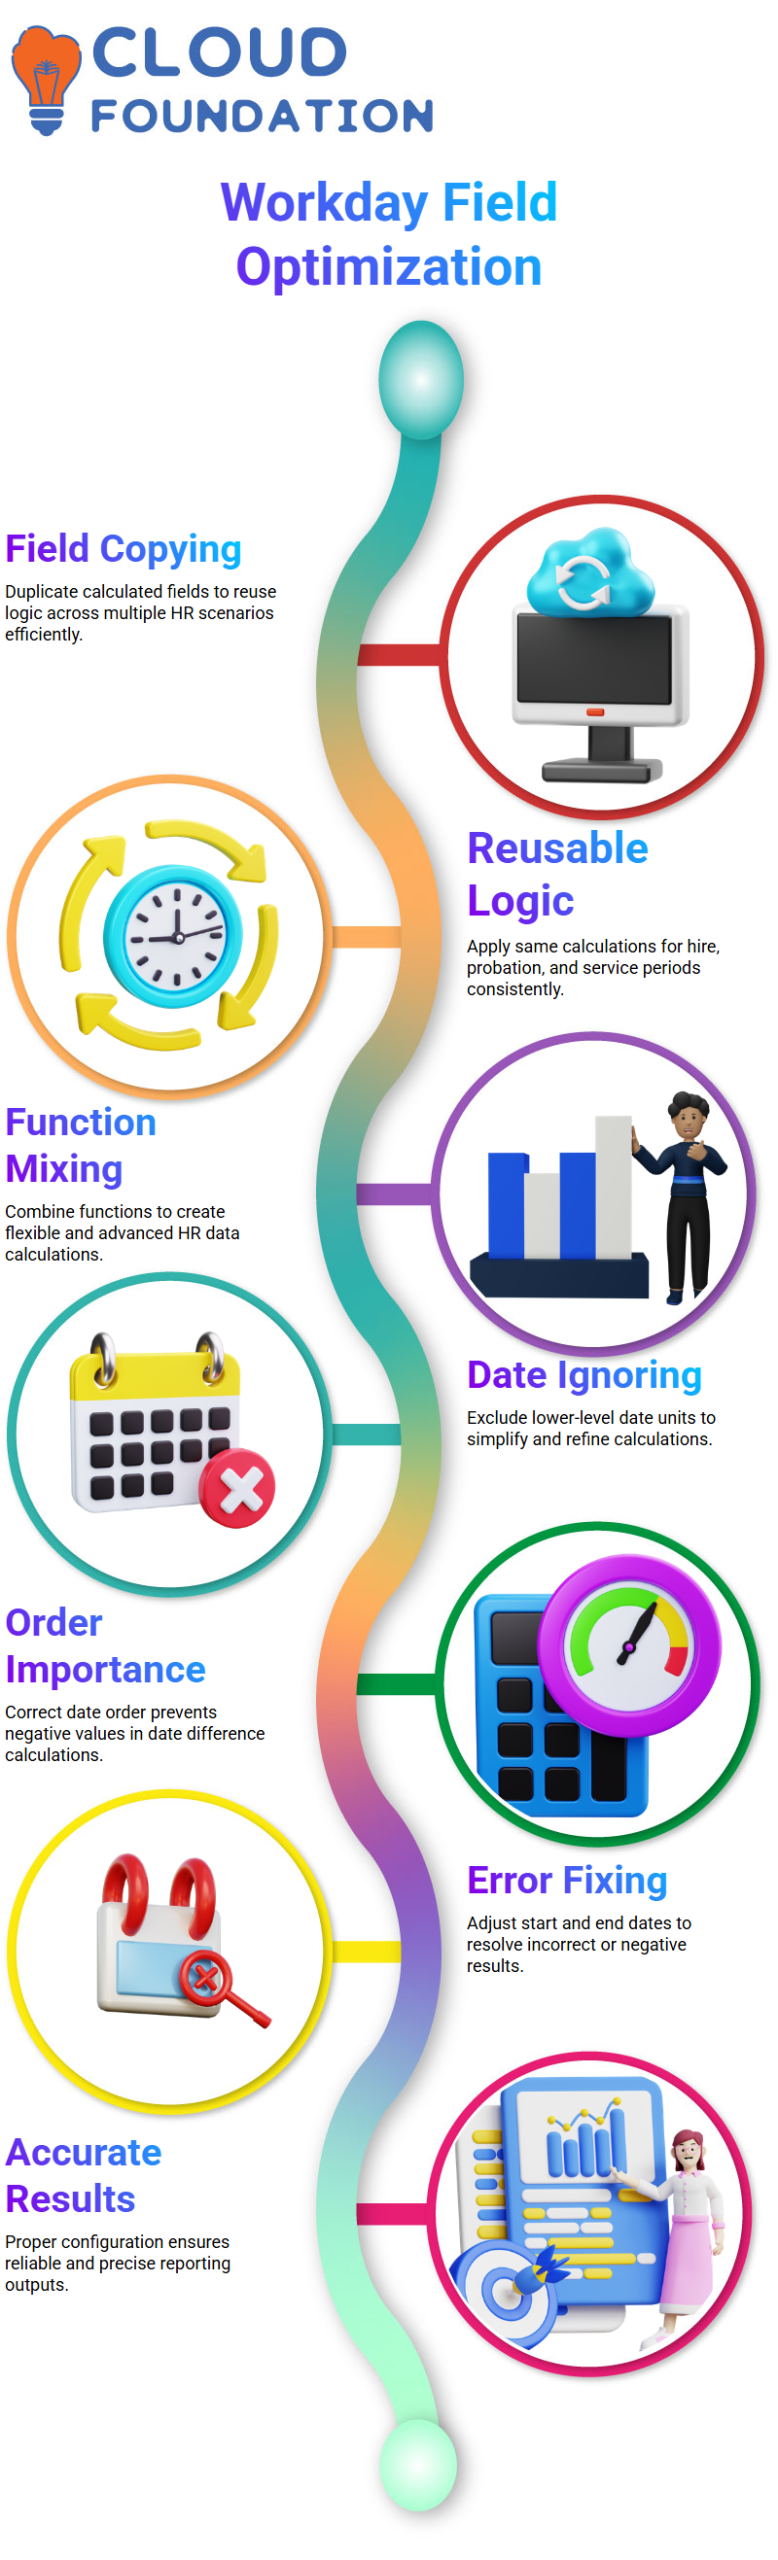
Workday Integration also lets you quickly make multiple calculated fields by copying and editing existing ones.
This feature comes in handy when you need to do the same math for a number of different situations, like when someone starts working for you, their trial period, or their service period.
In Workday Integration, you can change parts, ignore lower-level date parts, and mix functions to get the results you want.
It lets you do all of your HR data calculations without using any outside tools.

Workday Integration Online Training
Date Difference in Workday Integration Calculated Fields
When I work with Workday Integration reports, I see that most mistakes happen when I try to figure out the date difference.
This became clear to me when I tried to find the difference between the Hire Date and the Date of Birth but put the fields in the wrong order, resulting in negative numbers.
I learned that in Workday Integration, the order of the dates is very important because switching them around changes the whole result of the math.
In the calculated box, I fixed this by making Hire Date the End Date and Date of Birth the Start Date.
After I made this change and ran the report again, the negative numbers went away, and the results were exactly what I had hoped for.
Using Ignore Lower Level Date Components in Workday Integration
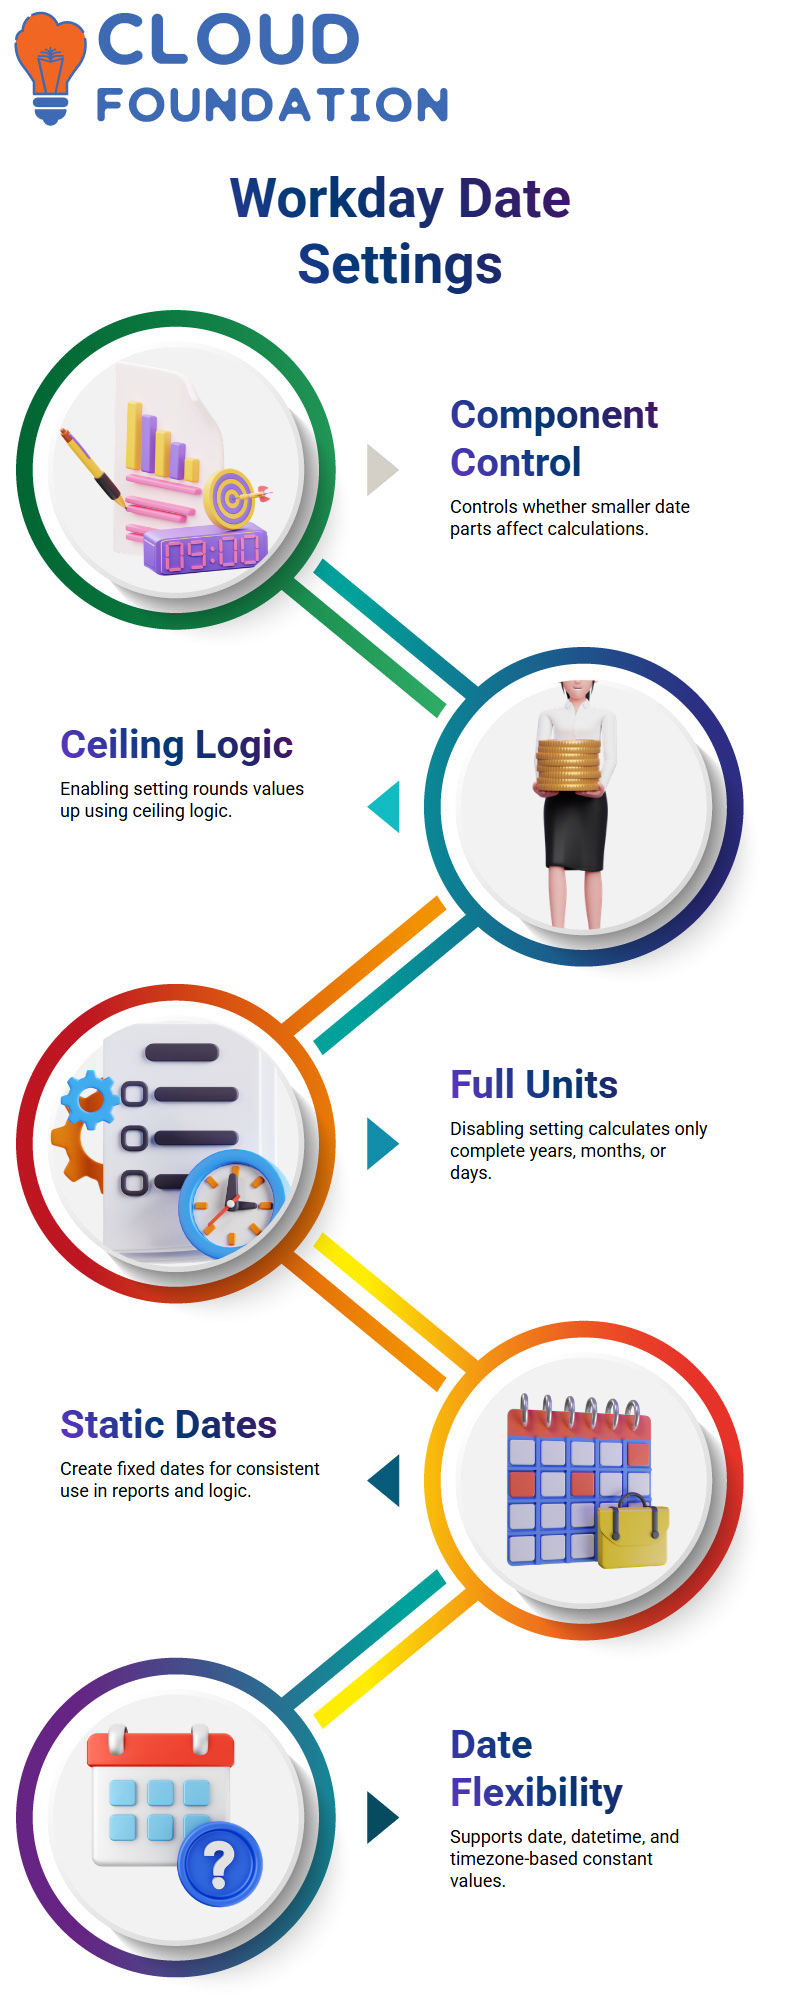
Now I’ll talk about an important Workday Integration setting called “Ignore Lower Level Date Components” and how it changes the way dates are calculated.
If I don’t check this, I see that the system only looks at fully finished times, like exact years, months, or days.
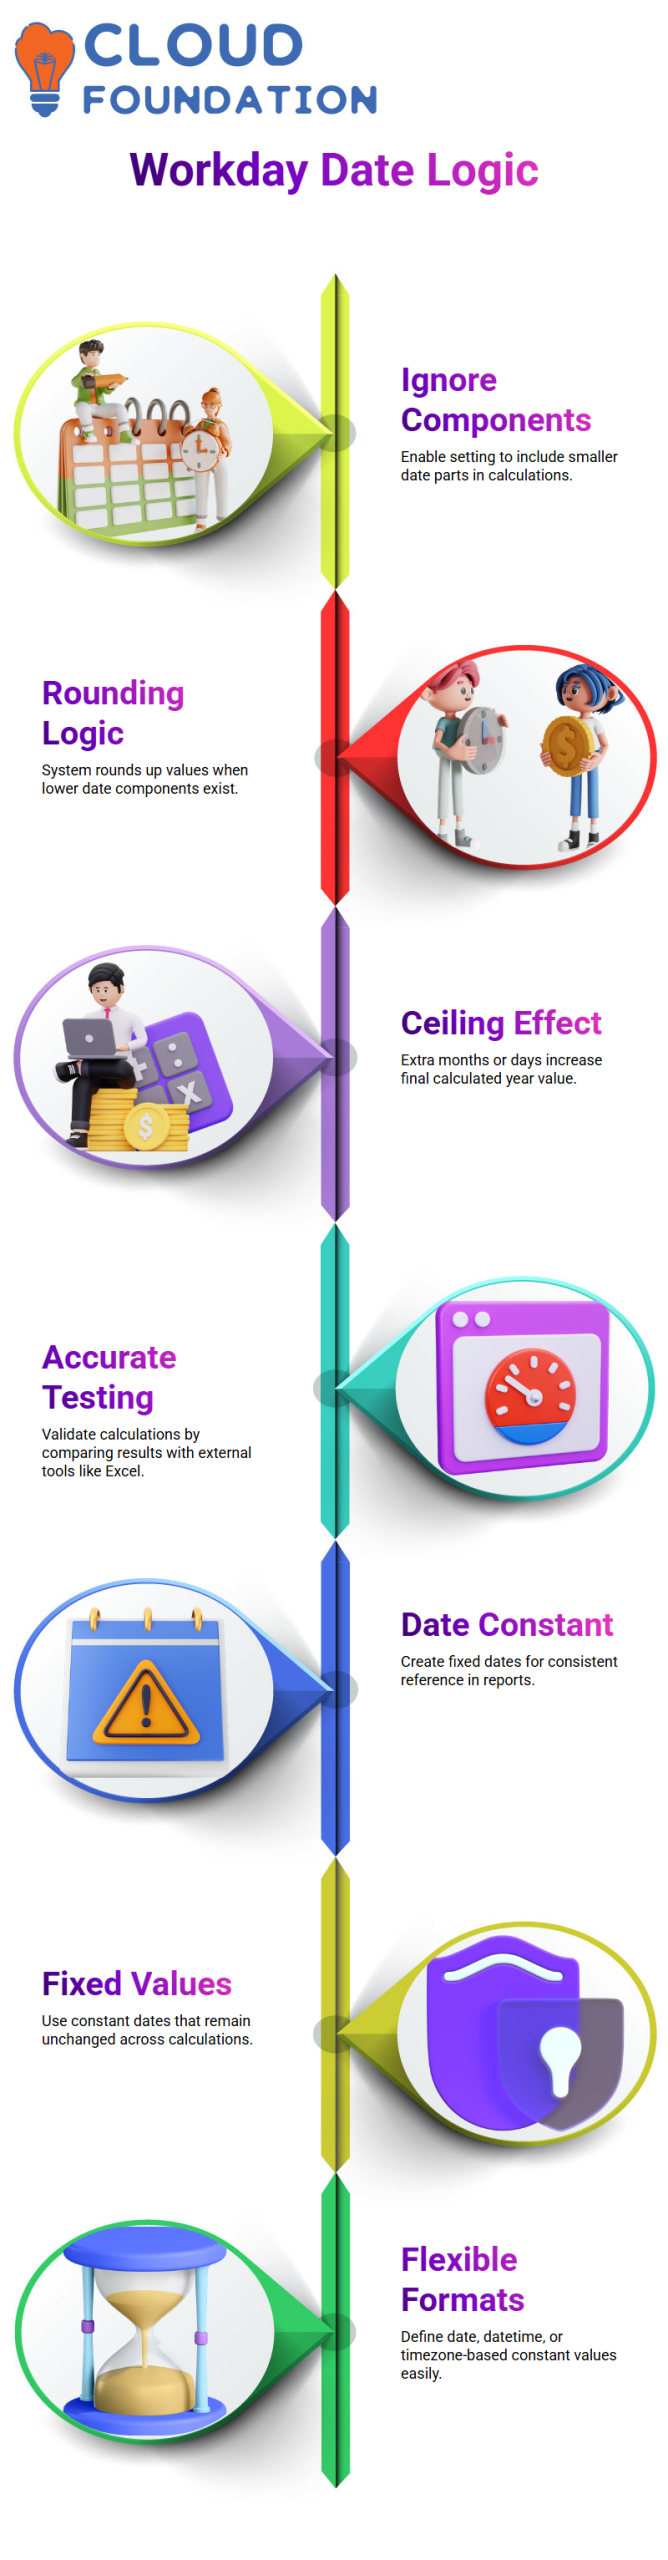
But when I turn it on, I see that the number rounds up whenever there are smaller date components, which is like ceiling logic.
For instance, if the gap is 25 years plus a few extra months, I see that it returns 26 years when the checkbox is checked.
Based on my own experience, I always test this in my renter and then compare the results with Excel to see how the rounding really works.
Creating Date Constant in Workday Integration
Workday Integration also has a generated field called Date Constant that can be useful. There are times when I need a set date in Workday Integration, and I use Date Constant.
For instance, I use the Date Constant calculated field in Workday Integration to set a fixed number like January 1, 2025.
I can make a fixed date, a date and time, or even a date and time with time zone using Workday Integration.
The calculated field always shows the same number when I add it to a Workday Integration report.
The Date Constant in Workday Integration lets me add set reference dates to my logic in the same way that the Numeric Constant or the Text Constant does.
Applying Format Date Calculated Field in Workday Integration
Format Date is the next calculated field I use a lot in Workday Integration. This is especially true when I need to change how times look in my reports.
When I need to work with a date field like Hire Date, I just pick it out and pick the style that works best for me.
In Workday Integration, I like that I can change the format of the display without changing the number that was stored in the first place.
This is very helpful when making integrations and reports that go out, since it’s important to keep the layout the same.
I’d rather handle everything directly within Workday Integration for better control and speed than fixing date formats outside of Workday.
Date Formatting in Workday Integration Using Calculated Fields
If I need full control over how dates look in my reports, I use calculated fields to format dates in Workday Integration.
In this lesson, I show you how I do that. I usually start by entering a date in the date field and then pick one of the predefined choices, such as year, month, day, or quarter if standard outputs are enough.
But when I need to integrate something in real time, I like to use the format mask option to make my own custom forms.
When I use the format mask, I use the codes and examples that the system gives me to make exact date patterns like DD.MM.YYYY.
Once it’s been used, this makes sure that the output of my report meets all external system needs and formatting standards.
These formatted outputs are viewed as text values, which changes how they work in filters, transformations, and integrations. This is something I always remember.

Workday Integration Course Price

Vanitha
Author