What is NetSuite Map/Reduce Script?
Understanding MapReduce and Its Role in Managing Large Data Sets in NetSuite
In today’s data-driven world, managing and processing large volumes of information efficiently is crucial.
One powerful tool for achieving this is MapReduce, a data warehouse platform designed to handle large datasets and streamline data management tasks.
What Is MapReduce in NetSuite?
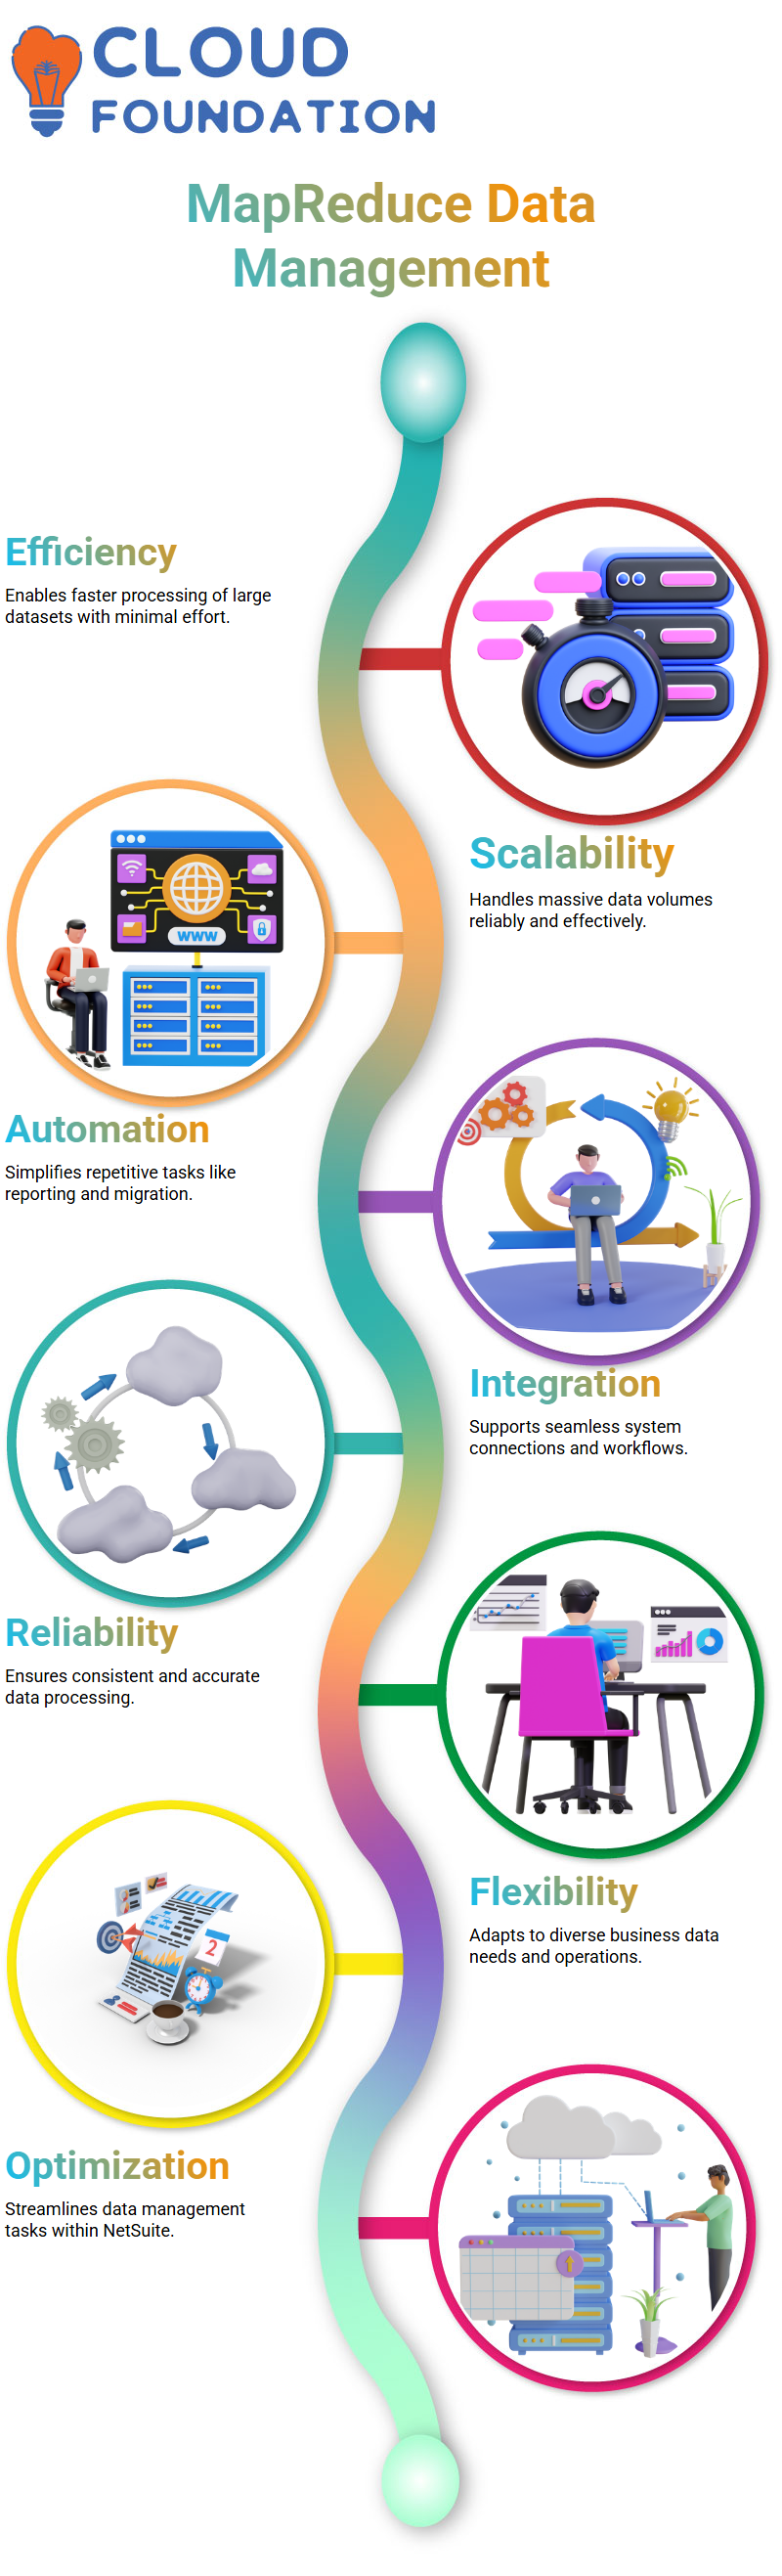
MapReduce is a programming model and processing technique that breaks down data operations into multiple stages, allowing businesses to process massive amounts of information quickly and reliably.
It is beneficial for organisations looking to automate repetitive tasks such as data migration, daily reporting, and system integrations.
NetSuite Client Scripts and Triggers
Client scripts play a crucial role in the data workflow, particularly on the UI (front-end) side. These scripts provide validation and automation for user interactions. For example:
Field Change: When a user changes a field value, the client script automatically triggers.
Cursor Movement: If the user moves the cursor to another field, the script can run.
Form Load: Client scripts can also trigger when a form is loaded, ensuring data integrity from the moment it is displayed.
Understanding when and how these scripts trigger is key to ensuring smooth user experiences and accurate data processing.
The Four Stages of MapReduce in NetSuite
MapReduce operates in four primary stages:
Get Input: Fetches large datasets from the system.
Map: Passes data in key-value pairs for any required validation.
Reduce: Processes and validates the mapped data based on defined rules.
Summarise: Compiles the results and generates a summary of the operations performed.
This process ensures that large data sets are handled efficiently, with each stage performing a specific function. Users can also skip unnecessary stages if their use case requires it, providing flexibility and optimisation.

NetSuite Training
Scheduling and Execution in NetSuite
One of the most powerful features of MapReduce is its ability to schedule scripts. For instance, users can:
Schedule scripts to run daily, hourly, or monthly.
Automate tasks like sending customer emails about newly created sales orders.
Fetch and process data from external systems, such as payment gateways, on a regular schedule.
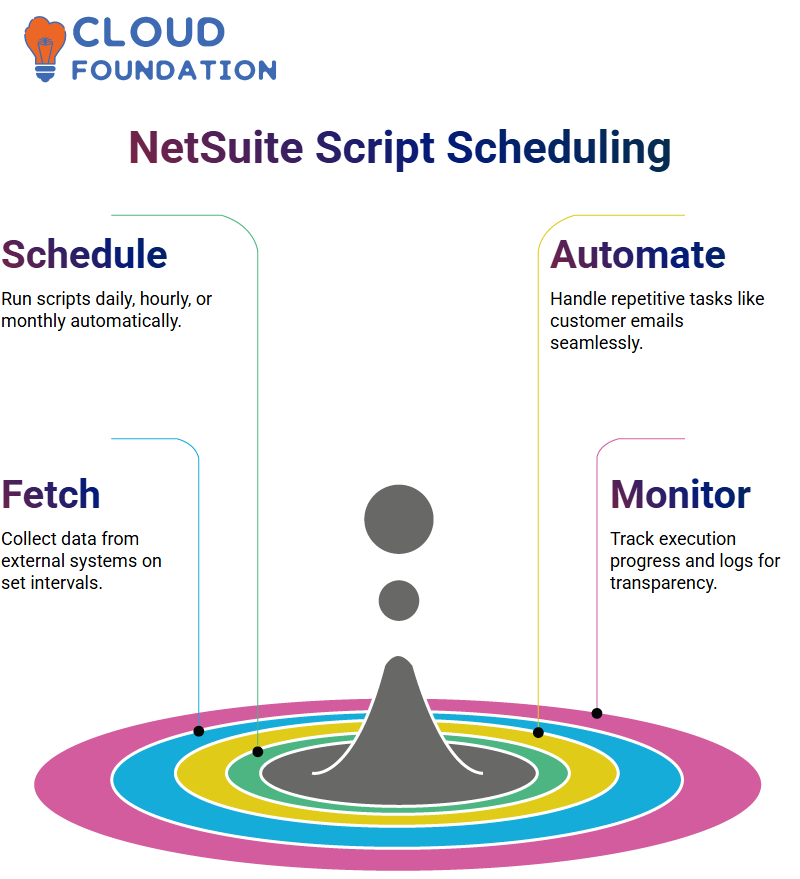
After saving the data, the code can be executed, and its progress is displayed in logs. This ensures transparency and allows developers to monitor job completion.
Real-World Use Case: Payment Gateway Integration in NetSuite
A practical scenario involves integrating payment gateways with ERP systems. Consider a client who uses two different gateways:
Transactions are created in one gateway.
The data is posted to another ERP system for tracking transaction IDs.
To automate this process, a MapReduce script can be scheduled daily (e.g., at 3 AM) to fetch data from the gateway, process it, and send it to the ERP system. This ensures accurate, timely updates and minimises manual intervention.
Triggering Map Reduce Scripts in NetSuite
MapReduce scripts can also be triggered programmatically from other scripts, particularly user event scripts. For example:
A User Event Script can call a MapReduce script after a record is submitted.
Developers must provide the MapReduce script ID and its deployment ID when setting this up.
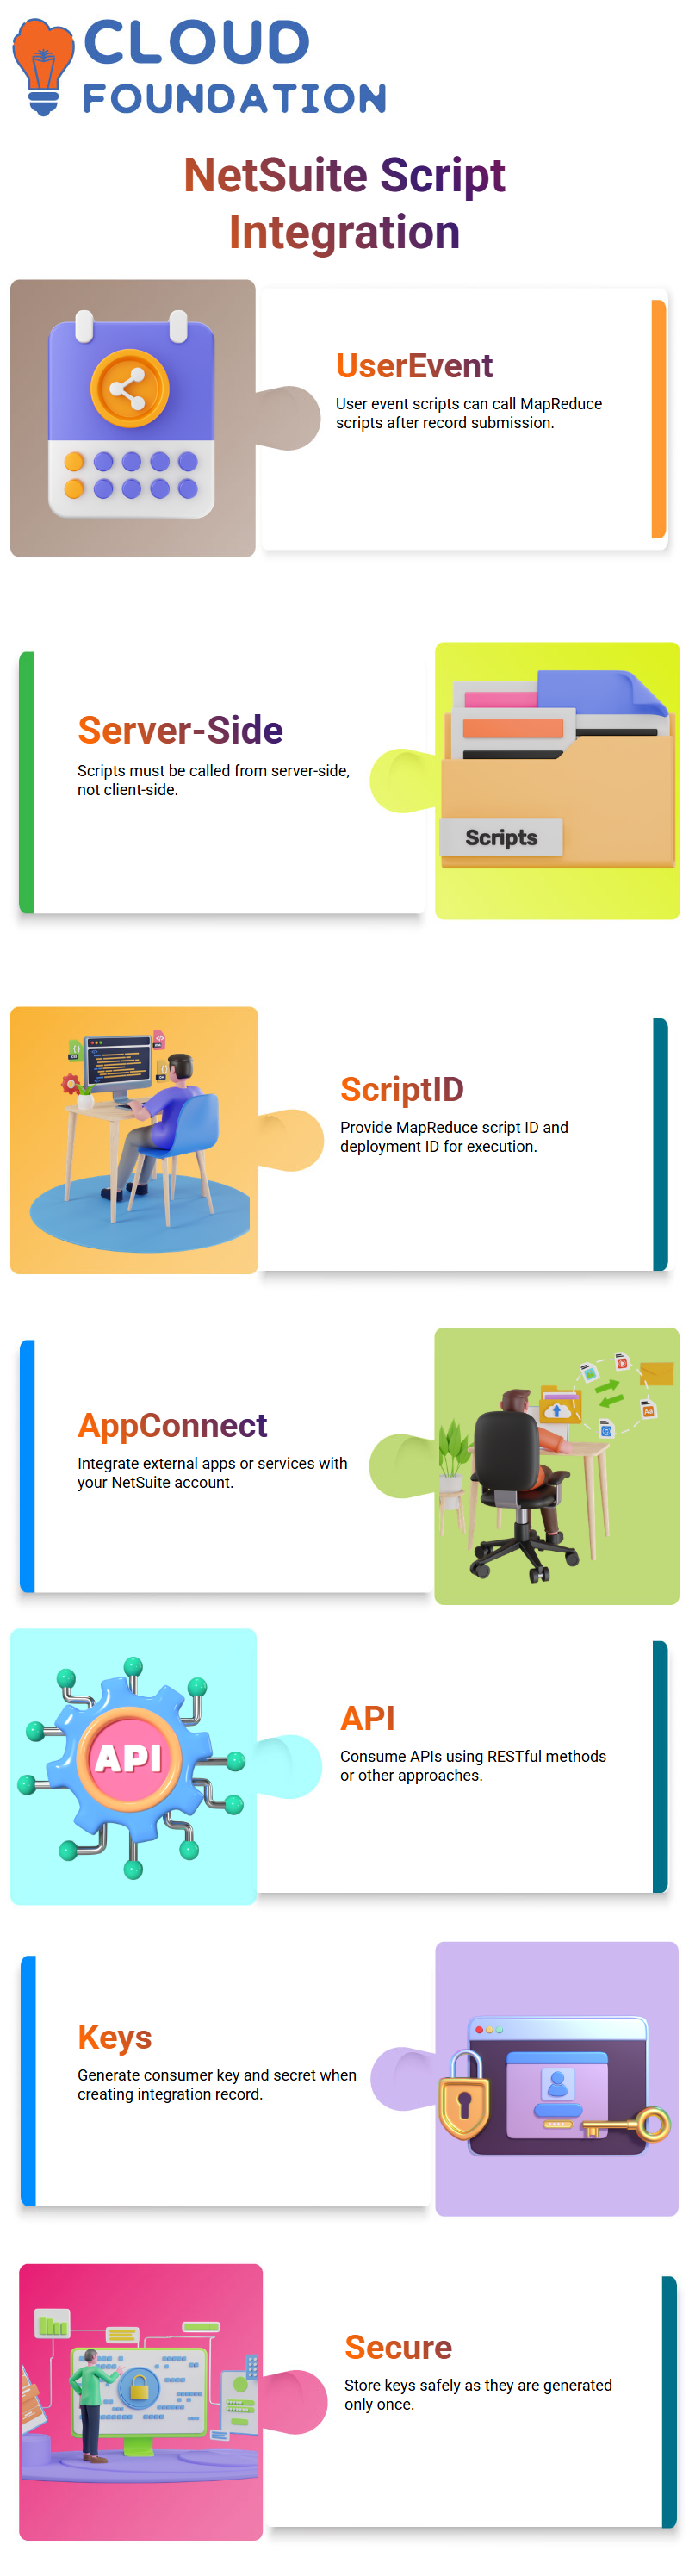
However, it is essential to note that MapReduce scripts can only be called from server-side scripts, not from client-side scripts.
How to Create Integration Records and Consume APIs in NetSuite
When working with NetSuite, one of the most common requirements is to integrate external applications or services with your NetSuite account.
This typically involves generating keys, creating roles, and consuming APIs using RESTful methods or other available approaches. In this guide, we’ll walk through the process step by step.
Step 1: Create an Integration Record
The first step is to create an Integration Record in NetSuite.
Navigate to the Integration setup page and create a new record.
Once created, NetSuite will generate two important keys:
Consumer Key
Consumer Secret
Important: These keys are generated only once. If you refresh the page before copying them, they will be lost. Make sure you store them securely for future use.
Step 2: Assign Roles to Users
Next, assign a specific role to the user who will consume the API.
If necessary, create a custom role specifically for integration purposes.
Avoid using admin roles since they may not be ideal for API integrations.
Once the role is assigned, it will be used whenever that user consumes the API.
Step 3: Create Access Tokens
Now, generate the Access Tokens that will allow API access.
Navigate to Access Tokens in NetSuite.
Select:
The Application Name (the integration record you created)
The User
The Role you just assigned
Copy and store the generated Token ID and Token Secret.
At this point, you will have four keys:
Consumer Key
Consumer Secret
Token ID
Token Secret
These four values are required to authenticate API requests.

NetSuite Online Training
Step 4: Consume the API
With all credentials ready, you can now send API requests.
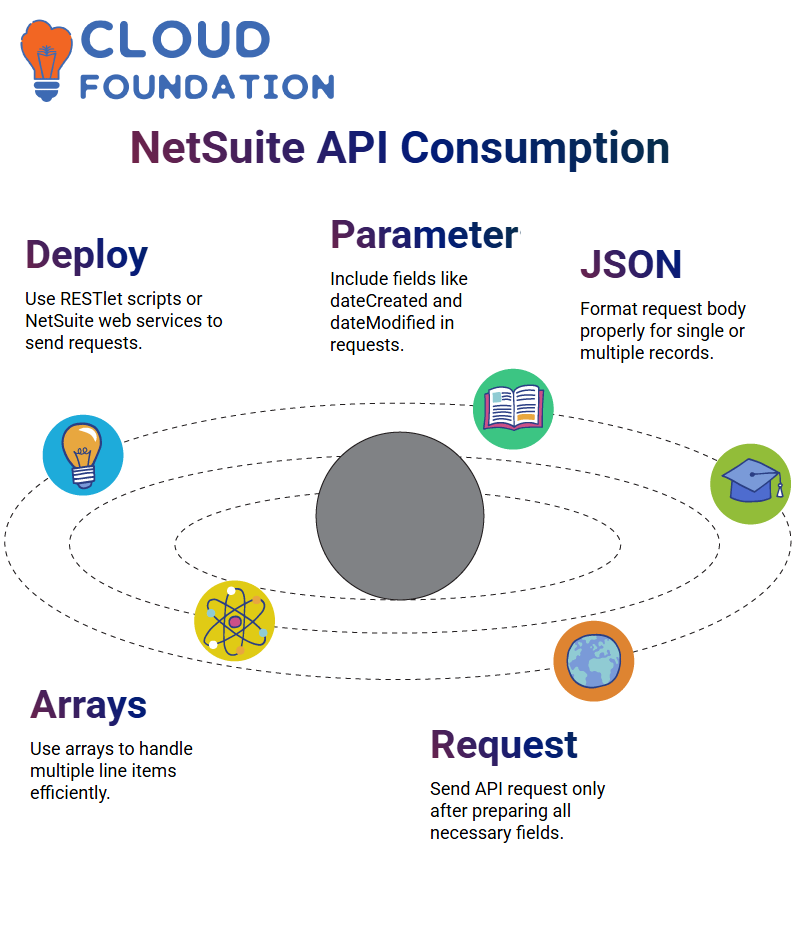
Deploy a RESTlet Script or use other NetSuite web services.
The API request usually requires parameters like:
Date Created
Date Modified
 Sample JSON Request
Your request body should include all required fields. For example:
{
“dateCreated”: “2025-09-01”,
“customerName”: “John Doe”,
“email”: “[email protected]”,
“lineItems”: [
{
“item”: “Product A”,
“quantity”: 2
},
{
“item”: “Product B”,
“quantity”: 1
}
]
}
You can use a JSON editor to format your request and include arrays for line items. This helps when working with multiple records in a single request.
Step 5: Handle Authorisation
When making the request:
Use Token-Based Authentication (TBA) with NetSuite’s 1.2 Authentication method.
Pass the Consumer Key, Consumer Secret, Token ID, and Token Secret in the request header or body as required.
The request will automatically include the user’s account ID.
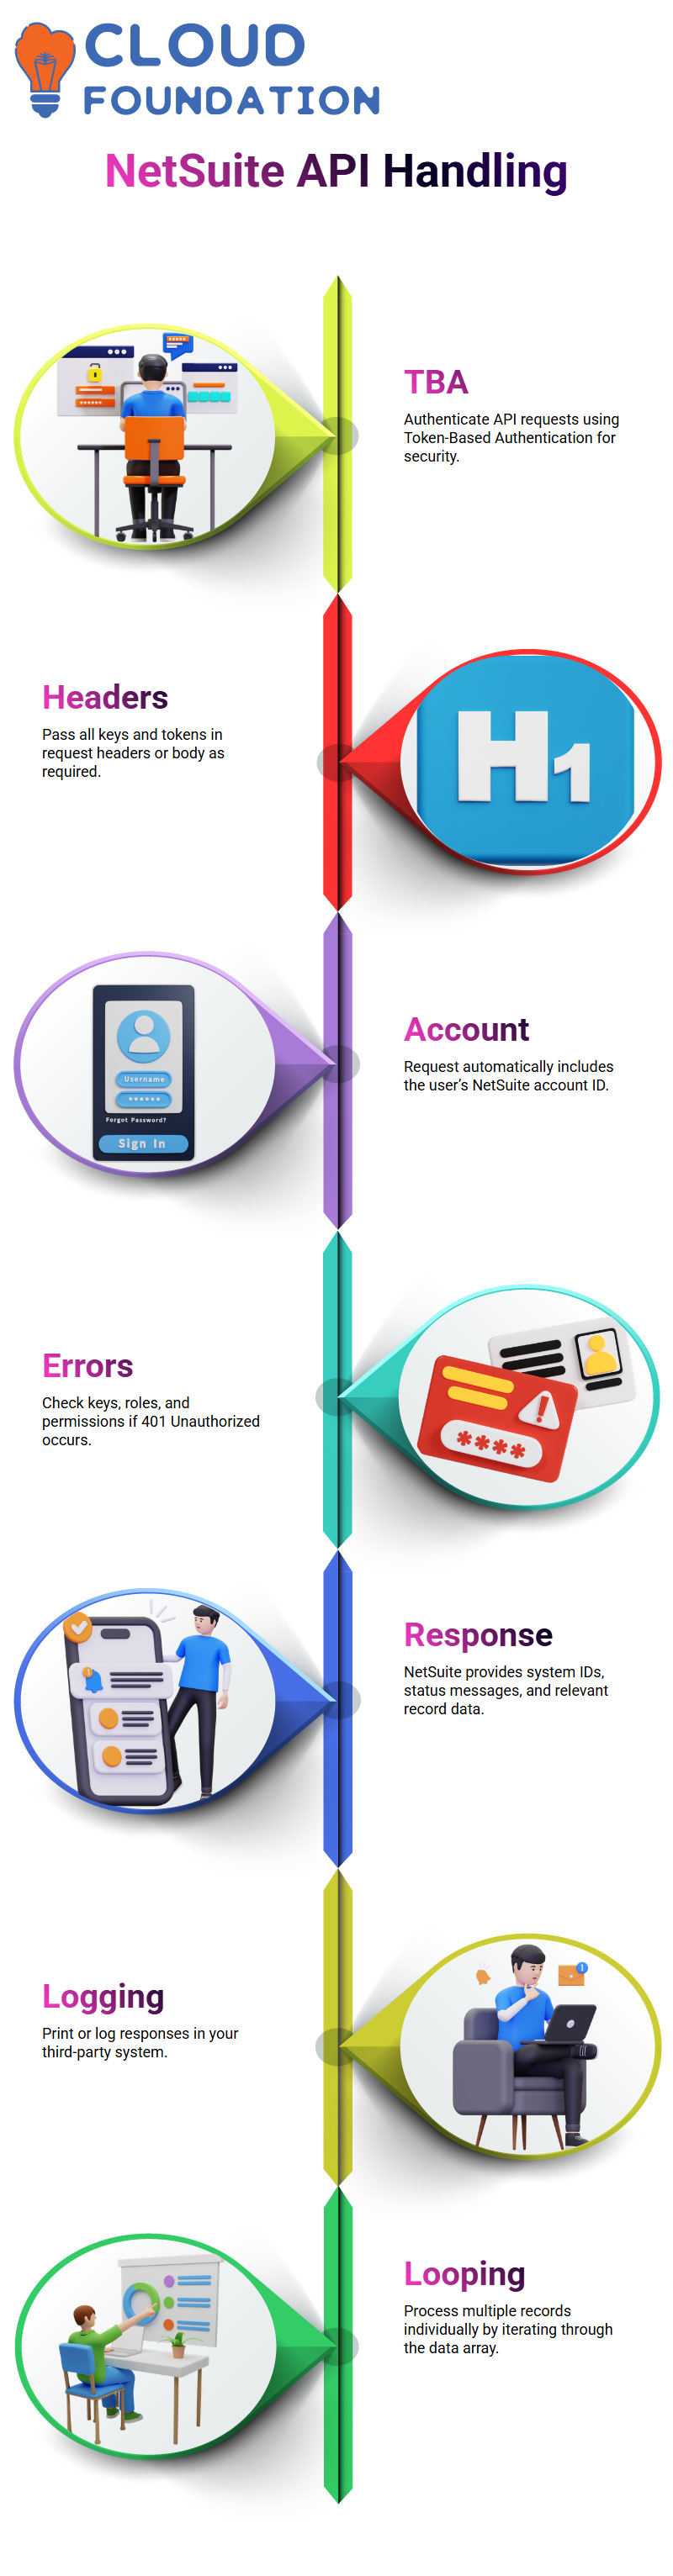
If authentication fails, you may get an error such as 401 Unauthorised. In that case, double-check:
All keys and tokens
Assigned roles
Script deployment permissions
Step 6: Process the Response
The response generated by NetSuite will typically include:
System-generated IDs
Status messages
Any relevant data for created or updated records
You can print or log this response in your third-party system. If you’re retrieving multiple records, loop through the data array and process each record individually.

NetSuite Course Price

Vinitha Indhukuri
Author