What is Mendix
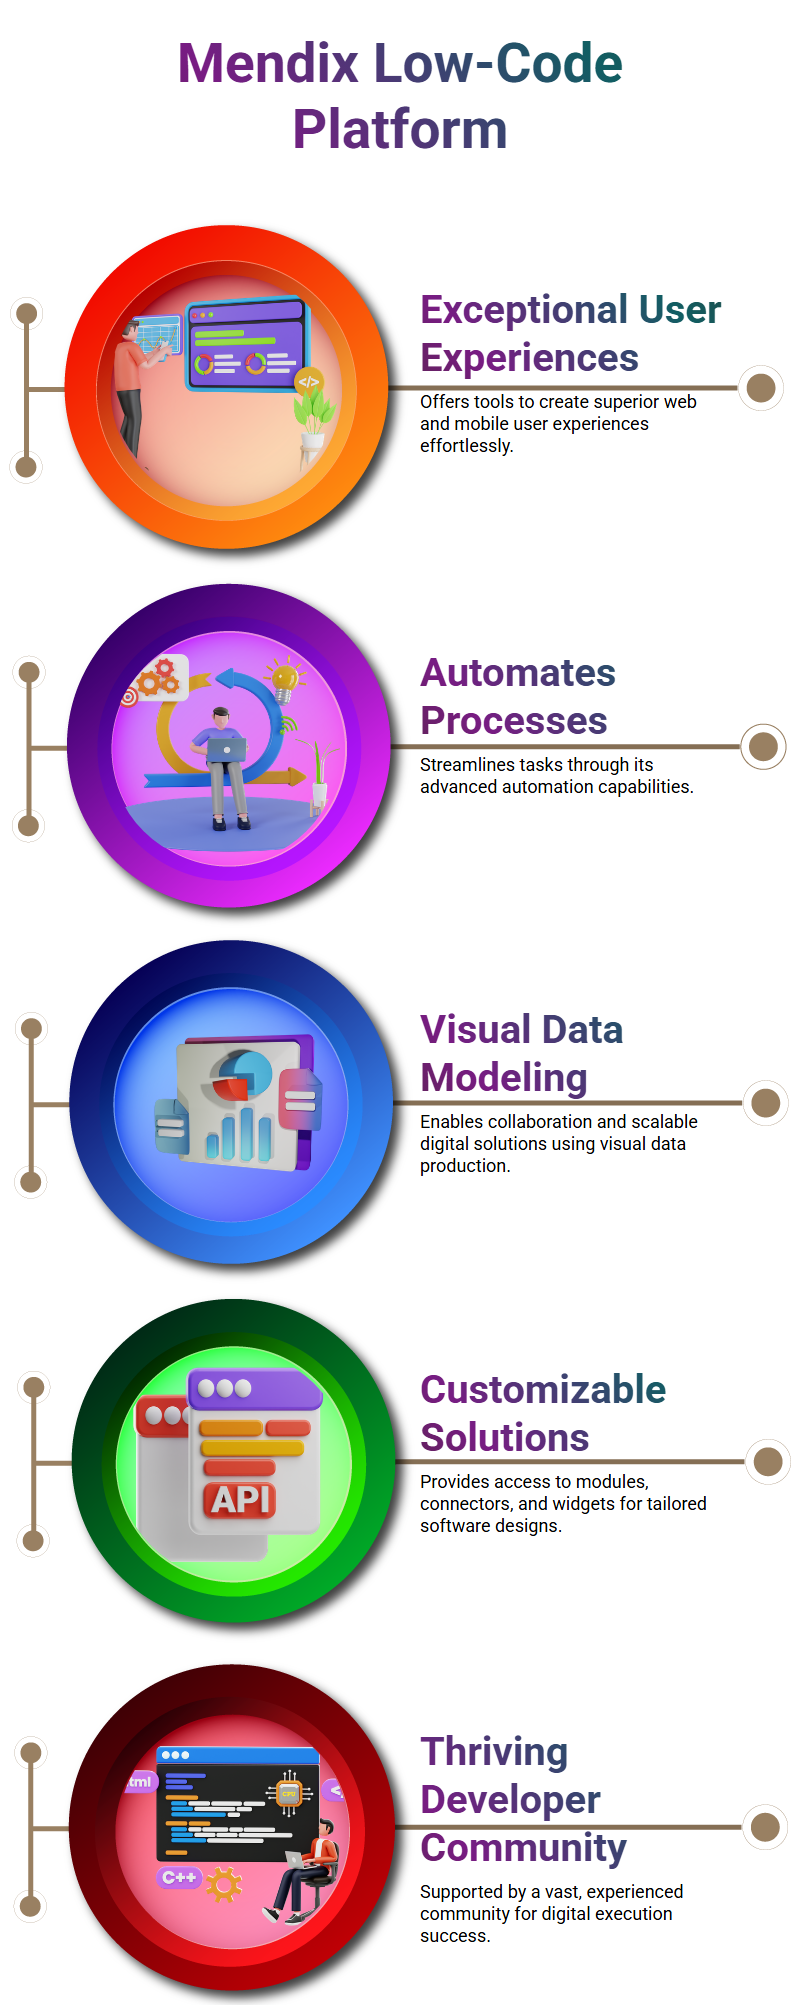
Mendix is a pioneering low-code application development platform that allows organizations to offer exceptional user experiences, automate processes, and upgrade outdated systems. Mendix works with businesses to achieve these benefits.
It provides a visual approach to the production and modeling of data, which enables cooperation and the implementation of digital solutions at a large scale.
Within the confines of a single development environment, Mendix gives users the ability to design a variety of user experiences that span both the web and native mobile platforms.
In addition to this, it provides access to important data sources, widgets, connectors, and modules, which enables developers to personalize their solutions more effectively.
Mendix is backed by a community that consists of hundreds of thousands of developers and has a demonstrated history of success in the field of digital execution.
Mendix is a well-known piece of software that is used for software development and management.
Process of using Mendix Studio Pro
Switching between the eBay and Studio Pro choices, activating the Mendix version selection, and choosing the appropriate version for the application are all steps involved in the process.
After that, the user will browse the Team Server app, which takes precedence over all other apps.
Modules and parts are included in the application, which are then categorized into three distinct modules: the Explorer module, the Standard Blank App module, and the Application Navigation module.
To begin, there is the standard app, which is a standard module. This is the initial module. The application settings, which are associated with the navigation section of the program, make up the second module.
After that, the user will browse to the Mendix Pro app, which is the app that is chosen by default.
After that, the user will browse the Standard Blank App, which is comprised of three modules: the app module, application settings, and application navigation-related settings.
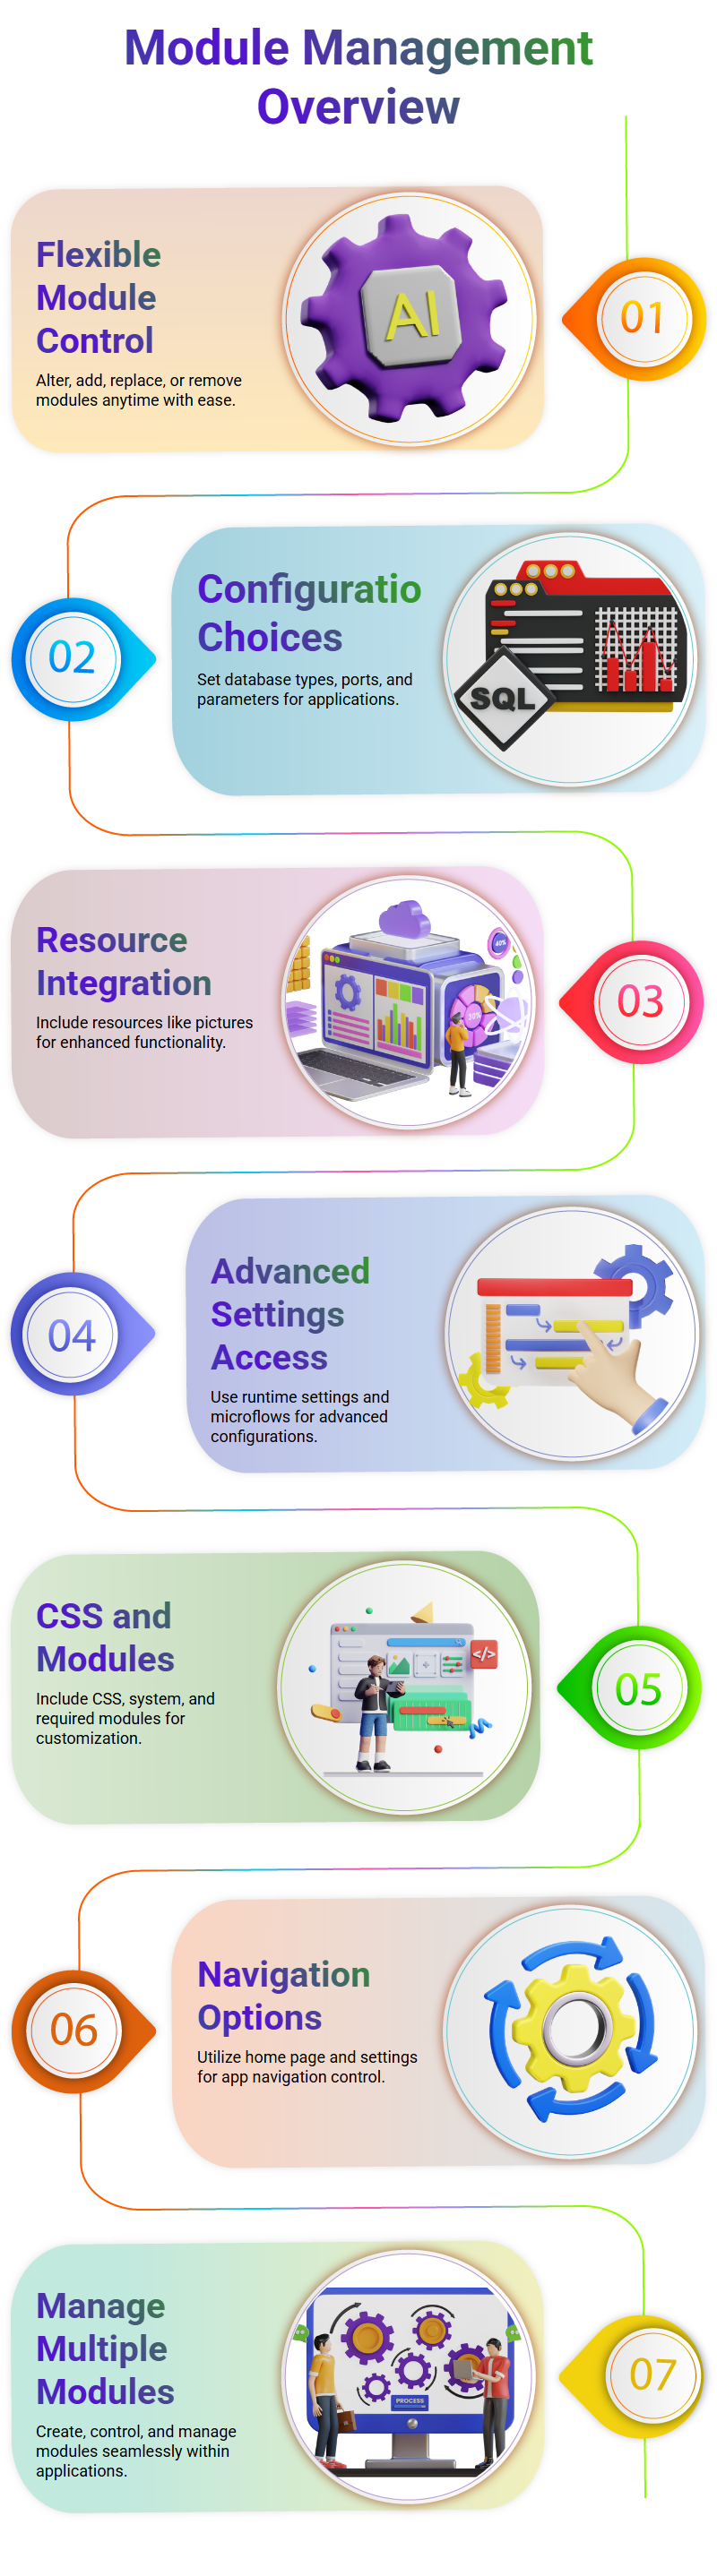
Users have the ability to build and manage a variety of modules inside the application when they go to the application settings area.
These modules include CSS, required modules, and a system module. Additionally, users can alter the name of the module, add or replace modules, and remove modules at any moment.
There are other configuration choices accessible inside the application settings area.
These options include the kind of database, the available databases, ports, and more sophisticated subjects such as application configuration parameters.
Additionally, the application settings area consists of a home page, resources, and a home page that contains resources such as examples of pictures.
Users have the ability to create and manage modules, as well as remove them at any moment. They may also add or change modules. The application configuration parameters, runtime settings, and microflow are examples of advanced subjects.
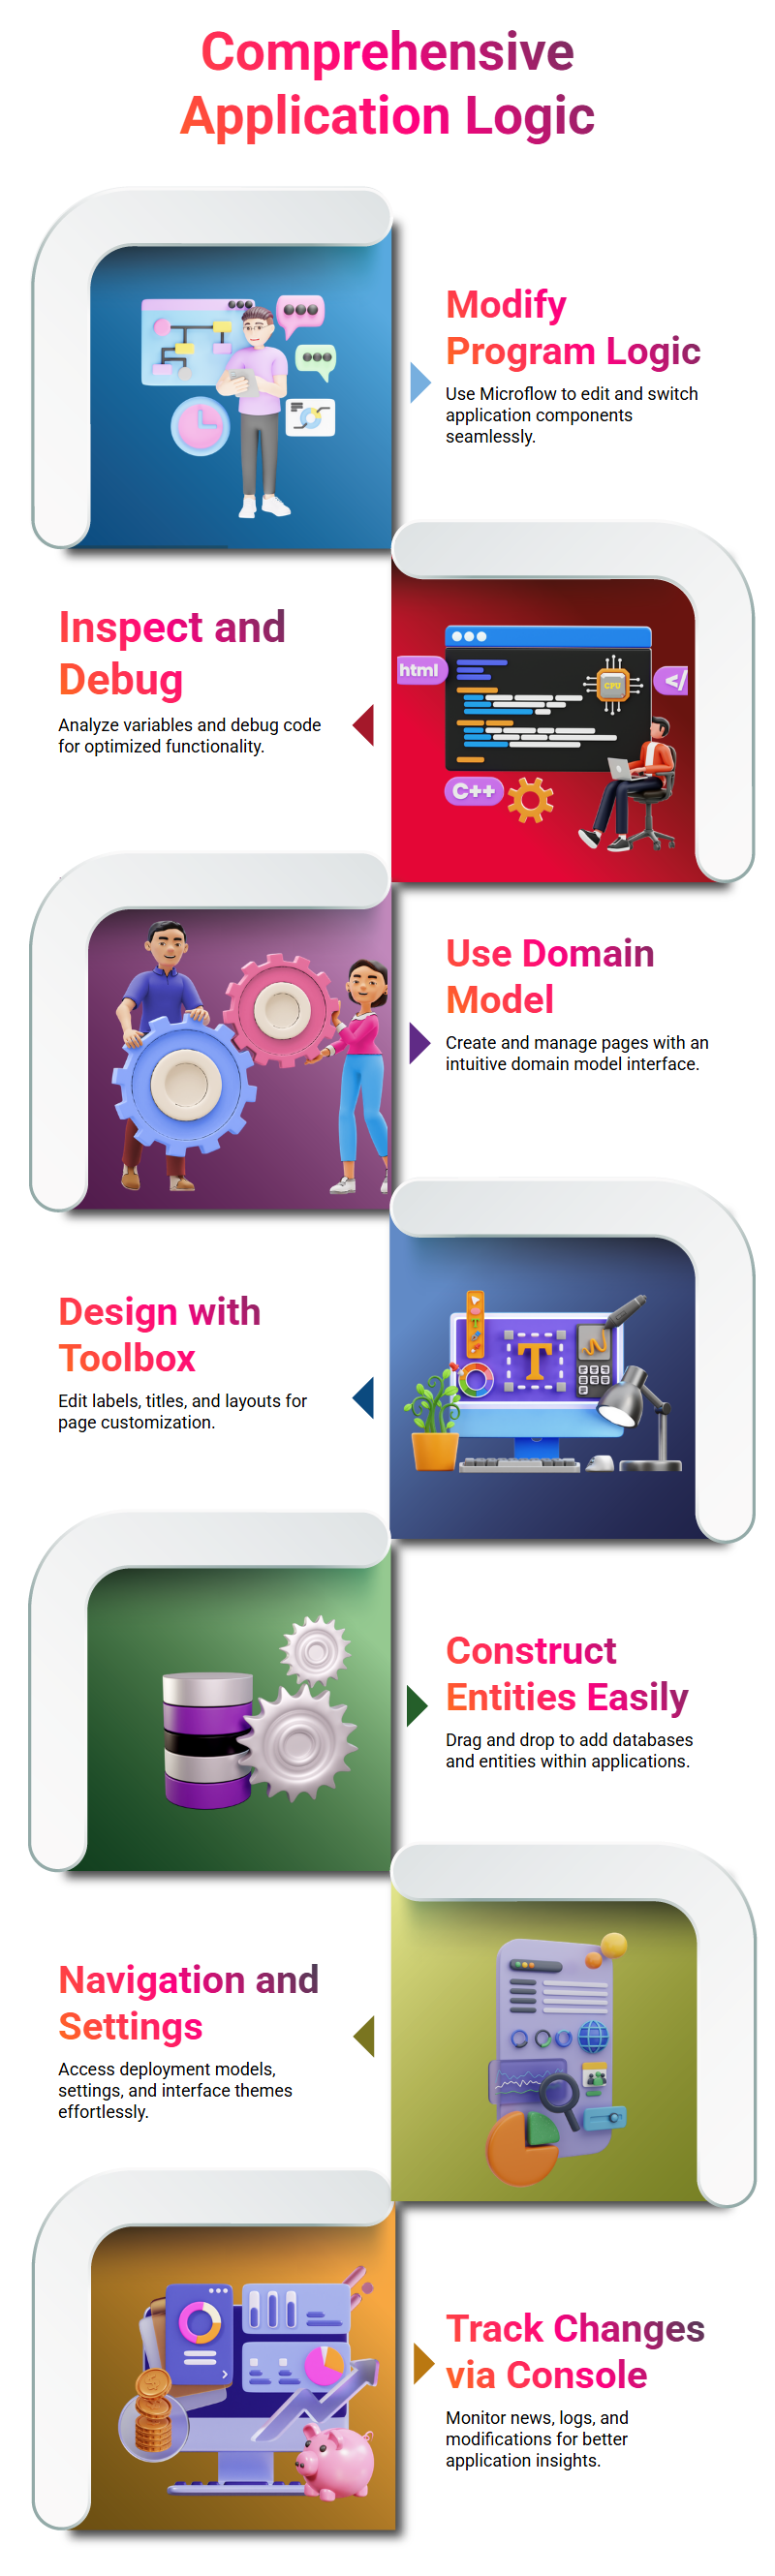
What is Microflow
In addition to providing information on encryption techniques, application languages, certificates, and user interface templates, Microflow is a tool that offers comprehensive details about the logic of an application.
Using it, users are able to modify the logic of their program, switch between various components, and shut or switch between elements.
Users can browse and navigate between various sections of the application, and the bottom top displays news as well as modifications that have been made.
Users have the ability to commit or poll for errors, and the console shows logs that are relevant to those problems.
Users can inspect variables and debug their code via the program, which is a utility.
The program is debugged with the help of the debugger, and the variables are debugged to guarantee that the application is operating with the appropriate functionality.
Additionally accessible on the right side of the screen are the application’s toolbox and its properties.
Users are able to locate attributes and toolboxes that are associated with a particular page or domain model by selecting that page or model.

Mendix Training
What is the domain model
Creating and managing pages is made possible for users using the domain model, which has an intuitive user interface.
Double-clicking on a module, choosing a page, and then adding a microflow nanoflow advertisement are the steps that users need to do to add new pages. After making their selection, the user may next pick a responsive web page.
Users can see and change the page via the dashboard, which gives them the ability to alter both the page’s design and its functionality.
Additionally, the domain model includes a toolbox that gives users the ability to alter a variety of aspects, such as the arrangement of the label and title.
The page may also be renamed by the user if they so want. The toolbox also includes a range of features, such as the label text title layout, which enables users to alter the look of their website as well as the functioning of the page.
Users of the Android application have the ability to insert things such as databases inside the domain model part of the application.
Either by dragging and dropping it or by clicking and dragging it, users have the ability to construct an entity. During the procedure, you will be required to create a database or entities.
The following steps may be taken by users to construct an application using Mendix:
1. Navigate to the settings menu by clicking on the Mic Studio Pro icon.
2. Take a look at the deployment model, the model, and the working environment.
3. Choose either the bright mode or the dark setting for the user interface.
4. Verify that the advanced configuration is correct.
5. Make sure that everything is in its proper location by reviewing the settings.
6. Take a look at the deployment model and the model.
7. Check if the user interface is in the bright mode or the dark mode.
8. Go through the advanced configuration.
9. For the time being, review the domain model.
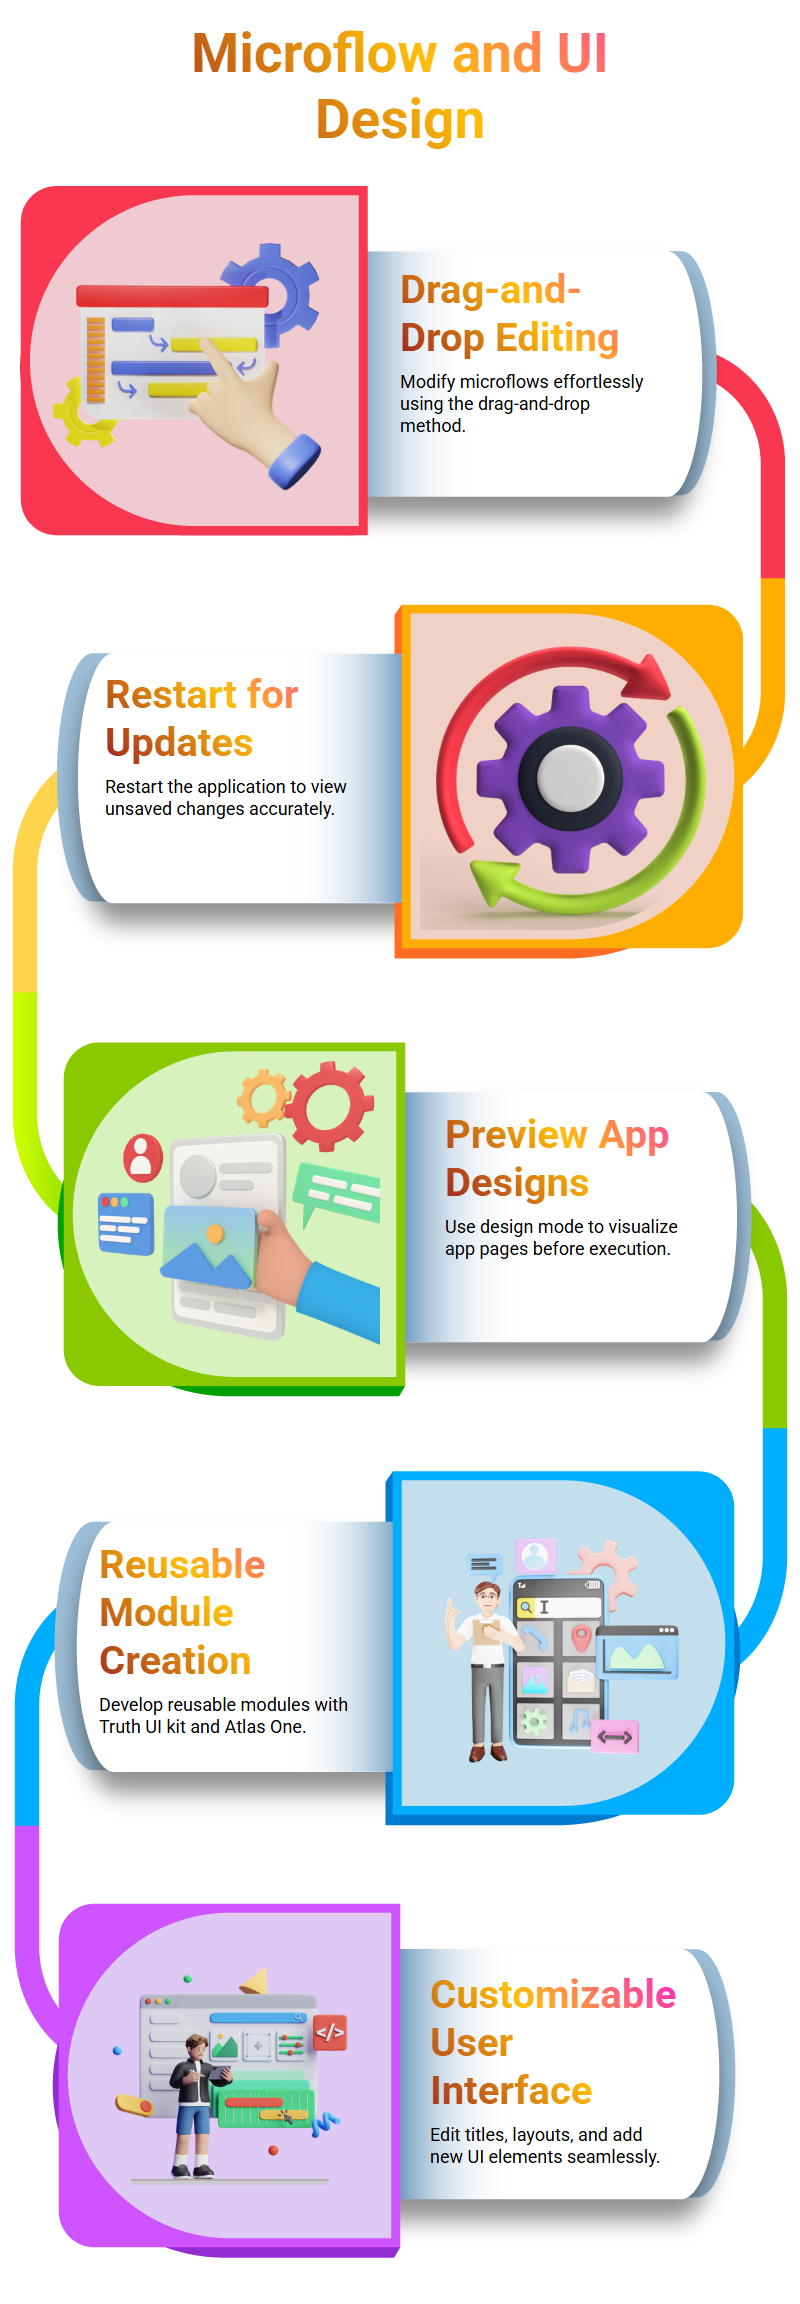
Process of modifying a microflow pay using a drag-and-drop method
The user needs to drag and drop text onto a toolbox, after which they are to switch to the toolbox and click on the one they want to modify.
A modification is then made to the contents of the toolbox. It is necessary for the user to restart their program in order to see the modifications if the changes are not saved.
Next, the browser will show the modifications that have been made. Following this, the visitor is presented with related sites, the content of which may be found in the “stuff” and “toolbox” parts of the website.
Additionally, the URL to access the page is supplied. In order to edit the entities that are included inside the microflow pay or domain model, the user is shown how to make use of annotations.
Process of adding a new event overview page to Mendix Studio
This makes it simple for users to switch between events and evaluate the look of their app. Although the page is not presently connected in the project, the user has the ability to utilize the design mode in order to see the page before the project is actually executed.
The user can modify the title, the location of the title, and any other parameters to their desire.
After that, the user transfers the page into the event overview page, deletes and replaces it, and then brings in a new user interface to replace the previous one.
A workaround that allows you to view the look of the app before the project is really started is shown below.
However, the current version is not connected in Mendix Studio, despite the fact that the user is pleased with the improved user interface.
A new user interface (UI) is going to be created by the user using Mendix Studio, which they hope will be a solution to the problem that is now occurring.
It is now possible for the user to see the look of their app before the project is executed.
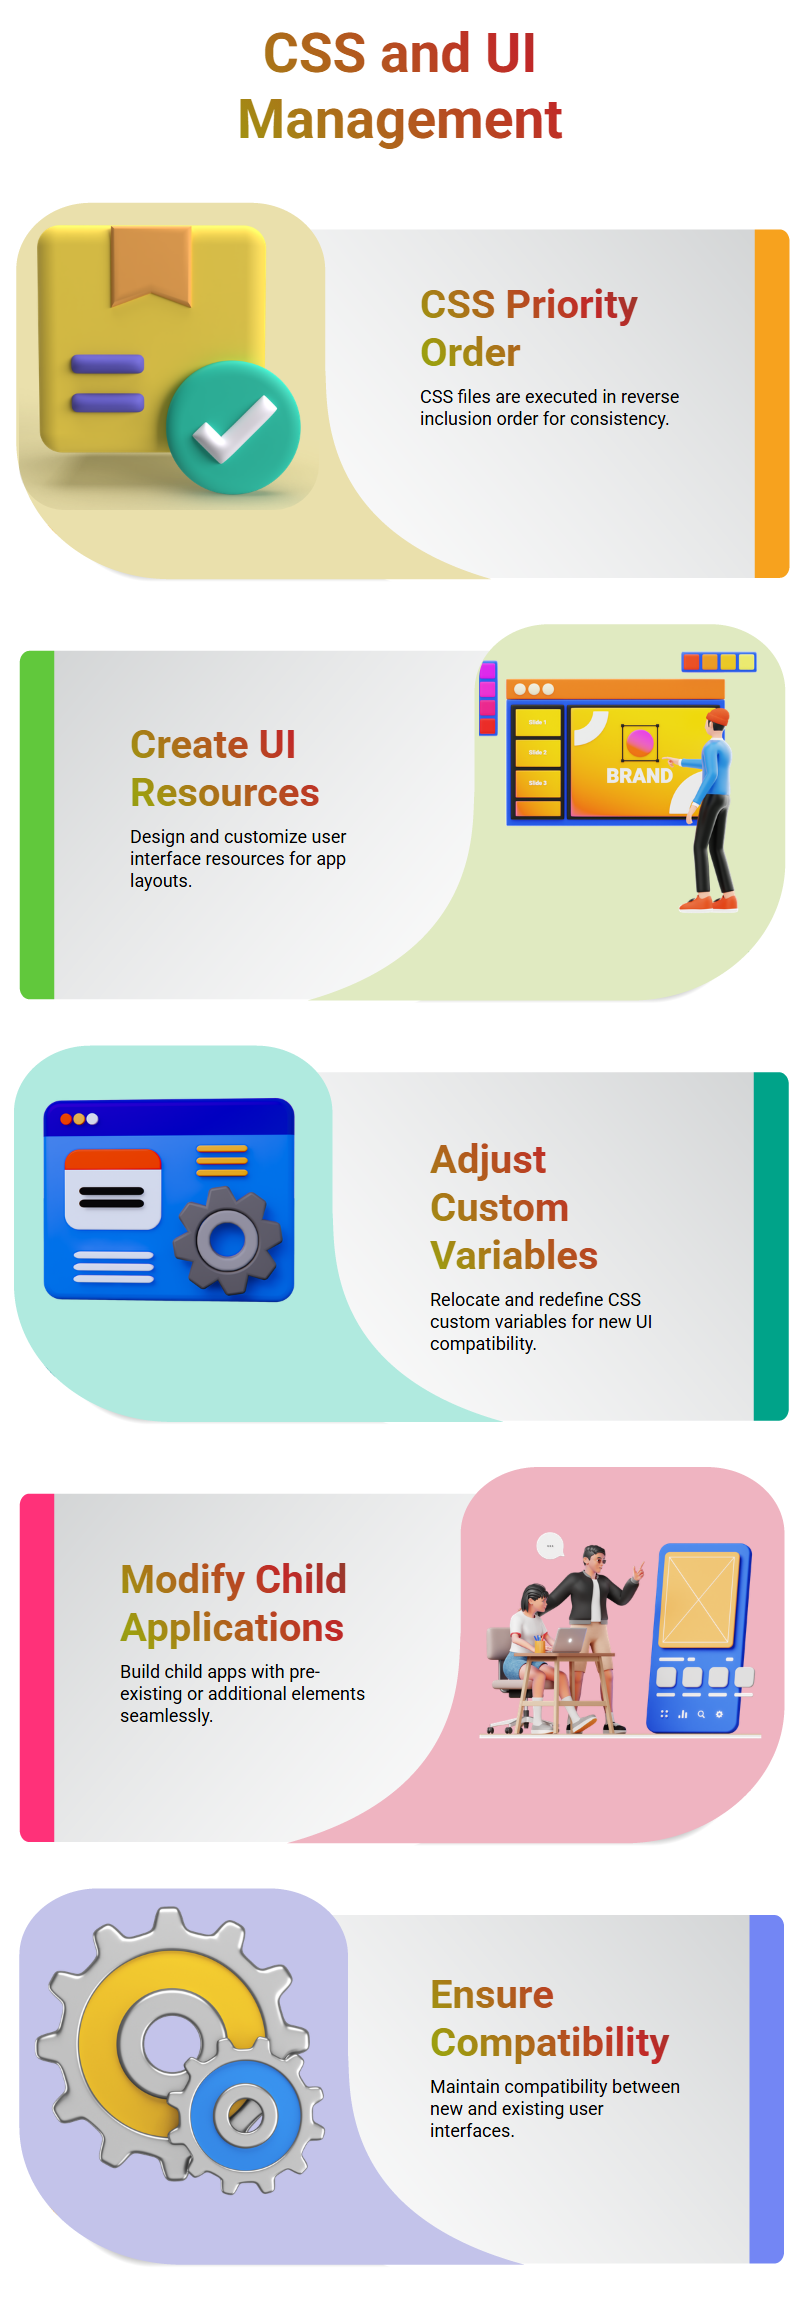
Creating a module that can be reused across all apps and having a single source of Truth UI kit is the first step in the process of creating a user interface resource.
Following that, this kit may be expanded to include the creation of page layouts and building elements. By using Atlas One, you can add to the kit that is already in place.
Go to the app Explorer and add the “event app” user interface to add a module. The result is a user interface that is nothing more than a standard module. Whenever you click on this module, it will glow green, and whatever style that you provide to it will be taken up by the system.
The sequence in which CSS files are prioritized is done in reverse order, with the first CSS file being the first one included in the collection.
This indicates that the first CSS file that is executed is the first CSS file being used. In the event that you want to make a button red, for instance, it will be considered Atlas web content.
At this point, a new user interface resource is created for the Trail event app. You are able to design and personalize your own user interface resources and page layouts using this feature.

Mendix Online Training
It is possible for the child event app to be anything that already exists or anything that is added on top of the existing one. It is the theme folder that is responsible for the current style, and it is also present in the web and custom variables.
The CSS is adjusted to remove the import and add the “File” and “SAS” imports to relocate the custom variables into the new Trail event app UI resource.
This is possible since the import is removed. Following this, the CSS is transferred to the newly created custom variable, and the variables are now situated inside the newly created variable.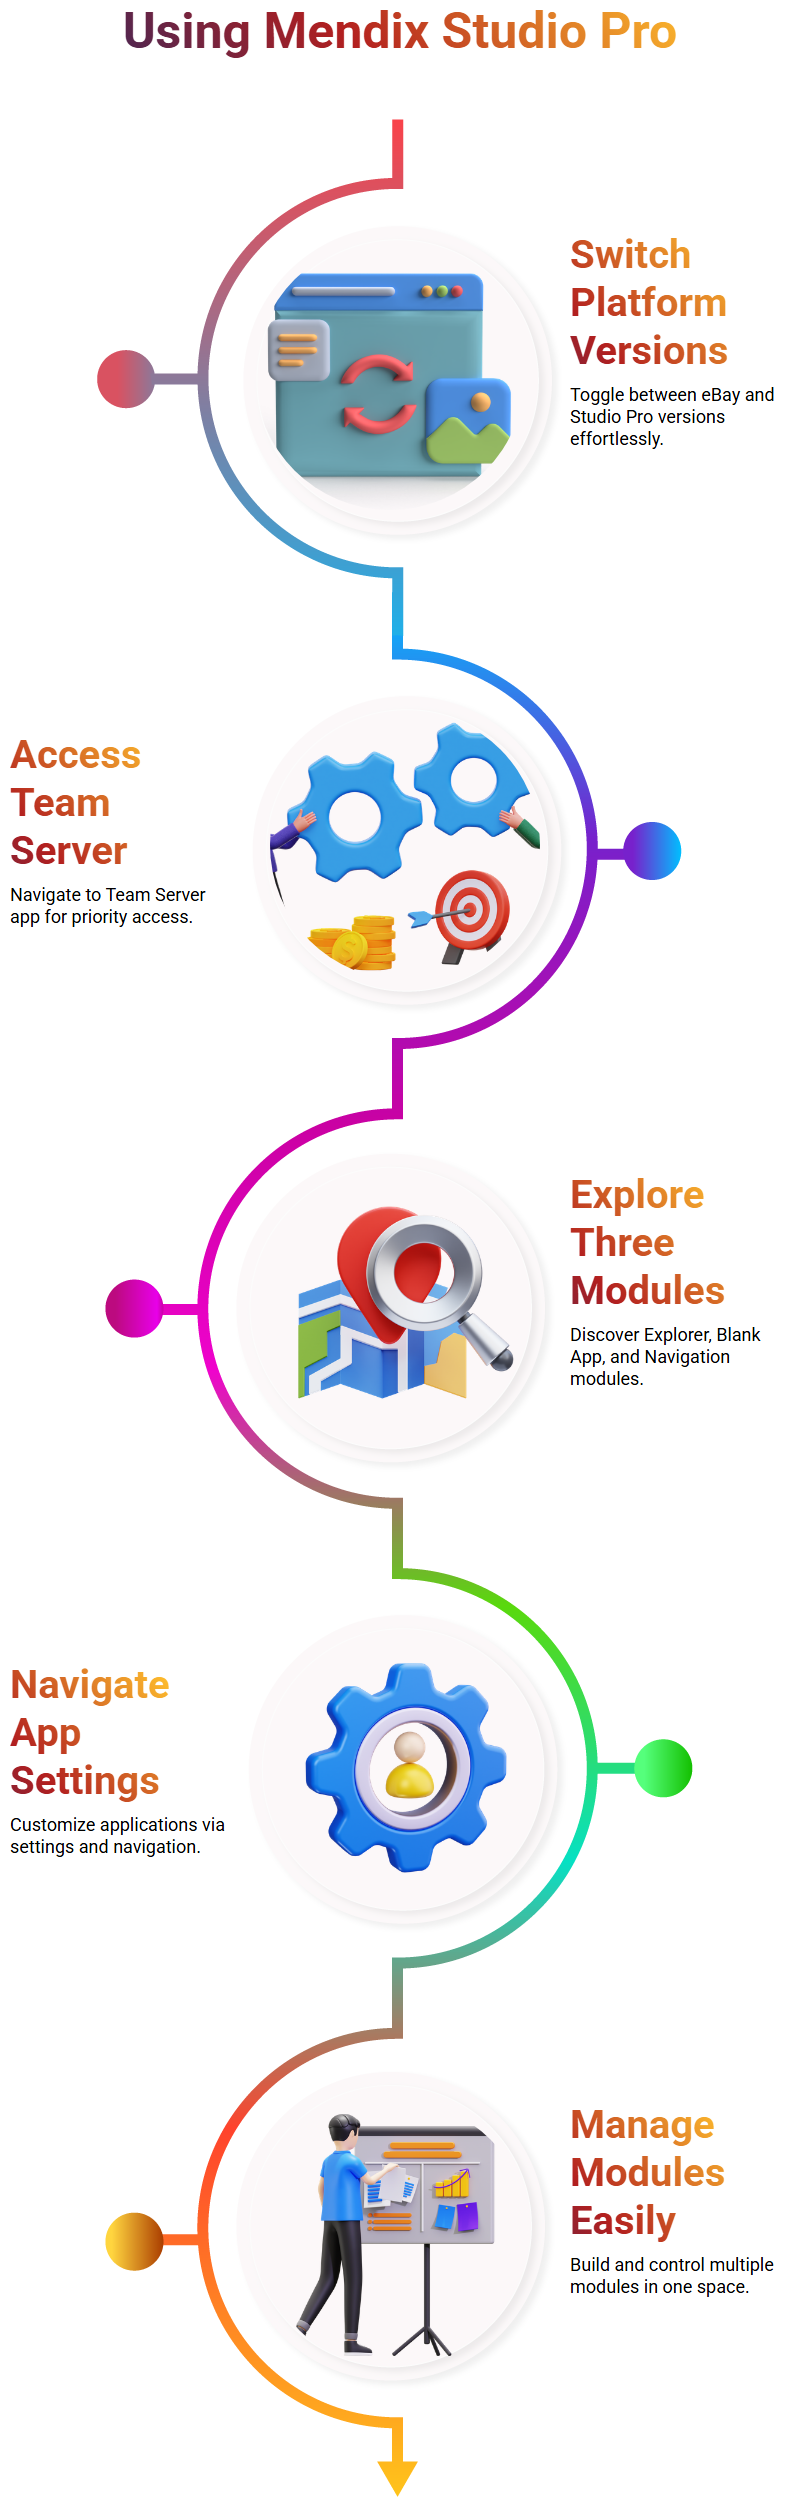
After that, the CSS is modified so that it points to the newly created custom variable, which also serves as the source of the variables at this point.
As of right now, the variables are situated in the newly generated custom variable, and the child event application has been developed.
This prevents any possible problems from occurring and guarantees that the new user interface is compatible with the one that is already in place.
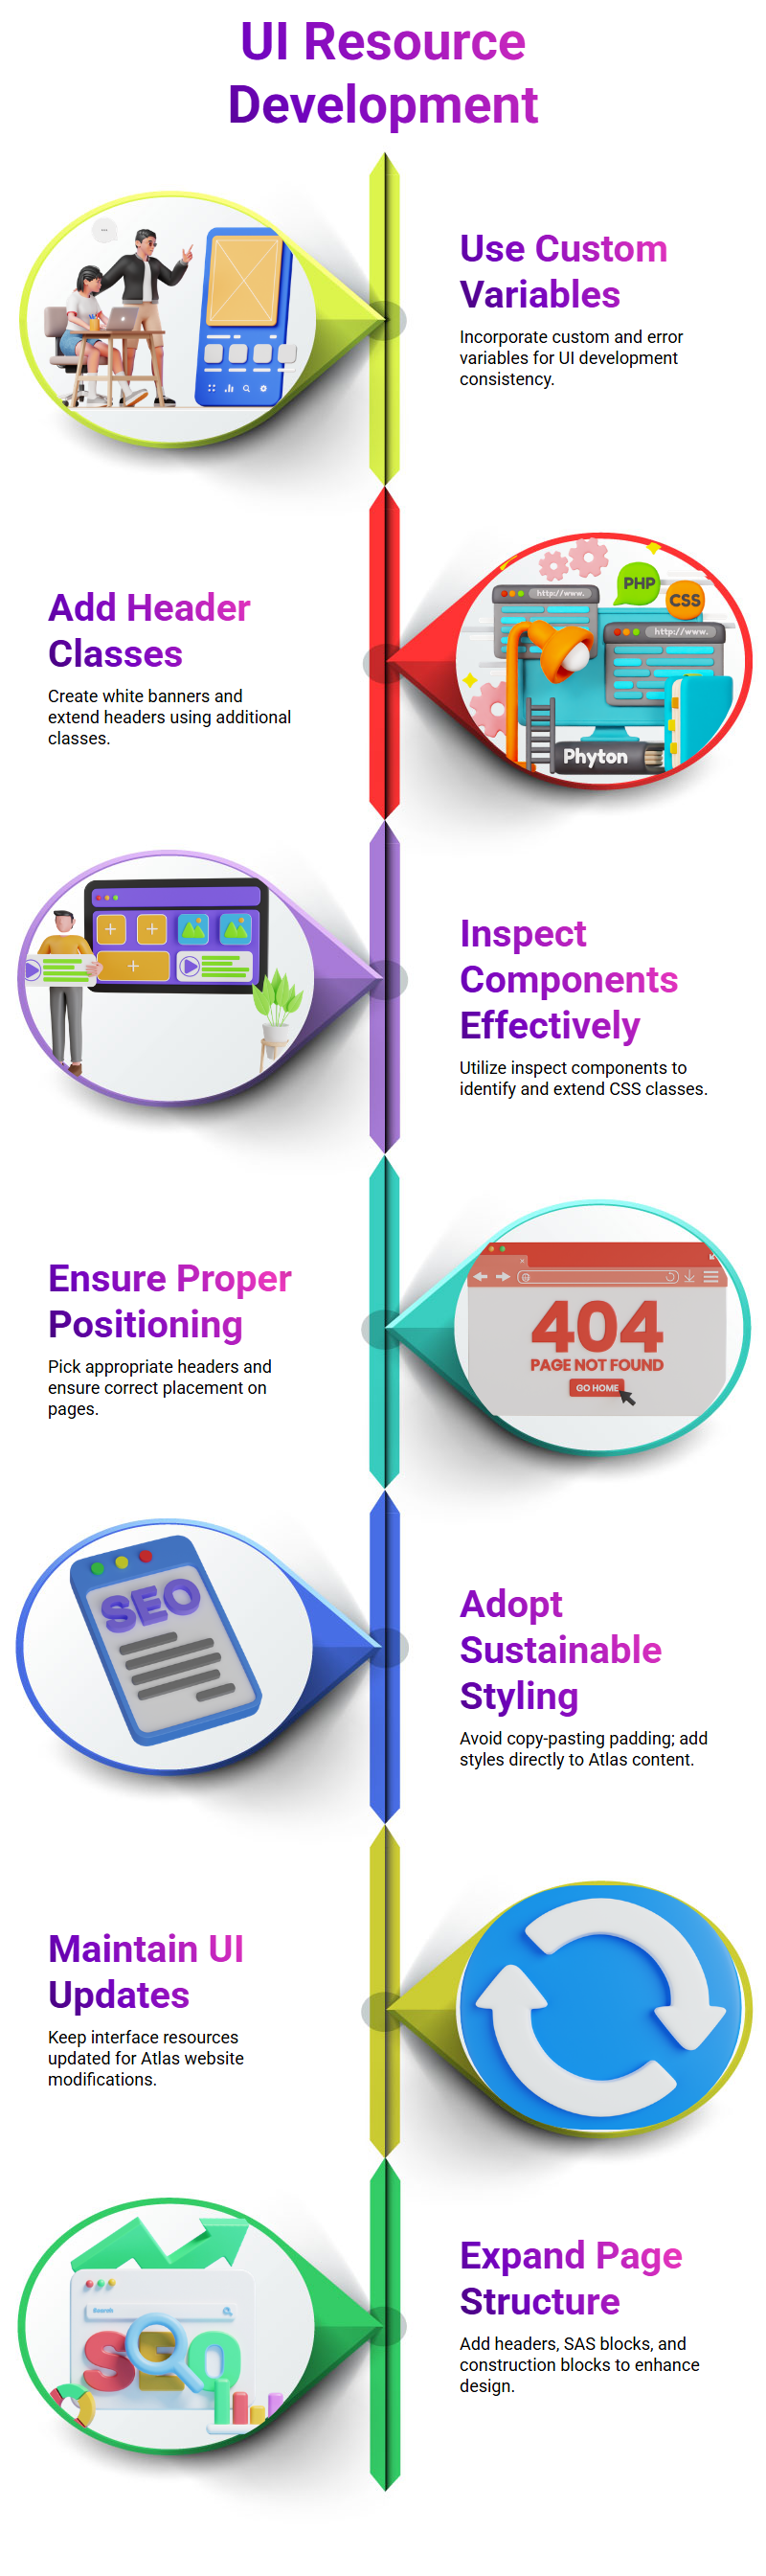
Process of creating a UI resource
A wide range of custom variables and error variables are used in the development of the user interface. The error variables are then executed to guarantee that the project is proceeding without any resources.
Following this, the user interface resource for anevent app is created, and the custom siding is also added to the UI.
As an example, the header for the event summary needs to have a white backdrop below it. An additional class is added to the header of the event overview, which consists of a white banner, to accomplish this goal.
Furthermore, the essay delves into the use of inspect components as a means of extending the page header class.
Through the usage of this approach, the user is able to determine which CSS classes to extend without having to be aware of the class name beforehand.
Additionally, the language emphasizes the need of picking the appropriate page header and positioning it in the appropriate manner.
As the essay draws to a close, it reminds the reader of the significance of ensuring that the user interface of an event app is running well and that the custom variables are functioning appropriately.
The procedure of developing a user interface (UI) resource for a web application. The user is provided with a backdrop color and padding, both of which are followed by an increase. With that being said, there is a difficulty in ensuring that there is enough space inside the container.
If the user include the padding into the element by simply copying and pasting it, this approach is not sustainable.
Instead, they should immediately add the style to the content of the Atlas website, which will then be utilized to identify where the element is located.
After that, the user is allowed to make any necessary updates to the content of the Atlas website; however, this may not be durable.
The user’s primary worry is that the user interface resource may not be updated in the event that any modifications are made to the content of the Atlas website.
The objective of the user is to make certain that the user interface resource is up to date and capable of managing any changes that may occur in the Atlas web content.
The need to take a sustainable approach to user interface development is emphasized throughout the book.
It is not required to change the page head since it will be replaced with a new version or updated in the future, therefore there is no need to update it.
The page needs to be expanded by establishing a page header class, rather than being extended.
The structure of the page should be put up in the same manner as it is widely considered to be good practice.
The creation of a page, the addition of an SAS block, and the creation of a construction block are all ways to do this.
In addition to that, the header for the page need to be put to the page that is already there. The page header need to be referred to as the “page header” and should be changed to match the current page. To accommodate the new page, the header class for the page needs to be modified.

Mendix Course Price

Gayathri
Author