Step-by- Step CyberArk Setup Training
Cyberark Disaster Recovery Setup
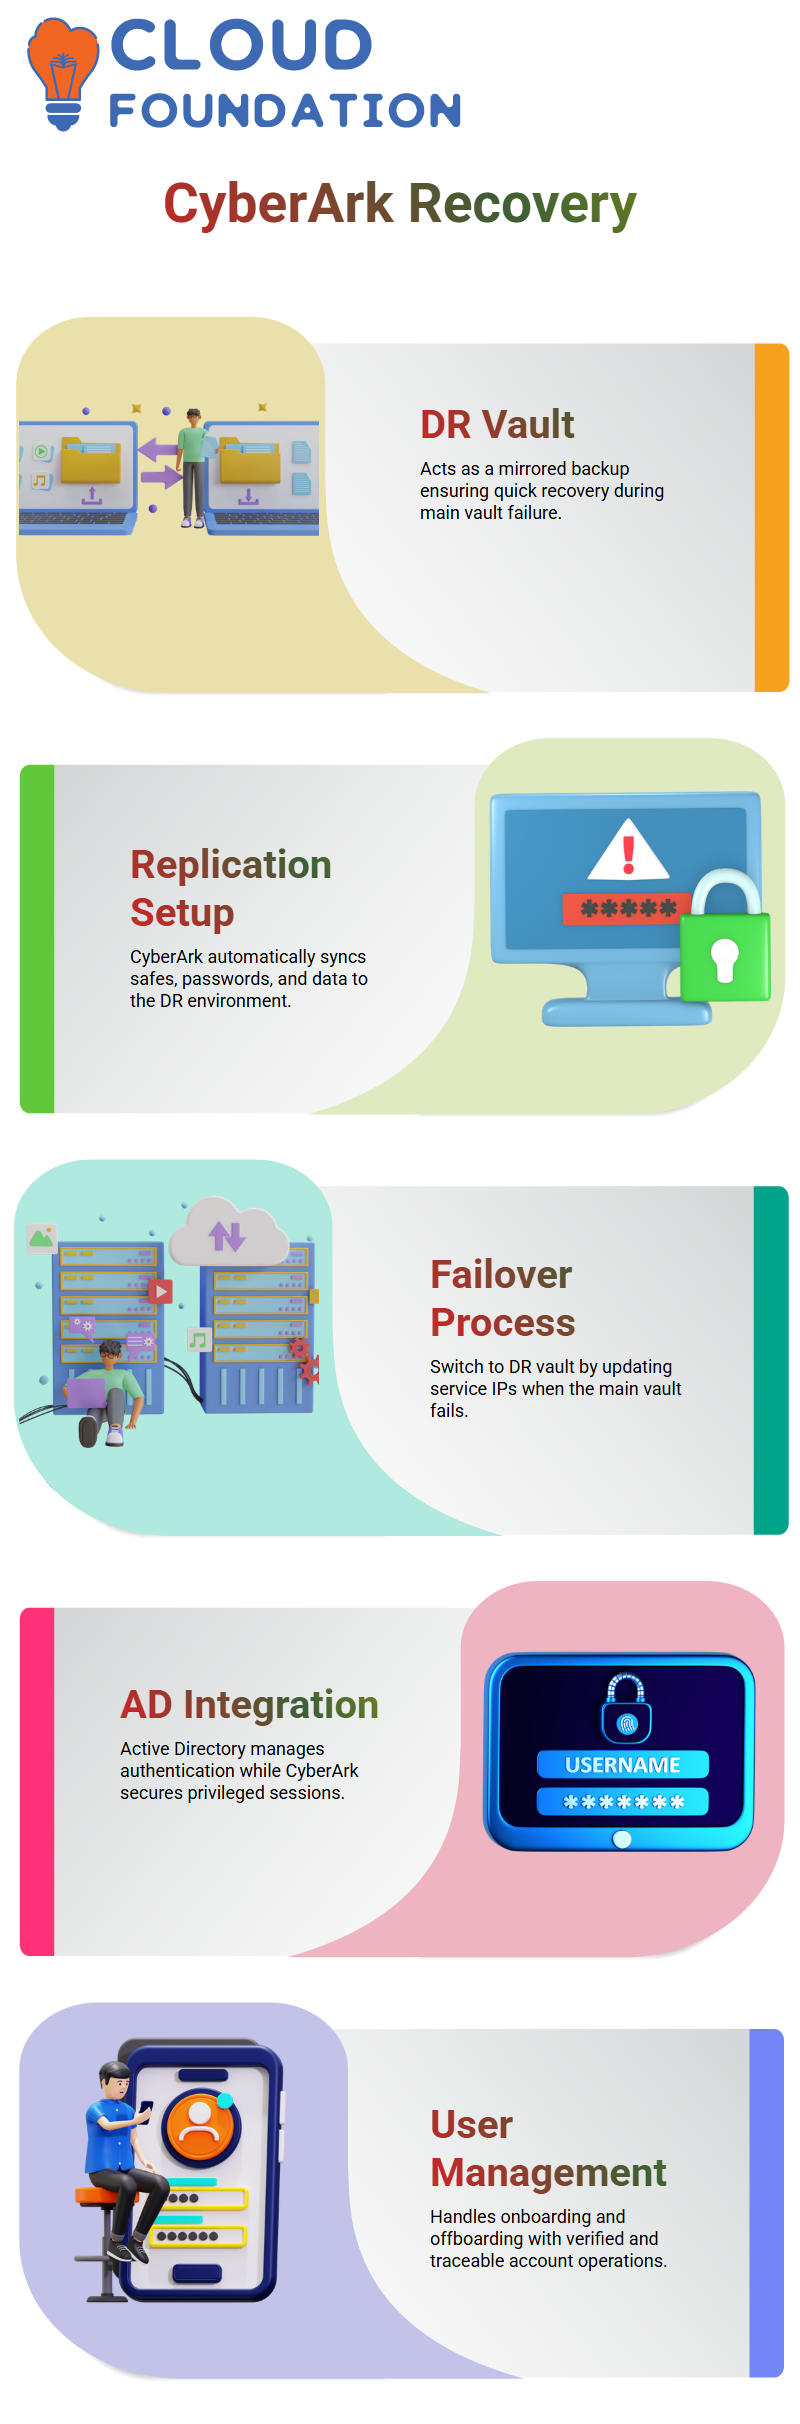
The Disaster Recovery Vault, often known as the DR Vault, was one of the subjects that baffled me. I discovered that it’s just a backup Cyberark vault that gets mirrored data from the main vault on a regular basis.
The goal is to guarantee that I can promptly go to the DR Vault and carry on working without losing important login credentials or access routines in the event that the primary Cyberark vault fails for any reason.
I install the DR Vault software in the same way that I installed the regular Cyberark Vault in order to set it up. After installation is complete, I set up Cyberark to allow replication.
The synchronization of safes, passwords, and data is then automatically managed by Cyberark, which makes sure that everything in the primary Cyberark vault is replicated into the disaster recovery environment.
Installing Cyberark Vault and DR Components Step by Step
I ran the setup installer after copying and extracting the Cyberark installation files to the C disk. Since I was dealing with a single server setup, I chose standalone mode.
I then supplied the administrator credentials, license path, and safe storage directory. I rebooted the computer to properly initialize all services once Cyberark’s installation was complete.
I used the same procedures for the DR Vault. I set it up, input the IP address of the main Cyberark Vault from which the DR instance would replicate, and created a new account only for DR use.
Cyberark automatically launched background services that control continuous replication after resuming. Opening the PIDR log files and seeing data sync activities allowed me to verify this.
How Cyberark Replication Works Behind the Scenes?
Cyberark uses its own integrated tools to handle the replication task internally. Nothing needed to be manually scripted.
Cyberark continually transfers saved credentials, rules, and safes from the main vault to the DR vault once it is activated. This implies that any modifications I make to Cyberark are reflected in the DR instance.
I just stop the main vault services, start the DR vault services, and update any linked components, such as PVWA, CPM, and PSM, to refer to the DR vault’s IP address in the event that the primary Cyberark vault ever goes down.
Because the DR vault is constantly prepared with the most recent data, Cyberark facilitates a seamless transition. I discovered that the IP reference for the Cyberark vault in the components is the only item I really alter during the failover time.
Active Directory with Cyberark
When I first began using Cyberark with Active Directory, I believed that AD was in charge of a lot of Cyberark’s features. However, I discovered that Active Directory is mostly used to control users who access servers via Cyberark or log in to Cyberark itself.
For instance, Active Directory supported the Cyberark routine when I created an AD account called “vault” and used it to access the PSM server.
Thus, AD offers identity management and authentication, whereas Cyberark concentrates on privileged session control and safe credential storage. My understanding of that divide helped me to better understand the process.
Cyberark utilizes those credentials to access or manage privileged sessions after I establish users in Active Directory and give them responsibilities.
CyberArk User Management in Daily Operations
User and account management is the first thing that springs to mind when discussing CyberArk in practical contexts. I recall configuring users who worked on the PSM server but came from Active Directory.
I gained a better understanding of CyberArk’s interactions with Active Directory and the server environment thanks to this configuration.
Understanding how to manage onboarding and offboarding is one of the most important aspects of CyberArk training. I still clearly remember the onboarding of a user called ‘World.’
We used CyberArk to onboard the user after creating them on the server. I now have genuine trust in my ability to handle user accounts from beginning to end thanks to that practical practice.
CyberArk Onboarding and Offboarding Essentials
In CyberArk, level one duties mostly include onboarding and offboarding user accounts. Onboarding is a very easy procedure that involves creating an account and integrating it with CyberArk’s account management panel.
Before finishing the setup, everything has to be double-checked, from IP validation to username confirmation.
In CyberArk, offboarding is as simple. The three-dot menu has an option under the accounts tab. All you have to do is validate the information and designate the account for deletion. CyberArk makes sure that the process of removing users is always transparent and verifiable.
CyberArk Disaster Recovery (DR) Vault
The DR Vault must be setup in the same manner as your normal CyberArk Vault. Consider it a backup vault that protects everything in the event that anything goes wrong with your primary vault.
Replication is used by the DR Vault to guarantee that everything on your main CyberArk Vault is automatically duplicated to the DR Vault. Your CyberArk environment will always be safe and recoverable thanks to this configuration.
Setting Up the CyberArk DR Vault Step-by-Step
To get started, make a duplicate of every setup file you downloaded and place it in a C drive folder. After that, get ready for installation by unzipping all the files. The license file, which is typically found on the main CyberArk Vault server, is also required. If it isn’t already in your local downloads, copy it from there.
After that, begin installing the necessary.NET components. To apply the changes, restart your server when the.NET installation is complete.
Next, start the CyberArk DR Vault configuration. Choose the “standalone” option during setup, exactly as you did when you installed your primary CyberArk Vault. Next, choose the folder in which your safes will be kept.
Installing and Configuring the CyberArk DR Vault
Configuring the CyberArk DR Vault is now necessary. Navigate to where you stored the license file and submit it when the installation requests it. Additionally, you will be asked for the administrator and master passwords. To keep things consistent, use the same login information you used for your primary CyberArk Vault.
When asked during setup, choose “Do not harden.” After selecting “Finish,” restart your server. Check your firewall settings after restarting. The public network is operational, as you can see, which is just what we want at this point. You may shut the window and continue after confirmation.
Starting and Validating the CyberArk DR Vault
Open the services interface when your CyberArk DR Vault server has returned to service, then search for services that begin with “CyberArk.” An excellent indication that replication has been set up successfully is if the DR service is operating automatically.
Go to your installation directory (often Program Files x86 → PrivateArk → PIDR → Logs) to make sure everything is functioning. Get the most recent log file open. All of the main vault’s operations are being duplicated here, as you can see. This signifies your CyberArk DR Vault is performing its job perfectly—mirroring all data for protection.
Recovering Using the CyberArk DR Vault
What would happen, therefore, if your primary CyberArk Vault failed? Your DR Vault comes to the rescue at that point. All you have to do is launch the services, go to the PrivateArk server, and launch your DR Vault. Next, change your components’ IP addresses (such as PVWA, CPM, and PSM) to refer to the DR Vault rather than the main one.
Your CyberArk configuration will continue to run without interruption thanks to this redirection. Simply update the IP address and restart the services to avoid complicated modifications. To help businesses recover quickly in the event of an outage, CyberArk has made this procedure straightforward and dependable.

CyberArk Training
CyberArk Active Directory Integration
Let’s now discuss how Active Directory (AD) relates to all of this. The primary function of Active Directory in CyberArk is user authentication. For instance, the AD account that we used to establish the “Vault” user previously enabled us to safely connect into the PSM server.
AD users contribute to the simplification of login procedures for all CyberArk components. To get into your servers or straight into CyberArk apps, you establish an AD user.
Access management across your environment is guaranteed to be safe and consistent thanks to this integration. Additionally, it facilitates teams’ effective management of many user credentials in CyberArk.
Practicing CyberArk DR Vault Setup and AD Integration
I strongly advise trying the complete DR Vault setup procedure on your own if you’re new to CyberArk. Explore the settings, check out various features, and go through each tab. Your confidence will grow as you engage with the CyberArk environment more.
Recall that protecting privileged access is the main focus of CyberArk. Every step improves the security posture of your company, whether you’re using Active Directory to manage users, setting up the DR Vault, or enabling replication.
You will quickly have a firm understanding of how CyberArk protects and makes your credentials available, even in the event of a catastrophe, if you take the time to try.
CyberArk PSM Installation Process
I discovered that the Privileged Session Manager (PSM) configuration may be a little challenging when I initially began working with CyberArk. At the school, I led students through the installation procedure step-by-step during one of our CyberArk training workshops. I started off by explaining how to execute the required script.
In order to guarantee that a connection made from the CyberArk Privileged Access Management (PAM) interface proceeds seamlessly from the PAM to the PSM and ultimately to the target computer, this script installs the Remote Desktop role on the PSM server.
Running Prerequisite Scripts in CyberArk
The required scripts must be properly run before proceeding with the main CyberArk PSM installation. These scripts set up your environment by installing the roles and turning on the features that CyberArk needs.
I reminded everyone that the installer should always be executed as an administrator.
This step helps in preventing setup issues connected to permissions.
I led the team in carefully clicking through each step once the installation launched, choosing the correct login, business name, and other setup information. When dealing with CyberArk, it’s critical to maintain consistency among components.
Troubleshooting During CyberArk PSM Setup
We once encountered a problem with usernames that were longer than the allotted character limit. CyberArk limits certain user accounts, such as PSMApp and Gateway, to 18 characters.
If you want to change the username, make sure it’s brief and unambiguous, like “psm_app01.” After we resolved it, the CyberArk installation proceeded without any issues. Real-world CyberArk installations often encounter issues like this, and developing the ability to manage them boosts confidence.
Integrating Vault and Verifying CyberArk Services
Following installation, I requested that everyone verify that the CyberArk Vault service was operating correctly. We verified that the Vault’s IP address could be reached by using the AWS interface.
The CyberArk PSM service was then confirmed to be operational via the Windows Services panel. When you search for “CYB,” all CyberArk-related services are promptly shown, which makes it simpler to verify that everything is operating as it should.
Configuring the CyberArk Vault Connection
One of the most important tasks in the CyberArk setup is connecting PSM to the Vault. Make sure there are no additional spaces before or after the Vault’s IP address when entering it during installation. This is a common error that causes connection issues. We also input the password and username for the CyberArk administrator.
Before starting the PSM setup, the Vault has to be online; otherwise, CyberArk won’t be able to connect the components.
Creating Safes and Managing Accounts in CyberArk
Create a new safe in the Password Vault Web Access (PVWA) interface once the CyberArk PSM service has been operational. Go to the Policies area, choose “Add Safe,” and create one with the name “Lex1.” Next, we establish a new Windows account by selecting the Accounts option.
We input the destination system’s IP address, username, and password using the “Windows Server Local Account” platform. Administrators may safely handle these credentials using CyberArk without having to do it by hand.
Fine-Tuning CyberArk Account Management Settings
For testing reasons, it is preferable to turn off automatic password management under the account management area. Although this capability is helpful in production settings, manually handling passwords in training and demo situations aids in understanding CyberArk’s internal operations.
We input the purpose for adding the account, which is “testing” in this instance. Following saving, the account was visible in the Accounts View and was prepared for CyberArk PSM connection.
Navigating CyberArk PVWA and Admin Console
The PVWA’s Administration tab demonstrates how to go to the Platform Management area. Account management solutions, such as the Windows Server Local Account platform we used, may be customized in this area.
Administrators may fine-tune CyberArk behavior in accordance with company regulations by modifying platform parameters.
CyberArk PSM Configuration
Understanding how CyberArk PSM’s user interface (UI) works with Windows settings is the first step when we start using it. Clicking on properties in the ‘UI in Windows’ section will take you to the Privileged Session Management (PSM) section. By doing this, I can make sure that the connection’s components are set up correctly before continuing.
Then explore CyberArk’s ‘Connection Component’. I may access all required settings by expanding this area. These settings guarantee that CyberArk can safely handle privilege connections and session records. I ensure that every configuration complies with best practices by going over each component.
Configuring CyberArk Master Policy and Session Management
Now for the audit, session management, and password management. By doing this step, you can be confident that every setup is uniform. The ‘Required Session Monitoring and Isolation’ option is the most important parameter in this section. I make changes to this setting, turn it on, and then save the settings.
I go back to the Accounts tab after finishing. The ‘Connect’ option being disabled often indicates that certain setups are either inactive or absent. These little variables may have a significant impact on how your connections act in CyberArk.
Adjusting CyberArk Platform Management Options
I immediately go to CyberArk’s Administration page if I see that the connection isn’t functioning. I look for Privileged Session Management in the setup choices under Platform Management. After expanding it, I go over the PSM server setup and connection information. This enables me to confirm that the CyberArk server is configured for proper connectivity.
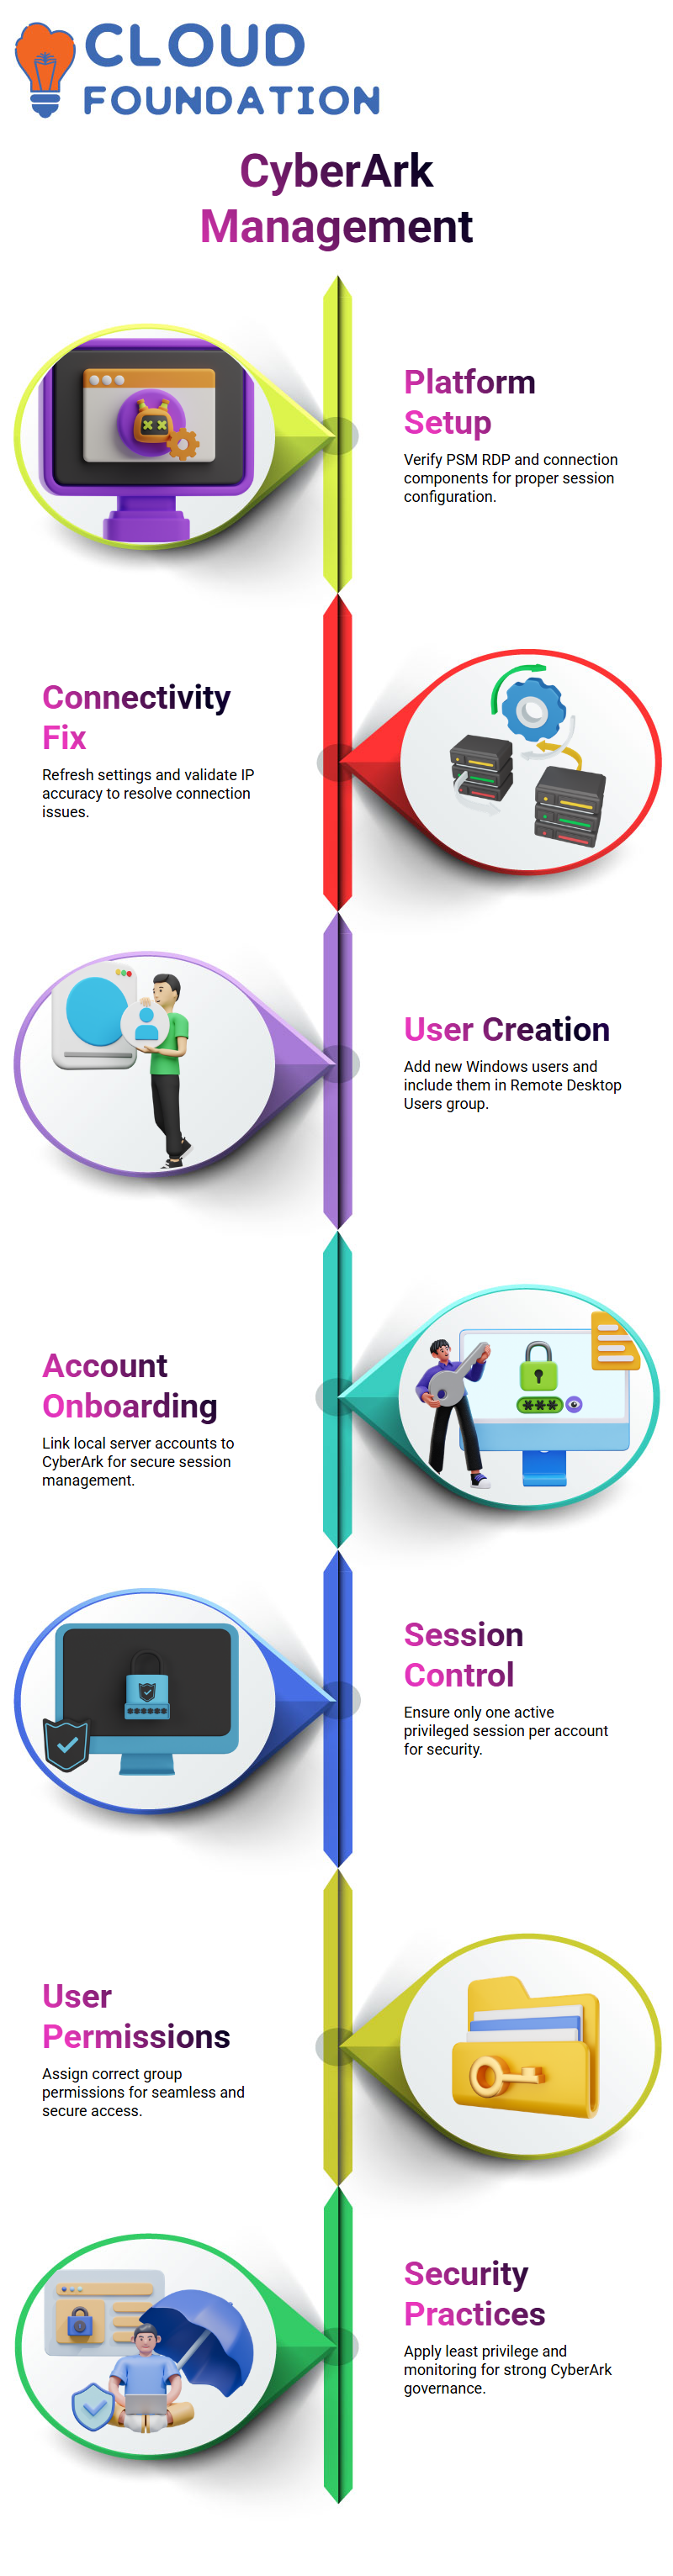
It’s crucial to verify the ‘PSM RDP’ settings and expand the ‘Connection Components’ once again. I examine a number of items in this area, including client settings, port setup, permitted connections, remote app login, and supported capabilities. Examining each guarantees that CyberArk connects sessions efficiently and error-free.

CyberArk Online Training
Troubleshooting CyberArk Connectivity
CyberArk may sometimes display a connection problem. I then refresh the Platform Management page and use my administrator credentials to log in once again. I increase the Windows Server Local Accounts under Platform Management after refreshing. This enables me to check that PSM RDP is setup correctly by editing the user interface and workflow parameters.
I check the IP address in the login area twice if I try to connect to an account and the option seems disabled. I may, for instance, use an IP address such as 172.31.4.196, being sure to enter it accurately in the CyberArk account details before saving. I restart the setup and try again if it still doesn’t connect.
Setting Up a New CyberArk User Account on PVWA
Occasionally, CyberArk’s connection problems arise because the default administrator account is already in use. Then, on the PVWA server, I create a new user. I create a new user with a distinct name and password by selecting ‘Computer Management’ from the Windows Server interface, followed by ‘Local Users and Groups’.
I add the account to the ‘Remote Desktop Users’ group after creating it. This guarantees that the user is authorized to connect to CyberArk PSM. Like any other privileged account, I may then onboard the new account into the CyberArk environment.
Onboarding New Accounts into CyberArk
I return to CyberArk and add it under Windows Server Local Accounts after creating a new account. I save the settings after entering the IP address, for example, 172.31.4.196, on the address tab. By connecting the local server user to the CyberArk vault, this procedure enables session management and safe credential storage.
CyberArk’s outstanding feature is that it gives you total control over privileged access. I can manage credentials, keep an eye on sessions, and guarantee system compliance by onboarding the account in this manner—all inside the CyberArk PSM framework.
Reviewing CyberArk Session Behavior and RDP Connections
I use CyberArk’s ‘Connect’ option to establish a connection once the account has been added. An RDP file is immediately downloaded when I click on it. CyberArk’s PSM initiates a secure session when this file is opened. The same user session is often already active on the server if the connection drops out suddenly.
Session management is essential in CyberArk. It guarantees that each account only has one active privileged session. This feature improves overall security in addition to shielding the system from disputes.
Creating and Managing CyberArk User Permissions
Before onboarding a new user to CyberArk, I make sure they are added to the appropriate permission groups whenever I create them in the Windows environment.
For example, I add the new username after establishing a user by going to ‘Groups’ and choosing ‘Remote Desktop Users’. This ensures seamless access while establishing a CyberArk session.
I keep a controlled and safe atmosphere by doing this. CyberArk makes the whole access process auditable and assists in enforcing the appropriate degree of privilege across accounts.
Enhancing Security Through CyberArk Best Practices
Working with CyberArk requires more than simply putting things up; it also requires knowing how privileged access works. Every time I update session management, onboard accounts, or examine connection components, I make sure CyberArk upholds accountability and least privilege.
CyberArk guarantees total visibility and control whether it’s setting up the PSM server, managing RDP connections, or adding new users. CyberArk is a crucial component of any safe IT architecture because of its high degree of accuracy.
Getting Started with CyberArk Account Onboarding
I’ll go over how to connect and onboard an account in CyberArk in this section. When creating a username and password, be careful to double-check the password.
Enter the same IP address and login credentials after that. You don’t need to click anywhere further once you’ve done that; just click ‘Add’.
Select ‘Connect’ after that, and check the connection. That’s it! When you use your CyberArk credentials to login to the same server, the RDP file is immediately produced.
CyberArk Account Onboarding Process
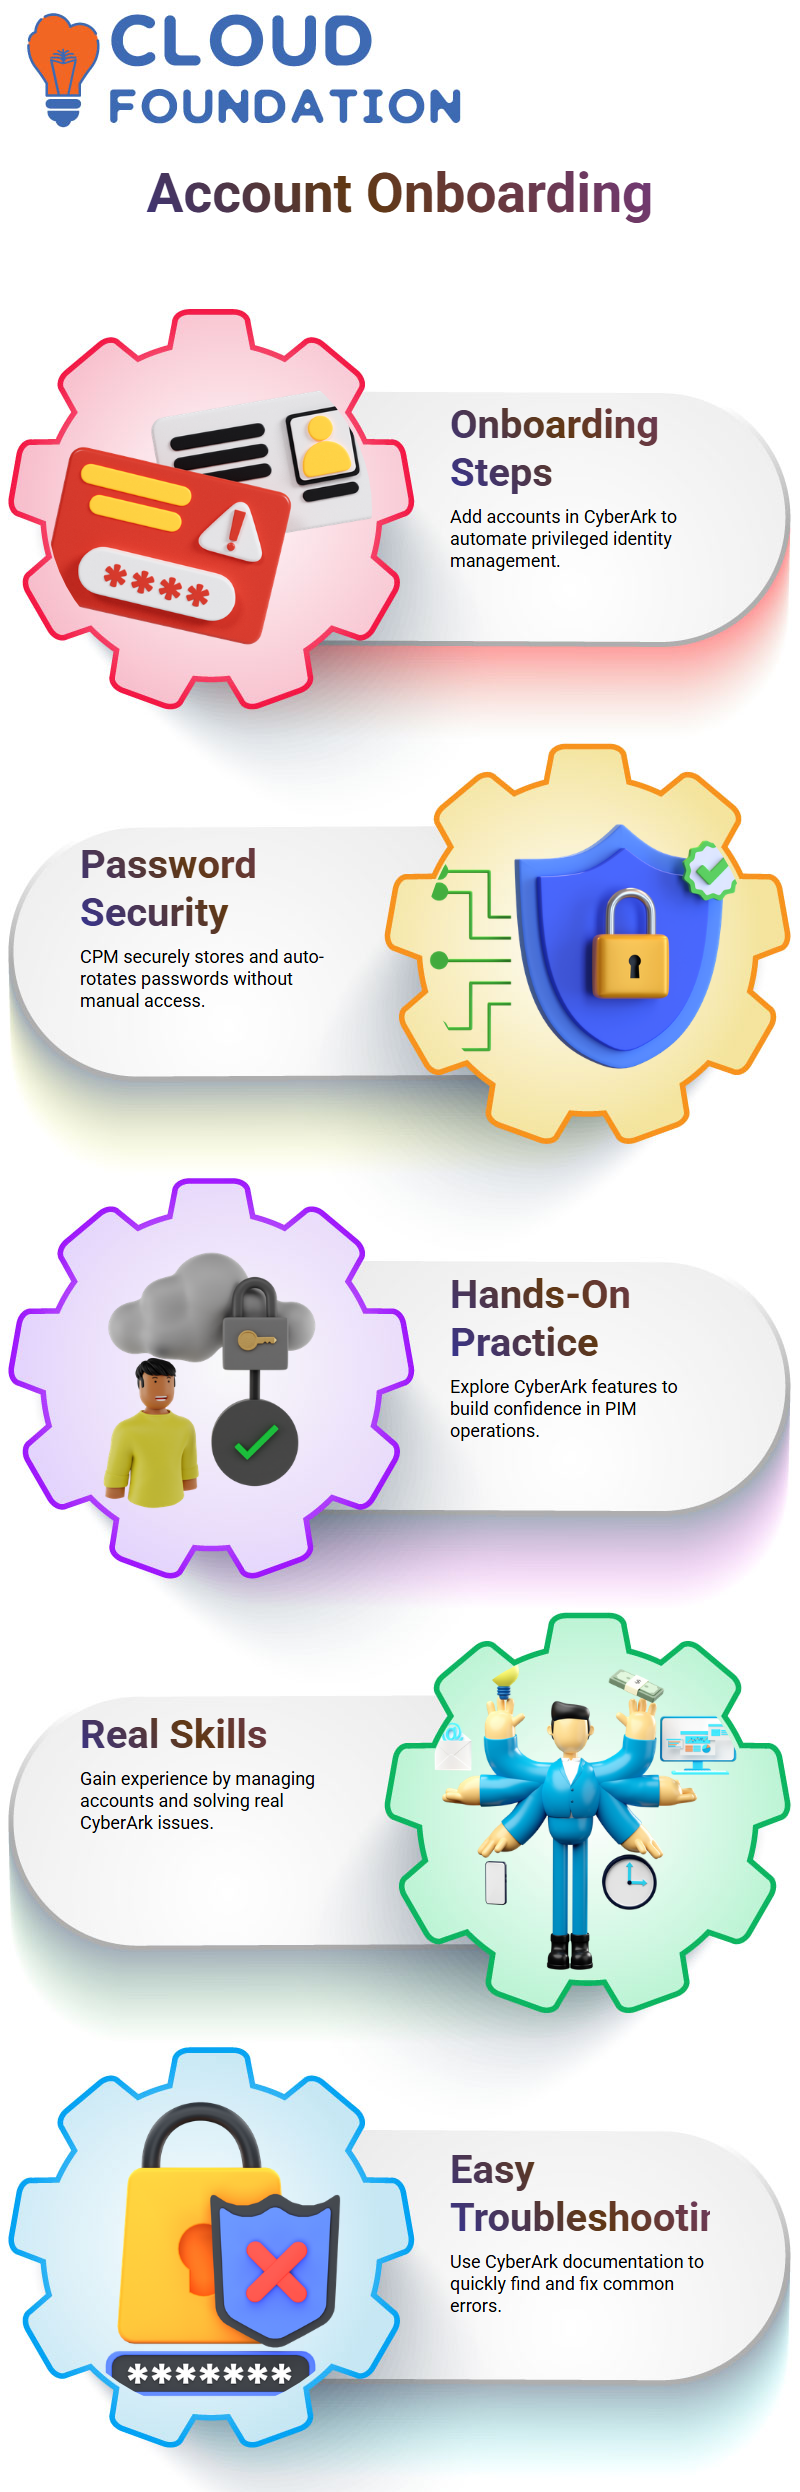
What precisely occurs when an account is onboarded in CyberArk, then? The procedure is simple yet effective. The user is created at the server end by the IAM team. It is your responsibility to launch CyberArk, choose ‘Add Account,’ fill out the information, and finish the onboarding process.
That is all that is required of you. Everything else is taken care of automatically when the account has been onboarded into CyberArk’s Privileged Identity Management (PIM).
How CyberArk Manages Passwords Securely?
Let’s now discuss CyberArk password management. CyberArk’s Central Policy Manager (CPM) assumes control after an account has been onboarded.
It keeps the password safe and rotates it automatically. Complete security is ensured since neither you nor the IAM staff will know the real password. One of CyberArk’s most potent features is its automated rotation, which protects privileged accounts without requiring human intervention.
Hands-On Practice with CyberArk PIM
I used CyberArk to establish many accounts on several servers when I initially started doing this. The secret is to continue exploring and practicing. Try connecting, check the settings, and look for fixes online if you have problems.
For troubleshooting, CyberArk’s documentation and forum are great tools. Your confidence in managing CyberArk PIM operations will increase with experience.
Developing Real-World Skills with CyberArk
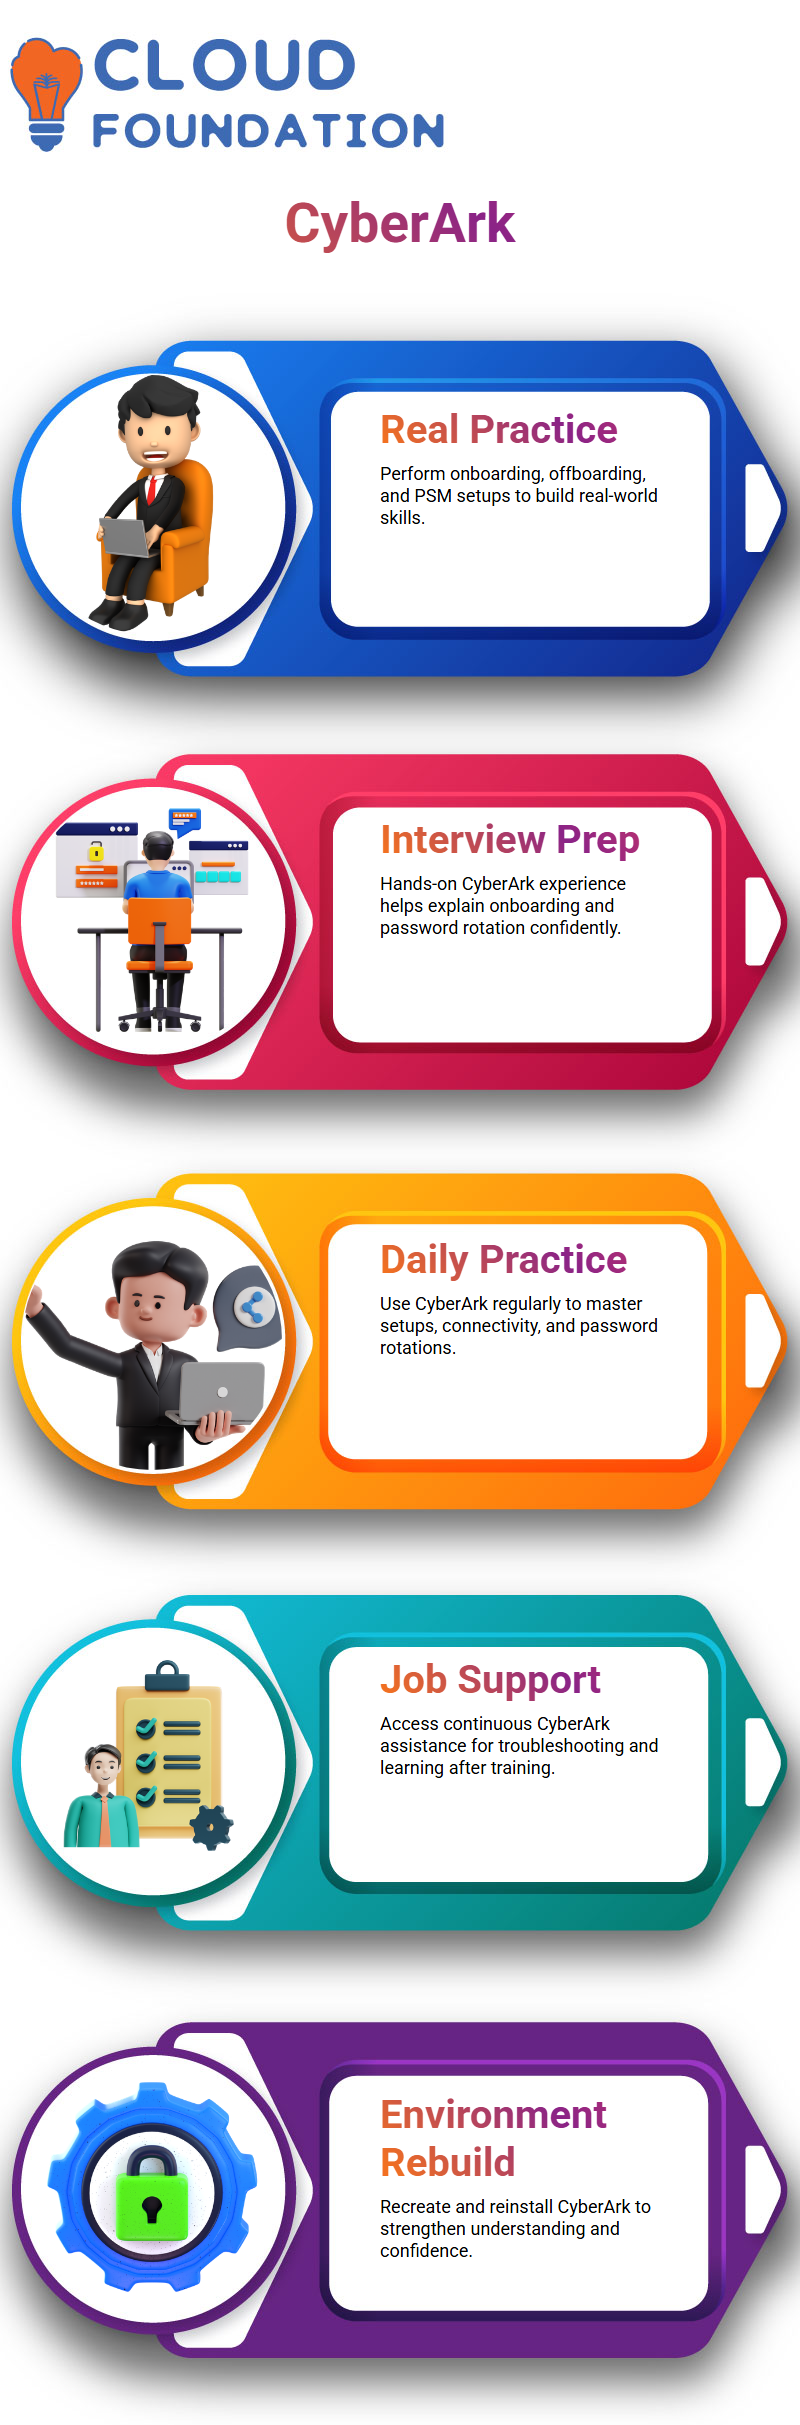
After mastering the fundamentals, it’s time to investigate actual CyberArk situations. Practice setting up password management, onboarding various account types, and resolving typical problems. Practical experience is essential since CyberArk is often used in business settings to secure sensitive accounts. Keep in mind that each time you create an account on CyberArk, you’re moving closer to being a proficient cybersecurity specialist.
Troubleshooting Made Easy with CyberArk Documentation
CyberArk’s comprehensive documentation has made troubleshooting exceedingly easy. The CyberArk knowledge base contains references to every problem, mistake, and bug.
Simply enter the problem number and the term “CyberArk” into Google if you encounter one while attempting to connect to a vault or session. You’ll get a detailed resolution page right away.
The descriptiveness of CyberArk documentation is what I like about it. It explains what caused the problem and why it occurred, in addition to showing you how to remedy it. This turns troubleshooting into a guided learning process rather than a guessing game.
Preparing for Real-World Scenarios with CyberArk
CyberArk’s ability to go beyond theory is one of its many wonderful features. To strengthen your comprehension, you may regularly perform activities like onboarding, offboarding, and establishing PSM servers. Mastery is gained with each repetition.
Preparing for CyberArk Interviews and Resume Building
You can more confidently describe how account onboarding and password rotation operate if you have hands-on experience with CyberArk PIM and CPM. Candidates that can show real CyberArk expertise via examples and practical experience are highly valued by employers.
Why Practicing CyberArk Daily Matters
The secret is consistency. You will get more at ease using CyberArk the more you use it. Experiment with various account setups, connectivity tests, and password rotations. You will learn something new about CyberArk each time you check in. You will become adept in administering CyberArk settings and succeed in your cybersecurity journey with these little everyday efforts.
CyberArk Job Support and Continuous Learning
Following their completion of the CyberArk course, many students inquire for employment help. Indeed, there is ongoing assistance! You may seek CyberArk assistance if you run into troubleshooting issues at work, such as an error while attempting to connect to a vault or a difficulty with access. You won’t ever feel trapped while implementing CyberArk abilities in your company thanks to this help.
After the session is over, the CyberArk learning process continues. You may review your CyberArk setup, try other settings, or refer to the documentation if you encounter a real-world problem. Learning never stops at CyberArk, and each encounter broadens your knowledge.
Rebuilding and Practicing with CyberArk Environments
You may ask your cloud foundation team to recreate the environment if you ever wish to rehearse CyberArk installation or setup. You may then reinstall CyberArk and start again from scratch. Your confidence in effectively managing CyberArk infrastructure is bolstered by this repetition.
Rebuilding settings, in my experience, aids in conceptual solidification. Whether it’s connecting PSM servers, managing vaults, or troubleshooting user access, every configuration teaches something new. The more you rebuild, the easier it becomes to administer CyberArk.

CyberArk Course Price

Navya Chandrika
Author