Salesforce OmniStudio End-to-End Training
Salesforce Omnistudio Script
Salesforce Omnistudio: We begin with a Home Script, which includes multiple steps — steps one, two, and three. Each of those steps contains elements such as text boxes, dropdown menus, and tables.
These step elements are intact and allow for the addition of an LWC component after step two without disrupting anything else – one way to override the Salesforce Omnistudio script by injecting custom LWC components.

Customising Salesforce OmniStudio Scripts
Salesforce Omnistudio not only allows you to add new components but also lets you override certain existing elements in scripts. For instance, if there’s already a text box present, you can change its behaviour without adding new components.
Salesforce Omnistudio offers an alternative method of override by directly modifying existing elements, making this approach ideal for fine-tuning specific parts of the UI.
Initialising arrays in Salesforce Omnistudio
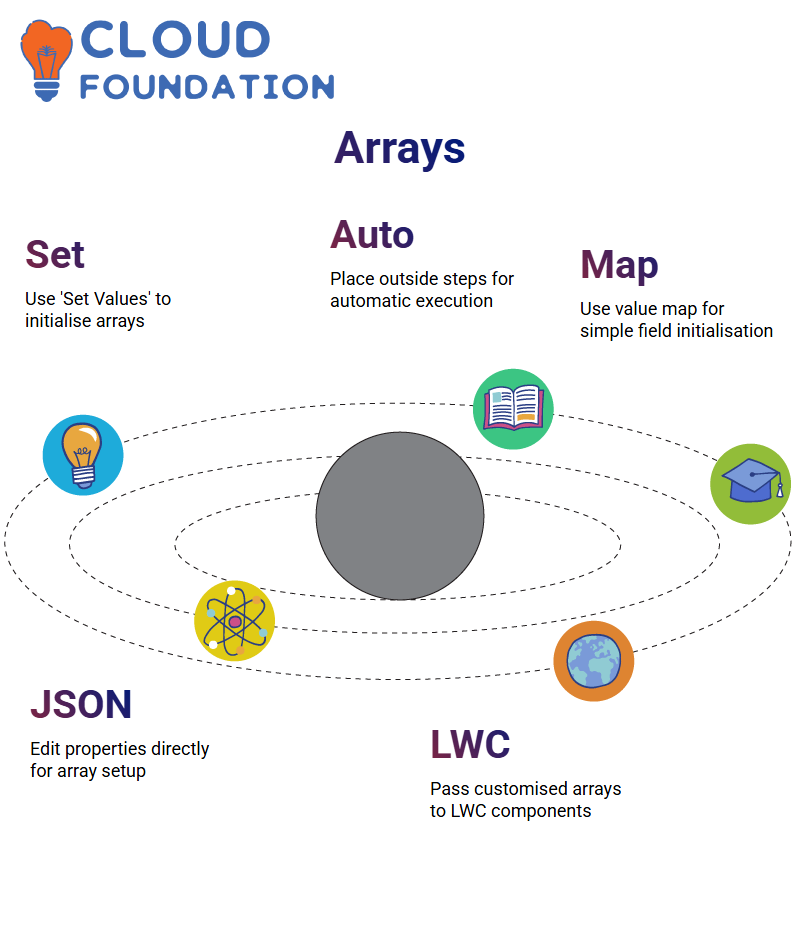
Initialising arrays in Salesforce Omnistudio can be achieved using the ‘Set Values” element. If you wish for your array to execute automatically, place it outside a step; otherwise, it must be manually activated by someone.
Initialising simple fields, such as integers or strings, was easy using the element value map.
For arrays, however, I used ‘Edit Properties as JSON’, which allowed me to modify element properties directly through the JSON format—perfect for real-time projects.
Editing JSON Properties in Salesforce Omnistudio
After clicking “Edit Properties as JSON”, all the attributes for my element were laid out clearly, including labels, control widths, and other configuration settings.
By editing these properties, we could tailor how an array was initialised and passed to the LWC component.
Although seemingly minor in scope, such customisation can prove invaluable when working on complex Salesforce Omnistudio implementations.
Working With Arrays in Salesforce OmniStudio
Instead of using individual variables, an array was introduced — specifically, OP Data, which holds opportunity data — directly into the element map. By copying and pasting, previous variables were successfully replaced.
Step one is key when working with Salesforce OmniStudio — temporarily storing data in an array. Step two involves developing an LWC to pass this array.
Salesforce OmniStudio makes integration seamless. A Lightning component with a custom Lightning Web Component was searched for and dropped in; then, the component was named with the associated data.
It’s one of the quickest ways to build custom Lightning Web Components within Salesforce OmniStudio.
Install LWC on Salesforce Omnistudio
To use LWC with Salesforce OmniStudio, needed Visual Studio Code installed and synced with my organisation. One key step involves activating a checkbox that enables LWC integration within script files – without it, your component won’t function.
Once that was set in motion, we created a new Salesforce Omnistudio script and added a static variable instead of calling an HTTP action; this variable held an array of items that were passed to the LWC component for processing.

Salesforce Training
Create LWC Components in Salesforce OmniStudio
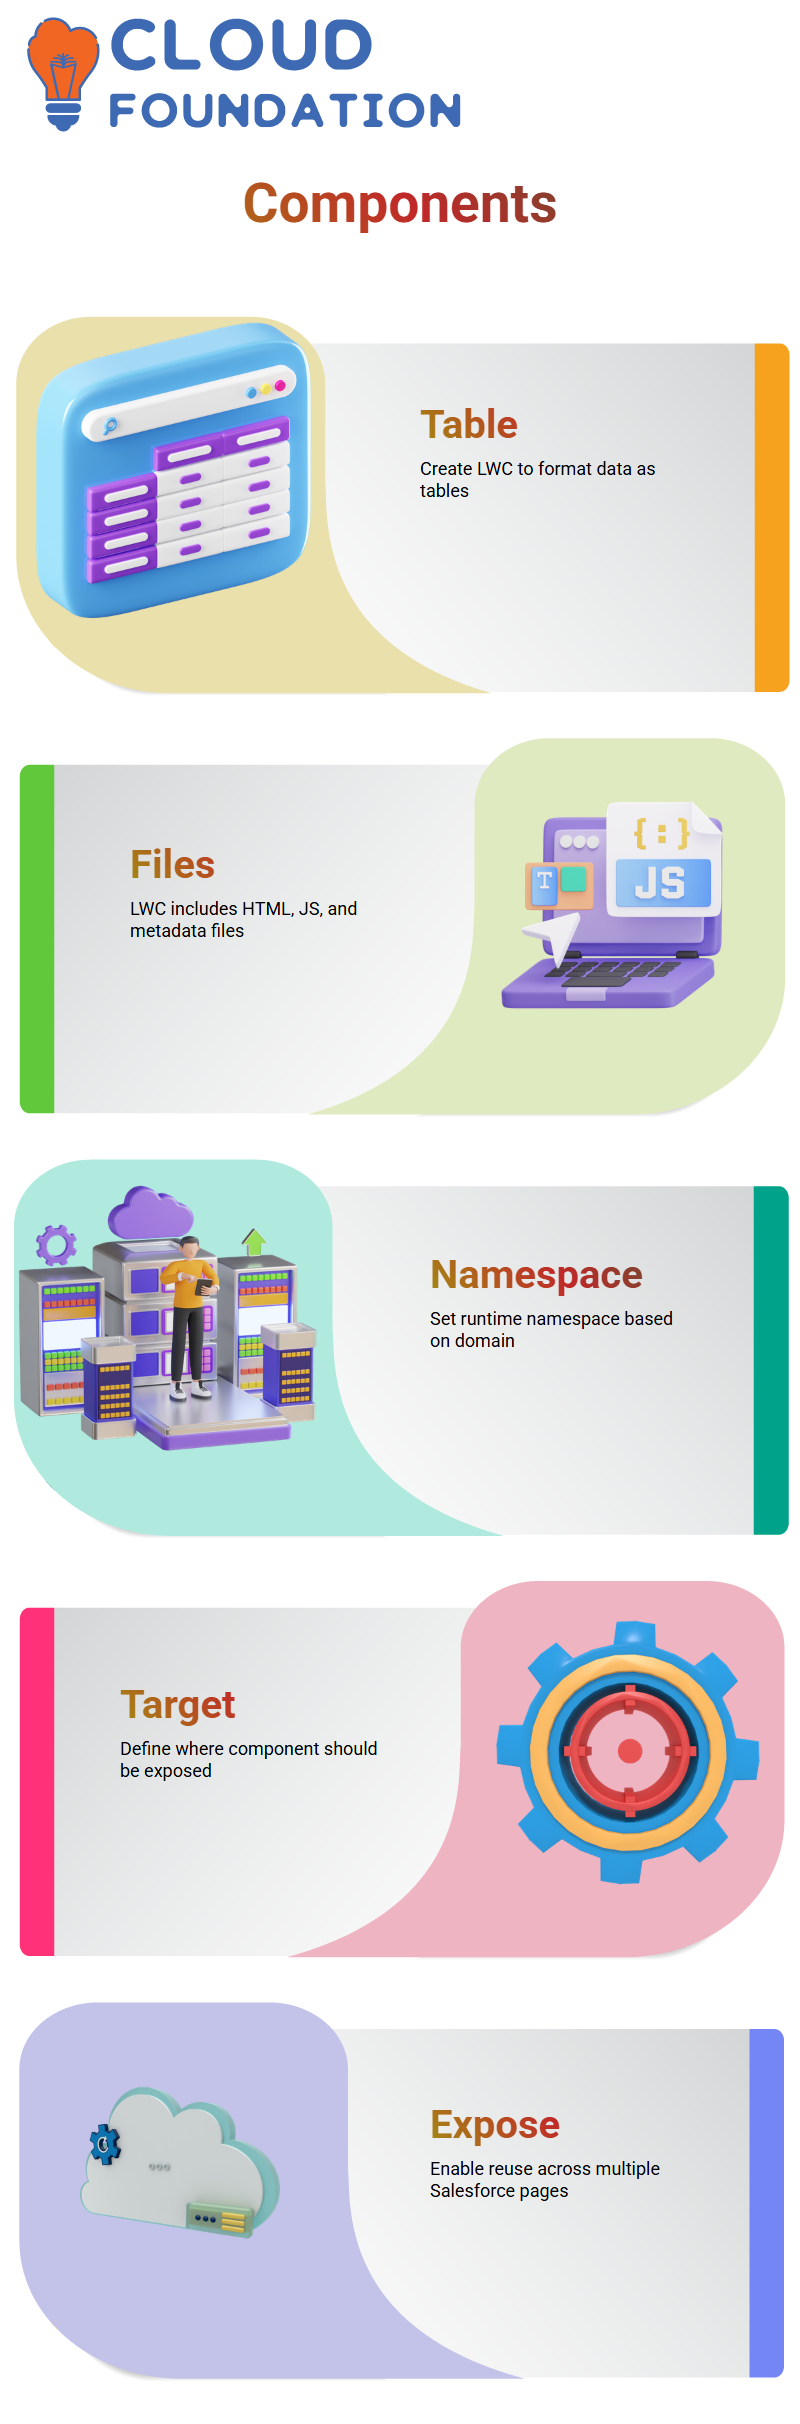
To format the data as tables, make a new LWC component using Visual Studio Code and upload it.
If you have experience working within the Salesforce omnistudio environment, pressing Ctrl+Shift+P can provide the option to create a Lightning Web Component by selecting its path and providing its name.
At creation time, Salesforce Omnistudio generated three files: A metadata file, a JavaScript file and an HTML file.
This metadata file enables developers to add runtime namespace and target elements, informing the compiler that this LWC was explicitly written for Salesforce Omnistudio, depending on your domain (e.g., telecom, public sector).
The namespace will differ, but setting “isExposed” to true will ensure visibility for components across different pages, such as community and record pages.
Metadata in Salesforce OmniStudio
As part of my metadata file, a runtime namespace based on my package; for instance, in telecom, it would likely be CMT rather than INS.
Furthermore, I added a target definition to specify where components should be exposed—a crucial step when working within Salesforce Omnistudio and launching Omniscripts from multiple pages.
To maximise component reusability across different contexts, the “isExposed” flag was set to true to ensure access from community pages, record pages and Lightning pages.
One of Salesforce Omnistudio’s strengths lies in this flexibility – components can easily be reused across various situations.
JavaScript into Salesforce Omnistudio
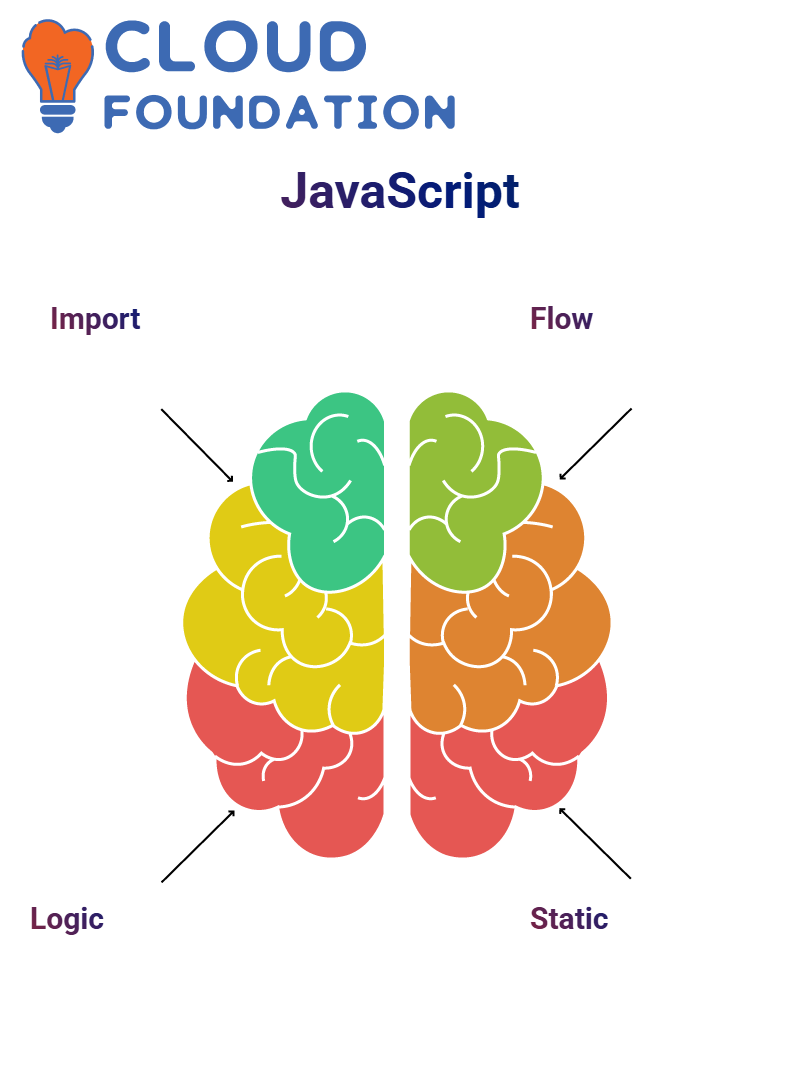
After completing this step, proceed to the JavaScript file. When creating an LWC component in Salesforce Omnistudio, import statements are provided as standard, and these imports help connect component logic with user interface (UI) and metadata configurations.
In this JavaScript file, logic for retrieving data from an Omniscript, editing it, and returning the edited data is implemented.
This bidirectional data flow feature of Salesforce Omnistudio facilitates seamless communications among components and scripts.
Static Data in Salesforce Omnistudio
Once your base mixin has been defined, move on to creating static data. Use Salesforce Omnistudio to define table labels, such as Account Name, Stage, Close Date, and Amount, which are added directly into the JSON structure for rendering in HTML columns.
Step Two ensures that the data table within the LWC component reflects the Omniscript structure.
Data Tables in Salesforce OmniStudio
Creating an HTML file to display data in table form. After searching online for an existing Lightning data table structure and copying and pasting it into my component, this part wasn’t specific to Salesforce Omnistudio. Still, it was critical in providing data presentation capabilities.
Data tables contain two essential elements: “data” and “columns”. The data represents records retrieved from third-party sources or HTTP actions, and the columns serve as headings, allowing for the dynamic rendering of information within Salesforce Omnistudio.
Table Data from Omniscript to LWC in Salesforce Omnistudio
To populate my table with data, then assigned “tableData” to “oppData,” using Omniscript for data transfer into LWC, utilising connected Callback lifecycle methods to retrieve it later.
By parsing JSON data from Omniscript and extracting pertinent details for assignment to the tableData variable, this ensures that LWC components display dynamic information from Salesforce Omnistudio.

Salesforce Online Training
LWC Components in Salesforce Omnistudio
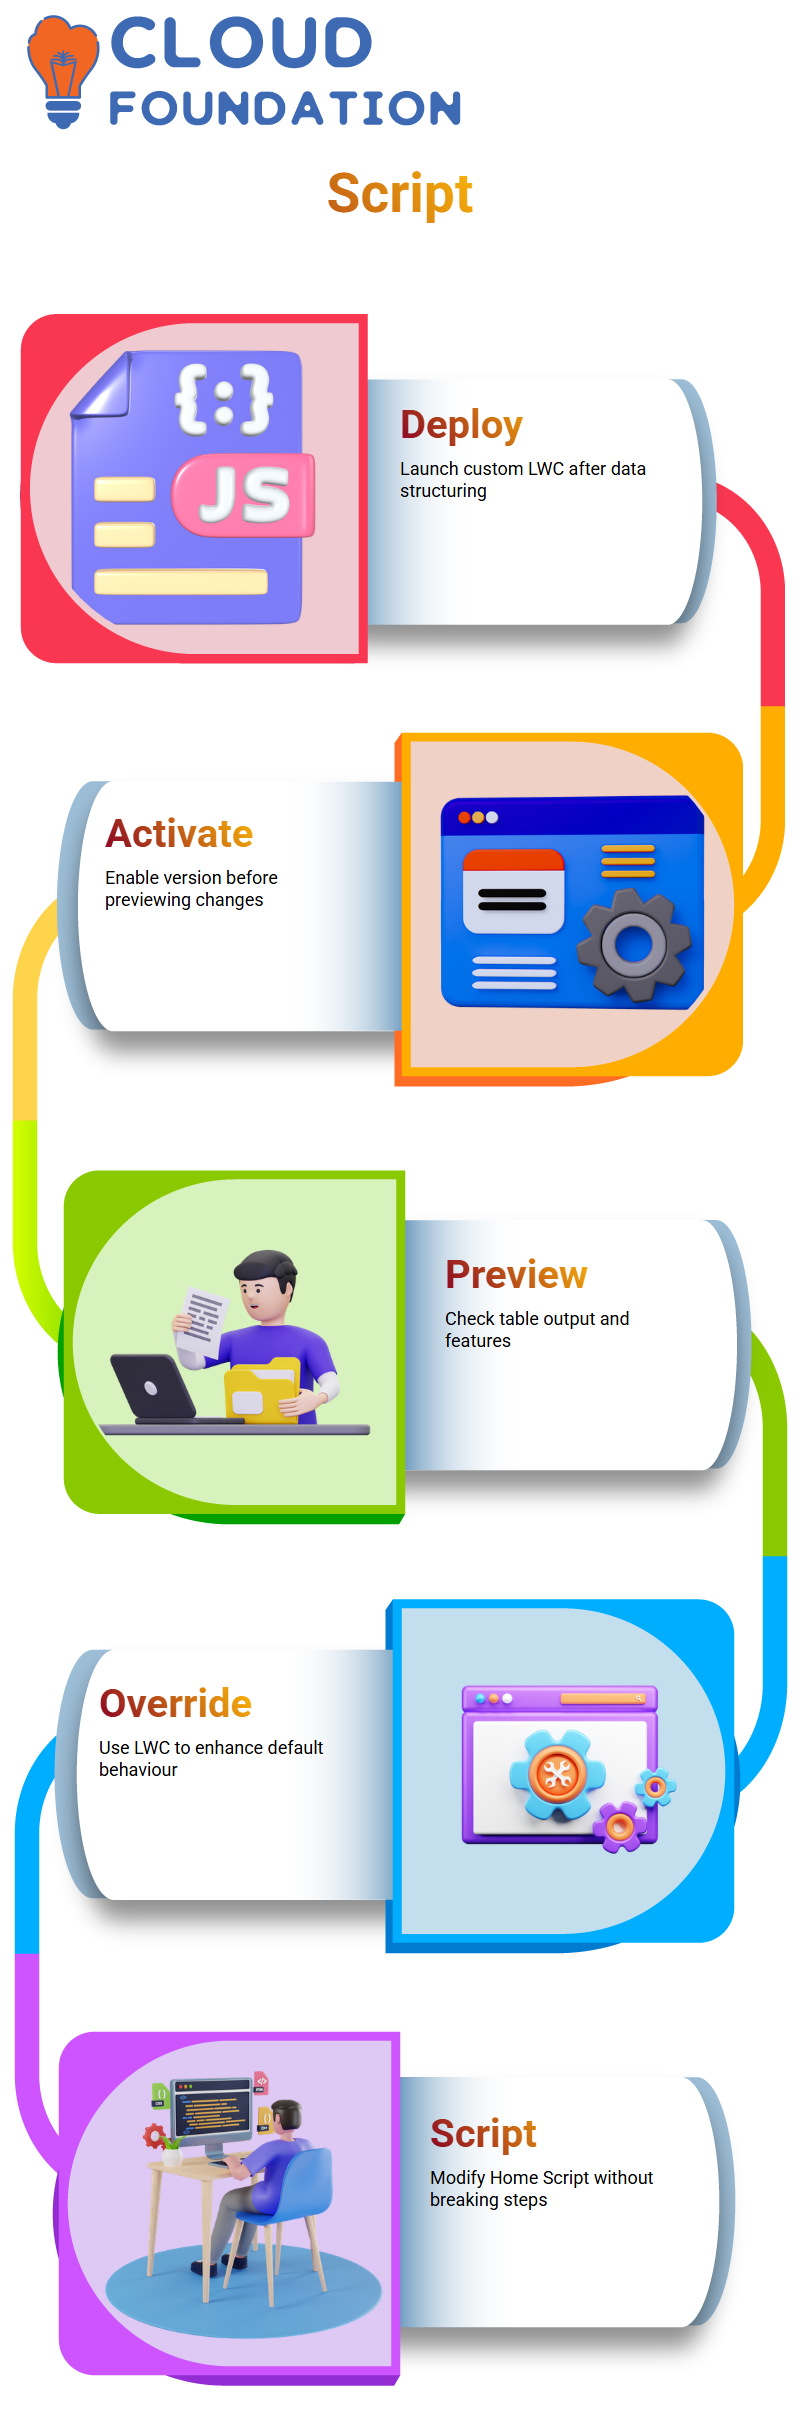
After populating and organising data and structuring structures, deploy your custom LWC component.
When previewing in Salesforce Omnistudio, the version activated before previewing any element must be visible.
Without activation, changes made in LWC will not be reflected in the preview. This step must be performed when overwriting components within Salesforce Omnistudio.
After deployment, preview the component to ensure its output matches your expectations. In particular, verify whether its table displays account names and details accurately while features like selection and sorting have been passed on from its Lightning component parent.
Referring to the Salesforce Omnistudio documentation is key for further customisation, as it allows for tailoring each component specifically to individual requirements.
OmniStudio LWC Override
Salesforce Omnistudio allows for one of the more intricate aspects of customisation: overriding default behaviours using Lightning Web Components (LWC). Sometimes, the default user interface doesn’t quite fit your situation – that’s where LWC comes into play!
As soon as we opened up Salesforce omnistudio Home Script, we recognised one topic still needed exploring: overriding Home Script using LWC to enhance user experience without disturbing existing step elements.
This technique provides powerful options for enhancing existing step elements without compromising their integrity.
LWC Integration in Salesforce OmniStudio
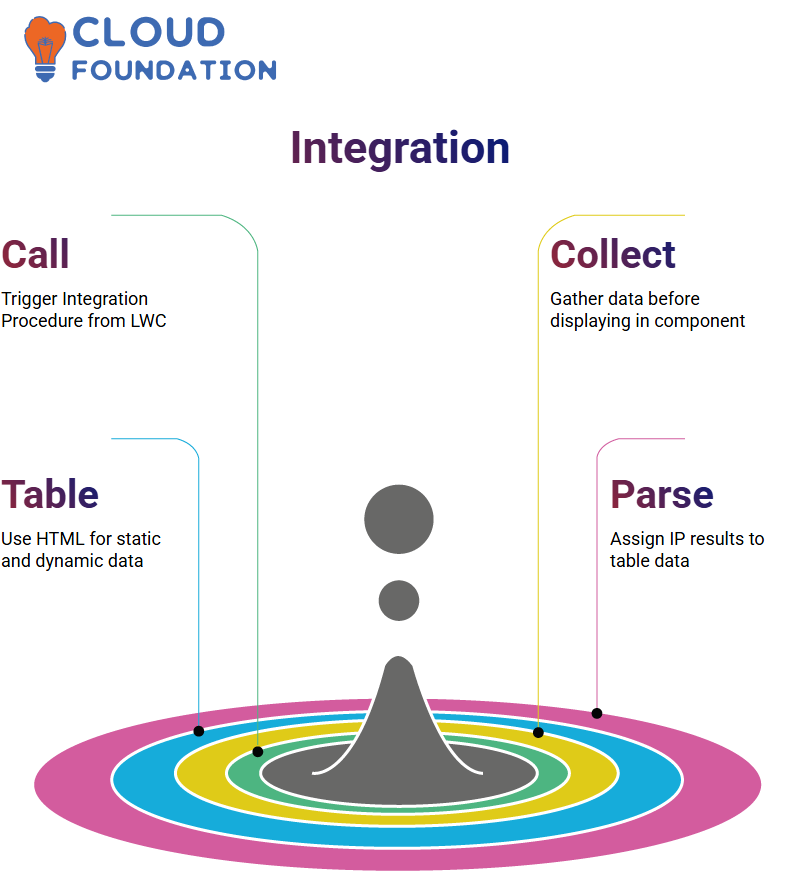
As another example, demonstrate how to call an Integration Procedure directly from LWC and collect data with it for display within its component.
The goal here is simple: obtain as much data from IP as possible before displaying it within the component.
Set up two tables in HTML for static data and dynamic information retrieved over IP. Any responses parsed from IP are parsed and assigned as table data using the respondent. Result.IPResult.contacts;
Data Flow in Salesforce Omnistudio
Salesforce Omnistudio initiates the data flow by invoking Omniscript with LWC to execute the Integration Procedure, which subsequently calls DataRaptor directly.
DataRaptor collects contact records from the Contacts Table and returns them to IP, who then forwards them to LWC for display in Omniscript, creating an efficient flow that makes Salesforce Omnistudio truly impressive.
Integration Process in Salesforce Omnistudio
Salesforce Omnistudio handles integration procedures. While it might appear complicated at first, this process should prove easy enough once you learn how to call each procedure correctly.
As part of your Salesforce Omnistudio work, you may frequently encounter terms such as IP name and parameters.
They play an essential part in invoking integration procedures; a specific structure is needed to pass parameters; once familiarity sets in, it becomes second nature.
Before Salesforce Omnistudio came along, Omnis data could only be called directly. Now, there’s a dedicated method that accepts parameter values dynamically or as static data, depending on your use case.
After we complete the integration procedure, I’ll present a practical example to clarify the process. It shouldn’t take more than 10-15 minutes and is intended to show how Salesforce Omnistudio handles calls from an application.
Dynamic and Static Data Handling in Salesforce Omnistudio
Salesforce Omnistudio enables us to approach data in two primary ways: dynamically and statically.
When calling an integration procedure, parameters can be passed dynamically for greater flexibility; alternatively, static data may be more suitable for simpler use cases.
Salesforce Omnistudio stands out by taking an innovative and flexible dual approach, enabling you to tailor integration procedures according to the specific needs of your application—whether it’s a complex workflow or a simple data fetch. Salesforce Omnistudio will ensure seamless implementation.

Salesforce Course Price

Navya Chandrika
Author