Pega CSA Topics | Pega CSA Study Materials
Understanding Pega CSA Section and Its Role
Sections in Pega CSA play a crucial role in representing data on the user interface. Everything you see on the screen, like first name, last name fields, or vehicle information, is a section.
As a Pega CSA professional, you’ll frequently configure these sections to map clipboard data, ensuring that user inputs and outputs are displayed seamlessly.
Mapping Clipboard Data in Pega CSA Sections
The clipboard acts as a bridge between the database and the UI in Pega CSA. Data from the database is fetched into the clipboard, and from there, it’s mapped to sections.
This mapping allows users to visualize data directly on the screen. For example, fields like name and street are linked to clipboard properties within sections to ensure proper data display.
Exploring Traditional Sections in Pega CSA
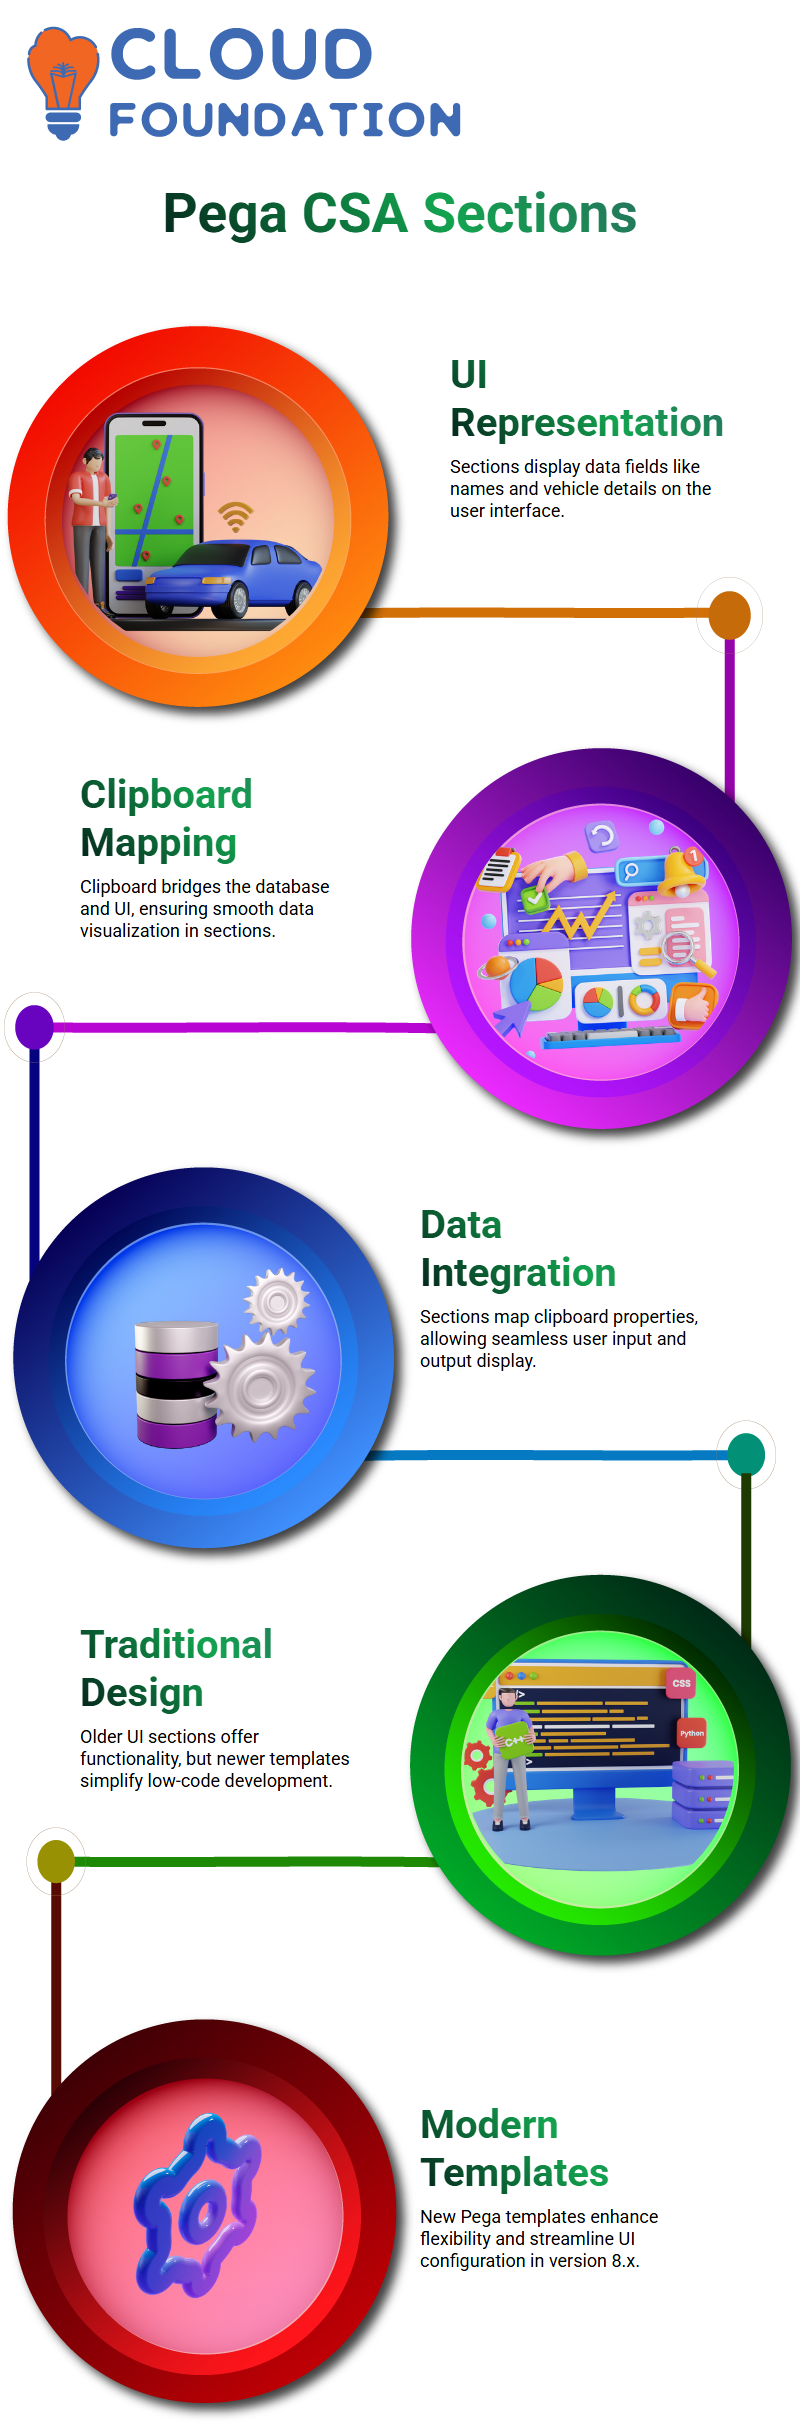
Traditional sections in Pega CSA have been the backbone of UI design for years. While they offer robust functionality, newer design templates introduced in the 8.x series provide even more flexibility, catering to low-code app development. These design templates simplify configuration and make development quicker and more intuitive.
Using Design Templates in Pega CSA
Pega CSA’s design templates are a game-changer for low-code app development. They enable developers to drag and drop elements effortlessly, streamlining the creation process.
Whether you’re working in App Studio or designing specific UI elements, these templates enhance efficiency and usability.
Navigating Live UI in Pega CSA
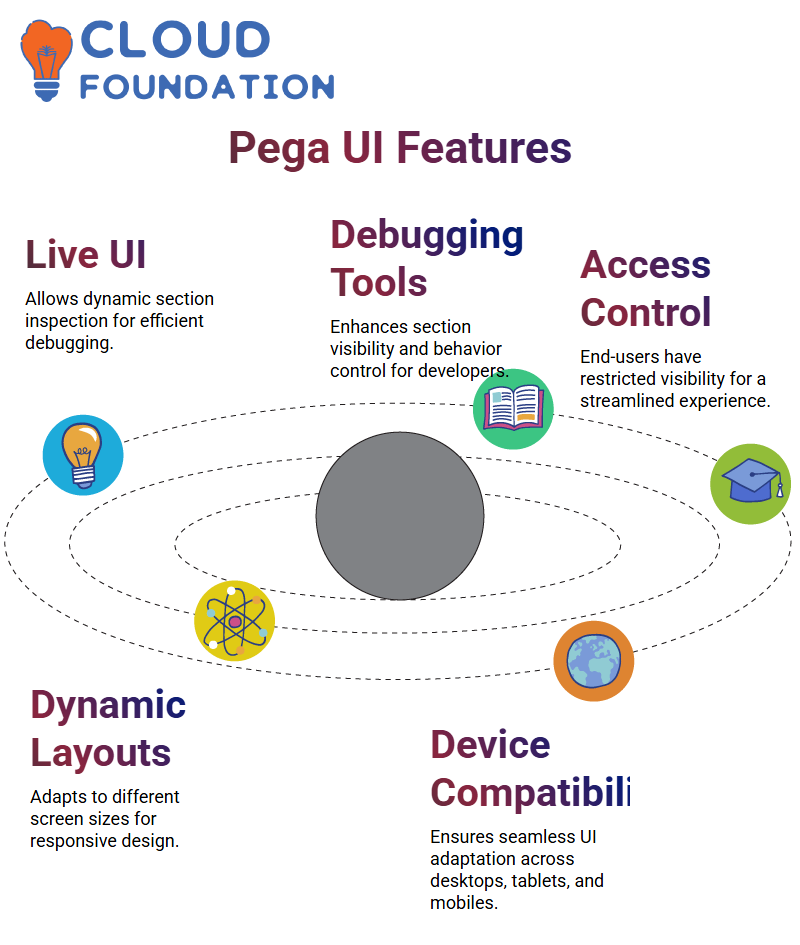
Live User Interface (Live UI) in Pega CSA provides an interactive way to explore and modify sections.
By pointing your cursor to a specific element on the screen, you can identify and edit its corresponding section. This feature saves time and offers a direct approach to UI customization.
Understanding Pega CSA Debugging Tools
Hey there! Let’s talk about Pega CSA and how debugging tools can help us navigate its interface. When working on applications, sometimes sections are opening in the background, making it hard to figure out why certain details aren’t showing up. Don’t worry! Pega CSA provides debugging tools that can make things much easier.
One of the key debugging tools is Live UI. If you ever need to inspect a section in the background, simply toggle the Live UI and click on the cross icon.
These sections will open, making it easy to analyse their behaviour. Pega CSA also offers two additional debugging tools: Clipboard and Tracer. Understanding these tools is essential for efficiently troubleshooting issues.
A Powerful Debugging Feature in Pega CSA
Live UI is a game-changer in Pega CSA. It allows developers to inspect different sections dynamically. Whenever you need to see how elements are structured in the UI, Live UI lets you toggle through them effortlessly.
This feature is especially useful for debugging without having to dive deep into backend configurations.
Pega CSA ensures that developers have access to Live UI for better control over section visibility and behaviour. However, end-users, such as banking employees, won’t see these debugging icons since they don’t need them in their workflow.
Their access groups are configured to hide unnecessary elements, ensuring a clean user experience.
Exploring UI Layouts in Pega CSA
Pega CSA offers various UI layouts to enhance user experience. Among the most commonly used ones are dynamic layouts, repeating layouts, and embedded sections.
Dynamic layouts are particularly useful because they automatically adjust to different screen sizes, making applications highly responsive.
If you’re using Pega CSA on different devices, you’ll notice how the UI adapts seamlessly. Whether you’re in desktop mode, tablet mode, or mobile mode, Pega CSA ensures an optimal user experience.
This functionality helps developers create applications without worrying about manually adjusting layouts for different devices.
Table Layouts and Their Role in Pega CSA
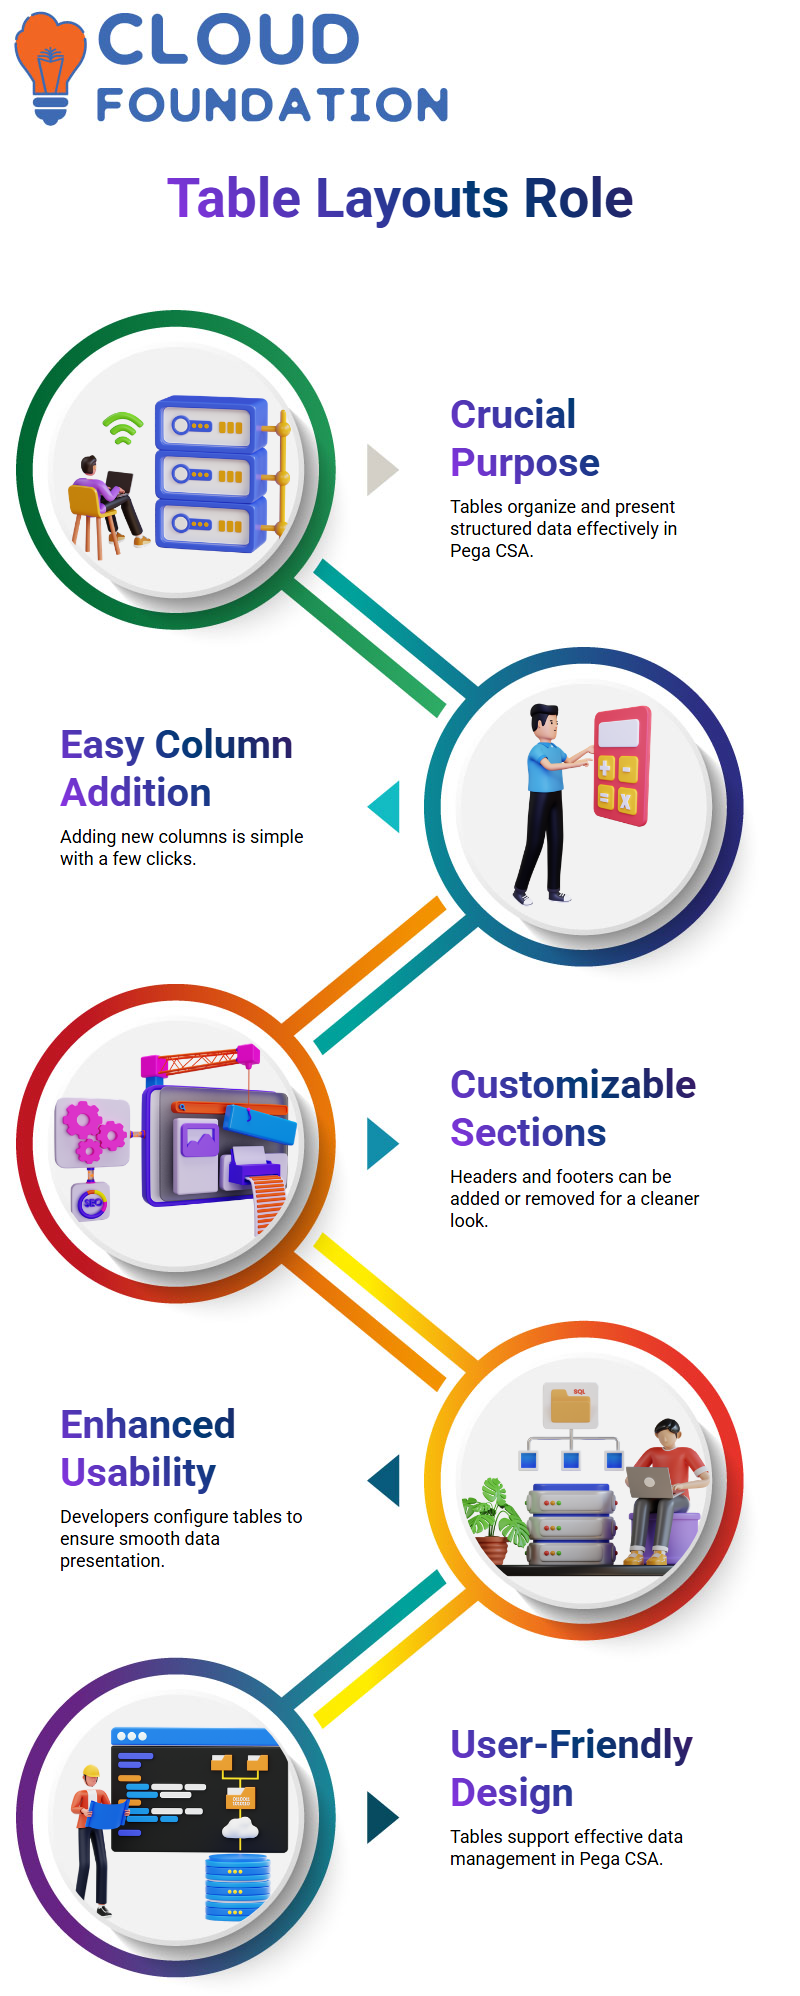
Now, let’s talk about table layouts. When displaying lists of records in Pega CSA, tables play a crucial role. They allow users to organize and present structured data effectively.
Adding columns is simple you just click on the options and insert new columns where needed.
In Pega CSA, tables can be customized by adding headers and footers. If a table doesn’t require these sections, they can be removed for a cleaner look. Developers can configure tables easily to ensure smooth data presentation and enhance usability.

PEGA Training
Understanding Sources in Pega CSA
When you’re working with Pega CSA, you’ll often encounter table layouts populated with lists of records. To display data in these layouts, it’s crucial to know how to define the sources effectively.
These sources are mapped from the clipboard, and in Pega CSA, there are three main types: properties, report definitions, and data pages.
The property source is typically a page list property because it handles listed types.
Imagine you’re dealing with multiple records; you use the page list property to organize these effectively in Pega CSA. This allows the layout to handle tables with numerous entries seamlessly.
Report definitions are another essential source in Pega CSA. They function similarly to the Obija browser, fetching data directly from the database.
What sets report definitions apart is their ability to perform class joins, enabling you to combine multiple tables and fetch complex data sets. For example, while Obija browsers don’t support class joins, report definitions in Pega CSA make it possible to merge records from three or more tables with ease.
Pega CSA Table Layout Features
In Pega CSA, table layouts include features like headers, footers, and conditional visibility. For example, you can use grid visibility conditions to filter data dynamically.
If your data includes records for Hyderabad and Pune, but you only want to display Hyderabad records, the visibility settings in Pega CSA allow you to fine-tune this display.
Pagination is another crucial feature in Pega CSA. Imagine handling 500 records it’s impractical to display them all on one page.
Pagination lets you showcase data in chunks, such as 50 records per page, for better user experience. This ensures your application’s UI follows best practices and maintains a clean, manageable format for end users.
Customizing Table Layouts in Pega CSA
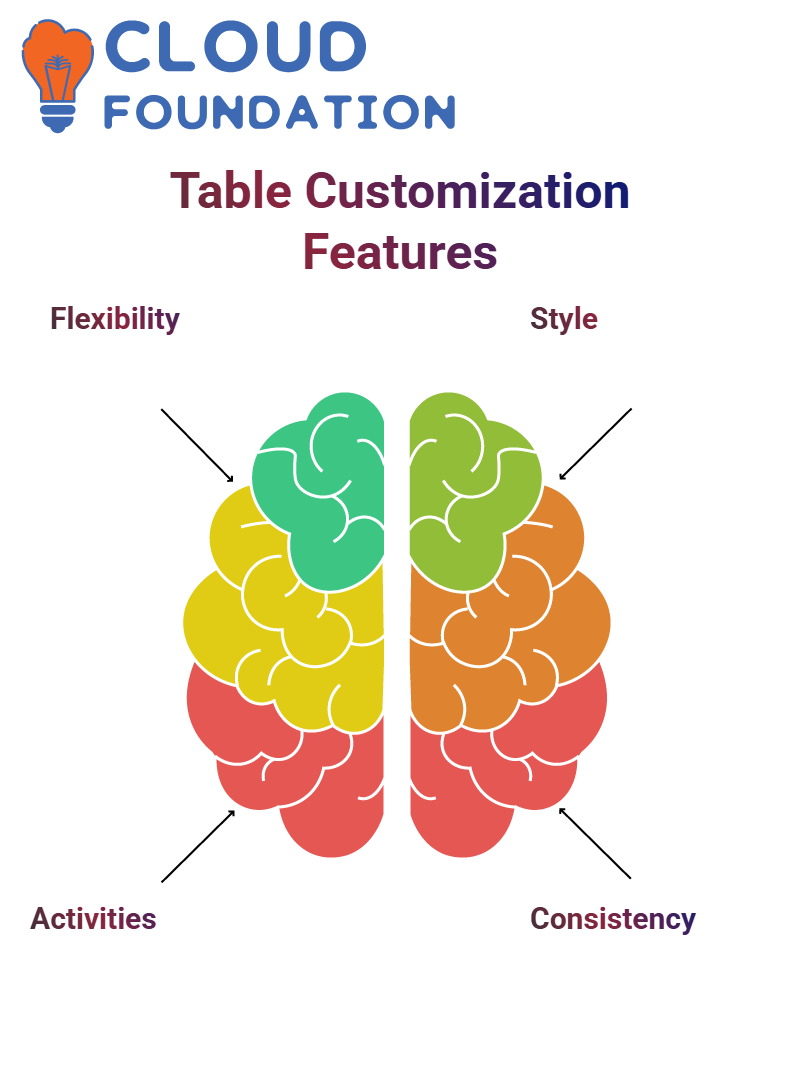
Pega CSA also provides flexibility in customization. You can define activities to run before or after a grid update.
For instance, if you need to process specific actions whenever the table layout loads or refreshes, Pega CSA allows you to link these actions seamlessly.
Style and presentation are integral to Pega CSA’s UI customization. Organizations often adhere to standard colour schemes, like the red and blue of Bank of America.
With Pega CSA’s skin rules, you can implement custom styles that align with client requirements while ensuring consistency across applications.
Understanding Pega CSA Skin Rules
When you dive into the world of Pega CSA, one essential concept you’ll encounter is the skin rule. It’s fascinating how modifying the skin rule can instantly transform the look and feel of your entire application.
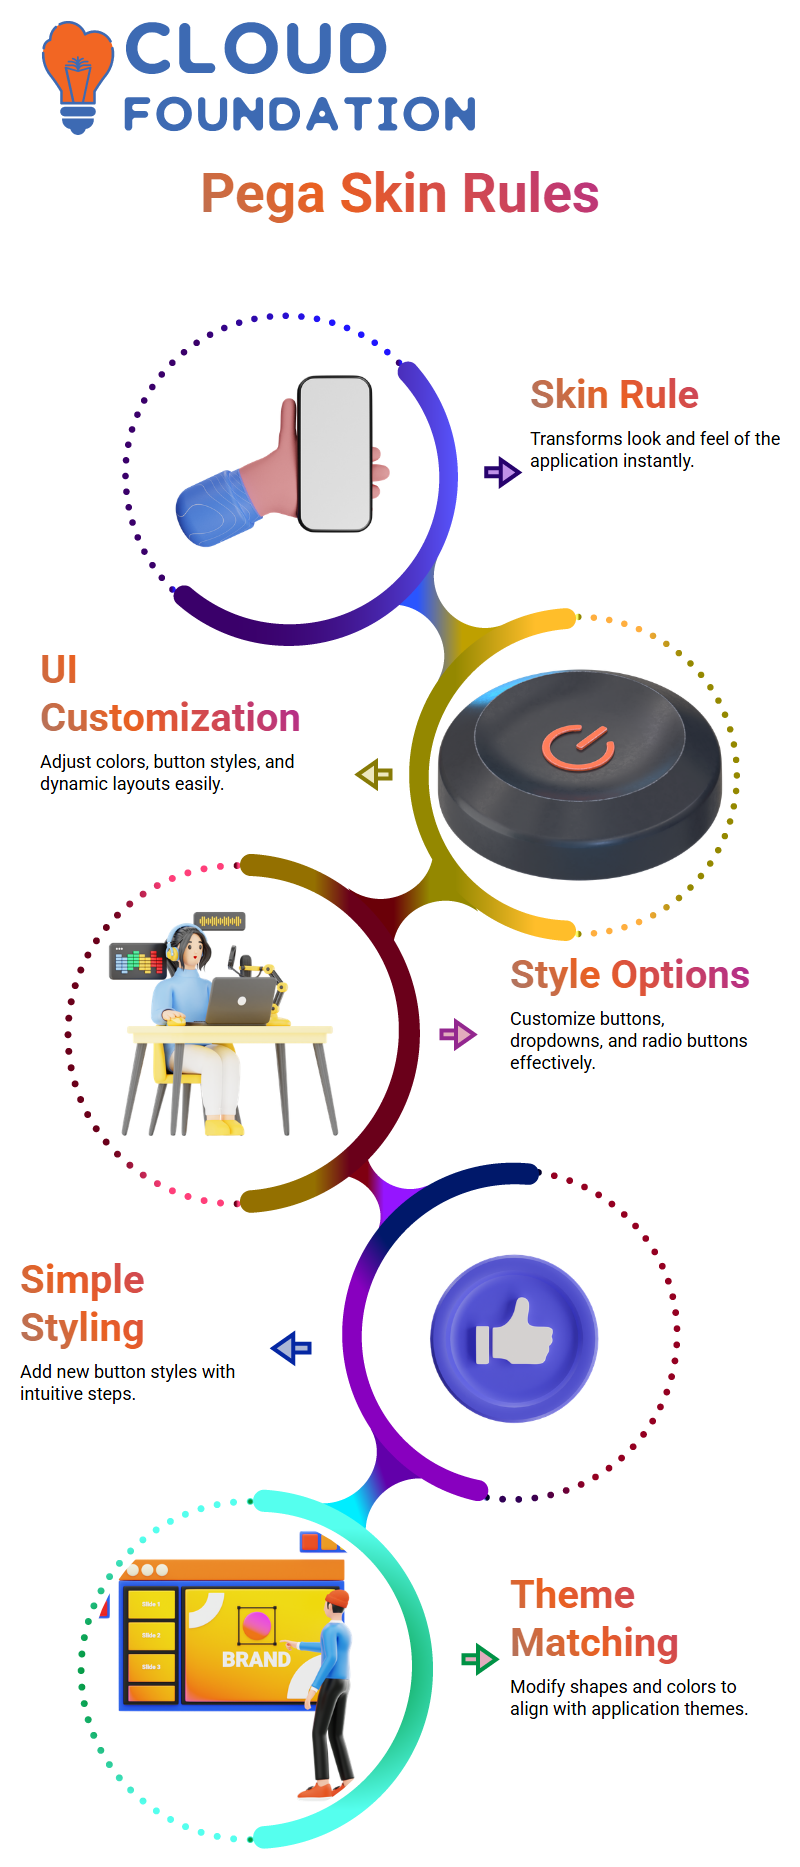
Whether it’s adjusting the colour scheme, changing button styles, or tweaking dynamic layouts, the skin rule is your go-to tool for UI customization in Pega CSA.
Let me show you how it works. When you click on the skin rule in your application, you’ll see options for customizing buttons, radio buttons, dropdowns, and more.
Suppose you want to update the style of a button it’s as simple as selecting ‘Add New Style’ and naming your new style. You can change the shape, like making it oval or rectangular, and even adjust the colour to match your application’s theme. Pega CSA makes it so intuitive!
Streamlining UI Design in Pega CSA
One of the best things about Pega CSA is how it helps large organizations like Bank of America streamline their UI design.
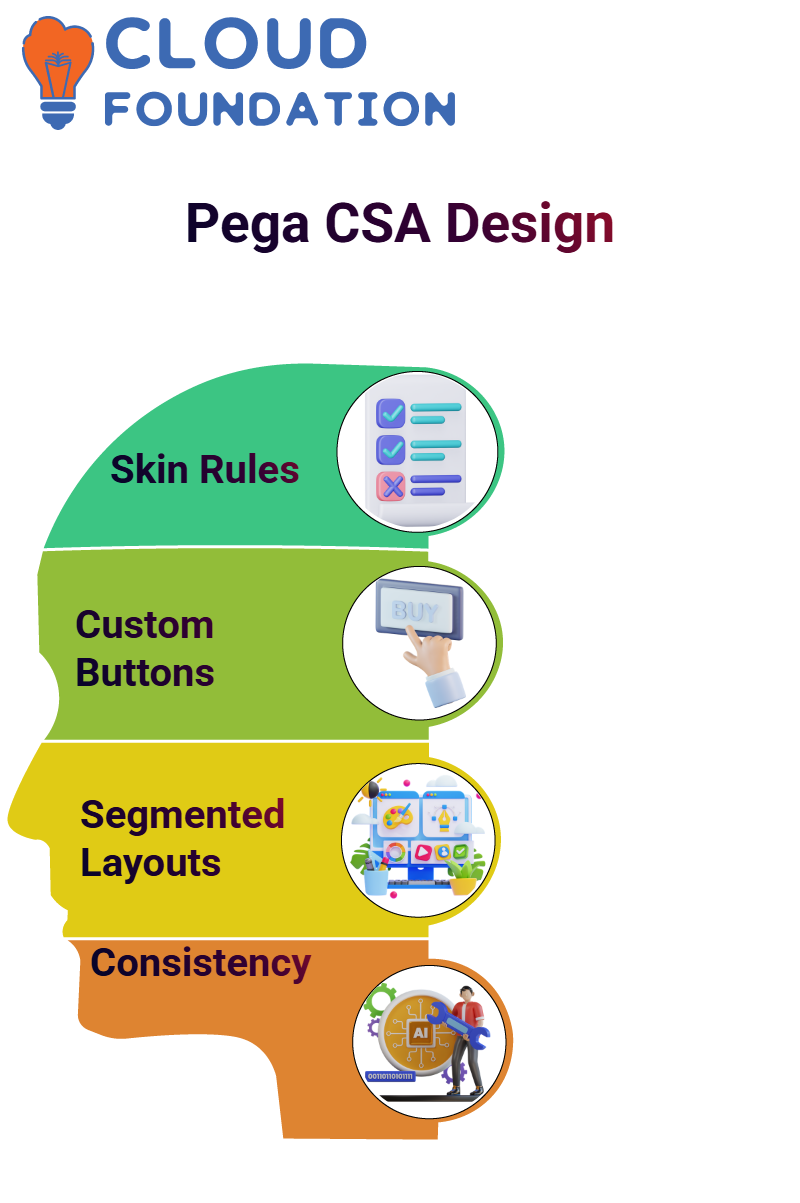
Imagine having multiple enterprise applications that all share the same consistent colour coding and button styles. With Pega CSA skin rules, they can create a reusable framework for their applications. This approach saves time and ensures uniformity across the board.
If you’re working on a Pega CSA application, you’ll find options to customize radio buttons with styles provided by Pega itself, like standard and segmented designs.
Segmented radio buttons offer horizontal or vertical layouts, while standard ones keep it simple and straightforward. The flexibility Pega CSA offers is remarkable!
Mastering Button Customization in Pega CSA
Buttons are everywhere in Pega CSA applications, and you can customize them to fit your needs. You’ll love the freedom to adjust borders, enable rounded corners, or select custom colours for your buttons.
For instance, you can create a button style called ‘Test,’ save it, and then apply it to specific buttons within your application.
What’s amazing is that Pega CSA allows you to modify styles for individual buttons or the entire application.
If you’re updating just one button, you can use the action menu to apply your custom style. But if you want to change the look and feel of every button in the application, simply create a new skin rule. The possibilities are endless with Pega CSA!

PEGA Online Training
Creating Reusable Skin Rules in Pega CSA
When big enterprises like JPMC adopt Pega CSA, they often create reusable skin rules. These skin rules define the overall design of their applications, including colours, fonts, and layouts.
Once created, they can reuse the same skin rule across multiple applications, ensuring consistency without having to start from scratch every time.
The beauty of Pega CSA skin rules lies in their versatility. You can configure them to match your organization’s branding, whether it’s headers in a signature blue colour or buttons with a unique design. It’s all about creating a cohesive experience for users while maintaining efficiency.
Exploring Advanced UI Customization in Pega CSA
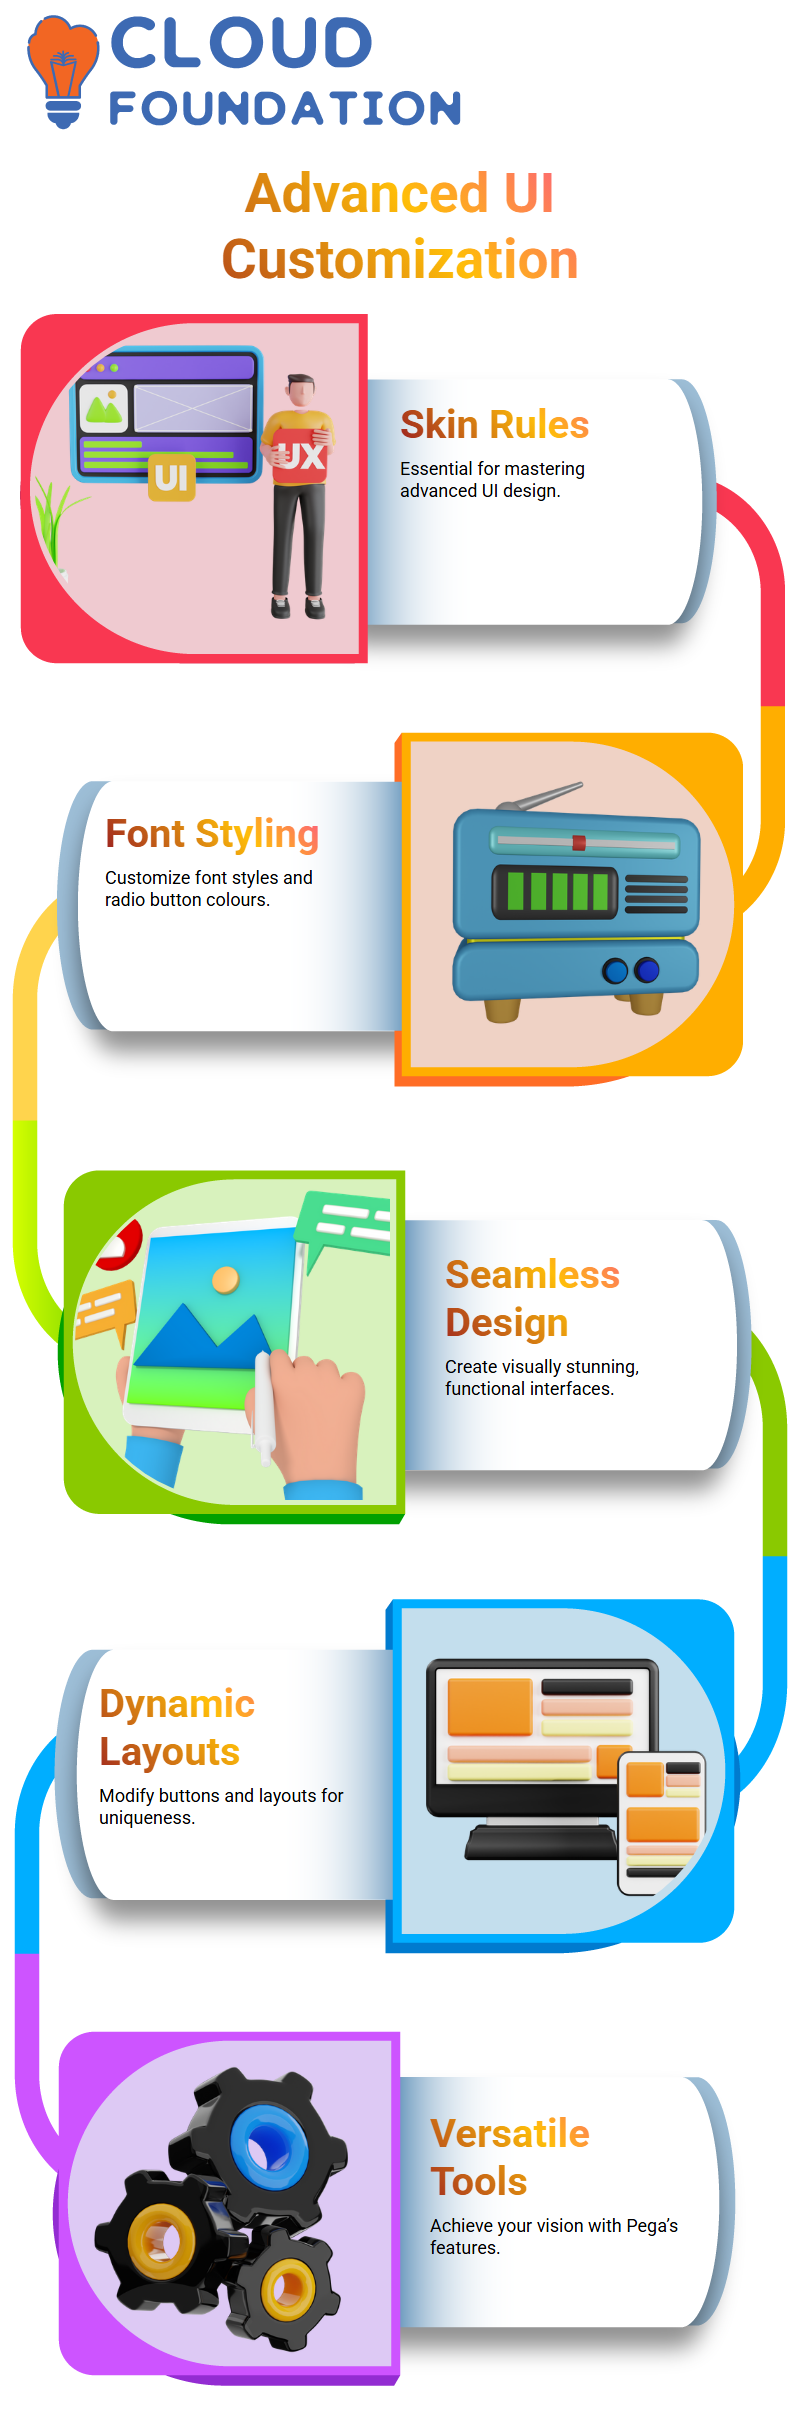
If you’re aiming to become a Pega CSA UI specialist, mastering skin rules is your stepping stone. From adjusting font styles to changing radio button colours, the certification equips you to handle advanced UI customization.
Imagine being able to design an application’s interface that looks stunning and functions seamlessly!
Whether you’re updating standard styles or experimenting with new ones, Pega CSA gives you the tools to achieve your vision.
The ability to modify everything from buttons to dynamic layouts ensures that your application stands out. UI customization in Pega CSA is truly an exciting journey.
Understanding Pega CSA Data Storage
Let’s talk about how Pega CSA handles data. When you’re entering information in Pega CSA, it initially resides in the clipboard.
But what happens when you hit that save button? Pega CSA doesn’t automatically push data to the database unless explicitly saved. If you just enter data into fields without hitting save, it stays within the clipboard.
Tracing and Debugging in Pega CSA
In Pega CSA, understanding system behaviour requires using tools like the application tracer. When you perform actions on the screen, the tracer records every step happening in the background.
If you’re curious about how Pega CSA processes your actions, use the tracer to follow the execution step-by-step.
Clicking on commit with your handling? Pega CSA allows you to track the activity by opening the application tracer. From there, you can analyse rules, workflows, and debugging steps.
Exploring Pega CSA Rule Execution
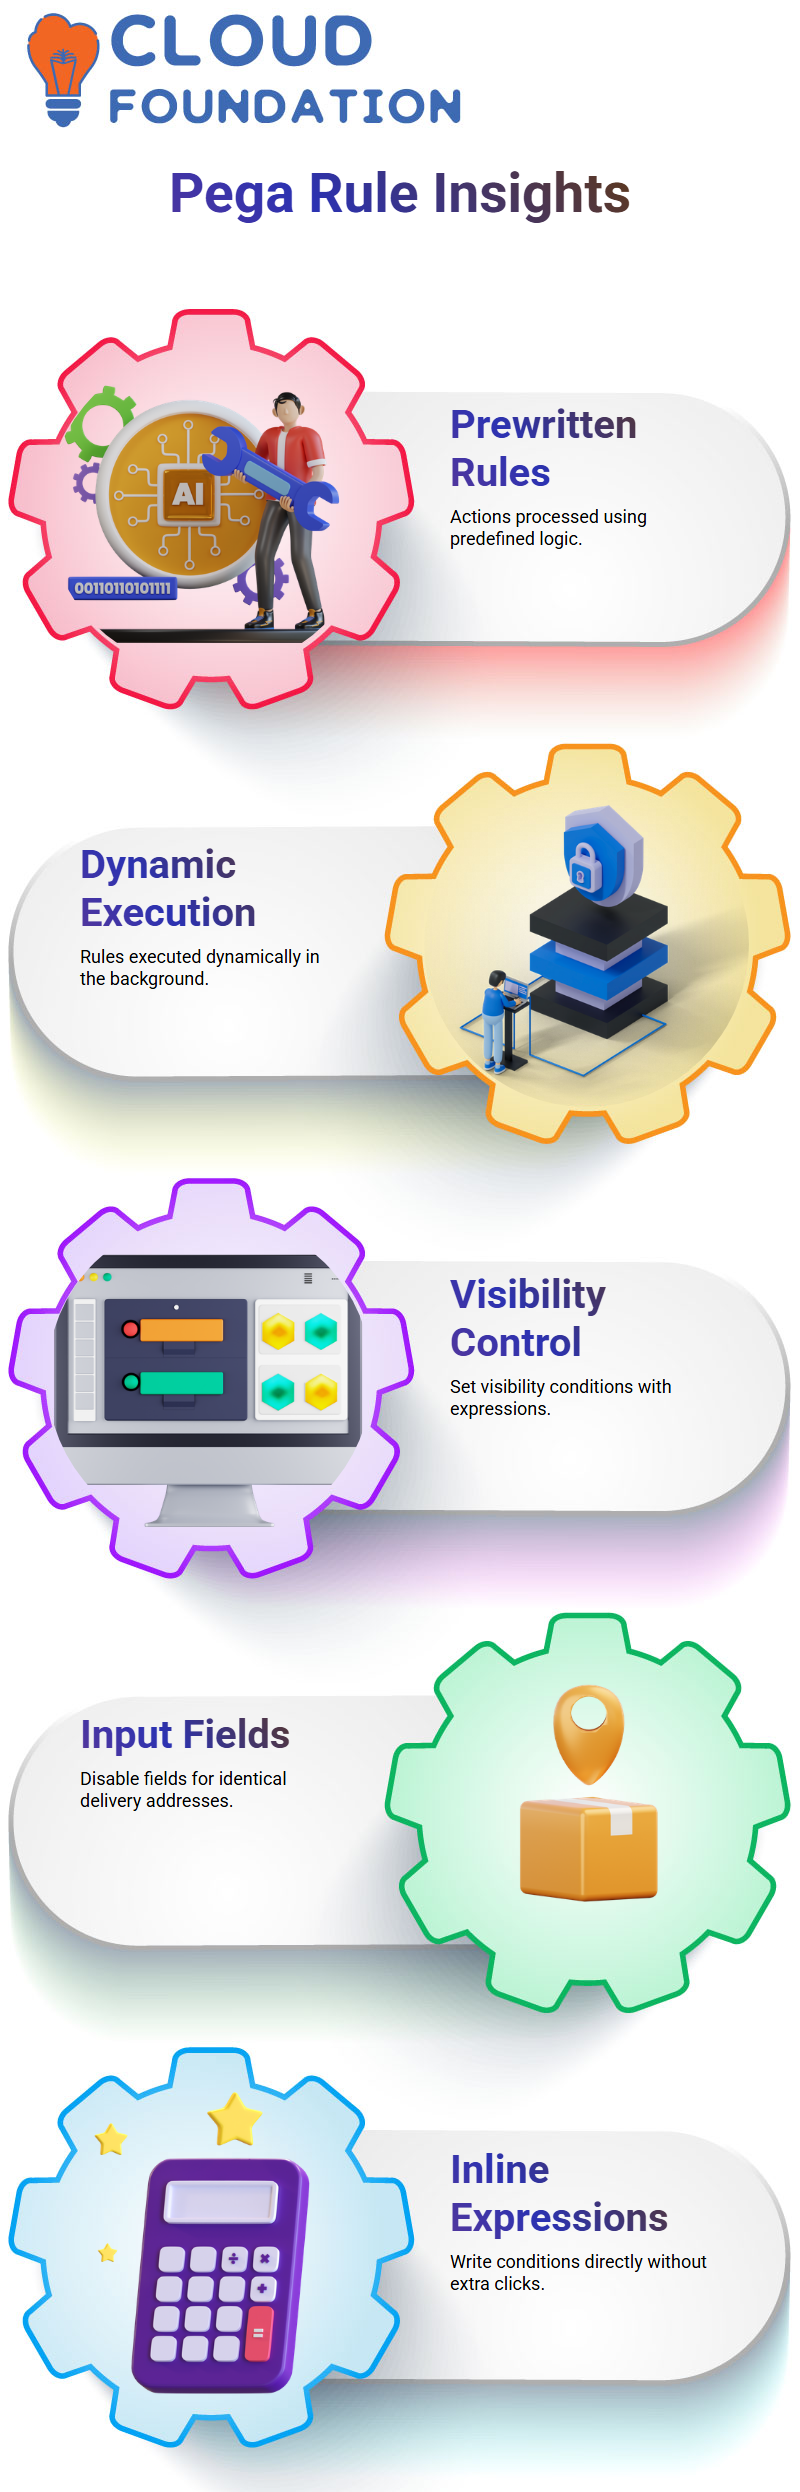
Pega CSA is built on pre-written rules that determine how your actions get processed. If you’ve ever wondered how saving works, it’s all about predefined logic. Developers write Java-based rules for different actions whether it’s clicking a save button or selecting a checkbox. Pega CSA takes these rules and executes them dynamically in the background.
Mastering Visibility Conditions in Pega CSA
Let’s say you want to control visibility within Pega CSA.
If a delivery address needs to be the same as the current address, you can disable the input fields. Pega CSA lets you set visibility conditions dynamically, whether through expressions or when rules.
You define conditions like dot location Validation, ensuring visibility changes based on user selection. Want to write an expression directly? No need to click icons just input the condition inline in Pega CSA.
Using Pega CSA Clipboard for Data Storage
In Pega CSA, data is always being processed behind the scenes. Even if you remove visibility from a section, the data remains stored on the clipboard.
This means that Pega CSA continues tracking values in the background even when they’re not shown on the screen.
Creating Reusable Skin Rules in Pega CSA
When big enterprises like JPMC adopt Pega CSA, they often create reusable skin rules. These skin rules define the overall design of their applications, including colours, fonts, and layouts.
Once created, they can reuse the same skin rule across multiple applications, ensuring consistency without having to start from scratch every time.
The beauty of Pega CSA skin rules lies in their versatility. You can configure them to match your organization’s branding, whether it’s headers in a signature blue colour or buttons with a unique design. It’s all about creating a cohesive experience for users while maintaining efficiency.
Exploring Advanced UI Customization in Pega CSA
If you’re aiming to become a Pega CSA UI specialist, mastering skin rules is your stepping stone. From adjusting font styles to changing radio button colours, the certification equips you to handle advanced UI customization.
Imagine being able to design an application’s interface that looks stunning and functions seamlessly!
Whether you’re updating standard styles or experimenting with new ones, Pega CSA gives you the tools to achieve your vision.
The ability to modify everything from buttons to dynamic layouts ensures that your application stands out. UI customization in Pega CSA is truly an exciting journey.
Understanding Pega CSA Data Storage
Let’s talk about how Pega CSA handles data. When you’re entering information in Pega CSA, it initially resides in the clipboard.
But what happens when you hit that save button? Pega CSA doesn’t automatically push data to the database unless explicitly saved. If you just enter data into fields without hitting save, it stays within the clipboard.
Tracing and Debugging in Pega CSA
In Pega CSA, understanding system behaviour requires using tools like the application tracer. When you perform actions on the screen, the tracer records every step happening in the background.
If you’re curious about how Pega CSA processes your actions, use the tracer to follow the execution step-by-step.
Clicking on commit with your handling? Pega CSA allows you to track the activity by opening the application tracer. From there, you can analyse rules, workflows, and debugging steps.
Exploring Pega CSA Rule Execution
Pega CSA is built on pre-written rules that determine how your actions get processed. If you’ve ever wondered how saving works, it’s all about predefined logic. Developers write Java-based rules for different actions whether it’s clicking a save button or selecting a checkbox. Pega CSA takes these rules and executes them dynamically in the background.
Mastering Visibility Conditions in Pega CSA
Let’s say you want to control visibility within Pega CSA.
If a delivery address needs to be the same as the current address, you can disable the input fields. Pega CSA lets you set visibility conditions dynamically, whether through expressions or when rules.
You define conditions like dot location Validation, ensuring visibility changes based on user selection. Want to write an expression directly? No need to click icons just input the condition inline in Pega CSA.
Using Pega CSA Clipboard for Data Storage
In Pega CSA, data is always being processed behind the scenes. Even if you remove visibility from a section, the data remains stored on the clipboard.
This means that Pega CSA continues tracking values in the background even when they’re not shown on the screen.

PEGA Course Price

Koppadi Madhavi
Author