Omnistudio hands-on training
List Action in Salesforce Omnistudio
Let me illustrate a scenario I often face while working with Salesforce Omnistudio: pulling data from two data adapters, DR1 and DR2, each fetching records from the same object but with unique account IDs. Merging these two sets of records requires merging list actions.
Salesforce Omnistudio expects the expected result when unique keys, such as account IDs, differ, to produce an array that contains both results.
If DR1 returns data about Account A while DR2 returns it for Account B, for instance, then using a list action, you should get an array that contains both sets.
Imagine another scenario where two data adapters return records for the same account. Perhaps DR1 returns two fields, while DR2 brings back three.
Salesforce Omnistudio can intelligently combine these to provide a single result that incorporates all available information points.
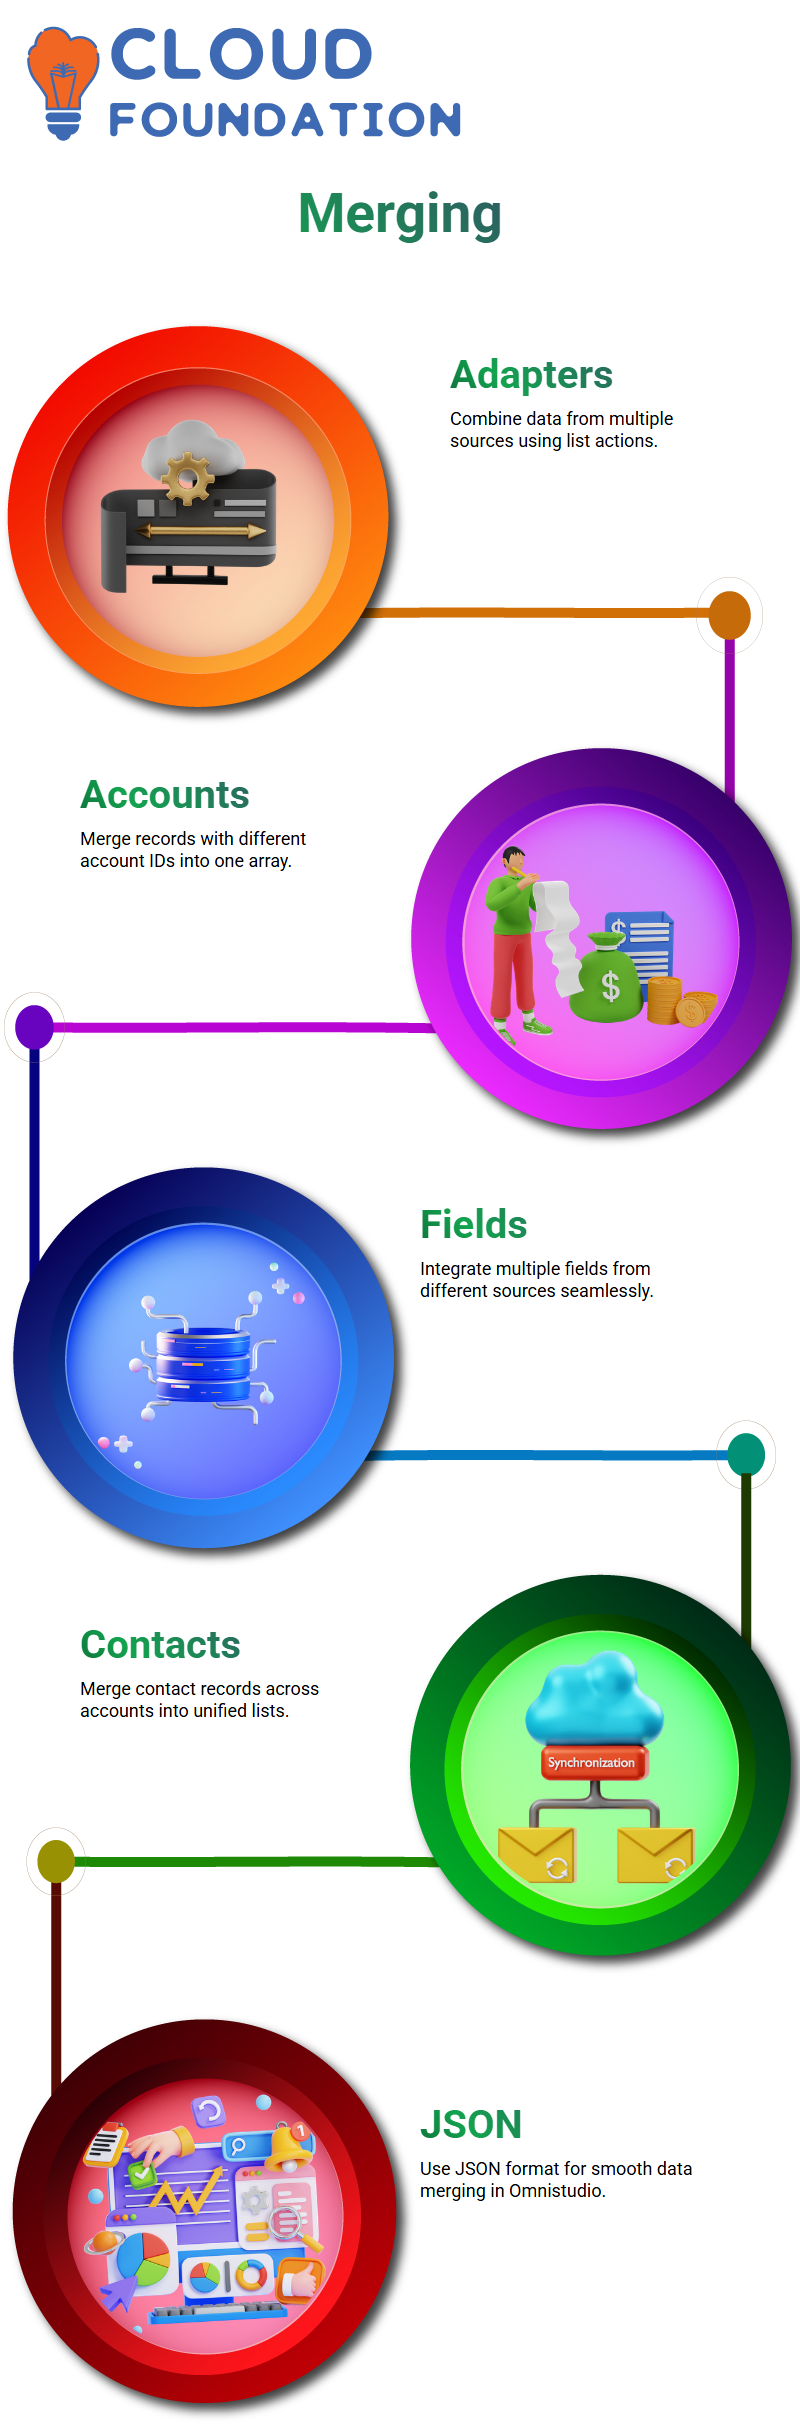
Merging Contact Records with Salesforce Omnistudio
Assume you have two data vectors, each containing two contact records from separate accounts, that you want to combine into a single array.
Salesforce Omnistudio enables this; however, when both data vectors contain information about the same person, merging can become more challenging.
Not every list needs to be converted to data vectors – even regular lists can be combined effectively! Since everything in Salesforce Omnistudio uses the JSON format, merging lists from different sources, including HTTP actions, is seamless, as the platform handles the merging of JSON lists seamlessly.
Salesforce Omnistudio makes merging data vectors easy: If one returns two fields while another returns three, Salesforce automatically combines them into a single record, incorporating all five fields. It’s that straightforward!
Duplicate Records in Salesforce Omnistudio
Let’s now examine what happens if both data adapters return identical contact records, with both providing fields such as first name, last name, and ID. At the same time, the latter may also include email and ID as additional options. Salesforce Omnistudio merges these into a single record, preserving all fields intact.
As soon as I preview the result, Salesforce Omnistudio merges my eight records down to four because each ID merges differently.
My final output includes all fields, such as ID, the contact’s first and last name combination/contact ID, and email.
Merging logic is powerful; I only need to provide ID values when specifying merge fields, and Salesforce Omnistudio will handle everything else.
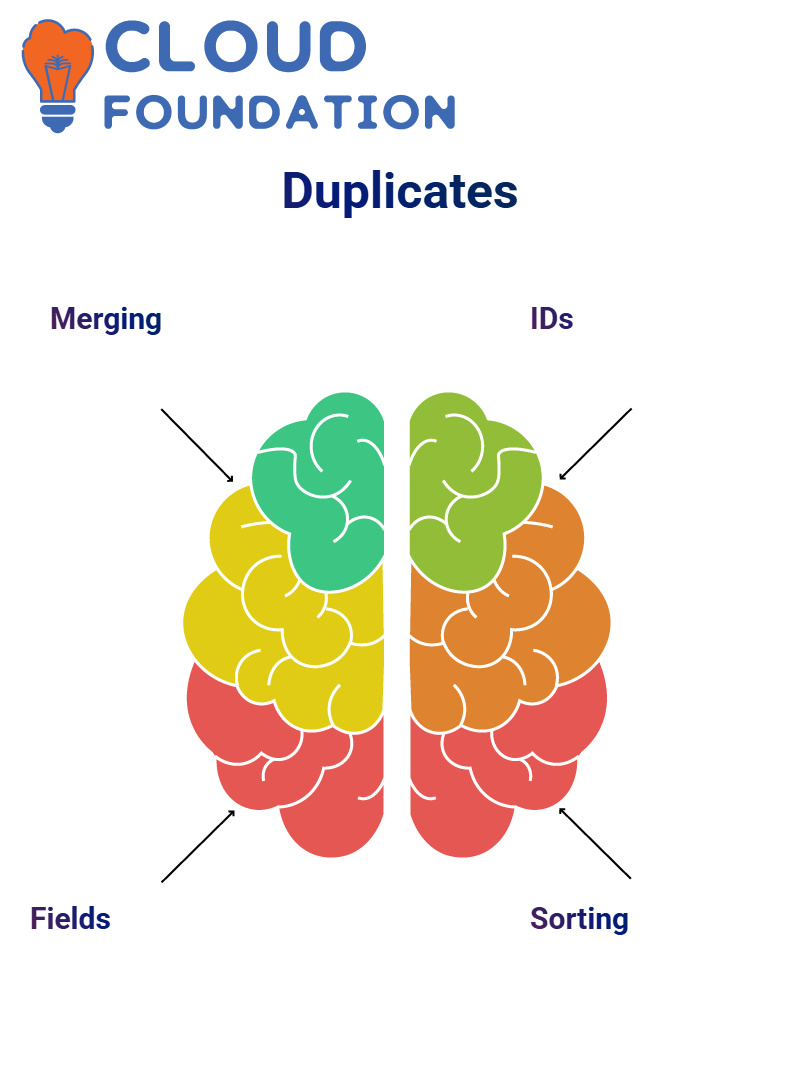
Sorting Merged Lists in Salesforce Omnistudio
Sorting is another feature I adore in Salesforce Omnistudio. After merging records, I can sort them by any field, such as the contact’s first name. Choosing Descending Order allows the records to reorganise themselves accordingly, with Arthur ascending the list.
Sorting is an invaluable flexibility feature of Salesforce omnistudio; rather than manually iterate through lists in Apex, I’ve made use of its simple configuration options for managing iterations through lists.
Lightning Web Components with Salesforce Omnistudio
Let’s move on to Lightning Web Components (LWCs) in Salesforce Omnistudio, as I recently worked on one called “table from IP”. It fetches data from an integration procedure.
When I preview a component, it displays dynamic data — not hardcoded values — that comes from a data adapter in an integration procedure. Salesforce OmniStudio makes it easy to bind this data to my LWC for display in table formats.
Within the design view, I locate and open the code for LWC named ‘table from IP. Salesforce Omnistudio enables the seamless integration of LWC with data adapters, making my development process more seamless and practical.
Data Flow in Salesforce Omnistudio
Let me walk you through how I utilised Salesforce omnistudio to manage data flow. First, I printed two HTML tables — one to display the table data directly, and the second to show connections among the tables of table data. As for columns themselves, my focus remained solely on table data connections between tables.
As soon as I make any edits to Salesforce Omnistudio, I ensure that the column script-based mixing is updated accordingly whenever I modify anything.
After finding table data, I observed how it was filled using response.result.IP.result.contacts – that was where all the magic began!

Salesforce Training
Integration Procedures from LWC in Salesforce Omnistudio
Instead of calling a DataRaptor directly, I recommend using Salesforce Omnistudio integration procedures instead.
They’re much cleaner, and often the go-to choice when working within Lightning Web Components (LWCs). To accomplish this task from within an LWC, I use its invokeRemoteCall method, which requires some parameters as inputs.
At Line 35, I provided parameters such as input, class name and method name to the Salesforce omnistudio script for input of typically JSON data from the Salesforce OmniStudio script.
Initially, I named it differently, but I quickly corrected it to POMLIS_JSON_data_STR. As this input is optional, you may wish to omit it if it is no longer required.
The class name for every integration procedure call will always be “IntegrationProcedureService,” while method names correspond to Salesforce Omnistudio script names, formatted as follows (e.g., LWC_DR).
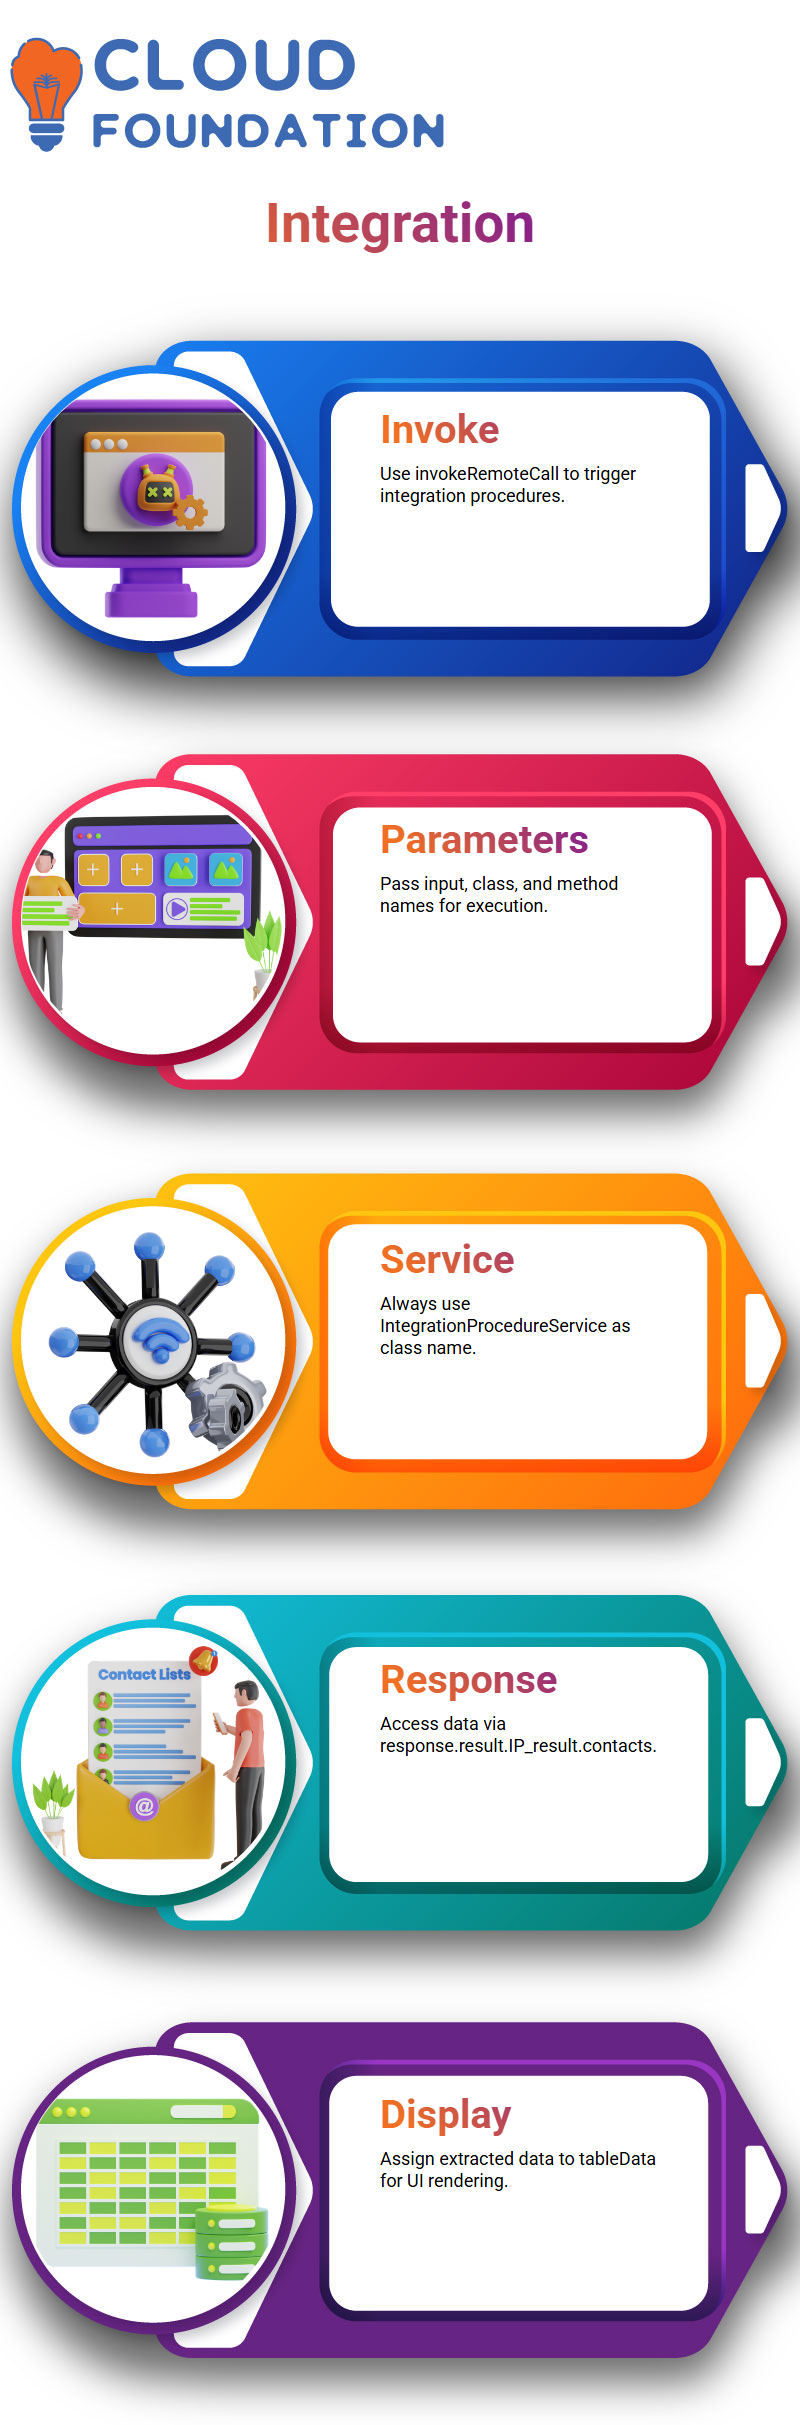
Previewing and Executing Integration in Salesforce Omnistudio
Once I set up the remote call, I reviewed an integration procedure called LWC_DR. This extracted five active contact records, which would later be transformed and sent back into the LWC component. Still, as the transformation wasn’t yielding significant results, I chose instead to focus on data extraction.
Salesforce Omnistudio utilises a straightforward response structure: “response.result.IP_result.contacts”. This format helps me locate data quickly when running integration procedures.
I assigned this data to “tableData” and verified that its display is correct within the Salesforce Omnistudio UI.
Input to Integration Procedures in Salesforce Omnistudio
My goal was to modify this example by sending specific input instead of all data. My Salesforce Omnistudio script included an input field for entering phone numbers. When users enter their number, it is stored as JSON data under the key “phone”, which is then used in remote calls via an input parameter.
Testing was accomplished using hardcoded phone numbers; dynamic ones may also work. Once complete, I called an integration procedure named angularOverrideExample with this number input as input, and this returned the contact’s first and last name information for all contacts in that range.
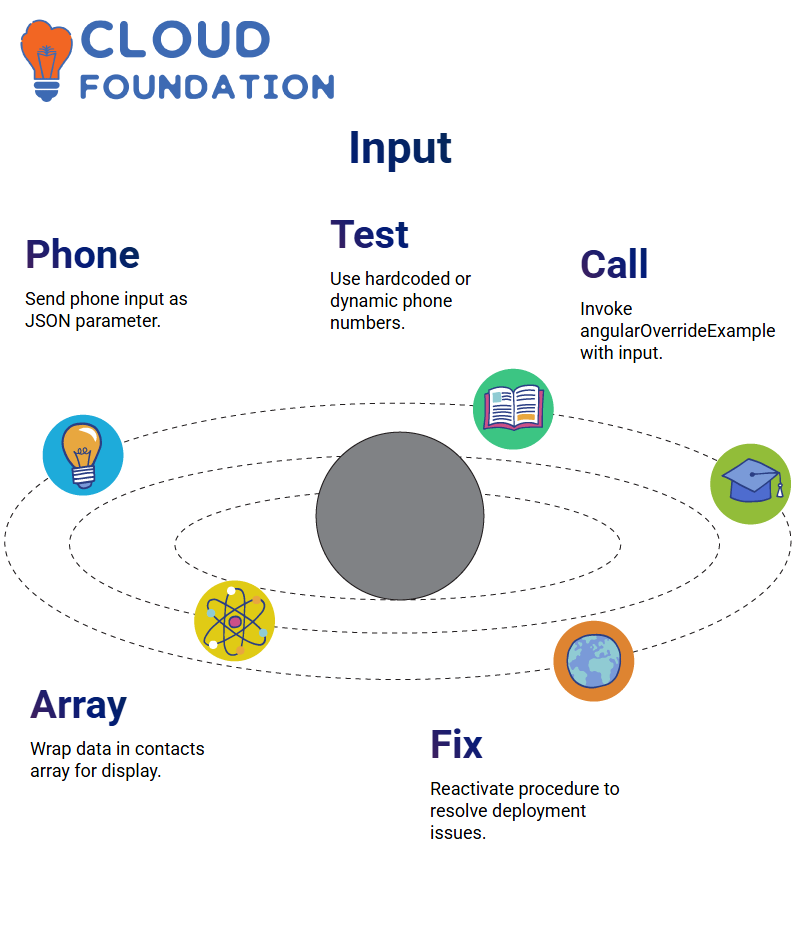
Array Format and Data Assignment in Salesforce Omnistudio
As I worked with the returned data, I noticed an issue: it wasn’t in array format and did not display correctly. To fix this, I ensured the returned information was wrapped within an IP result array named ‘contacts’ before updating DataRaptor with this change and redeploying my changes.
Sometimes I had to deactivate and then reactivate an integration procedure to address deployment issues after correcting an array format issue in the LWC component, which resolved the issue and displayed the data as expected.
This scenario occurs frequently with Salesforce Omnistudio; understanding how to troubleshoot it effectively is paramount.
Salesforce Omnistudio Integration
As soon as I started using Salesforce omnistudio, I discovered its immense capabilities for crafting guided user experiences.
One of my first challenges involved updating a phone number and experiencing unexpected behaviour in data flow – specifically where contact variables were being overridden; upon investigation, it turned out that another variable needed to be changed instead.
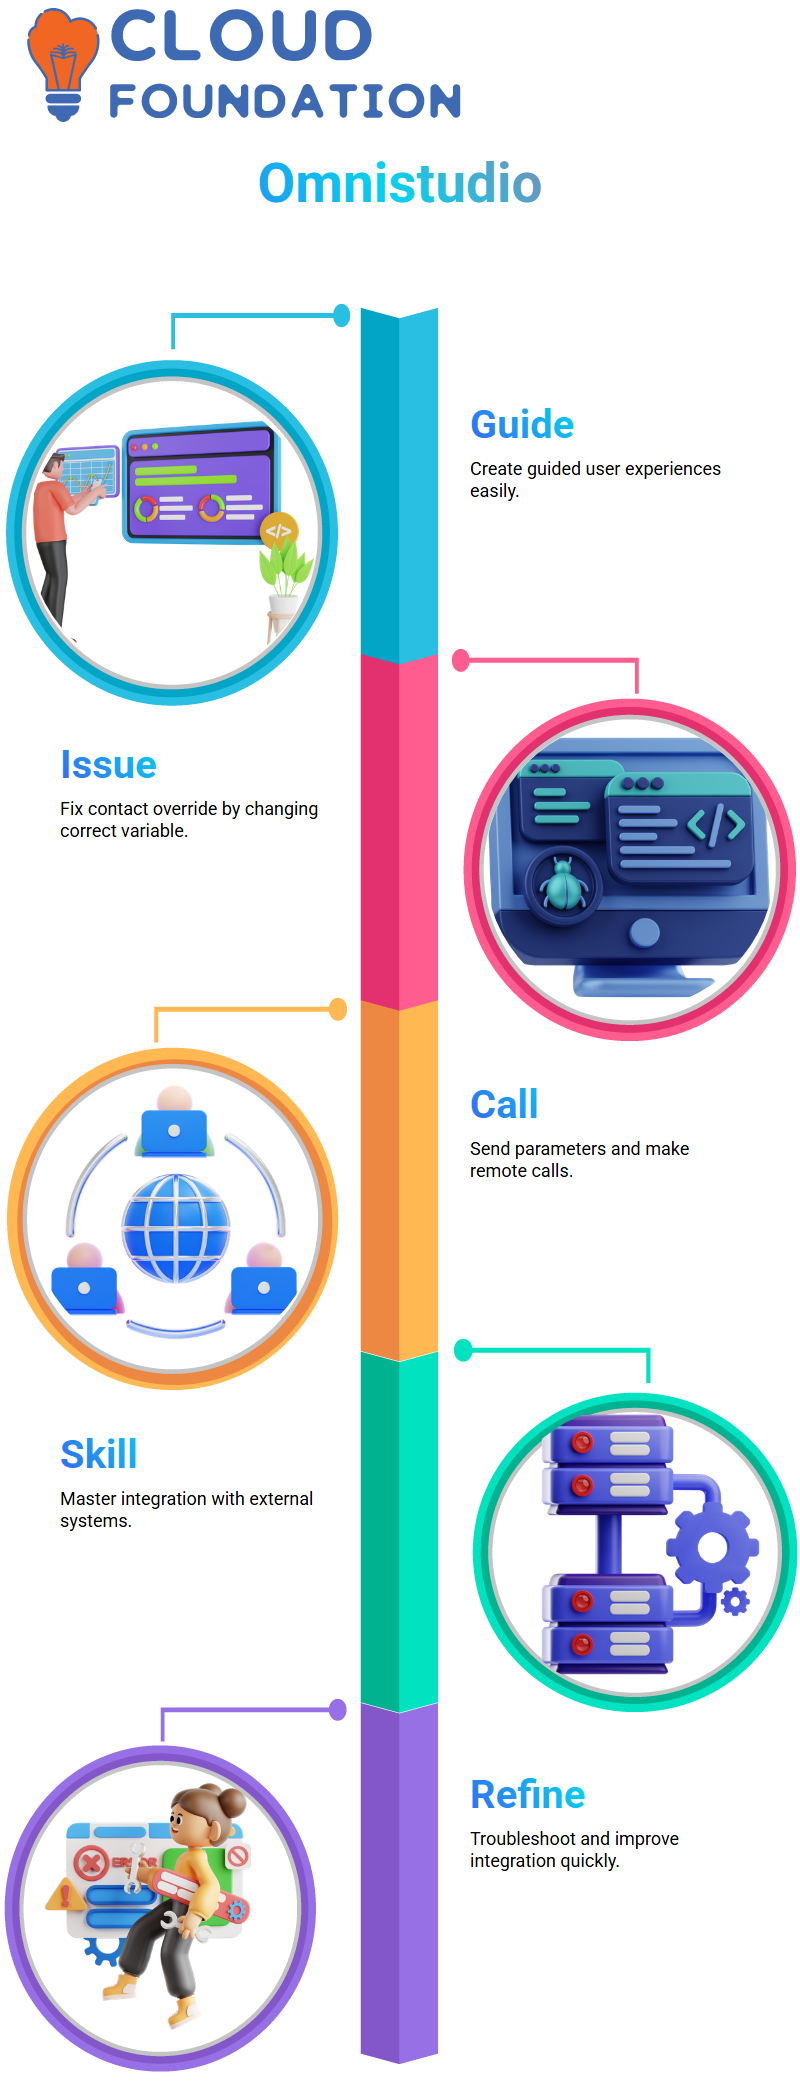
By using Salesforce Omnistudio, I learned to properly send parameters and make remote calls—both essential skills for integration with external systems.
Utilising its flexibility allowed me to troubleshoot and refine integration processes quickly.
Web Components in Salesforce Omnistudio
One of the many striking capabilities of Salesforce Omnistudio is the ability to alter Omniscript elements using Lightning Web Components (LWC).
I experimented with both types of overrides — calling an entire LWC component as well as overriding specific aspects, such as text boxes or buttons — in my experiments.
My project involved adding a custom LWC component named ‘table from IP’ into Omniscript, calling an integration procedure (IP), then passing data directly from it back out via wrappers to improve response and enhance user experience.
Salesforce Omnistudio made all aspects of performance more manageable while significantly simplifying the architecture.
Remote Calls and Data Wrappers in Salesforce Omnistudio
Salesforce Omnistudio makes performing remote calls and handling data using wrappers an effortless experience.
After adding several lines of code to make LWC compatible with Omniscript, I utilised remote calls to collect suggestions and display them within Omniscript’s user interface (UI).
This approach allowed me to effectively manage data, with dynamic rendering based on user input. Furthermore, integration between Omniscript and LWC within Salesforce Omnistudio allowed me to build responsive components.

Salesforce Online Training
Flexi Cards in Salesforce Omnistudio
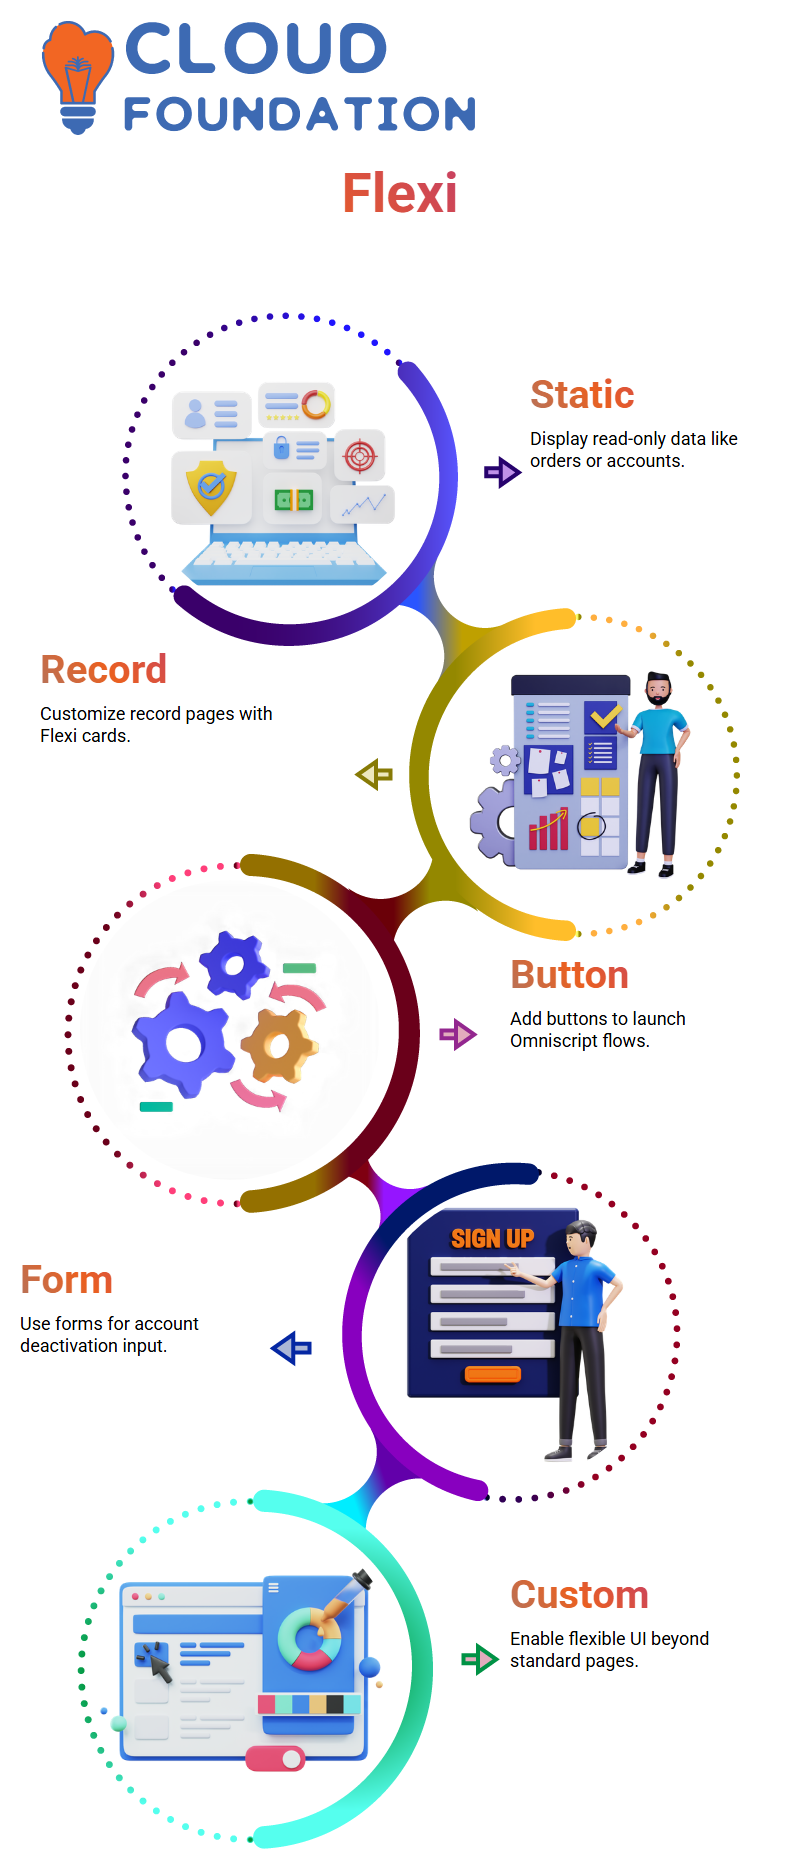
After mastering Omniscript and LWC integration, I progressed to Flexi cards in Salesforce Omnistudio. Flexi cards provide an effective means of presenting data read-only, such as tracking orders or viewing account details.
Flexi cards offer an ideal platform for presenting static data. I used them extensively when showing account records with contact lists and account details; using Salesforce Omnistudio, I could even add buttons that launched Omniscript scripts within each card itself for multi-step interactions.
Record Pages with Flexi Cards in Salesforce Omnistudio
One of my favourite uses for Salesforce Omnistudio has been customising record pages using Flexi cards. My objective was to display all contacts associated with an account, as well as quickly deactivate it if necessary.
Clicking on a button launches an Omniscript that walks users through a form to provide input for account deactivation based on that form submission.
While standard detail pages don’t offer this customisation flexibility, Salesforce Omnistudio makes this customisation possible.
UI Enhancements in Salesforce Omnistudio
Salesforce Omnistudio also allows conditional rendering, which I used to display different images depending on account revenue.
If the revenue exceeded 10 lakhs, premium imagery was displayed; otherwise, a medium image was shown.
This feature works similarly to how banks categorise accounts based on balance. By using Salesforce Omnistudio, I was able to implement this logic directly within Flexi Cards for optimal visual appeal and user experience.

Passing Data Between Components in Salesforce Omnistudio
In more advanced scenarios, I needed to pass data between Flexi Cards and Omnistudio seamlessly; Salesforce Omnistudio’s support made this possible easily.
For dynamic interactions, I created a Flexi Card that is capable of sending information directly to its child component for the dynamic processing of data.
Salesforce Omnistudio enabled me to develop modular and reusable components. Regardless of whether it was for account information, contact lists, or custom forms, Salesforce provided all the tools I needed for seamless implementation.
Working with Data Sources in Salesforce Omnistudio
Let’s now talk data. In Salesforce Omnistudio, there is an array of data sources. In my example, I will select an SOQL query that returns three fields: ID, phone number, and account ID.
Once saved and fetched, Salesforce Omnistudio displays my results after returning to the Build section (not Setup — this one only covers hiding sources) to start adding fields, such as phone, account ID, and ID, to my card layouts.
Field Configuration in Salesforce Omnistudio Flexi Cards
Salesforce Omnistudio makes field configuration simple: once an SOQL query yields its resultant fields, I open the Fields panel and drag each of them onto its respective card—a straightforward method.
For now, I follow these steps: setup, scroll down, uncheck the repeat options, preview my card to ensure all elements appear accurate, and then revisit any configuration changes necessary if something feels off or seems improper.

Salesforce Course Price

Navya Chandrika
Author