NetSuite Technical Suite Script Tutorial
Creating, Deploying, and Debugging Scripts in NetSuite
NetSuite provides powerful customisation capabilities that allow developers to automate workflows, enhance user experience, and integrate external systems.
Among its many features are bundle installation scripts and client scripts, which are essential for creating scalable and maintainable solutions.
Understanding Bundle Installation Scripts in NetSuite
A bundle installation script in NetSuite is used to configure your account automatically when a bundle is installed or updated. It allows developers to:
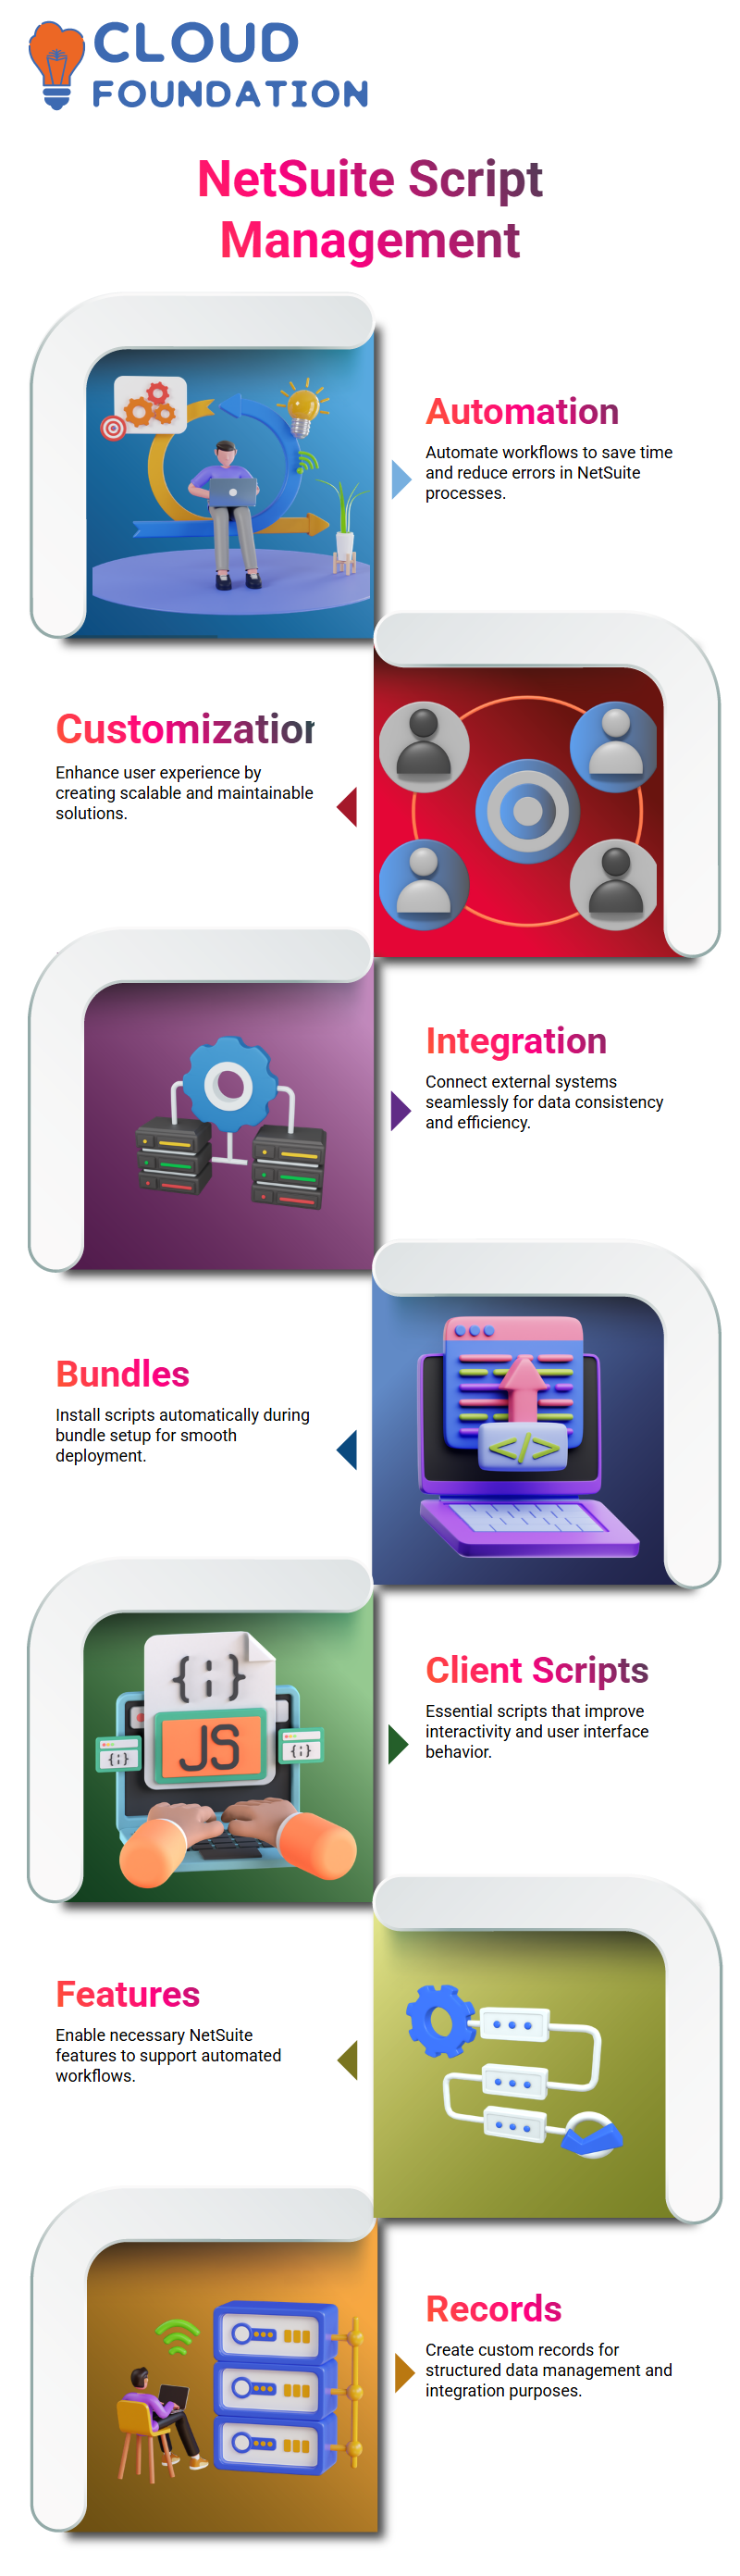
Create custom records
Enable features
Assign values to scripts for integration purposes
This is particularly useful for integrations and large-scale deployments where manual setup would be time-consuming and error-prone.
Working with Client Scripts in NetSuite
Client scripts enable developers to interact with records directly within the NetSuite UI. They can be deployed in two or three modes:
View Mode: Users can see the record but cannot make changes.
Edit Mode: Users can click “Edit” to modify the record.
Typically, client scripts are deployed in edit mode, where developers can leverage trigger points to execute their logic.
Deploying a Script in NetSuite
Deploying a script is straightforward:
Navigate to Customisation → Scripting → Scripts.
Upload your .js file (located in your downloads section or project folder).
Provide essential details such as:
Script Name
Script ID
Description
Click Save & Deploy.
You can also restrict deployment to specific roles (e.g., employees, partners, or customers) to control access.

NetSuite Training
Testing vs. Release Mode in NetSuite
When you first deploy a script, it is typically set to Testing Mode, meaning only the script owner (or specified users) can trigger it.
Once testing is complete and the script behaves as expected, you can move it to Released Mode, making it available for all users in the account.
This two-step process ensures that untested code does not impact production users.
Best Practices for Debugging in NetSuite
Debugging is a critical part of developing scripts in NetSuite. Some best practices include:
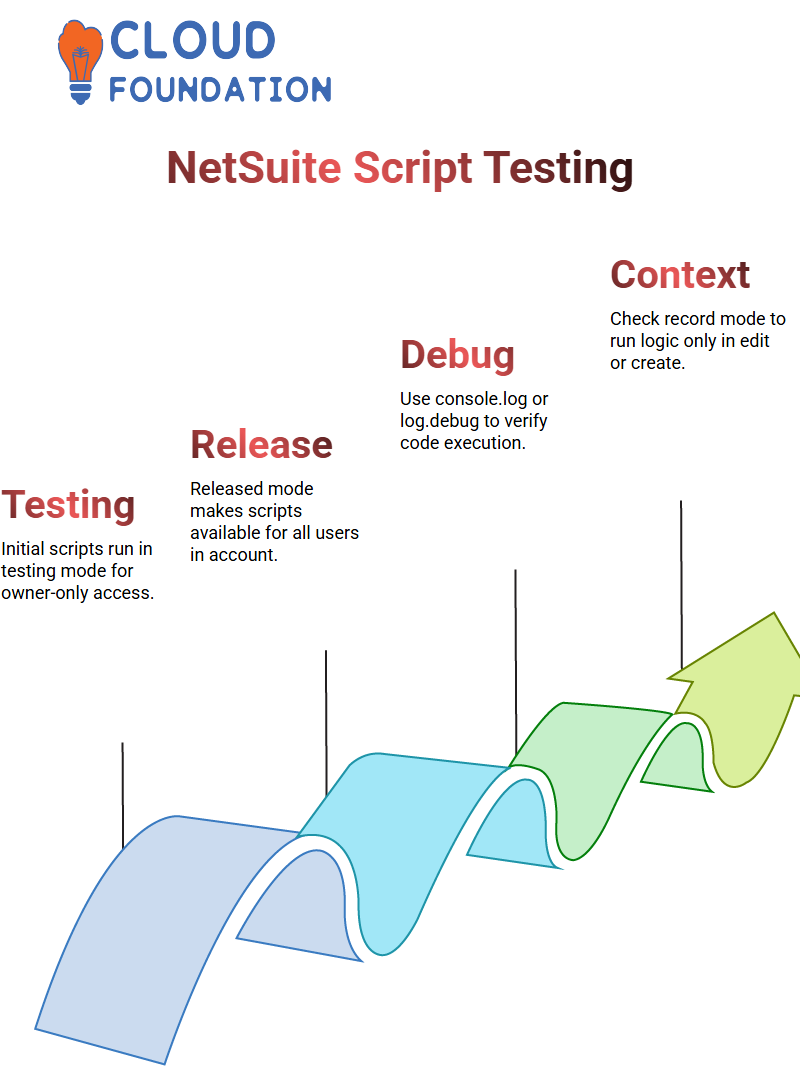
Use console.log or log. debug: These tools help verify that your code executes as expected and confirm that your syntax is correct.
Check context. mode: Use an if condition to trigger logic only when a record is in edit or create mode.
Use VS Code for Syntax Validation: Although NetSuite provides a basic syntax check in the pop-up script editor, external tools like VS Code or Nopet offer better linting and auto-completion support.
Debugger Tools: You can add debugger statements in your code to pause execution and inspect variable values in the browser console.
Working with Fields and Records in NetSuite
NetSuite records have unique internal IDs that you can use to load and manipulate them.
Getting Values: Use the Suite Script 2.0 API to retrieve field values from the current record.
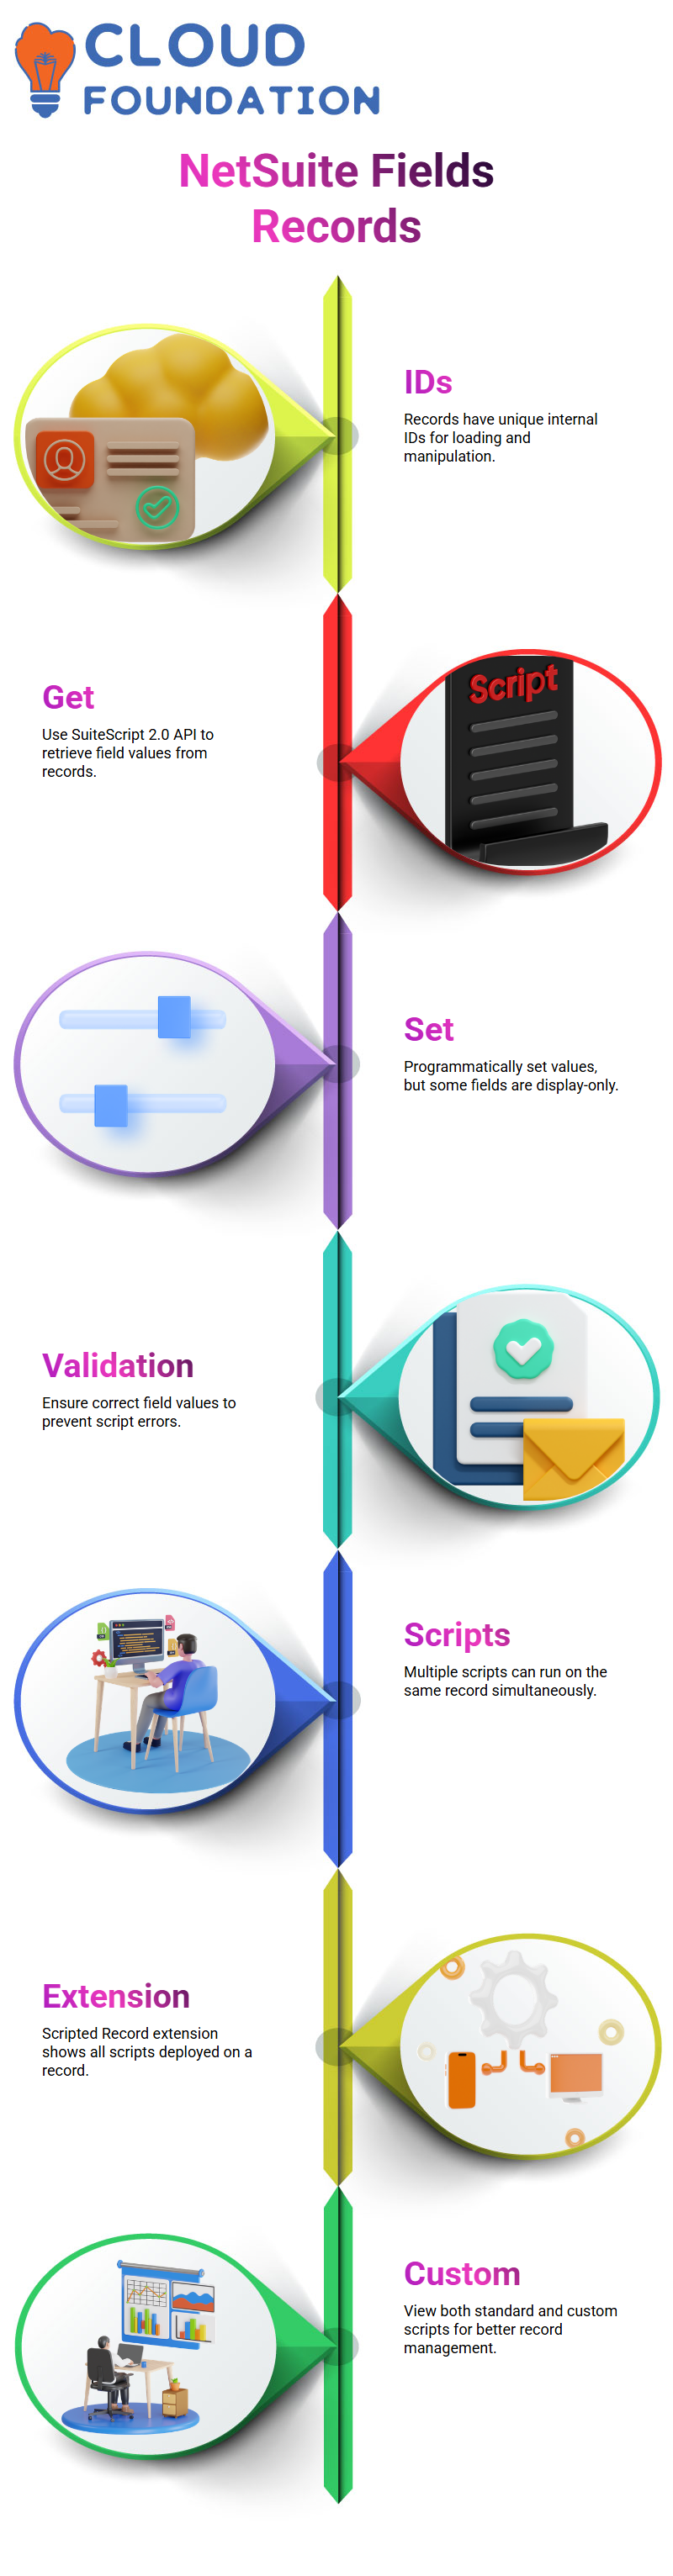
Setting Values: You can also set values programmatically using the set Value() methods. However, remember that some fields are display-only and cannot be updated from a client script.
Understanding Scripted Records in NetSuite
When multiple scripts are running on a record, it can be challenging to know which one is executing.
The Scripted Record extension can help by showing all scripts deployed on the current record, including standard and custom scripts.

NetSuite Online Training
Common Pitfalls and Tips
Mixing Client and Server Logs: Remember that console.log works on the client side, while log. Debug is used on the server side. Mixing them incorrectly may result in missing logs.
Client Scripts Cannot Click Buttons: NetSuite prevents client scripts from triggering button clicks directly for security and UX reasons.
Use Server-Side Scripts When Possible: Server-side scripts are generally faster and have less impact on user interface performance compared to client-side scripts.
NetSuite Design and Deploying Custom Pages in R Suite
When working with R Suite, one of the most powerful capabilities is designing custom pages that meet your organisation’s specific needs. However, taking an idea from concept to production isn’t always straightforward.
The process of creating, validating, and deploying custom pages, as well as highlighting some of the common challenges you may encounter along the way.
Step 1: Creating Your Custom Page
Creating a “suit” — essentially the package that contains your custom page. After designing and testing your page locally or in a sandbox environment, you’re ready to deploy.
Step 2: Deploying to Production
Deployment involves publishing your suit to the production environment. Once deployed, you receive a URL for the custom page. It’s important to validate this URL to ensure it is accessible and functional for other users.
R Suite allows you to declare whether the URL belongs to the same account or another account, which is essential for controlling access and permissions.
Step 3: Understanding Script Types and User Event Scripts
R Suite supports different types of scripts, including client scripts and user event scripts. When working with scripts:
Open the script and let us upload your client script.
Copy and save the script as needed.
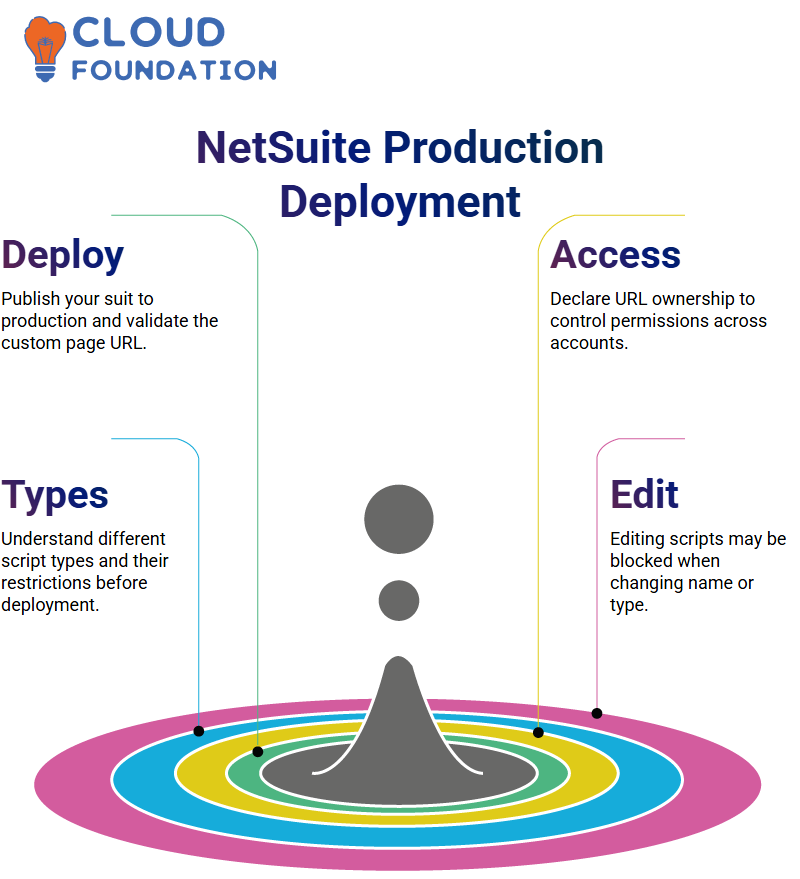
Be aware that certain script types cannot be changed after they are created. For example, you may not be able to switch a script type to a client script later.
Editing scripts may be restricted. If you attempt to edit and save under a different name, the system may block the action.
Step 4: Deploying to Production – Two Methods
There are two primary ways to deploy to production:
Direct Deployment – Similar to deploying in a sandbox environment, but pointed to production.
Using Bundles – A more structured approach where you:
Create a bundle.
Search for the bundle name in production.
Install the bundle.

NetSuite Course Price

Vinitha Indhukuri
Author