NetSuite Technical Online Training Course
Data Migration in NetSuite: Custom Records, CSV Imports, and Troubleshooting
Data migration is one of the most critical steps when working with NetSuite — whether you’re setting up a new instance, integrating systems, or updating existing records.
The key steps and considerations involved in creating custom records, connecting them with other documents, and importing data via CSV.
Creating and Connecting Custom Records in NetSuite
The first step in any data migration process is often to define and create custom records that reflect your business needs.

NetSuite allows you to create custom records and link them to other documents in two ways:
As a Child Record – If your custom record doesn’t have child records, it will appear as a child record when linked.
To connect a child record to another record, create a field named “Child Record” and set it as a list-type field. This setup makes it easier to search, connect, and manage records.
As a Parent Record – If your custom record should act as a parent (for example, connected to a customer record), select the Customer record as the parent and specify the sub-tab where the custom record should display.
When creating these relationships, always check for duplicate records, existing custom lists, or custom relationships that could cause conflicts.
Preparing Customer Records for Import in NetSuite
Before importing customer data, it’s crucial to ensure that all mandatory fields are properly populated. In NetSuite, key mandatory fields include:
Status
Subsidiary
Name
Address
The system automatically validates these fields during the import process.
If you’re adding customers via CSV, make sure that only existing customers are referenced when creating sales orders — NetSuite will reject any sales order that references a non-existent customer.
It’s good practice to include both the Parent Company Name and the Internal ID of the subsidiary in your CSV file to avoid errors.
Default Values and Field Mapping in NetSuite
One common pain point during data imports is understanding where default values originate. Some fields, like Company Name or Customer Active, may have default values that are set either:
In the form configuration (standard field settings)
Or through a custom script
If you encounter unexpected defaults, check whether the form being used during the import is set as the preferred form. NetSuite allows users to set different forms for Leads, Customers, or Prospects — but you can only select one preferred form at a time.

NetSuite Training
Troubleshooting CSV Import Errors in NetSuite
Errors like “Invalid Custom Form” or “Cannot Find Record with Internal ID” are common when importing CSV files. Here are some troubleshooting tips:
Double-check field mappings in the CSV import wizard.
Verify that all referenced internal IDs exist in the system.
Ensure that mandatory fields are included and populated correctly.
For fields containing commas (like item descriptions or company names), wrap values in quotes to prevent parsing issues.
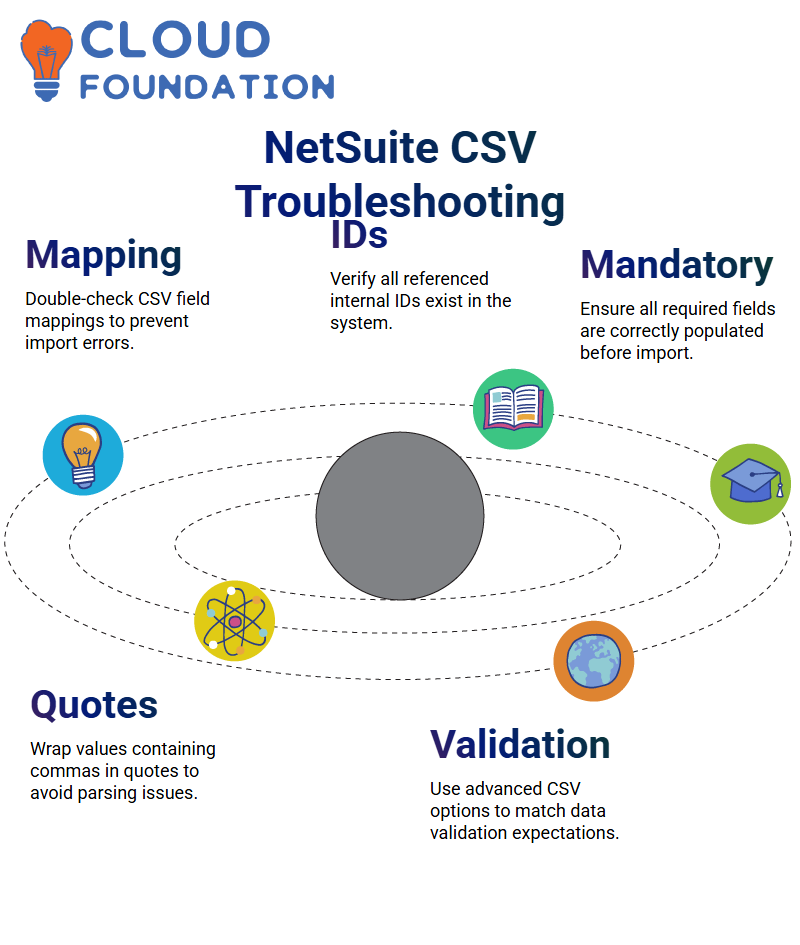 Using the advanced options in the CSV import wizard allows you to select a specific form, which can help ensure that data validation matches your expectations.
Best Practices for Data Migration in NetSuite
Data migration is more than just uploading CSVs — it’s about ensuring clean, consistent data that supports business processes. Here are some best practices:
Validate Your Data Before Import – Use spreadsheets to check for duplicates, missing values, or inconsistent formatting.
Test with Small Batches – Run small CSV imports first to catch errors early.
Use Internal IDs When Possible – Internal IDs are unique and reduce the risk of mismatches.
Leverage Saved Searches – Saved searches can help you verify imported data by filtering on Internal ID or other key fields.
Document Your Process – Keep track of which forms, fields, and mappings were used for future reference.
Data Migration Process in NetSuite
Data migration is rarely a one-step process. To ensure smooth execution:
Upload data in phases – Start small, validate, then scale.
Resolve errors iteratively – NetSuite provides clear error messages that can guide troubleshooting.
Validate data after import – Check that names, IDs, and relationships are correct before moving forward.
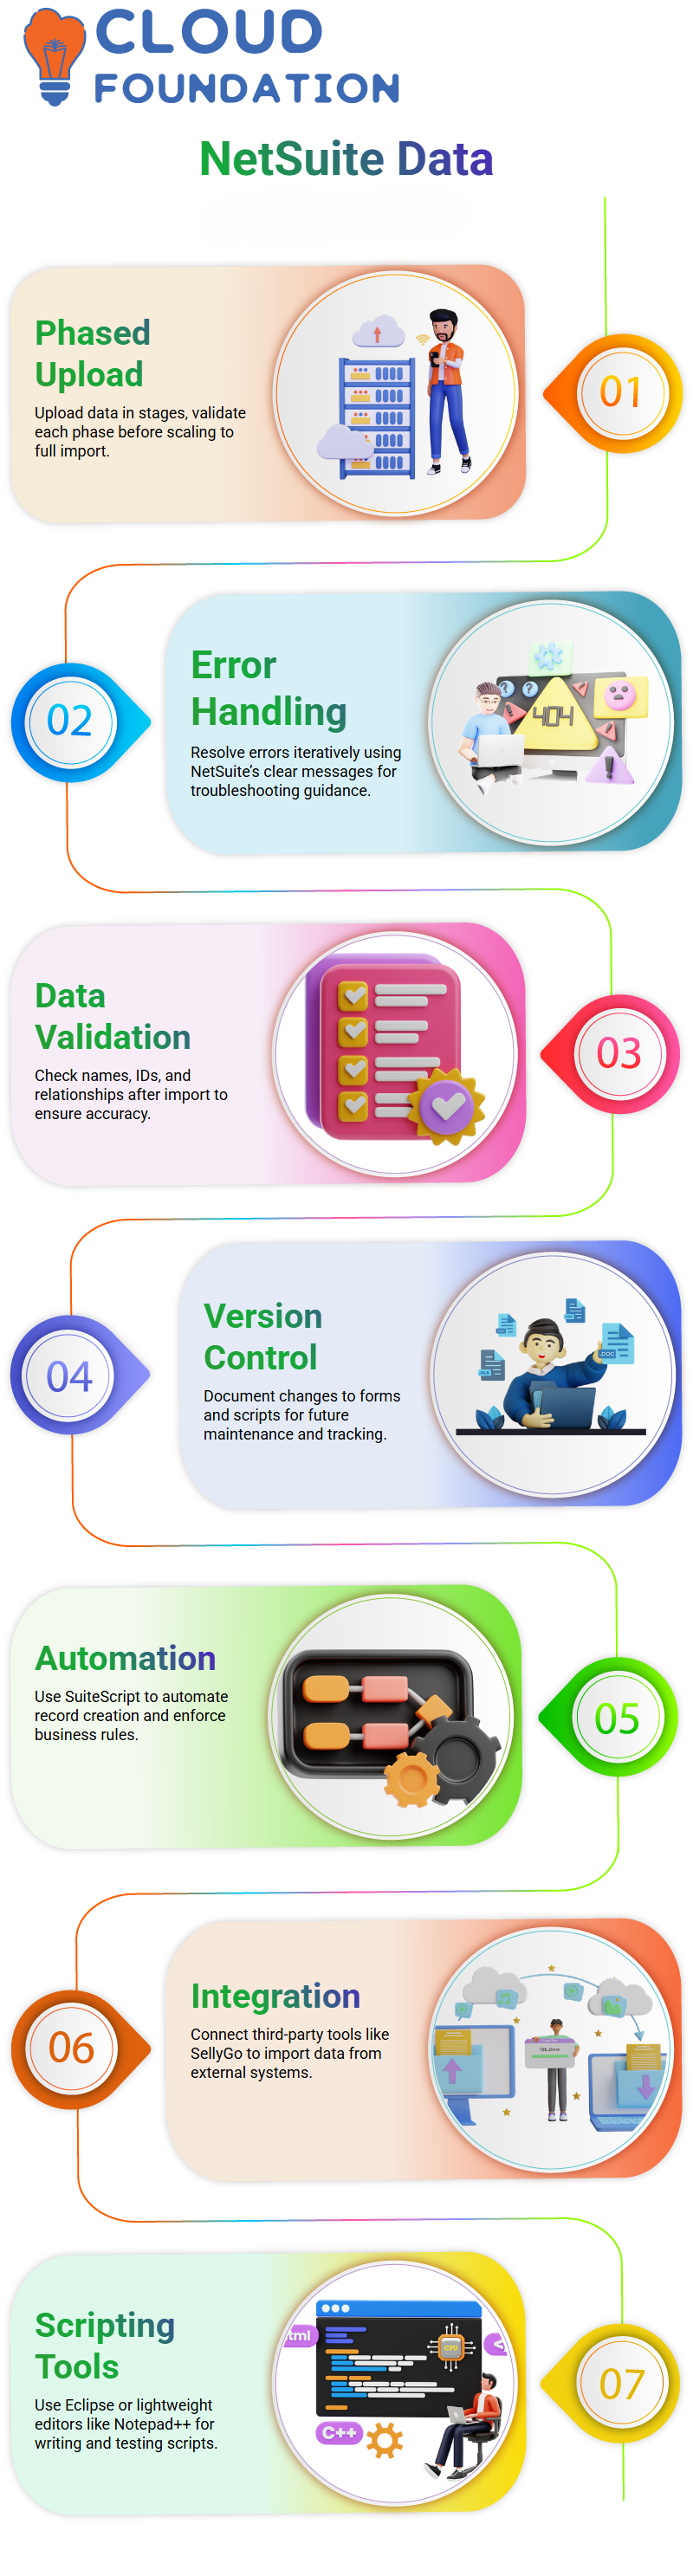
Use version control for forms and scripts – If you modify forms or add scripts, document changes for future maintenance.
Beyond CSV: Automation and Scripting in NetSuite
For large-scale migrations or ongoing integrations, manually uploading CSV files can become cumbersome.
NetSuite supports scripting options (via SuiteScript) and direct integrations with third-party tools such as SellyGo, which allows you to pull data from systems like Salesforce and map it directly into NetSuite.
Scripts can also be used to:
Load data programmatically
Automate record creation
Enforce business logic during import
While NetSuite recommends using Eclipse as an IDE, many developers prefer lightweight editors like Notepad++ for writing and testing scripts.

NetSuite Online Training
Preparing Data for CSV Import in NetSuite
When creating or updating records in NetSuite using CSV imports, preparation is key. Here are the main steps to keep in mind:
Check mandatory fields – Ensure fields like Status, Subsidiary, Name, and Address are filled in. NetSuite’s financial system logic will validate these automatically.
Map fields correctly – Map the CSV’s name field to the actual customer record field in NetSuite. If using subsidiaries, ensure the correct internal ID is included.
Validate default values – Many users are unsure whether default values (like Customer Active) are set by script or by standard NetSuite behaviour.
These defaults can often be adjusted by reviewing the form settings or applying a custom form.
Handle errors carefully – A common error is “Invalid Custom Form” or “Invalid Reference Key.”
These errors occur when mandatory fields are missing or when the CSV references a record that is not found in the system. Always double-check your field mapping and reference keys.
Managing Custom Forms in NetSuite
NetSuite enables you to create custom forms tailored to your specific business needs. This is helpful when:
You need to validate fields or make some of them mandatory.
You want to change the default layout or display of the form.
You are importing data and want to control which fields are included.
If you encounter errors during CSV imports, try switching to the standard form, saving, and re-running the import.
Then, reapply your custom form if necessary. This is especially useful when migrating large datasets.
Handling Special CSV Cases in NetSuite
When dealing with CSV files:
Escape commas properly in fields like item descriptions or company names.
For multi-select fields, use a custom delimiter so multiple values can be imported cleanly.
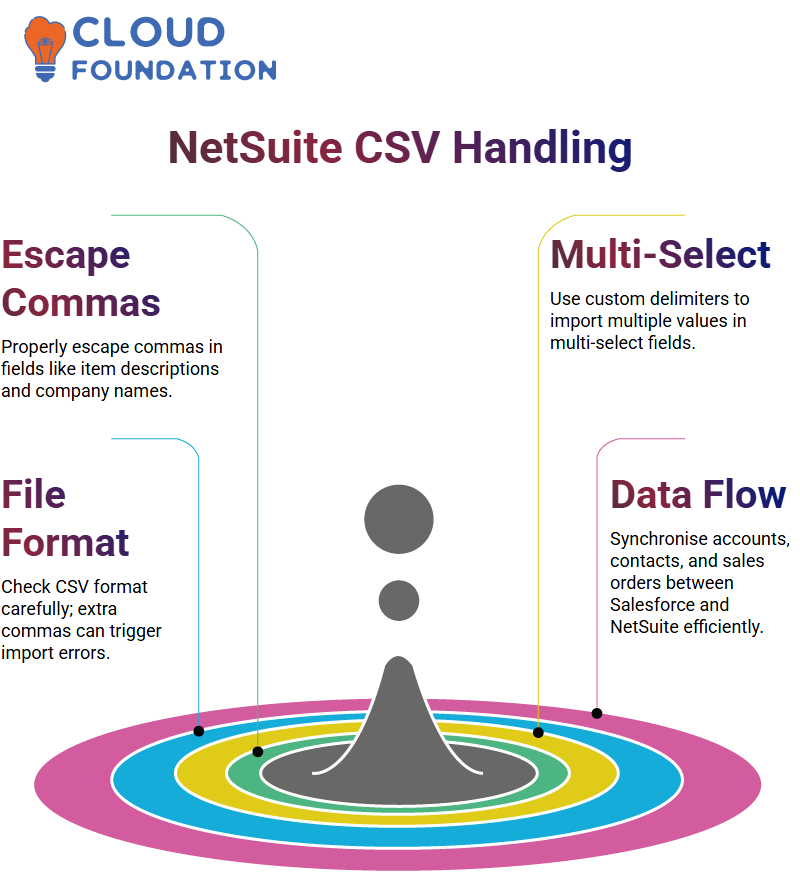
Always check your file format — a simple extra comma can cause import errors.
Integrating Salesforce and NetSuite
Beyond CSV imports, some organisations integrate Salesforce with NetSuite using tools like SellyGo. This type of middleware allows you to:
Create automated flows for exporting and importing customer data.
Synchronise accounts, contacts, and sales orders between systems.
Avoid manual CSV handling by leveraging direct integration.
For more advanced needs, scripting can be used — but it should be carefully implemented to avoid disrupting standard NetSuite processes.

NetSuite Course Price

Vinitha Indhukuri
Author