NetSuite Functional Training on Fixed Assests
Fixed Asset Types and Accounts in NetSuite
After the bundle is deployed, fixed assets management is visible as a stand-alone option under the Centre tab from a NetSuite standpoint. Configuring fixed asset categories, which serve as a general categorization for assets like buildings, properties, or equipment, is the first step in setup, I usually emphasise to Learners.
Asset types rely significantly on a well-crafted chart of accounts. Before proceeding, you need to establish asset accounts, depreciation accounts, write-off accounts, sales accounts, and alternative depreciation accounts. Any installation of NetSuite requires this accounting foundation.
“Show in Fixed Assets Management” is an extra checkbox that NetSuite users see on the chart of accounts once fixed assets management is activated. I warn Learners that such accounts won’t be accessible when setting asset categories if they neglect to activate this option.

How NetSuite Asset Lifetimes and Residual Values Work
Asset lifespan may be expressed in months like 60, 90, or 120 and is determined at the asset type level. This aids NetSuite users in precisely managing depreciation schedules.
Another idea I particularly stress in my NetSuite learning is residual value. You specify a residual percentage if an asset costs ten million dollars, and you do not want to depreciate the last part. After that, NetSuite logic only depreciates the permitted amount, leaving the residual value unaltered.
I assist Learners in making the connection between NetSuite setup and practical accounting choices they will encounter in the workplace by elucidating residual value in this manner.
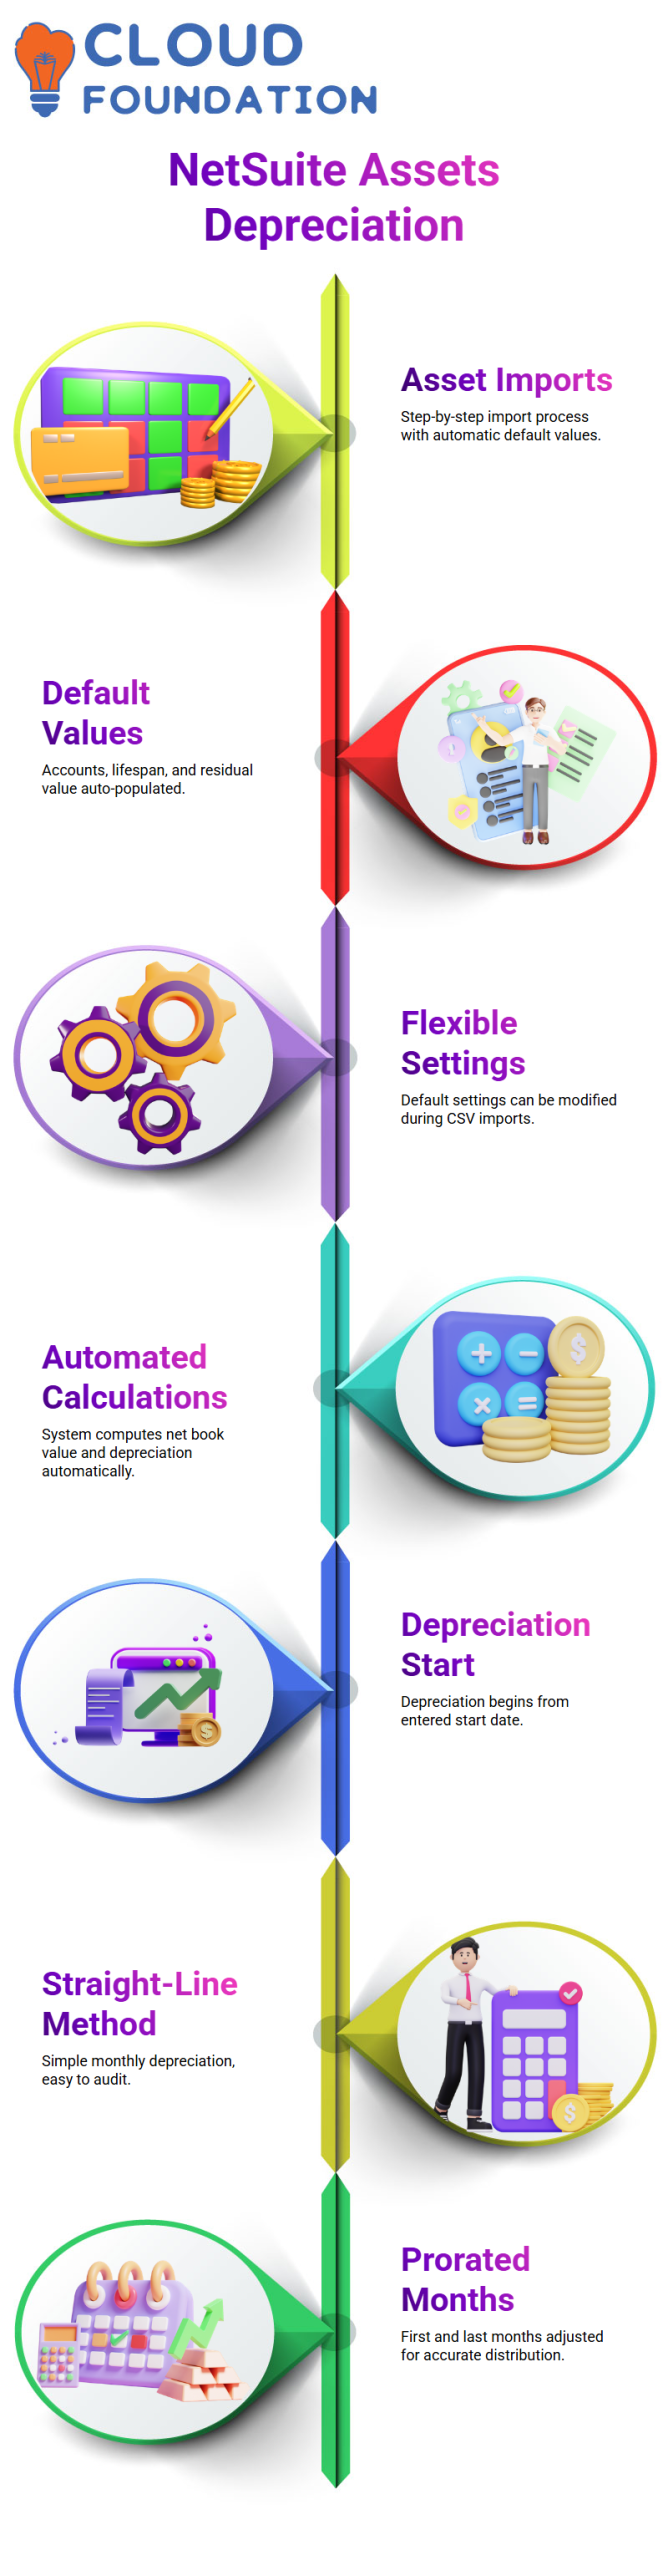
NetSuite Asset Imports and Defaulted Values
During import, the asset record automatically defaults to fields specified on the asset type, such as accounts, lifespan, and residual value.
I have found that default settings do not imply locked values in NetSuite. One of the factors contributing to NetSuite asset management’s excellent scalability is its flexibility.
Once the start date is entered, NetSuite automatically manages calculated elements like net book value and cumulative depreciation in addition to standard fields like asset description and cost.
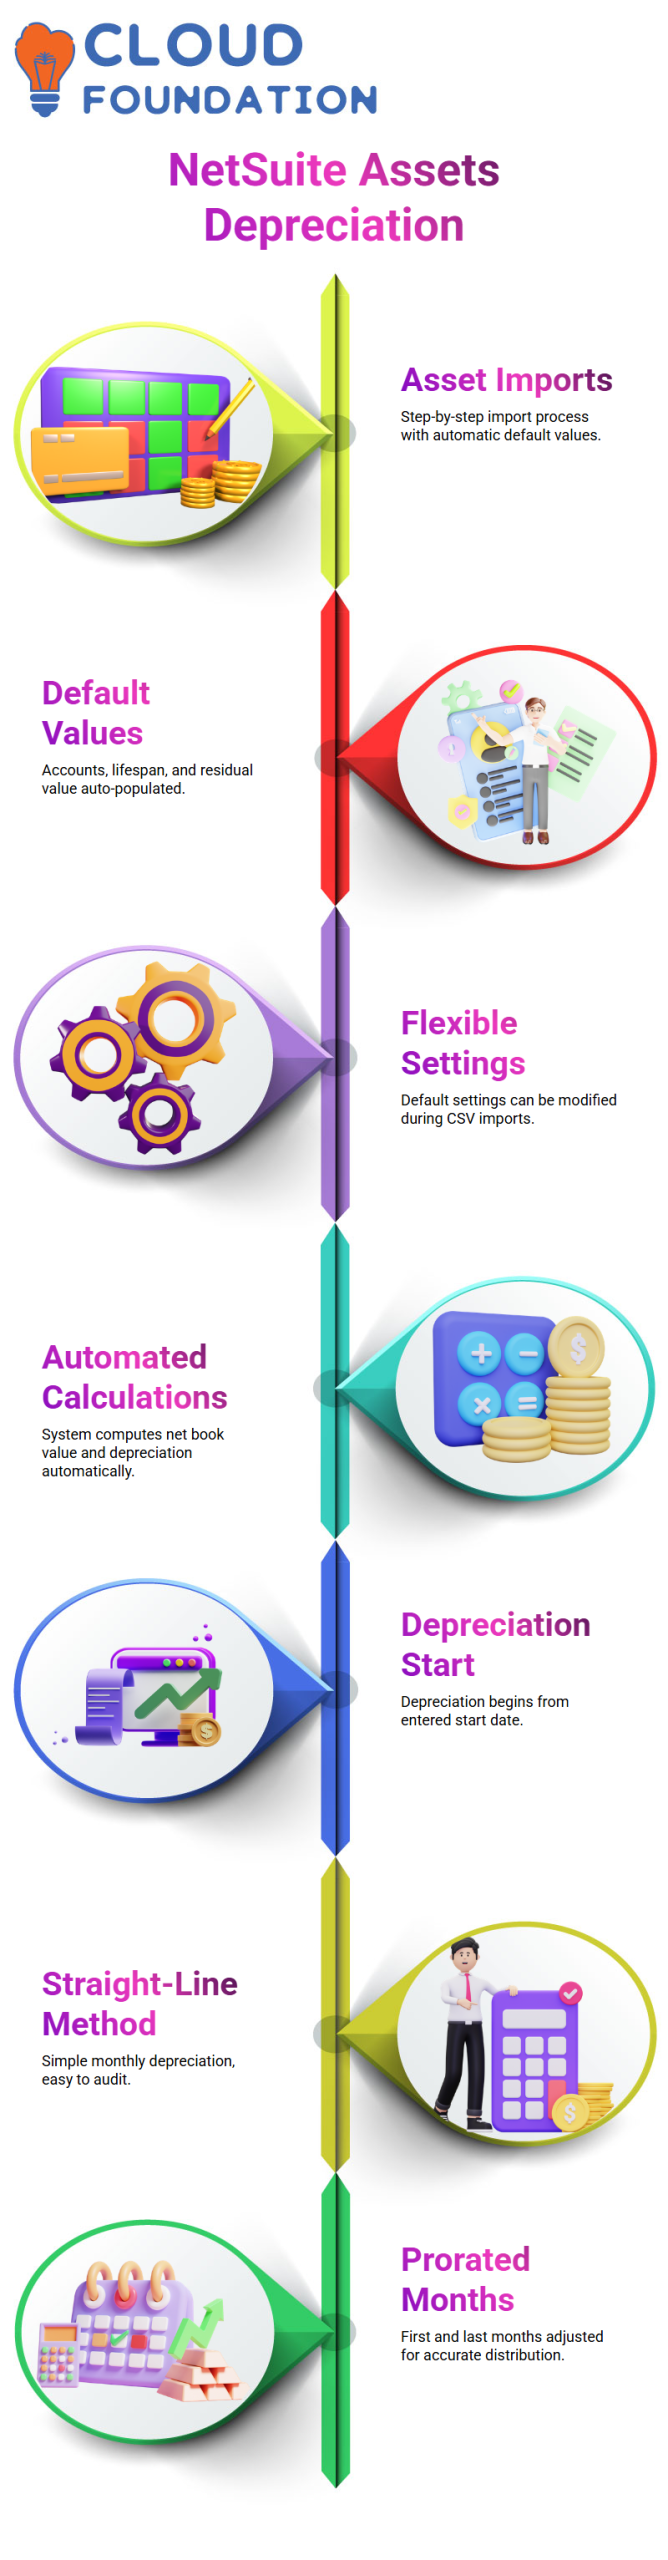
Depreciation Logic in NetSuite
Since depreciation techniques are where most uncertainty starts, I usually start with them when I educate Learners or work with clients as a NetSuite consultant. Depreciation has a direct effect on how fixed assets behave inside the system and is not only an accounting term in NetSuite projects.
In order for NetSuite learners to really understand how the math works, I often use actual amounts to illustrate the straight-line, first and last month prorated, and falling balance approaches.
Customers mostly like the straight-line approach in NetSuite deployments because of its ease of configuration and auditor explanation. For instance, NetSuite logic automatically prorates the first and final months if I import a 60,000 asset in the midst of the month. Accordingly, the depreciation for the first month can be 500, the final month 500, and the system computes the subsequent months based on the leftover value.
When it comes to depreciation calculations, NetSuite excels. The depreciation start date is generally where I begin when I explain this. NetSuite determines the depreciation termination date automatically based on the asset lifespan and start date.
In order to appropriately continue depreciation for midlife assets, I show how NetSuite utilises the last depreciation date, last depreciation term, and last depreciation amount. When assets are already substantially depreciated before transfer, this is particularly crucial.
I also use basic math to demonstrate straight-line depreciation in NetSuite. The procedure is visible and simple to audit since NetSuite automatically computes a monthly depreciation of $1,000 if the asset cost is $60,000 and the lifespan is sixty months.
I particularly stress that NetSuite does not just divide 60,000 by 60 months in this situation. Rather, the prorated payments are subtracted first, and the leftover balance is subsequently distributed across the remaining months. Any NetSuite consultant must comprehend this behaviour before working with asset imports.

NetSuite Functional Training
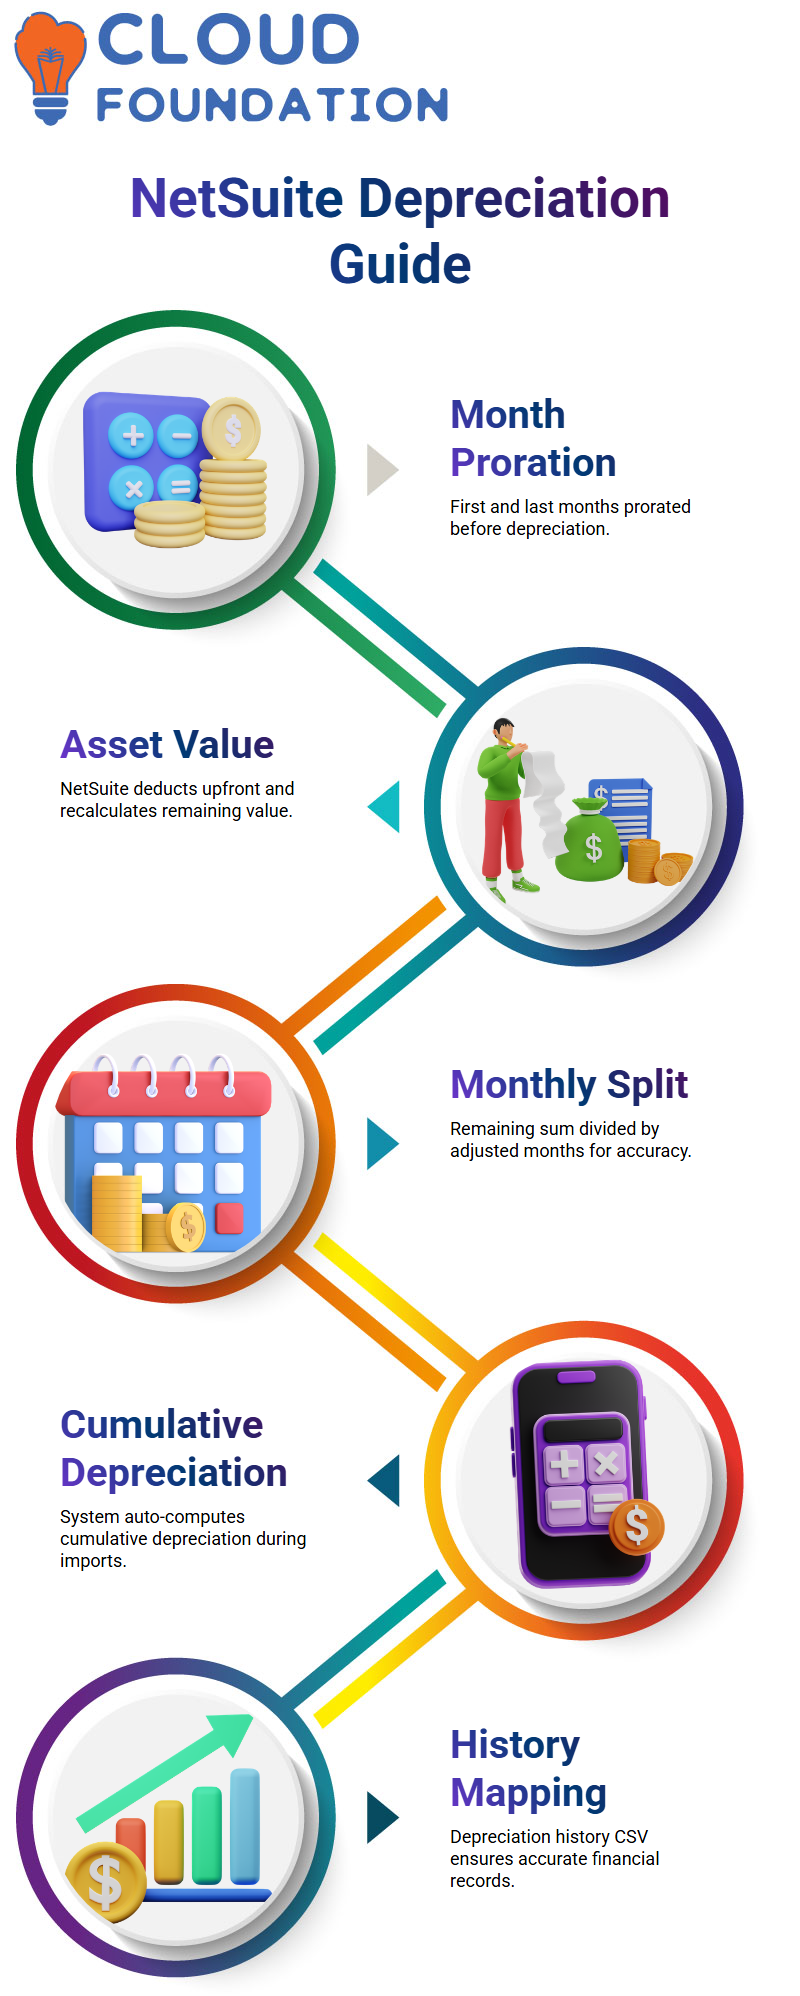
How NetSuite Handles First and Last Month Proration
To avoid any surprises later, I go over the precise computation in my NetSuite sessions. Assume that the first and final months are prorated at 500 each, and that the asset value is 60,000. That $1,000 is deducted up front by NetSuite, which uses the remaining 59,000 for the subsequent months.
From the standpoint of NetSuiteity, this remaining sum is split by 58 months rather than 60. This results in a monthly depreciation of around 1,017.24. I constantly explain to them that while this figure may seem strange, it is entirely accurate according to NetSuite calculation guidelines.
NetSuite depreciation ceases to seem like a mystery once you comprehend this. You may clearly explain to clients why the system is operating just as intended and why their monthly depreciation does not display a nice round figure.
Cumulative Depreciation and Net Book Value in NetSuite Imports
Cumulative depreciation is a subject I often bring up in NetSuite asset management, particularly when importing midlife assets. NetSuite anticipates that information will be accurately represented during import if an asset has previously been depreciated for five months.
Cumulative depreciation is computed automatically in NetSuite. I constantly advise people not to push values into the field, which is often greyed out. Behind the scenes, NetSuite computes cumulative depreciation, the asset cost, depreciation start date, final depreciation date, and useful life.
For instance, NetSuite determines cumulative depreciation as 5,000 and automatically sets the net book value to 55,000 if five months have previously been depreciated at a rate of 1,000 per month. I must still provide the exact net book value during import; however, for NetSuite to continue depreciating correctly.
Importing Depreciation History
One of the most crucial NetSuite lessons I provide is this one. I have to input the depreciation history CSV if clients need to see the historical depreciation lines. If this step is skipped, NetSuite will begin depreciation again and disregard the amounts that have previously been depreciated.
The transaction amount is a crucial element in NetSuite CSV imports. In order for NetSuite to display the 5,000-depreciation line before moving on to subsequent months, I map the cumulative depreciation amount to this field. This guarantees that the asset record provides the whole financial narrative.
The asset is still imported by NetSuite if I omit this step, but the history is not full. For this reason, before doing any significant NetSuite asset import, I carefully verify the depreciation history mapping.
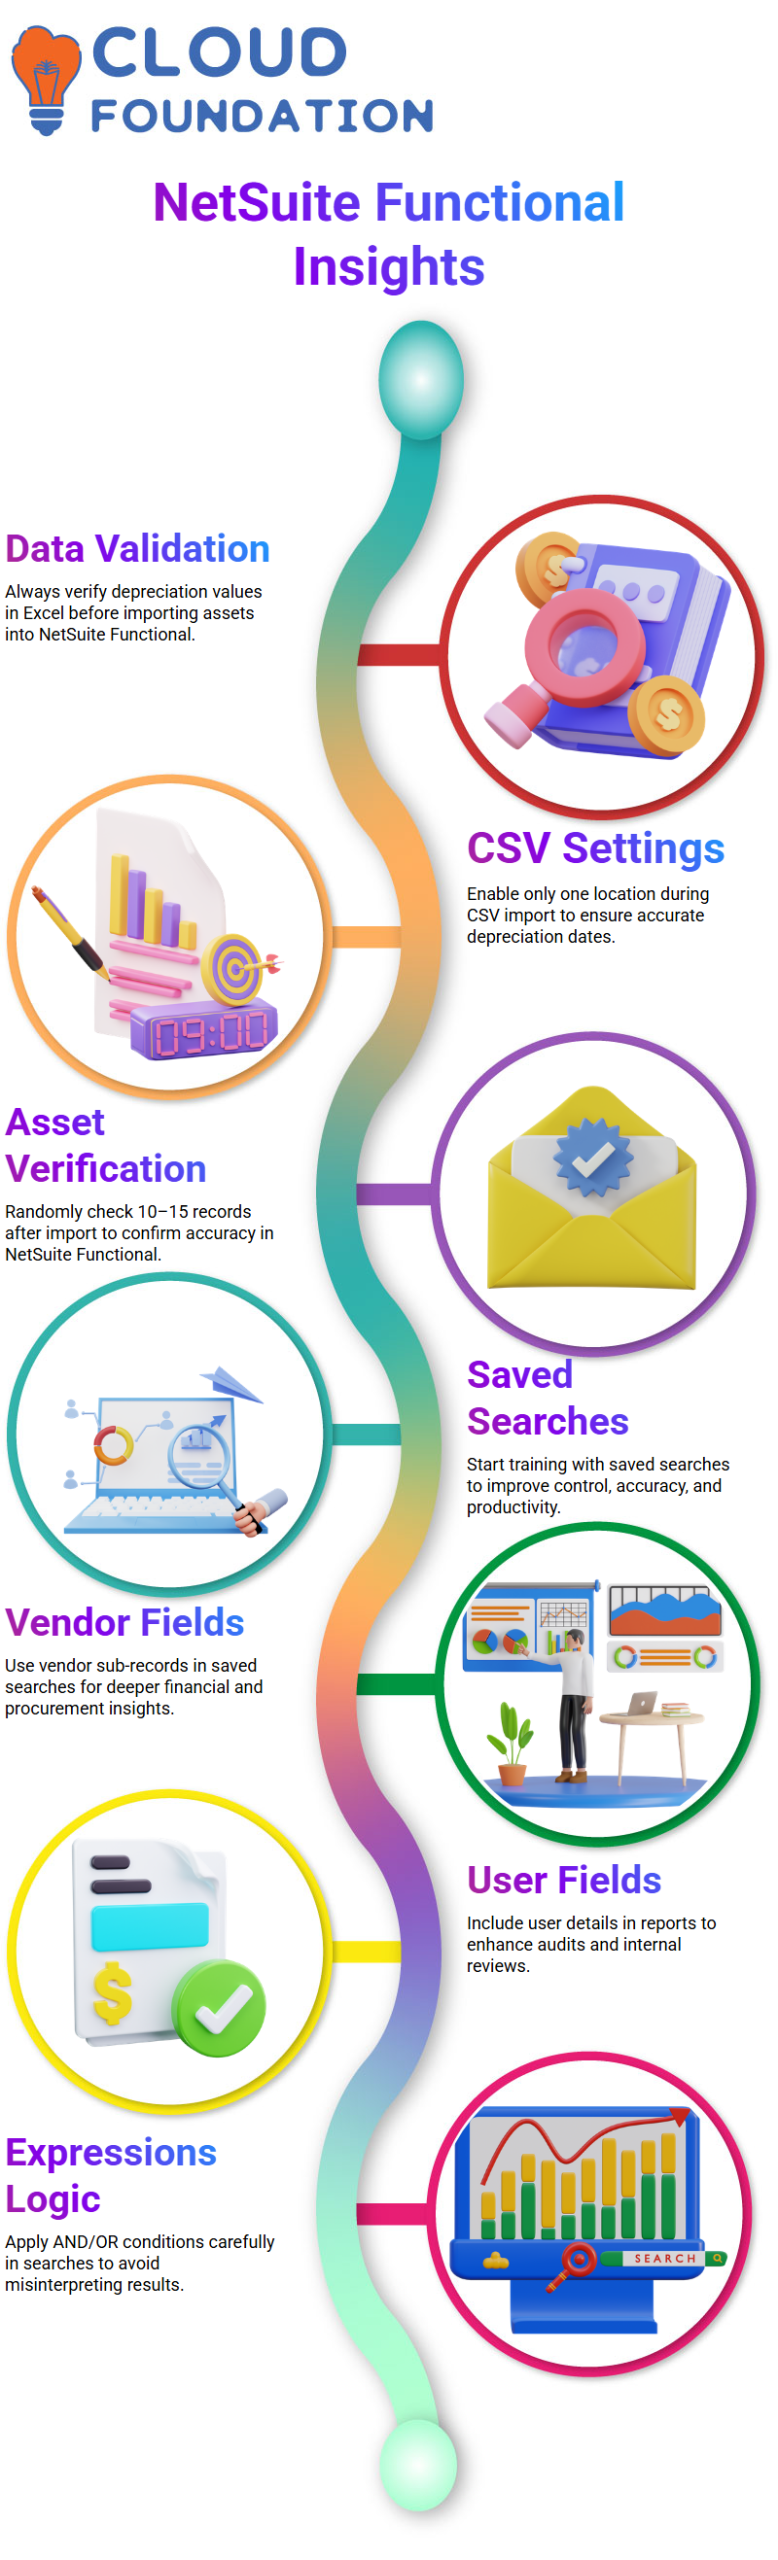
Validation, CSV Settings, and Asset Depreciation in NetSuite
I always check everything outside of NetSuite before importing hundreds or thousands of assets. After calculating the net book value, cumulative depreciation, and the latest depreciation amount in Excel, I compare it with the data I want to import. The only safe method is prevention since NetSuite does not give problems for erroneous depreciation amounts.
The CSV server scripts and processes option is another crucial NetSuite configuration stage. During setup or CSV import, I make sure that just one location is enabled. NetSuite is unable to accurately compute depreciation dates if both are activated or disabled.
After import, I randomly verify 10 to 15 asset records inside NetSuite.
I then do asset depreciation, which automatically generates journal entries. Many assets are first grouped into a single journal entry by NetSuite, but later on, individual assets produce their own entries. Knowing this cycle makes it easier for me to communicate outcomes to clients and Learners.

NetSuite Functional Online Training
Vendor Fields Through a NetSuite Lens
I clarify in my NetSuite workshops that a purchase order only provides a cursory view of the vendor. Powerful information is stored in vendor sub-records, which are part of the NetSuite design behind the scenes.
I guide Learners through vendor fields such as account numbers, billing information, nation data, 1099 eligibility, and address details.
Pulling this vendor data into a saved search provides the insight that the finance and procurement departments sorely need from a NetSuite standpoint.
I often demonstrate how improving reporting may be achieved by including the firm name or more vendor information. This method demonstrates how a NetSuite consultant views usability and data access.
Applying Expressions
Since this is fundamental NetSuite logic, I always take the time to explain expressions. Buy orders, buy requests, and item receipts may all be merged into a single intelligent search by employing expressions. Because misinterpreting the behaviour of AND OR conditions may drastically alter search results in NetSuite settings, I describe it.
NetSuite has shown me that expressions provide versatility without adding complexity. Although the majority of NetSuite users just utilise basic criteria, I demonstrate how formulae may be introduced when necessary. During training, I place a lot of emphasis on this balance.
Advanced Output, Filters, and Access Control in NetSuite Searches
I go on to outcomes and visibility, which is another crucial NetSuite skill, when the criteria are ready. I describe sublist views, dashboard views, public searches, and reminders. Reminders enable teams in NetSuite projects to take action every day rather than only responding once a month.
I also go over output formats, including grids, reports, and graphs, as well as sorting and maximum results. Selecting the appropriate output enhances adoption from a NetSuite perspective.
I show customers how to utilise bold formatting, colour coding, and highlighting rules to make important transactions stand out right away.
NetSuite consultants need to be exact when it comes to filters and audience settings. I demonstrate how to grant or deny access based on a subsidiary, class, department, or job. I also go over how to schedule emails, create daily or weekly reports, and why regular, rather than monthly, NetSuite reconciliation is the most effective.
I’m currently a NetSuite to replace manual operations by configuring bank feeds. Learners may better grasp why NetSuite automation is a great practice rather than just a feature through this real-world scenario.

Netsuite Functional Course Price

Vanitha
Author
The capacity to learn is a gift; the ability to learn is a skill; the willingness to learn is a choice