Amazon S3 Tutorial
📣 1932 Participants |🎓 811 Reviews | 4.7 ⭐⭐⭐⭐⭐
Amazon S3:
By using Amazon S3 we can upload the data where, initially we have to create a bucket in one of the AWS Regions to store the data.
In Amazon S3 you can upload an unlimited number of data objects to the bucket.
The Buckets have configuration properties, which includes their geographic area, which has access to the objects in the bucket, and other metadata.
Here are the steps to create a process for Amazon S3.

How to Create an Amazon S3 Bucket???
Step:1 To create Amazon S3 Bucket
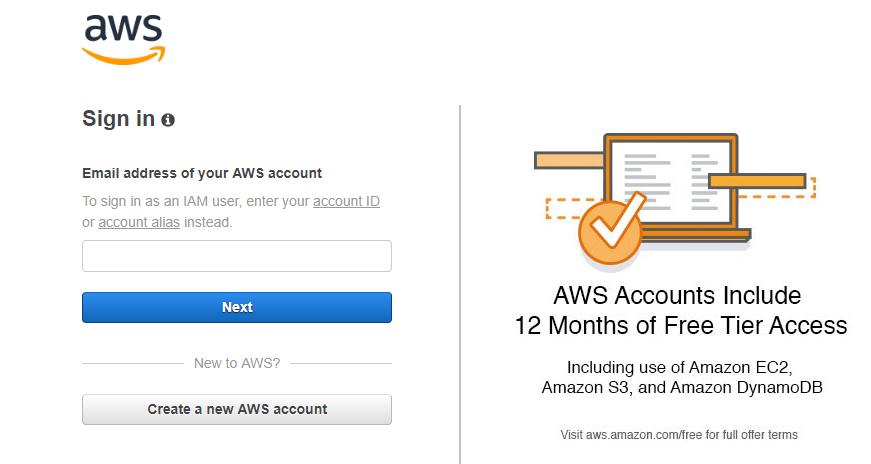
- First ,you need to Sign into AWS Management Console.
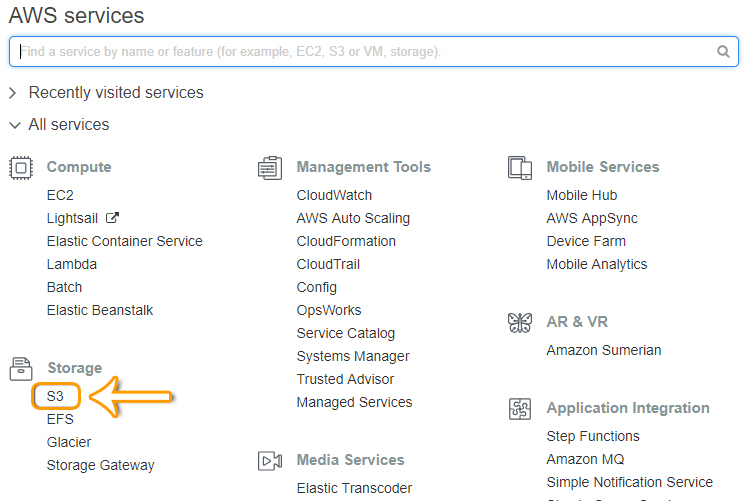
Step:2 Go to AWS Services Search bar and type in S3.
- click on S3
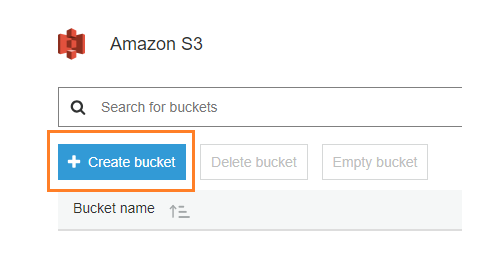
Step:3 Select Create Bucket.
- On the Name and region page, enter your Bucket name and select the AWS Region.
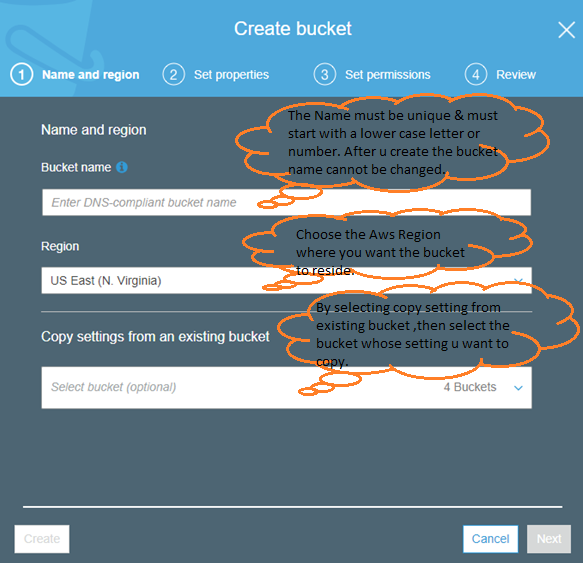
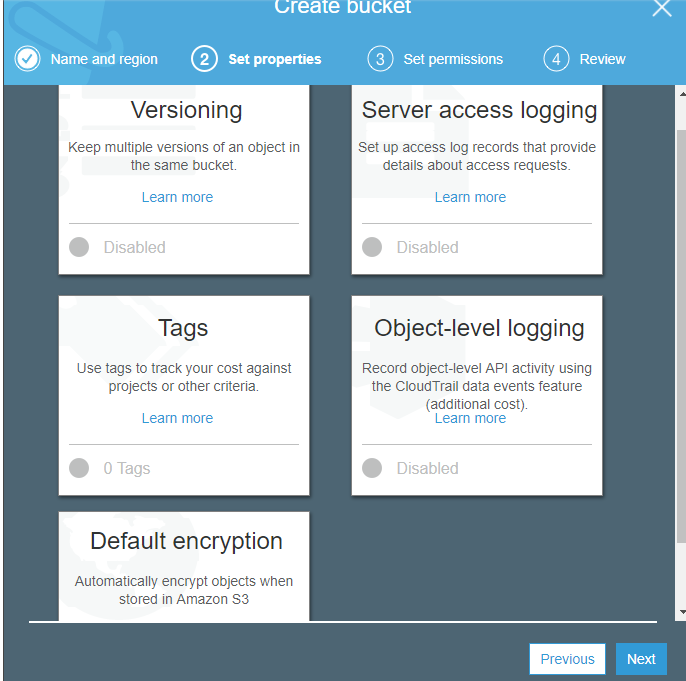
- In Set properties you can configure the following properties for the bucket.
- Versioning: It enables you to keep multiple versions of an object in one bucket and for new bucket, it is disabled by default.
- Server access logging: It provides detailed records for the requests that are made to your bucket.
- Tags: Tag is a key-value pair which represents the label that we have to assign to a bucket.
- Object-level logging – Object-level records level API activity by using Cloud Trail object methods.
- Default encryption – Amazon S3 encryption gives a method to set up the default encryption behaviour for the S3 bucket.
- Click on Next
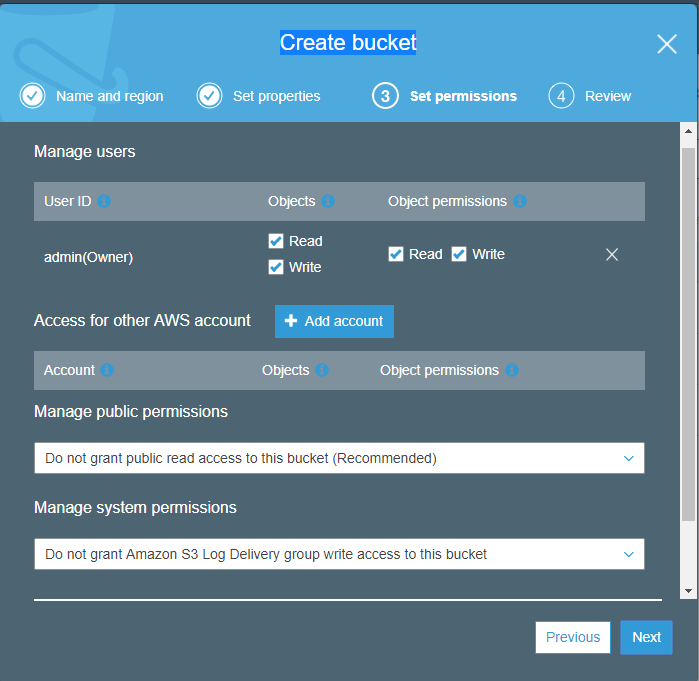
- Set permissions: Here you can manage the permissions that are set on the bucket that you are creating.
You can grant read access to your bucket to the general public (everyone in the world).
Providing read access to the public applies to a small set of use cases such as if buckets are used for websites.
You can change permissions after you create the bucket.
When you’re done configuring permissions on the bucket, choose Next.
- Review: From Review we can verify the settings. If we have to change anything, then choose Edit. If the current settings are correct, then select to create bucket.
- You’ve created a bucket Successfully, now you’re ready to add an object to it.
- An object can be any kind of file: a text file, a photo, a video, and so on.
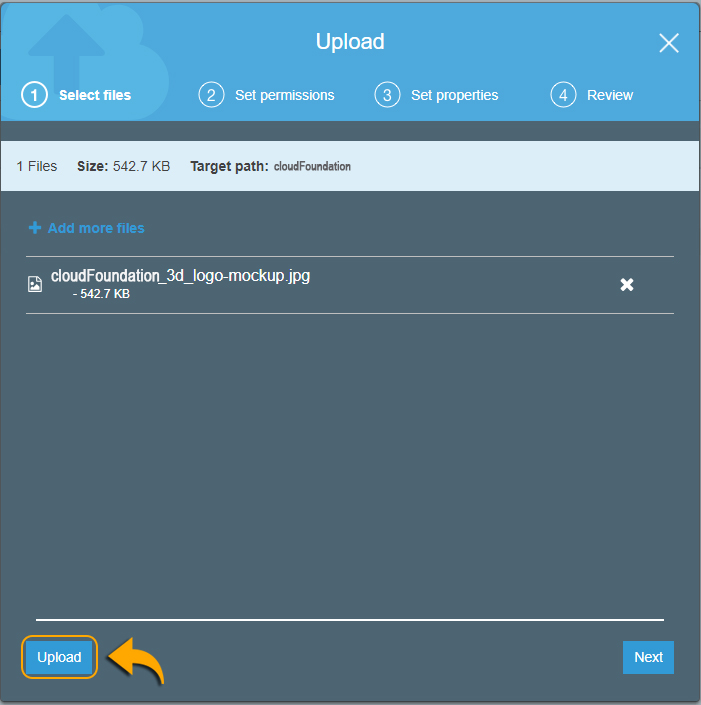
Step:4
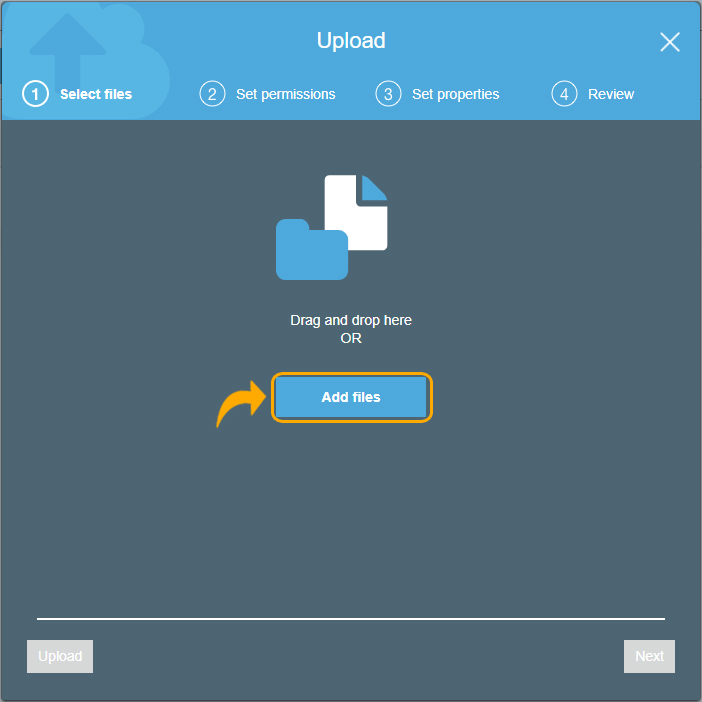
How to add object to a bucket?????????
- In the Bucket name list, choose the name of the bucket that you would like to upload your object in.

- Select Upload

- Click on Add files to choose the file to upload.
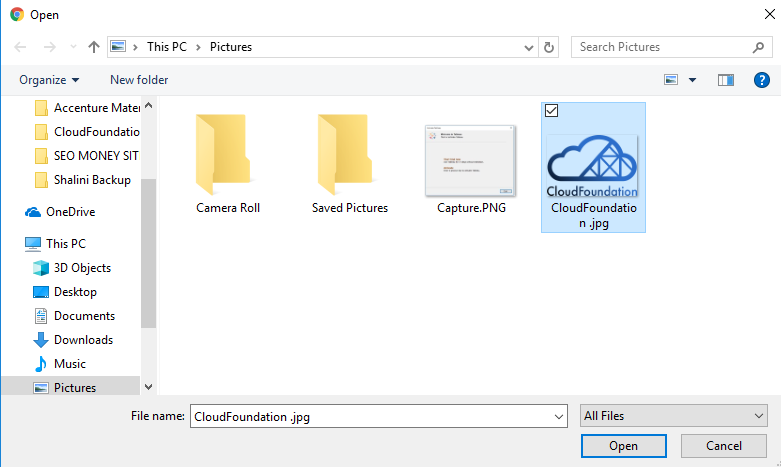
- Select a file to upload, and then click on Open.
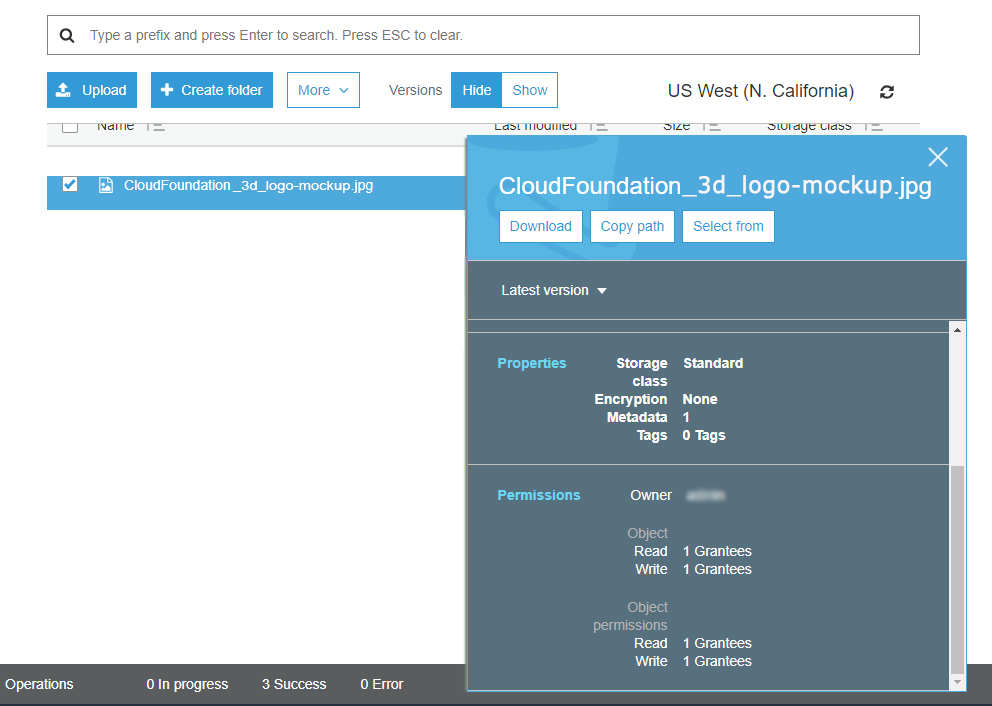
Step:5
How to view an object???????
Now that you’ve added an object to a bucket, you can view information about your object and download the object to your local computer.
To download an object from a bucket
- In the Bucket name list, select the name of the bucket that you created.

- In the Name list, select the check box next to the object that you uploaded, and then choose Download on the object overview panel.
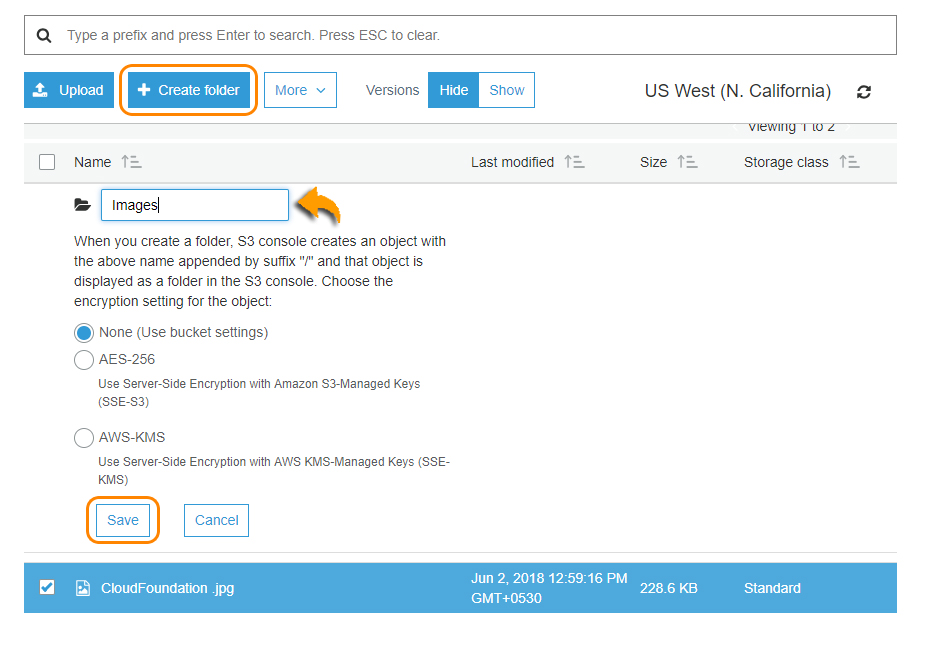
Step:6
How to move an object?
So far, we’ve figured an objective to a bucket and downloaded. Now we have to create a folder and copy the object into the same folder.
To copy an object
- In the Bucket name list, Select the name of the bucket that you created.

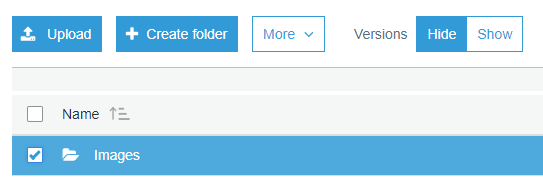
- Select Create Folder, type Images for the folder name, and then click on Save.
- From the Name list, select the check box which is next to the object which would like to copy, choose More, and click choose Copy.
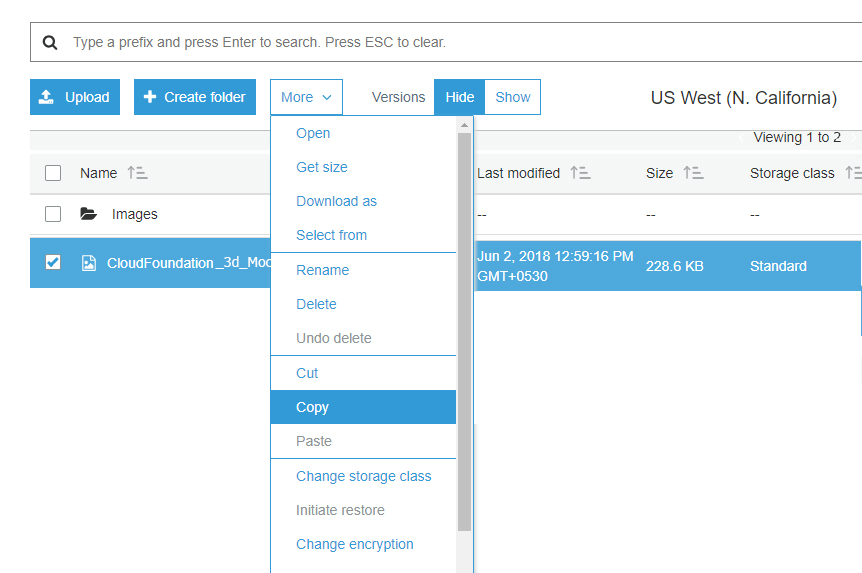
- In the Name list, choose the name of the folder Images.
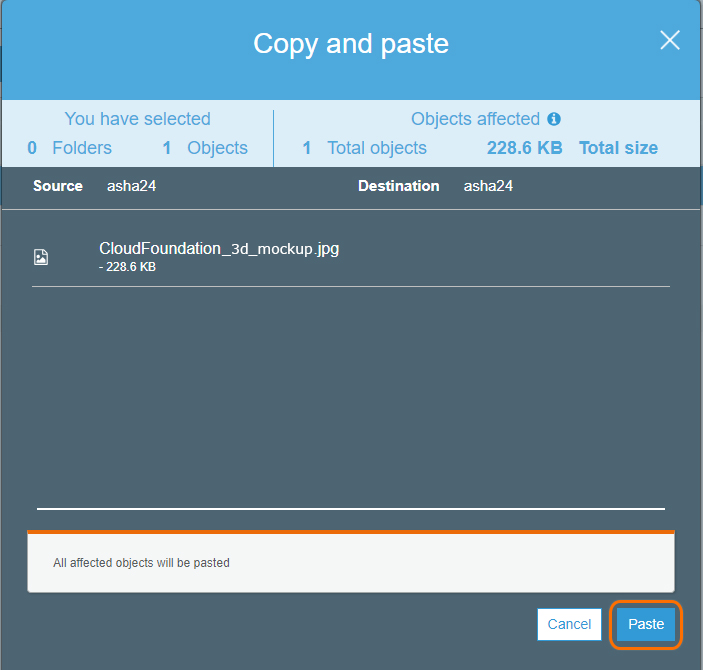
- Select More, and then click on Paste.
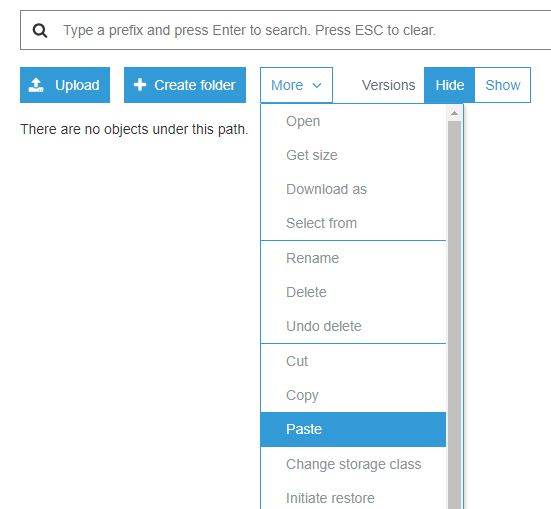
- Click on Paste.
Step:7
If you no longer need to store the object that you uploaded, then you should delete the objects to prevent further charges.
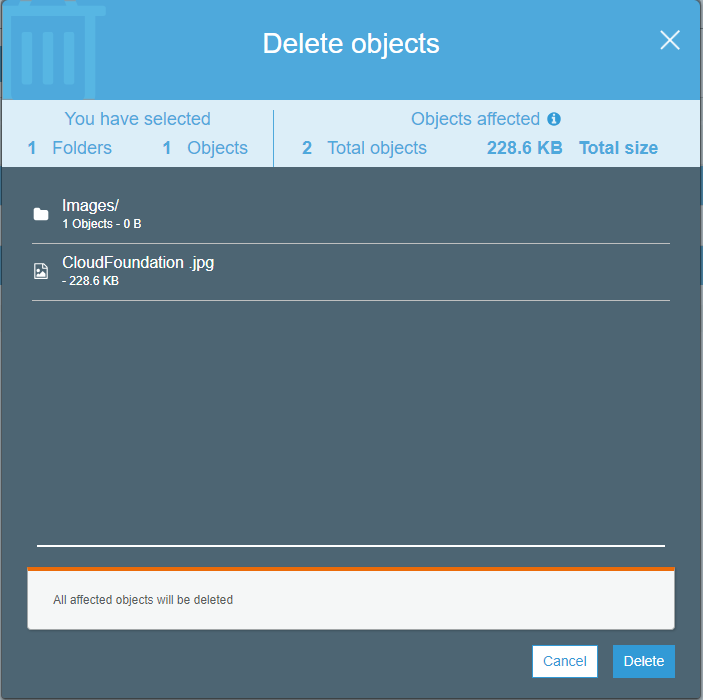
To delete an object from a bucket
- From Bucket name list, choose the name of the bucket that we would like to delete an object from the Bucket.

- From the Name list, select the check box which is next to the object that we wish to delete, then click on Delete.
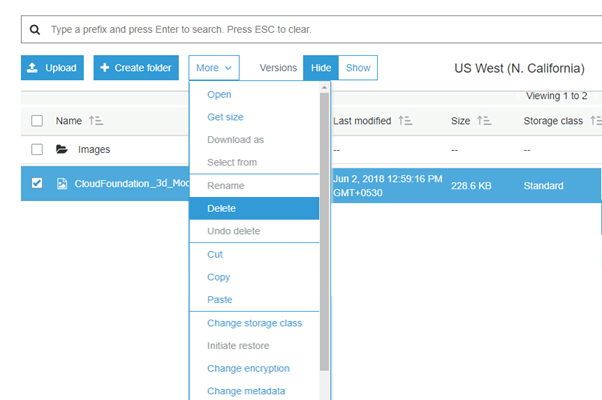
- From Delete objects box, verify that the name of the object you selected for deletion is listed, and then click on Delete.
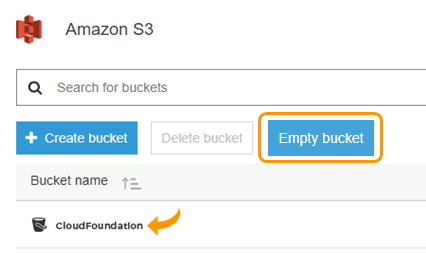
We can release a bucket, which eliminates all the objectives in the bucket without removing the bucket.
To empty a bucket
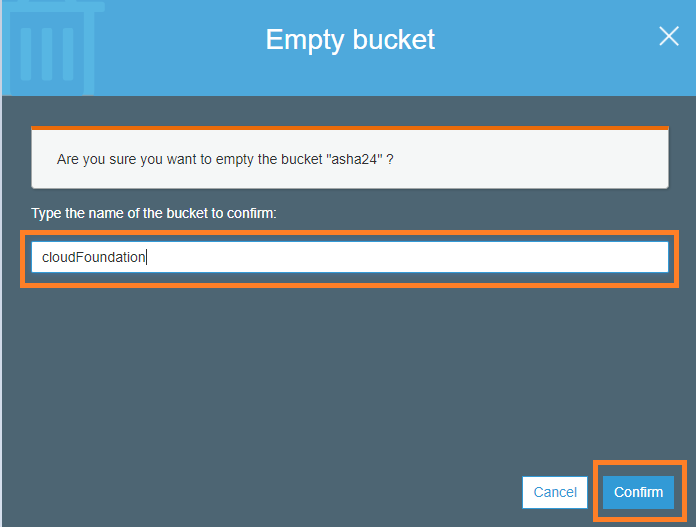
- From Bucket name list, select the bucket icon which is next to the name of the bucket that would like to empty and then click Empty bucket.
- From the Empty dialog box, give the name of the bucket then click on Confirm.
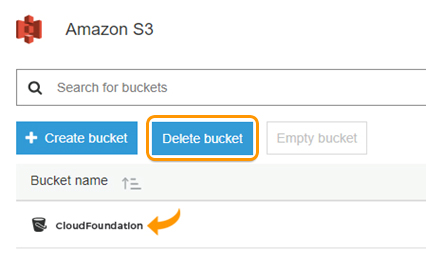
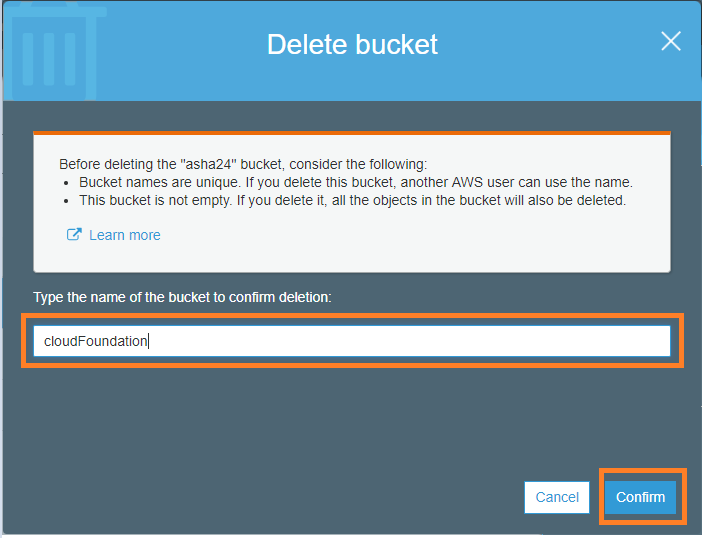
We can delete a bucket and objects available in the bucket as well.
To delete a bucket
- In the Bucket name list, choose the bucket icon which is available next to the name of the bucket that would like to delete then click on Delete bucket.
- From the Delete bucket box, type the name of the bucket for delete confirmation and then choose Confirm.
Conclusion:
Now that we’ve gone through the steps for setup, you are now competent to create Amazon S3 bucket. You are also well versed with adding, viewing, and moving an object. Not to forget, you know how to delete an unwanted object to avoid unnecessary charges.
LETS GET GOING!

Jagan
Author