What is SpecFlow?
What is SpecFlow?
SpecFlow is an open-source and free tool that serves as a powerful specification framework for both Behavior-Driven Development (BDD) and Test-Driven Development (TDD) in .NET projects.
It allows teams to define, manage, and automate tests in a way that is both human-readable and executable, bridging the gap between business requirements and technical implementation.
By using the Gherkin language, SpecFlow ensures that test scenarios are easily understandable by all stakeholders, fostering better collaboration and alignment.
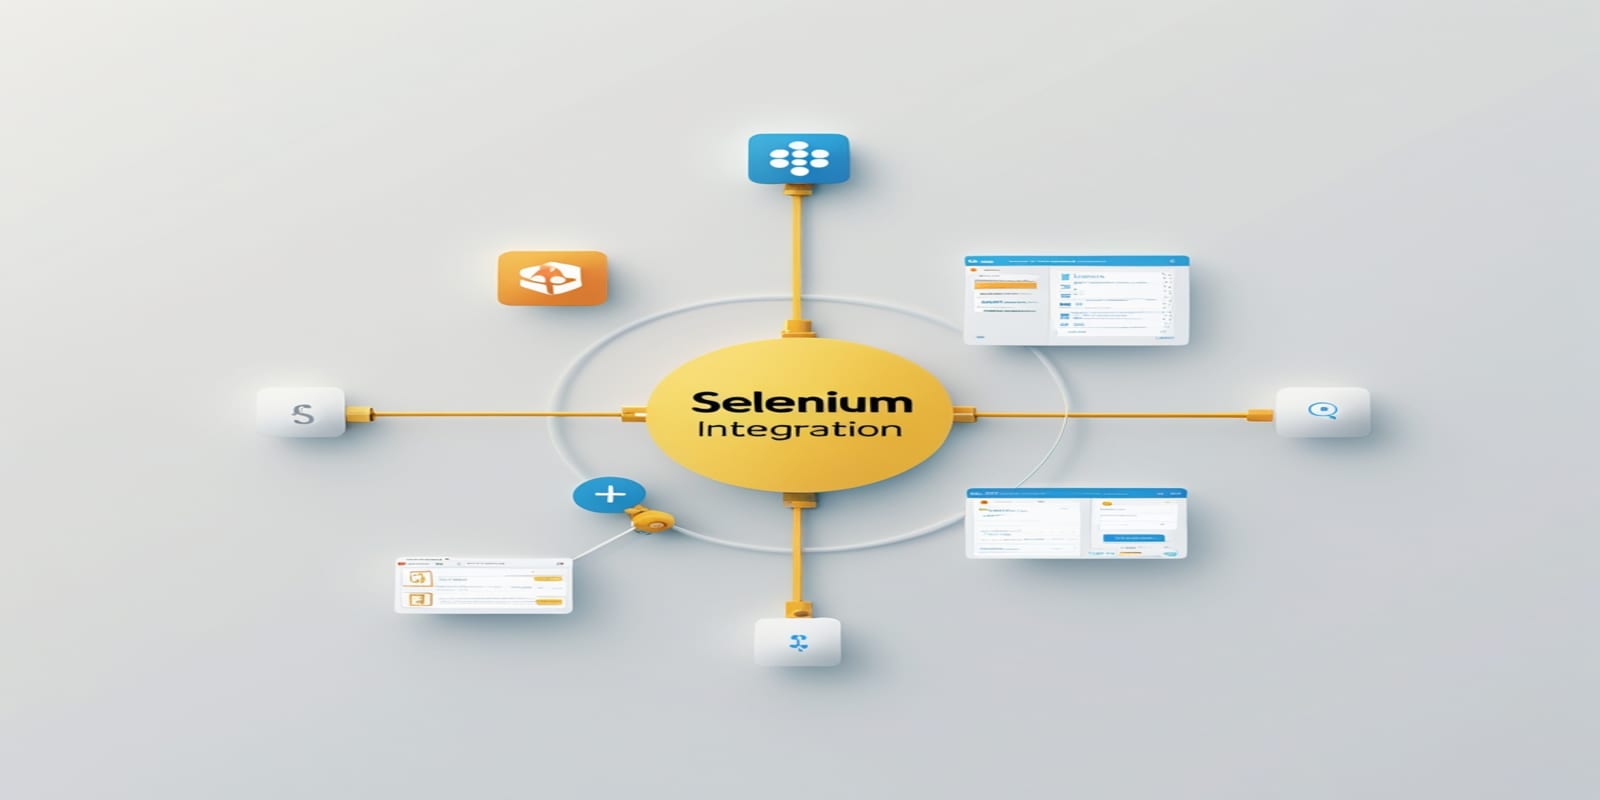
Additionally, its seamless integration with popular testing frameworks and automation tools like Selenium makes it a versatile choice for comprehensive and efficient testing.
What is BDD and TDD in SpecFlow?
BDD (Behavior-Driven Development) focuses on writing feature files in a way that is easily understandable by business stakeholders, analysts, development teams, and the testing team.
In contrast, TDD (Test-Driven Development) involves the development team writing tests before implementing features. Initially, these tests will fail, but the feature is then developed to pass the test.
Once the feature is implemented, the test is executed repeatedly until it passes, ensuring that the feature functions as expected.
By understanding these concepts, developers can better navigate BDD automation and ensure successful project implementation.
Implementation of a Test-Driven Development (TDD) methodology for a BDD project
The implementation of a Test-Driven Development (TDD) methodology in a BDD project involves several key steps.
First, SpecFlow is installed for Visual Studio, which is the only software required for the process, meaning Visual Studio must be installed on the system.
Once the project is set up, the team collaborates on defining the UI flow, creating features, and outlining the scenarios.
Each scenario consists of multiple steps, each mapped to a step definition class. These steps are connected using Gherkin keywords to form the complete test scenario.

The project is then executed, and SpecFlow displays relevant results.
The SpecFlow interface provides an overview of the project’s progress, showing how many feature files, steps, and scenarios have been executed.
It also shows the number of passed steps and scenarios, giving users insight into the test results.
The Lighting Dock Tip Port section of the SpecFlow interface highlights the number of feature files, steps, and scenarios that passed.
Implementing a BDT project involves installing SpecFlow for Visual Studio, defining the UI flow, and connecting feature files to step definition classes.
SpecFlow serves as a valuable tool for monitoring the project’s progress and success, ensuring the quality and completion of the project.
Generating and Implementing SpecFlow for Feature Files with Selenium Integration
Generating steps for a feature file using SpecFlow is a straightforward and efficient process.
By defining steps, implementing the step definition class, and writing the logic to invoke the browser, a seamless and efficient SpecFlow can be created for the project.
To generate a spec flow for a feature file, follow these steps:
Go to the Future one dot feature and right-click on it.
Select “Define steps” and choose “different steps.”
A spec flow will help you generate the steps automatically.
Copy the code to the keyboard and paste it into the step definition class.
Create the feature file and implement the step definition class.
Write a logic to invoke the browser.
Add the Selenium driver to the browser by right-clicking on the dependencies and going to the manage new get.
Manage the new get packages.
Use the almost latest version of the Selenium web driver, which is 4.6.0.
No longer need to download any web driver for the browser.

SpecFlow Training
Creating and interacting with WebDriver in Selenium
The process of creating a WebDriver object using the IWebDriver class involves defining the driver object as a globally private variable.
This object is then used in the following steps:
- Open the web browser and navigate to the IWebDriver class.
- The IWebDriver class is imported using the OpenQA.Selenium namespace.
- The driver object is utilized to interact with the web browser.
The process also includes highlighting the search text box, finding the element, and entering the required value.

The user then presses enter using the keyboard, followed by using send Keys to enter the value into the search box.
Afterward, the user waits for a while by using Thread.Sleep() to introduce a delay.
Finally, the browser is closed, and the user is prompted to quit the session.
After opening the search text box and entering the value, the user presses enter. A pause is added using Thread.Sleep() before closing the browser.
The browser is then closed by clicking the “Close” button and quitting the session.
Creating a Feature File and Implementing Test Solution in Python
For creating a feature file in Python, the user starts by defining three steps:
opening the browser, entering the URL, and searching for a test URL.
Once the URL is entered, the user waits for it to load and then locates the search text box. The tester stock is entered, and the user presses enter. The browser is then closed.
Additionally, the user uses another command to maximize the browser using the driver object.
After opening Chrome, the Window.Maximize() option is selected to maximize the browser window.
The user concludes by stating that this method provides a simple and efficient way to create feature files in Python.
This tool enables users to create feature files, incorporate them into their code, and close the browser efficiently.
The goal is to create a user-friendly and effective tool for managing features in Python.
The feature file implementation includes a Selenium WebDriver class that is responsible for launching the browser and entering the URL.
After locating the search text box, the browser is closed. To build the solution, right-click on the solution and select “Build Solution.” Once the grid is successfully created, open the test and navigate to the Test Explorer.
On the left side of the screen, a group named “tester stop” is displayed with a tag named “tester stock.” This group is created based on the provided tag name in the feature file.
Within this group, a single scenario is displayed, and it can be searched in the feature file.
The scenario name is populated in the Test Explorer, and by right-clicking on the “tester stop” tag and selecting “Run,” a new test is created with the specified scenario. The test is then executed in the browser.

SpecFlow Online Training
Creating a SpecFlow BDD Report
The process of creating a SpecFlow BDD report involves several steps.
First, specify the project, which is named “Dot DLM Space Hyphen T Space Test.
Next, copy the command “execution dot Json” and enter it into the command prompt to generate the HTML report.
Once the command is executed successfully, the HTML report is generated in the specified location.
After that, comments are added to the generated report to provide additional context and details.
The project name is provided within the command prompt, and the necessary command is pasted again for execution.
Finally, navigate to the specified location and click on the “date modified” button to confirm the report’s creation.
The report can then be accessed by clicking on the “date modified” button.
This process ensures the report is generated correctly in the specified location and is accessible to the user.
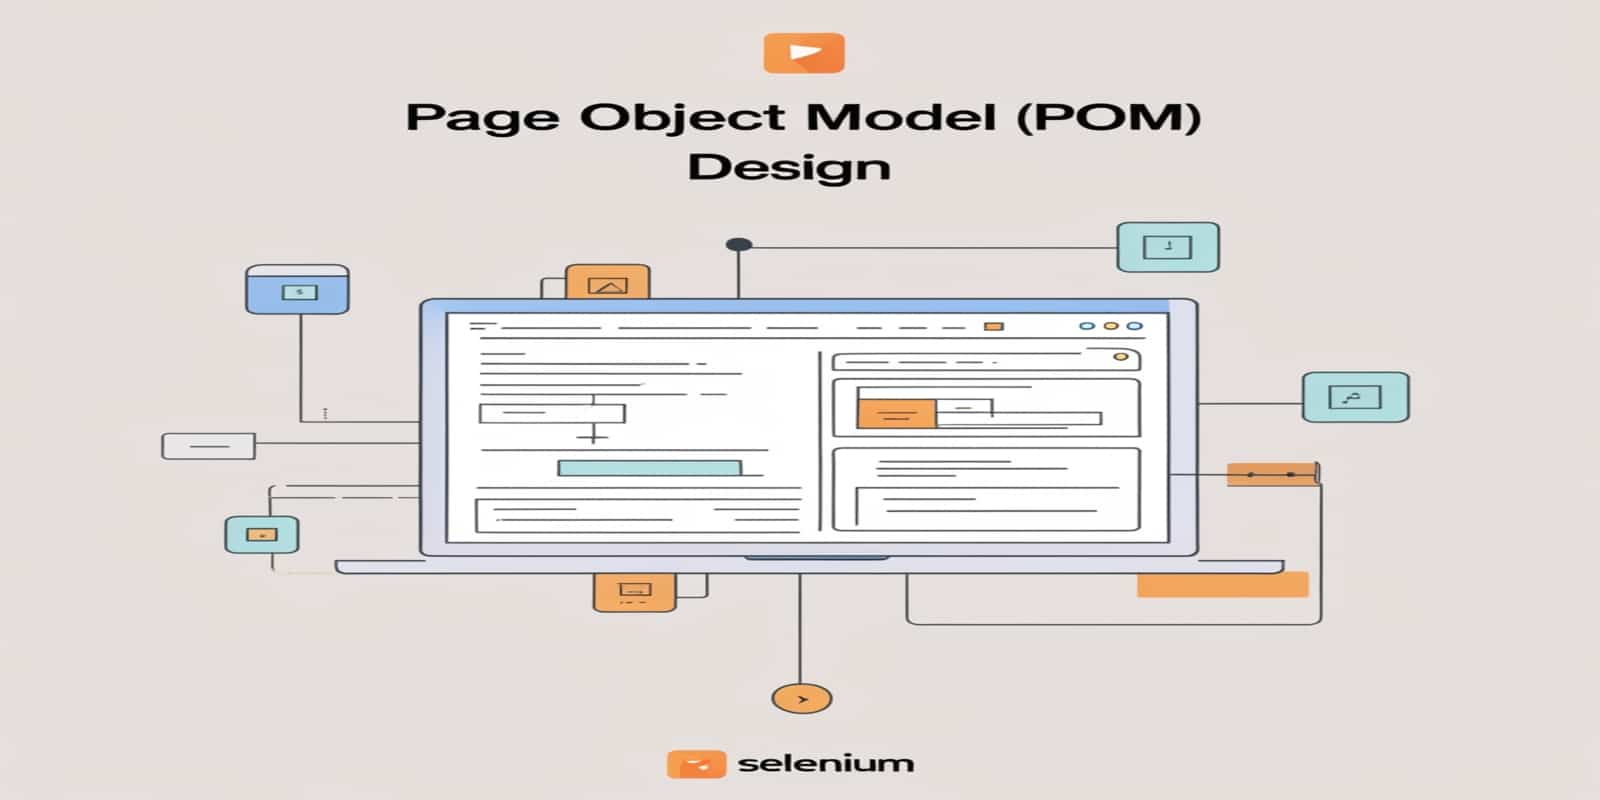
Implementation of page object model design in SpecFlow BDD
Importance of using the page object model design pattern, which is a method for identifying and executing actions within a specific sequence.
The maintenance of a test script can be time-consuming and requires a high level of expertise. To avoid this, it is essential to understand the concept of Page object models.
These models are design patterns that create an object repository for web page elements, with each page class containing webpage elements and abstraction methods.
For example, in the example of YouTube.com, the search page when you open the website will have a search text box.
To perform the search functionality, you need to identify this search text box and keep it in the search page class.
If you want to perform the search functionality, you need to implement the one abstraction method in the search page itself.
When there is a later point in time, you can directly access the updated functionality by going to the search page class itself.
This ensures that any changes made to the search functionality are immediately reflected in the search page itself.
By understanding the concept of Page objects and their role in the development process, you can avoid potential issues and ensure the quality of your test script.
Advantages and Disadvantages of using the page object model
The advantages of using the page object model include improved performance, reduced memory usage, and easier integration with other systems.
The disadvantages of using the page object model include increased complexity, potential for bugs, and potential for recurrence issues.
Process for performing data-driven testing using a feature file
The process of performing data-driven testing starts with copying an entire scenario and pasting it inside a data table, which is then used to run the tests. There are three main steps involved:
Using Examples for Testing: The first two steps involve running tests using the data examples provided in the data table without making any changes to it.
Executing Scenarios with Test Data: In the third step, you execute the scenario for each set of test data.
Keys are added to the search keywords (e.g., YouTube) along with values for each test case.
The process repeats for each scenario, removing the scenario outline and examples after each execution.
To simplify the process, more keys and values can be added to the search keywords, allowing for more efficient testing.
Creating a test script using Selenium
To create a test script using Selenium, begin by writing a feature file and defining the scenario, including the necessary step to search for keywords.
Then, move to the step definitions folder to create a class by copying a previous class, renaming it, and linking it to the data table.
Once the step definitions are set up, the feature file is updated, and the script is executed. The logic for the step definition class is written and pasted into the data table for each test.
The script is then tested with various sets of test data, such as “Selenium by Tesla Stock,” and once completed, the unnecessary lines (e.g., “step is ready”) are removed.
The result is a streamlined and efficient test script that utilizes multiple test data sets and executes as part of a data-driven testing process.

SpecFlow Course Price

Vanitha
Author