NetSuite RESTlet Online Course
RESTlet Basics in NetSuite Training
Since RESTlets are the cornerstone of many integrations, I always begin my NetSuite courses by going over the fundamentals.
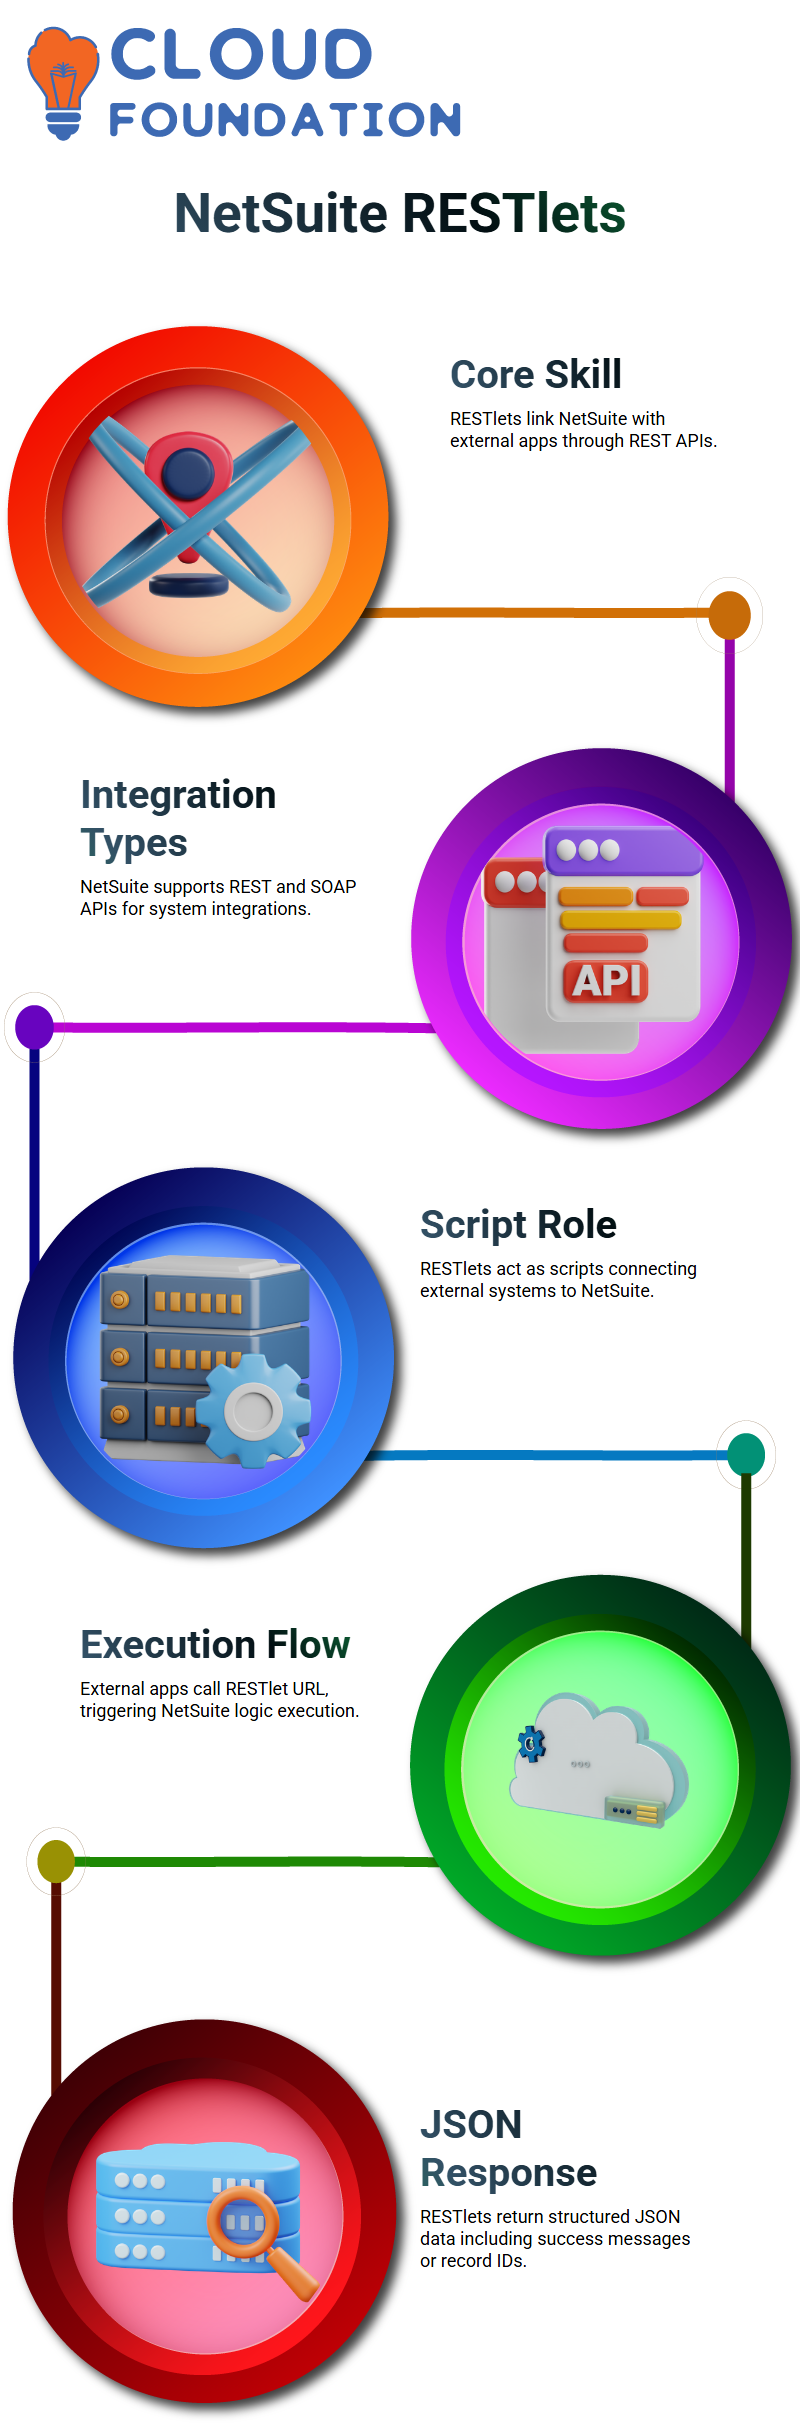
One of the fundamental NetSuite skills that every learner should possess is the ability to link NetSuite with external apps through REST APIs, which is made possible by RESTlets.
REST API is only an integration technique from a NetSuite standpoint. REST and SOAP APIs are two examples of the various integration techniques that NetSuite supports.
Conversely, RESTlet is a sort of script within NetSuite that connects to external systems via REST APIs.
In real-world projects and NetSuite interviews, this distinction is crucial.
Previously, there was no direct object access via REST APIs in NetSuite implementations.
RESTlets took care of everything at the moment. Prior to the RESTlet performing searches, creating records, updating data, or deleting records inside NetSuite, I had to call it.
How RESTlets Work Internally in NetSuite Integrations
In NetSuite projects, NetSuite generates an external URL when I write and run a RESTlet script. Applications from third parties enter through this URL.
As part of a routine NetSuite integration procedure, I provide this URL to the external system along with authentication information.
The RESTlet script starts running in NetSuite as soon as the external application calls the RESTlet URL.
From the perspective of NetSuite execution, the RESTlet’s logic begins to operate and completes the necessary task.
I can write this logic to create records, change records, retrieve data, and even remove records.
Data is returned in JSON format from each NetSuite RESTlet response.
I always return a JSON answer, regardless of whether I remove a record or add a new one.
A success message, record ID, or structured data that the external program can use may be included in that response.
RESTlet Operations and Entry Points in NetSuite Context
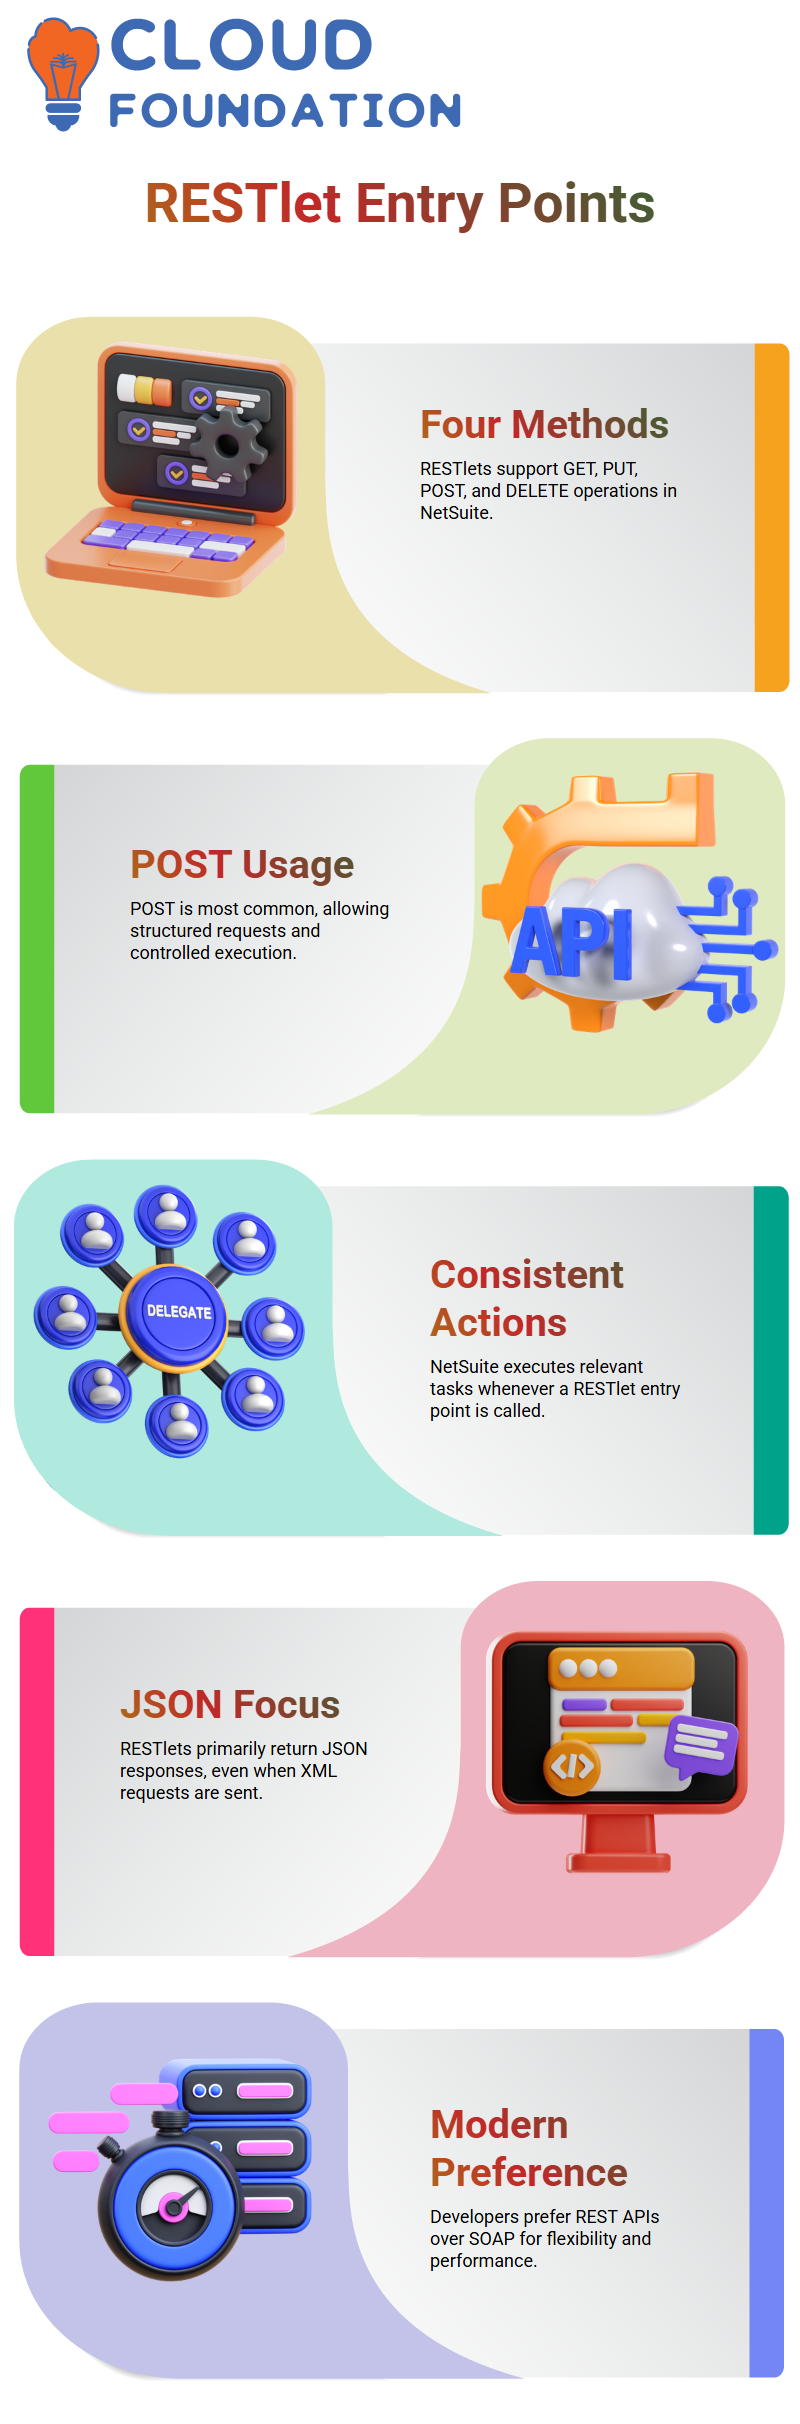
The four entry points that RESTlets support in NetSuite Development are GET, PUT, POST, and DELETE.
POST becomes the most commonly used entry point in the majority of NetSuite deployments.
Because POST enables me to pass structured request bodies and better control execution, I frequently utilize it even when I’m performing searches or sophisticated logic.
NetSuite performs the relevant action each time a request reaches a RESTlet entry point. For external systems, NetSuite integrations remain constant and predictable since the response is always returned as a JSON object.

NetSuite Training
JSON and XML Handling in NetSuite RESTlets
In NetSuite classes, I frequently hear questions concerning JSON vs. XML. RESTlets mostly return JSON replies, based on my observations of actual projects.
NetSuite RESTlets transform the response into a JSON object even if the request is sent in XML format.
JSON or XML can be entered with GET requests in NetSuite RESTlets. Nevertheless, NetSuite still returns the output as an object in JSON format.
For the majority of contemporary applications, this behavior streamlines integration logic.
When flexibility and performance are important, developers typically choose REST APIs over SOAP APIs because NetSuite RESTlets concentrate on JSON answers.
Authentication and Security in NetSuite RESTlets
One of the most important subjects I address in my NetSuite training is authentication.
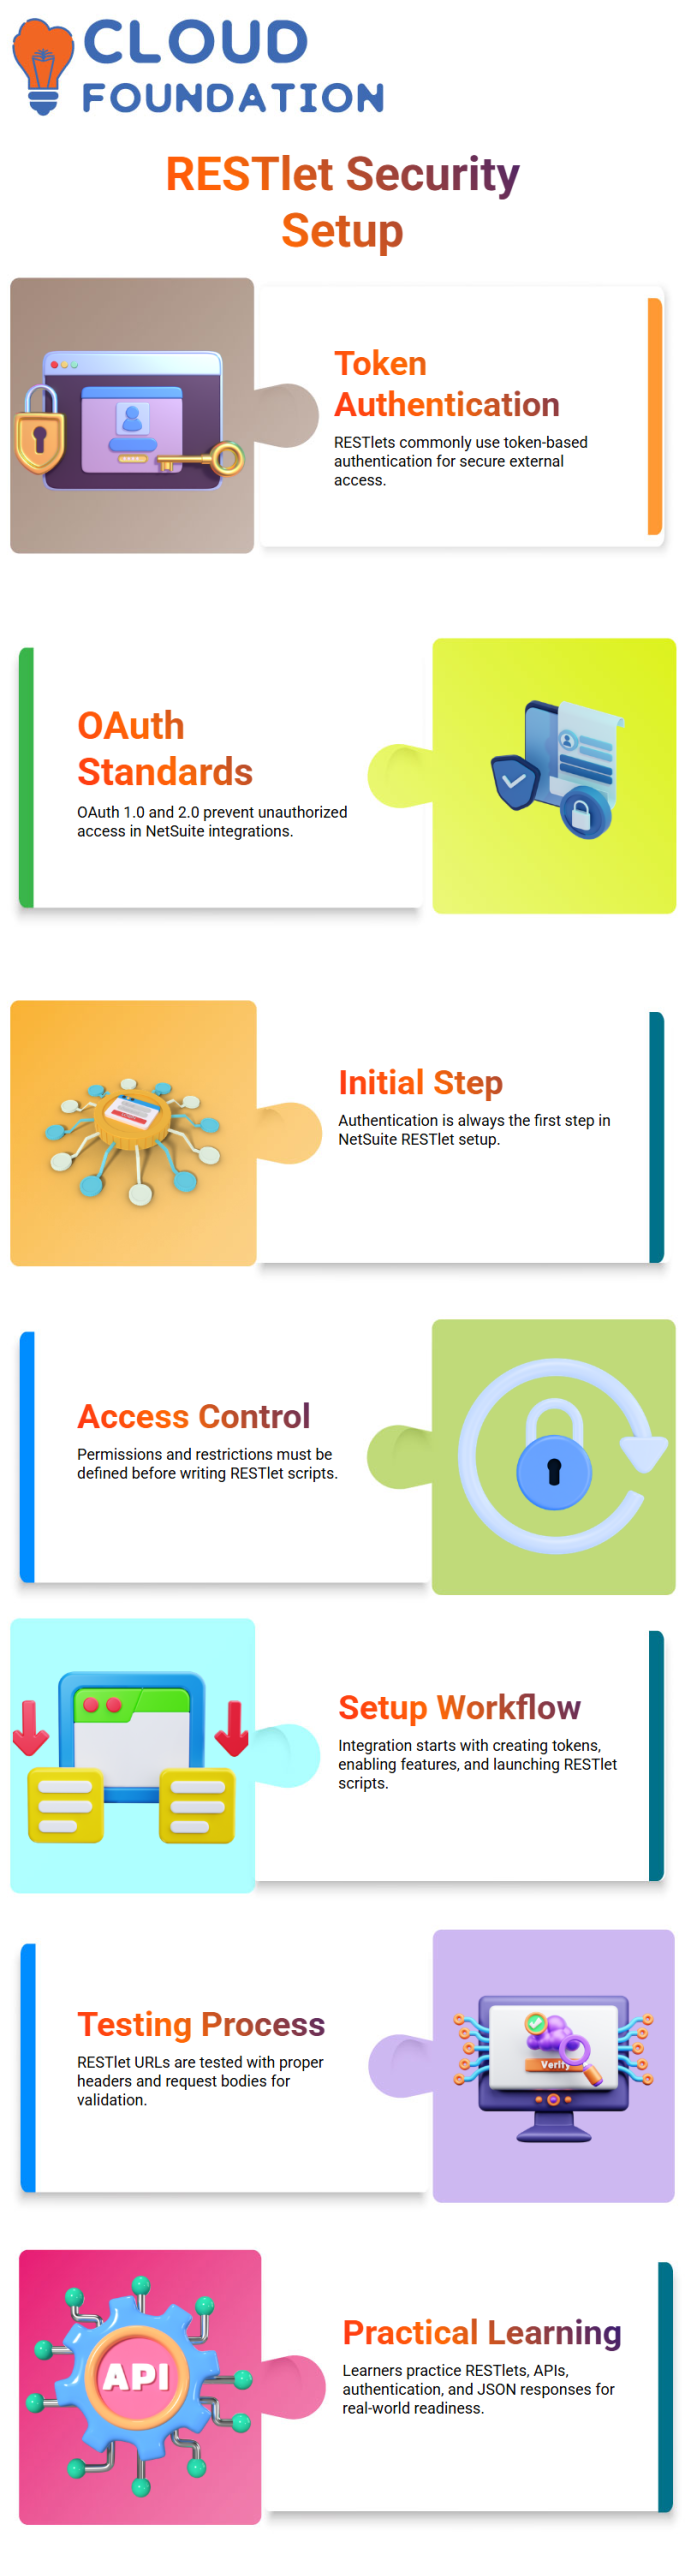
Token-based authentication is frequently used with RESTlets. I create tokens within NetSuite and safely provide the details of those tokens to the middleware or external application team.
Whether I utilize REST APIs or SOAP APIs, token-based authentication functions in the same manner across all NetSuite connections.
Secure access and preventing unauthorized use are handled by OAuth standards such as OAuth 1.0 and OAuth 2.0.
Authentication is the initial step in any NetSuite setup. I verify that tokens are present, permissions are appropriately allocated, and access restrictions are well-defined before writing a single RESTlet script.
Practical NetSuite Workflow for RESTlet Setup
Every time I begin a NetSuite integration, I adhere to a standard procedure. I start by creating authentication tokens and turning on the necessary functionalities.
I then create and launch the RESTlet script. I then use the appropriate headers and request bodies to test the RESTlet URL.
This methodical technique aids learners in comprehending the behavior of NetSuite RESTlets in practical settings.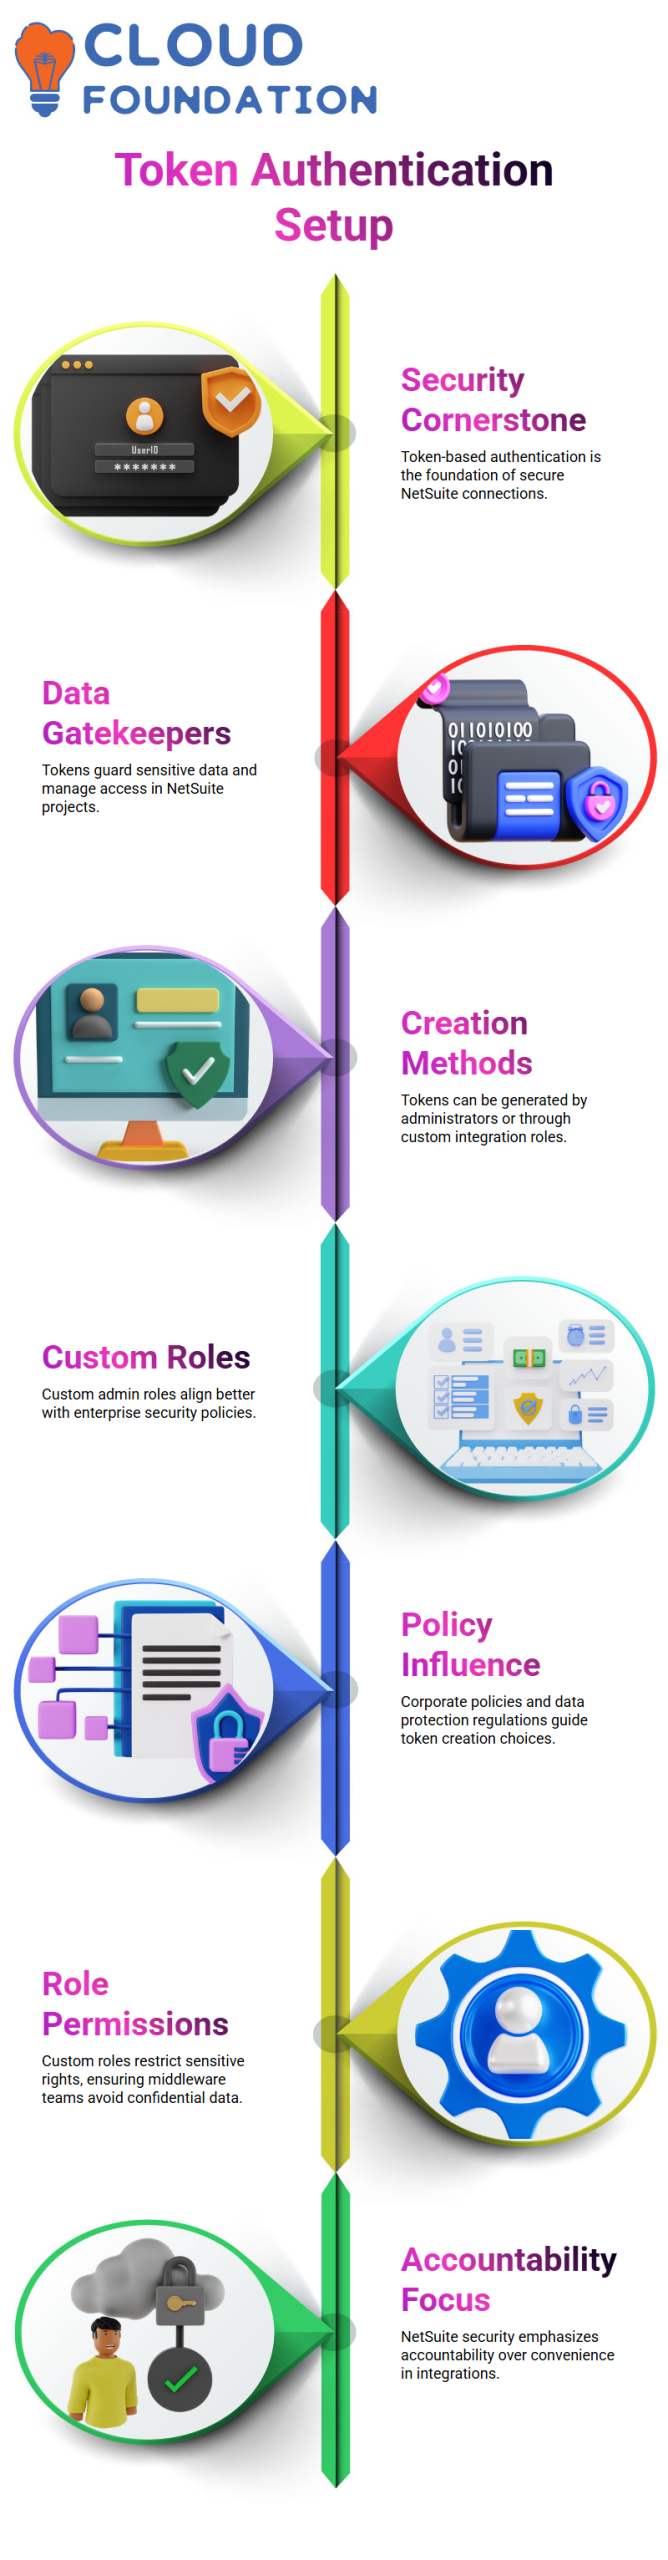
Additionally, it gets them ready for integration situations involving middleware platforms or third-party apps.
As part of professional NetSuite development, NetSuite learners learn how to handle RESTlets, REST APIs, authentication, and JSON responses by constantly practicing this workflow.
Getting Started with NetSuite Token-Based Authentication
Since token-based authentication is the cornerstone of all secure connections, I always begin my classes on NetSuite Integration with it.
Tokens are the gatekeepers that guard data and manage access in NetSuite projects; they are not optional.
To help learners grasp how NetSuite security functions in actual businesses, I present this in a very hands-on manner.
There are two primary methods for creating tokens in NetSuite environments. They can be generated directly by an application administrator, or you can build a unique admin position just for integration.
Since the custom role approach is more in line with enterprise security rules, I personally advise it in the majority of NetSuite setups.
From a NetSuite standpoint, corporate policy and data protection regulations constantly influence this choice.
While some firms prefer strict control, others are okay with full admin access. One of the reasons NetSuite integrations scale so successfully across various sectors is because of their versatility.

NetSuite Online Training
Roles and Permissions in NetSuite Integrations
I demonstrate how roles directly affect what an integration can see and do in my NetSuite presentations.
In NetSuite, a custom admin role resembles a complete admin role, but I purposefully omit crucial rights like access to balance sheets or financial reports.
In NetSuite projects, where secret data should not be viewed by middleware teams or outside vendors, this role-based configuration is essential.
I ensure that the NetSuite integration only affects what it actually requires by modifying permissions.
I constantly tell learners that NetSuite security is about accountability rather than ease.
I treat the tokens as extremely sensitive NetSuite credentials and generate them against the position once it is finalized.
Generating and Managing Tokens the NetSuite Way
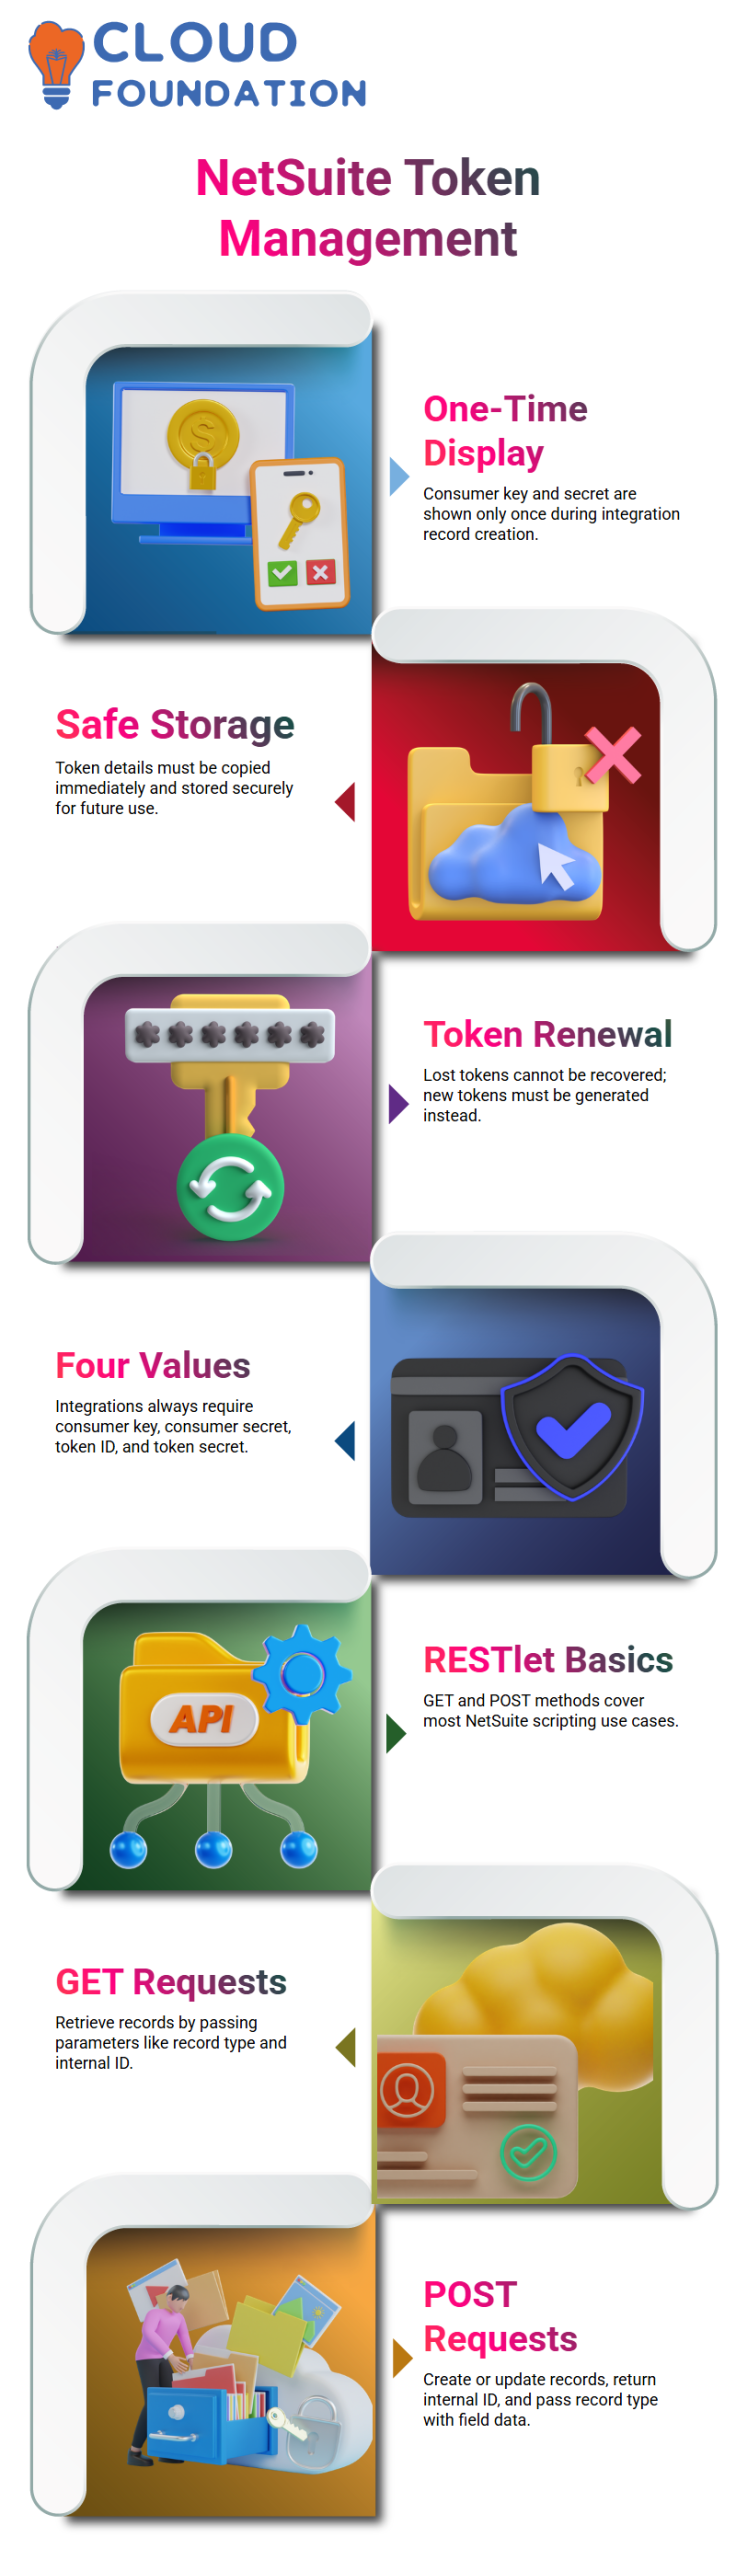
You only see token details once, which is an essential NetSuite rule that I stress. The consumer key and consumer secret only show up when I create an integration record in NetSuite.
NetSuite will never display those values again after that. I always make a copy right away and keep it in a safe place.
The only NetSuite remedy if they are lost is to create new tokens.
I go on to access tokens after that.
This entails creating the token ID and token secret in NetSuite terms. I make it very evident to learners at the conclusion of this phase that the four values that are always used in NetSuite integrations are the consumer key, consumer secret, token ID, and token secret.
Building RESTlets in NetSuite Projects
After authentication is established, I turn my attention to scripting, which is where the practical side of NetSuite work comes in.
Since the GET and POST methods cover most of NetSuite’s technical use cases, I often show a basic RESTlet with these methods.
I access data via a NetSuite GET request. I load the record and return it as JSON after passing it parameters like the record type and internal ID.
This demonstrates the clarity and consistency of NetSuite replies. I show how to create and alter POST requests.
I create the record, save it, return the internal ID, and pass the record type and field data as inputs in NetSuite scripting. In NetSuite integrations, this pattern keeps coming up.
Deploying and Testing NetSuite REST lets
Another NetSuite stage that I thoroughly go over is deployment. I make a deployment, give it an ID, change its status to released, and manage its audience after uploading the script to the file cabinet.
I receive a URL and an external URL as soon as I save the deployment in NetSuite.
Integration testing is simple with NetSuite REST, as, in contrast to Suitelets, they always offer an external URL by default.
At last, I launch Postman and make the connection. Here, learners witness how NetSuite ideas are translated into actual API calls that are supported by RESTlets and token authentication.

NetSuite Course Price

Nishitha
Author