Forgerock Online Class for Beginners
Setting up Forgerock’s MFA and push registration
I always stress how MFA registration easily leads to push registration when I talk about multi-factor authentication in Forgerock.
In real life, Forgerock will show a “Get App” choice if a person doesn’t have the login app loaded.
I like showing how this node fits into the authentication tree and how Forgerock tells users they need to install the authenticator first.
The path is easy to follow, and students quickly understand how Forgerock makes things easier for users while still keeping security high.
I also take the time to show people how to briefly turn off MFA. Forgerock gives people a way to avoid setting up MFA right away if they don’t want to.
The “skip” node ends the trip nicely in my demos, so the user can come back later and finish MFA registration when they’re ready.
Push Registration Results in Forgerock
When you push a register in Forgerock, there are three clear outcomes: success, failure, or pause. It’s fun for me to show how each answer moves the person along the trip.
For instance, when people achieve something, they move on without any problems.
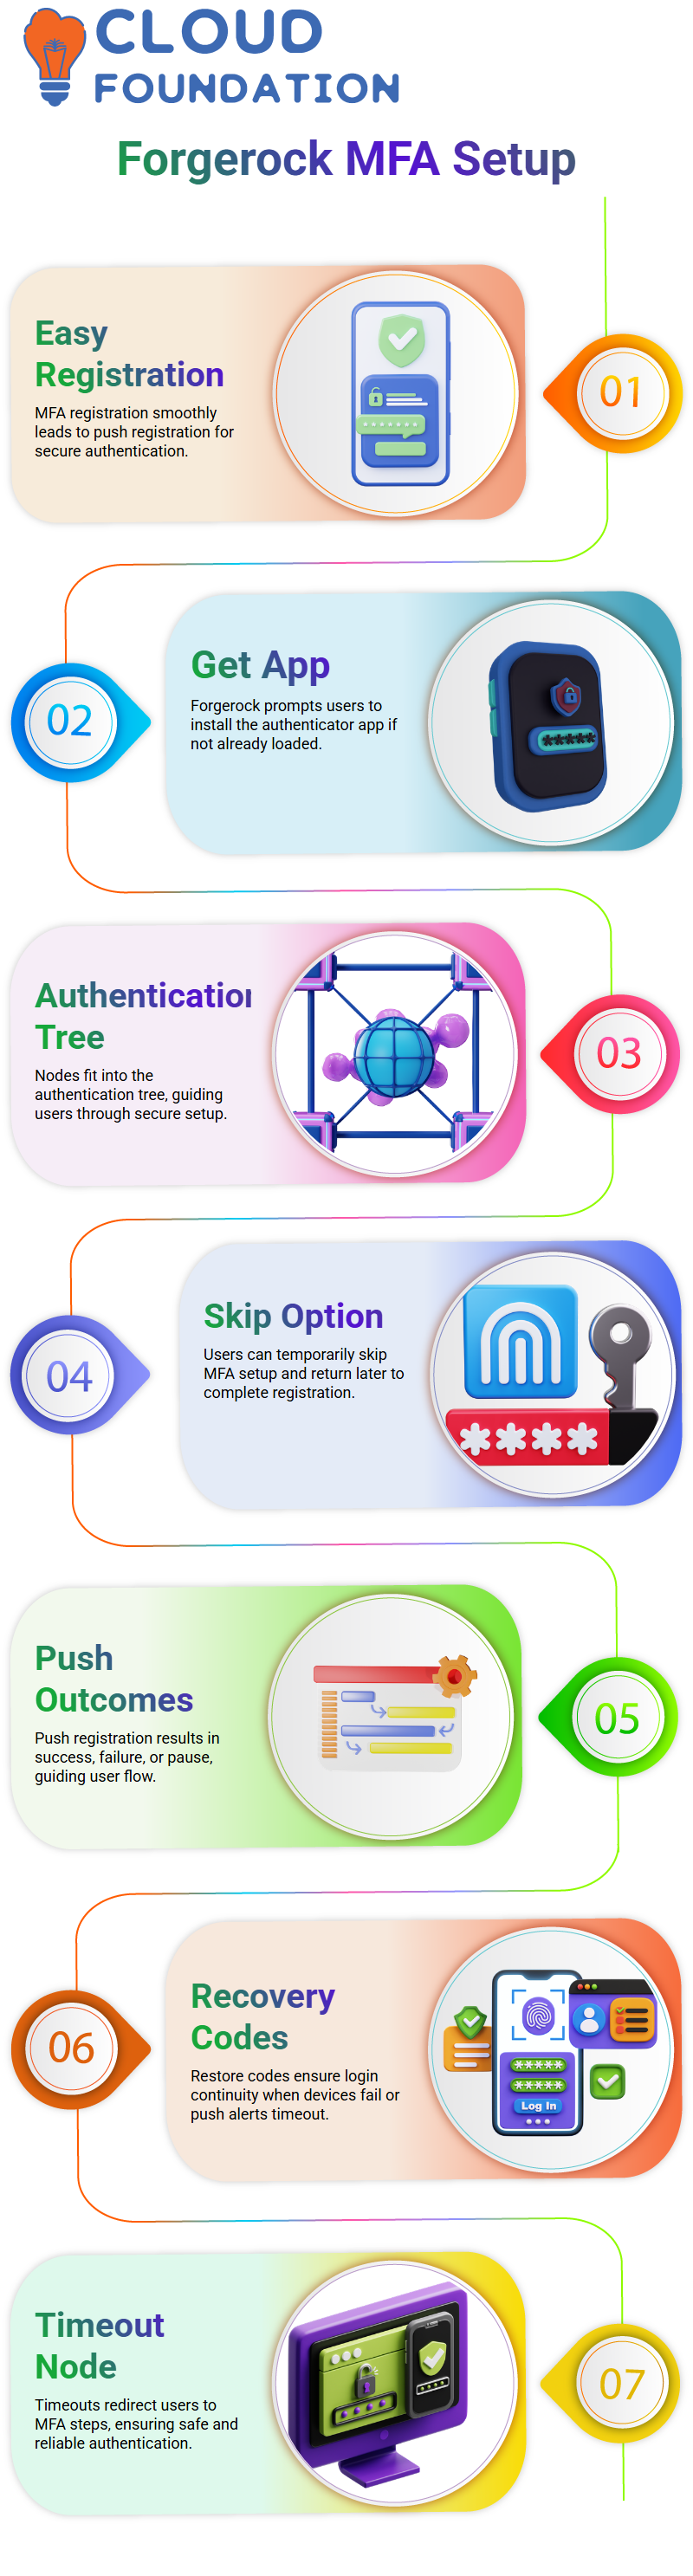
But Forgerock lets us add rescue options, which I think is very useful in case the push request fails or the device times out.
I always make a point of saying that Forgerock allows restore codes, just like GitHub and other sites.
Recovery codes save the day for users who can’t get into their authenticator app.
When I show this part to my students, they quickly understand how Forgerock keeps logins going even if devices break or push messages don’t show up on time.
Timeouts and Recovery Logic in Forgerock
Forgerock’s timeout node helps me explain how timeouts work because they can be hard for beginners to understand. We can tell Forgerock how long to wait before trying again.
Forgerock sends the user back to the right steps, like MFA registration, if the push isn’t accepted within that time frame.
Learners can see how Forgerock makes identification safe and easy to use by seeing this live.
I also show them how to join restore nodes, which show backup codes when push alerts don’t work.
This means that the Forgerock login flow will work even if you lose your device or the app stops working.
How to build a push authentication trees in Forgerock
I show how different nodes, push senders, MFA registration choices, and recovery connections work together when setting up an authentication tree in Forgerock.
It is easy to set up end-to-end push verification with ForgeRock. Once everything is set up, users can easily start identifying with push alerts.
How to authenticate without a password in ForgeRock
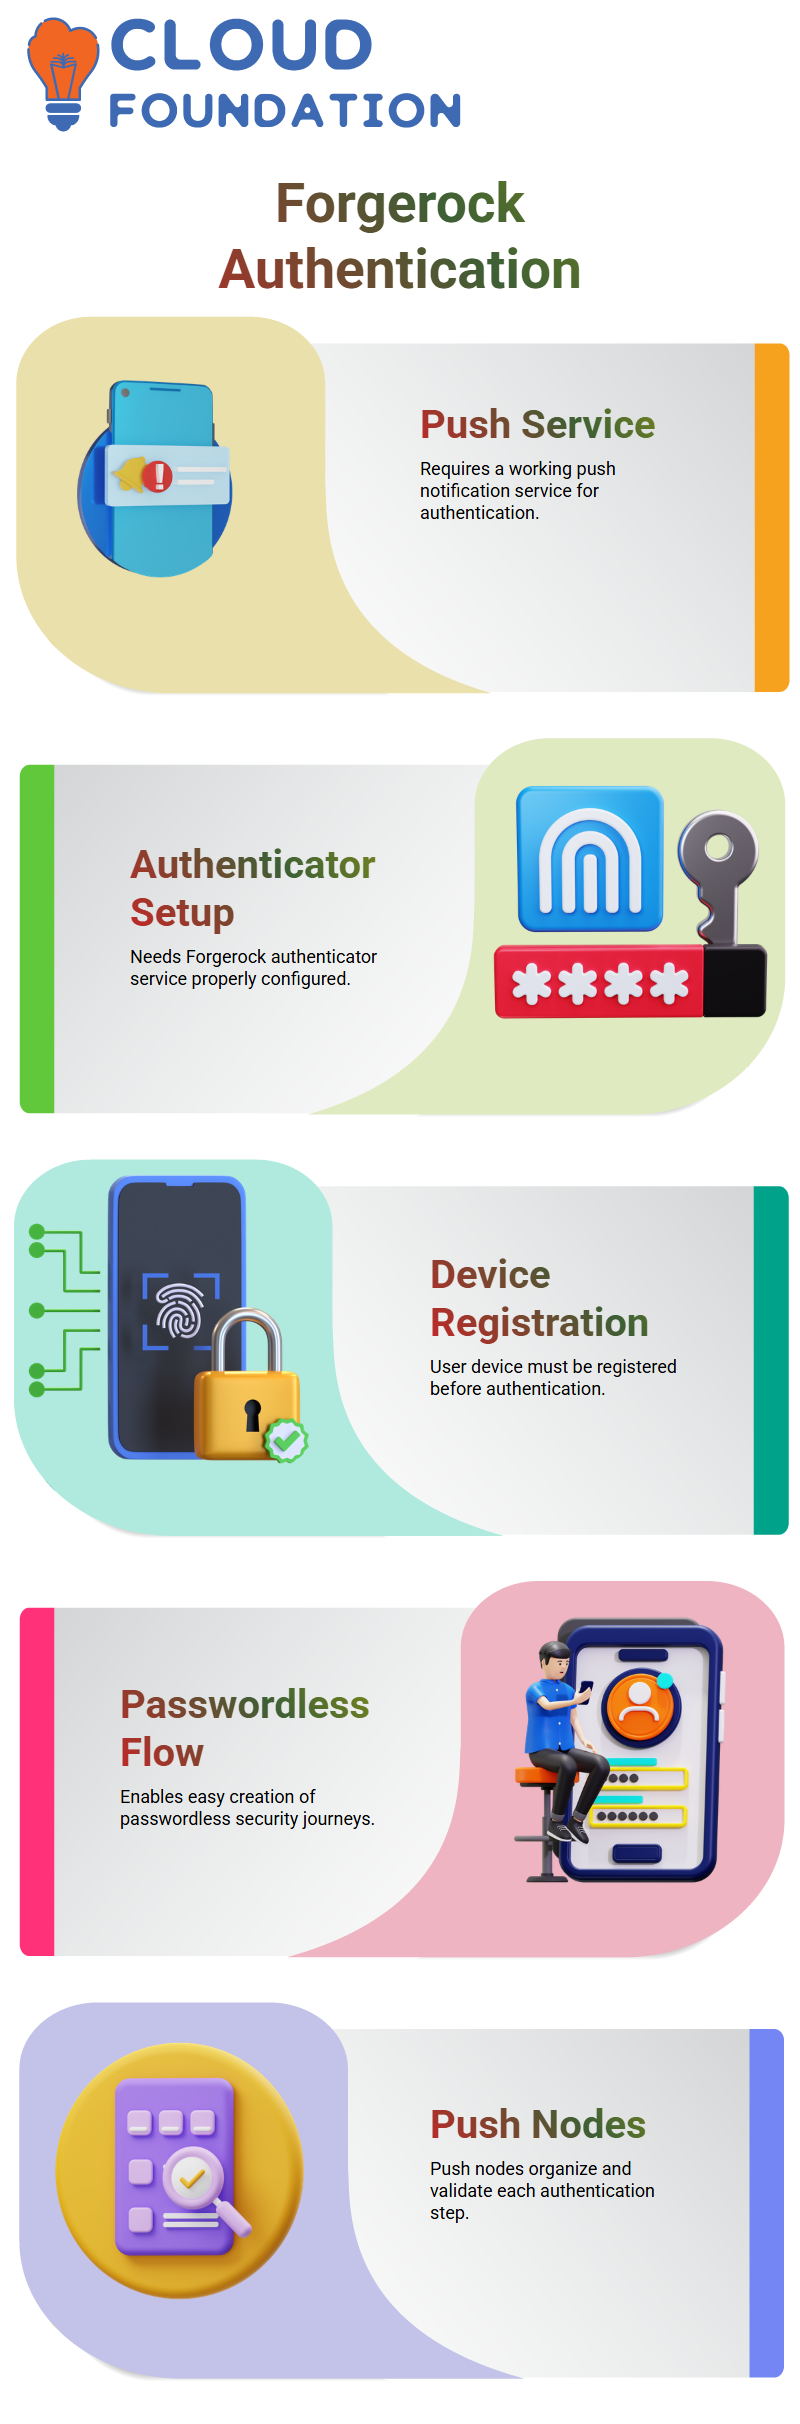
The Passwordless security journey in ForgeRock is one of my favourite things to teach.
I talk about how current systems are moving toward frameworks with zero trust, and how Forgerock does a great job of implementing this.
ForgeRock only gets the username in a Passwordless flow and sends a push message right away instead of asking for a password.
It’s always exciting to see students experience this for the first time. They follow my lead as I help them build this in Forgerock.
We start by collecting usernames, then add a push source, and finally check the results of the push.
Forgerock makes the experience feel fast and current by getting rid of the need to enter a password.
I tell the learners that before a Passwordless flow can work, ForgeRock needs to know that the user’s device is ready for push verification.

ForgeRock Training
Forgerock’s Push Authentication without passwords
ForgeRock only shows a username field when I show Passwordless entry. Forgerock gives a push message as soon as the user types it in.
Pre-registration is important because the trip fails if the device isn’t registered.
This helps to understand how safe and easy Passwordless security is once everything is set up.
Forgerock uses the same parts as the push-based MFA flow, but it doesn’t handle passwords. This is easy for learners to see.
Because the structure is clear, it’s easy for them to use Passwordless security in their own Forgerock settings and try it out.
Prerequisites for Building Advanced Forgerock Authentication Journeys
Forgerock needs a push notice service that works, a Forgerock authenticator service that is set up, and a user whose device has already been registered.
Once these parts are ready, it’s easy to make Passwordless and push-based security trips in Forgerock.
Once learners understand these basics, they feel ready to build and grow safe identification flows inside the Forgerock environment.
Using Your Own Setup to Learn About Forgerock Password Authentication
When I looked into how Forgerock’s password authentication works for the first time, I wanted to see each step for myself.
I went over the push sender node, the push result puller node, the push winner node, and the push winner node.
It became clear to me as I tried each part of Forgerock how well it organises the whole identification process.
I kept going over what each node does as I worked on it because Forgerock makes each step meaningful if you know why the setup was made the way it was.
What I Did to Make a ForgeRock Push Authentication Journey
When someone in an interview asks me how I set up a password authentication journey, I first tell them how I set up a full push authentication journey in Forgerock.
I talk about how the push nodes in Forgerock let me describe the whole flow and how I check each step.
As soon as I figure out how to make push authentication work, I’ll show how simple it is to add to it or use parts of it for password authentication.
This way of working with Forgerock makes me feel like I fully understand what’s going on behind the scenes.
Getting Forgerock to set up a password journey after push authentication
When I’m done with the push journey, I go to Forgerock and make a password login trip.
Right now, I’m focusing on making sure that the user’s device is properly registered. This is because ForgeRock needs a stable device registration in order for login to work well.
When you pay attention to what each node is supposed to do, Forgerock makes it very clear where the flow works or fails. That’s why I always test each step by hand.
Exploring Forgerock Nodes and Their Purpose in Authentication Flows
When I work with Forgerock, I try to understand not only how each node is set up but also what it’s for.
I read the tags, click on the nodes, and watch in real time as Forgerock handles each part of the trip.
It’s becoming clearer to me why Forgerock set up the security system the way it did as I learn more.
Anyone who wants to learn should build the flow at least until the step where the device is registered.
This is because seeing how that part works in Forgerock builds a strong base for later building more complex validation trips.

ForgeRock Online Training
Set up Forgerock for Service Provider and IDP Configuration
Setting up both the service provider and the identity provider is the first thing I do when I work with Forgerock on real projects.
Forgerock’s HTTP-POST link lets me make sure that the SP and IDP always talk to each other in the same way.
My SP application starts to answer exactly the way I want it to once I set up the Forgerock object sources on both sides.
How the Forgerock Service Provider Flow Works
When I use Forgerock to test the service provider flow, I go to the SP URL first, and it sends me to the IDP only when it needs to.
Forgerock sends the identity request through the service provider exactly as I’ve set it up to when I start the SP-initiated flow.
Since I run both programs locally, it’s easy for me to tell whether Forgerock is sending me to the SP URL or the IDP URL.
I can use this to make sure that the SP-initiated pattern works the way Forgerock wants it to.
IDP Redirection and User Authentication for Forgerock
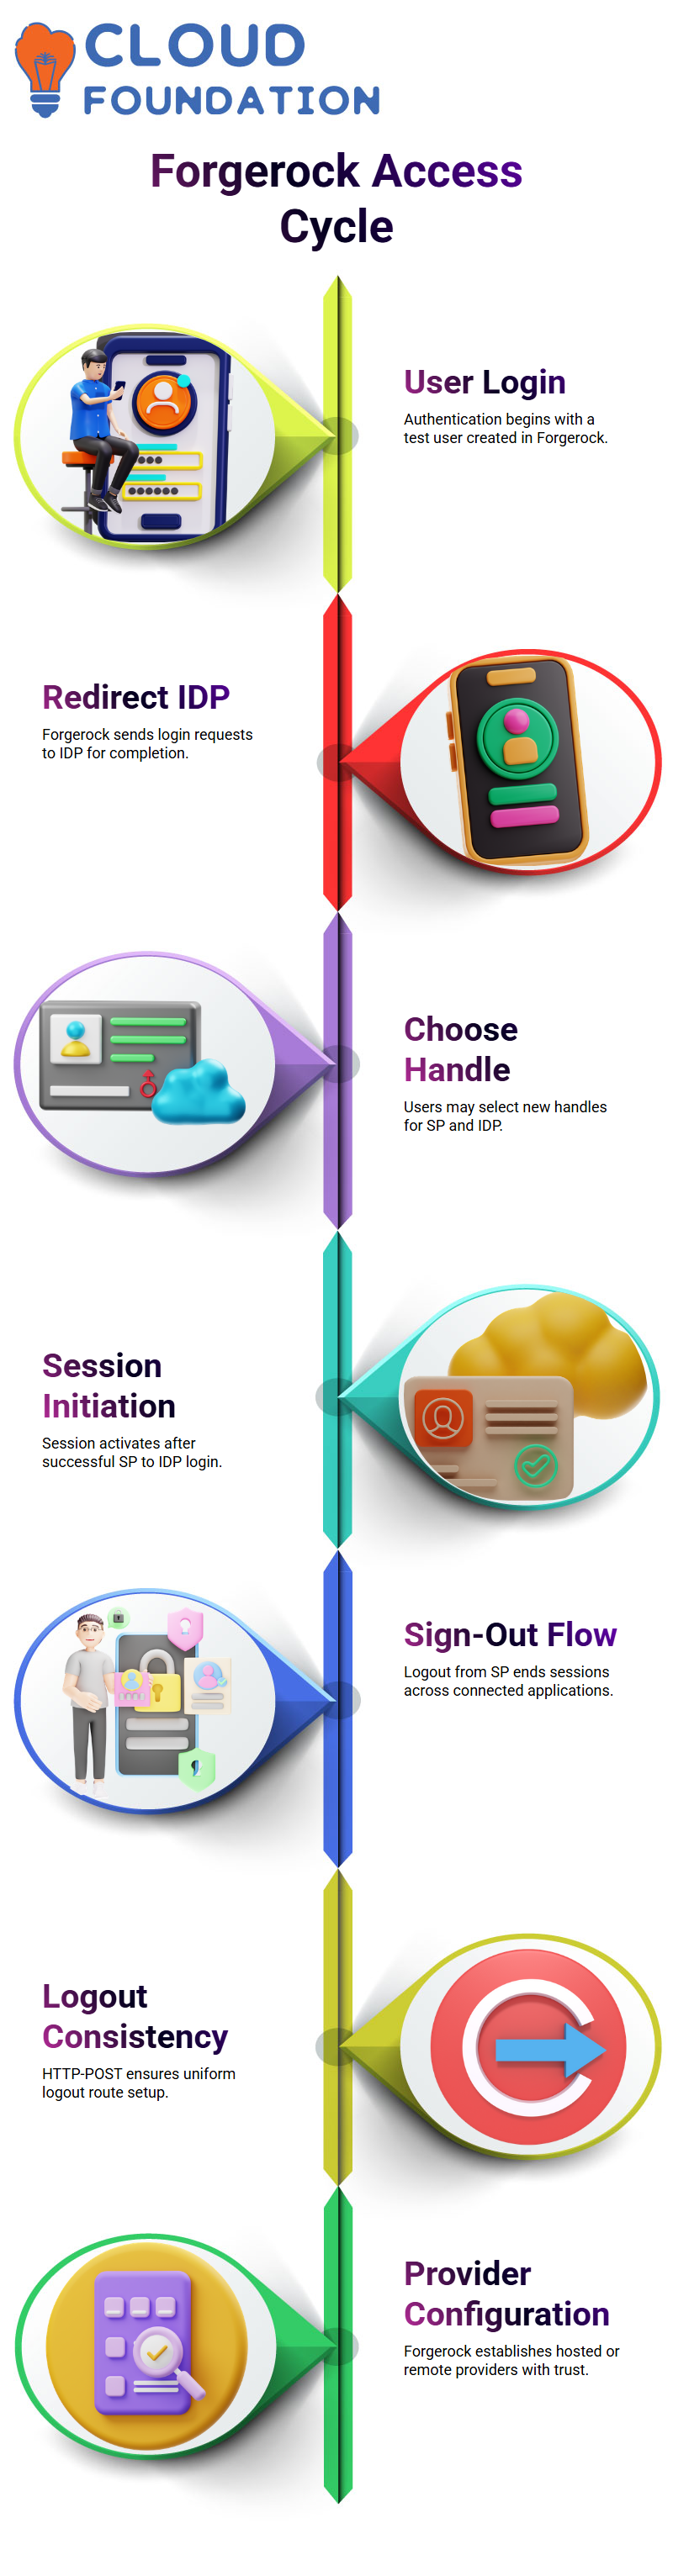
I use a test user that I made in the IDs part to log in to Forgerock. ForgeRock sends me back to the IDP to finish the login process after I log in.
I can even pick a new handle for the SP and IDP if I want to. The process goes easily as long as Forgerock can map it out.
After making these changes, I log in through the SP Forgerock sends me to the IDP, and the session starts as planned.
Forgerock’s service provider started single sign-out
Once I’m sure that the single sign-on flow works in Forgerock, I test the single sign-out flow that starts in SP.
When I click on the service provider’s “logout” URL, ForgeRock ends the session in all of the apps.
I was able to log out because Forgerock asks me to identify when I try to access the SP again. Forgerock’s HTTP-POST link is set up, so the logout route stays the same as the rest of the setup.
Making Forgerock Hosted and Remote Providers
When I make hosts in Forgerock, I sometimes choose the shared choice because it’s easier to set up.
If I need a remote source instead, I make the XML information file and send it somewhere.
I mimic the organisation on both the IDP side and the SP side so that Forgerock can keep the trust relationship strong.
Forgerock sets up the connection between the SP and IDP immediately after you set up the provider base URL and entity ID.
Forgerock Testing with SSO Started by SP
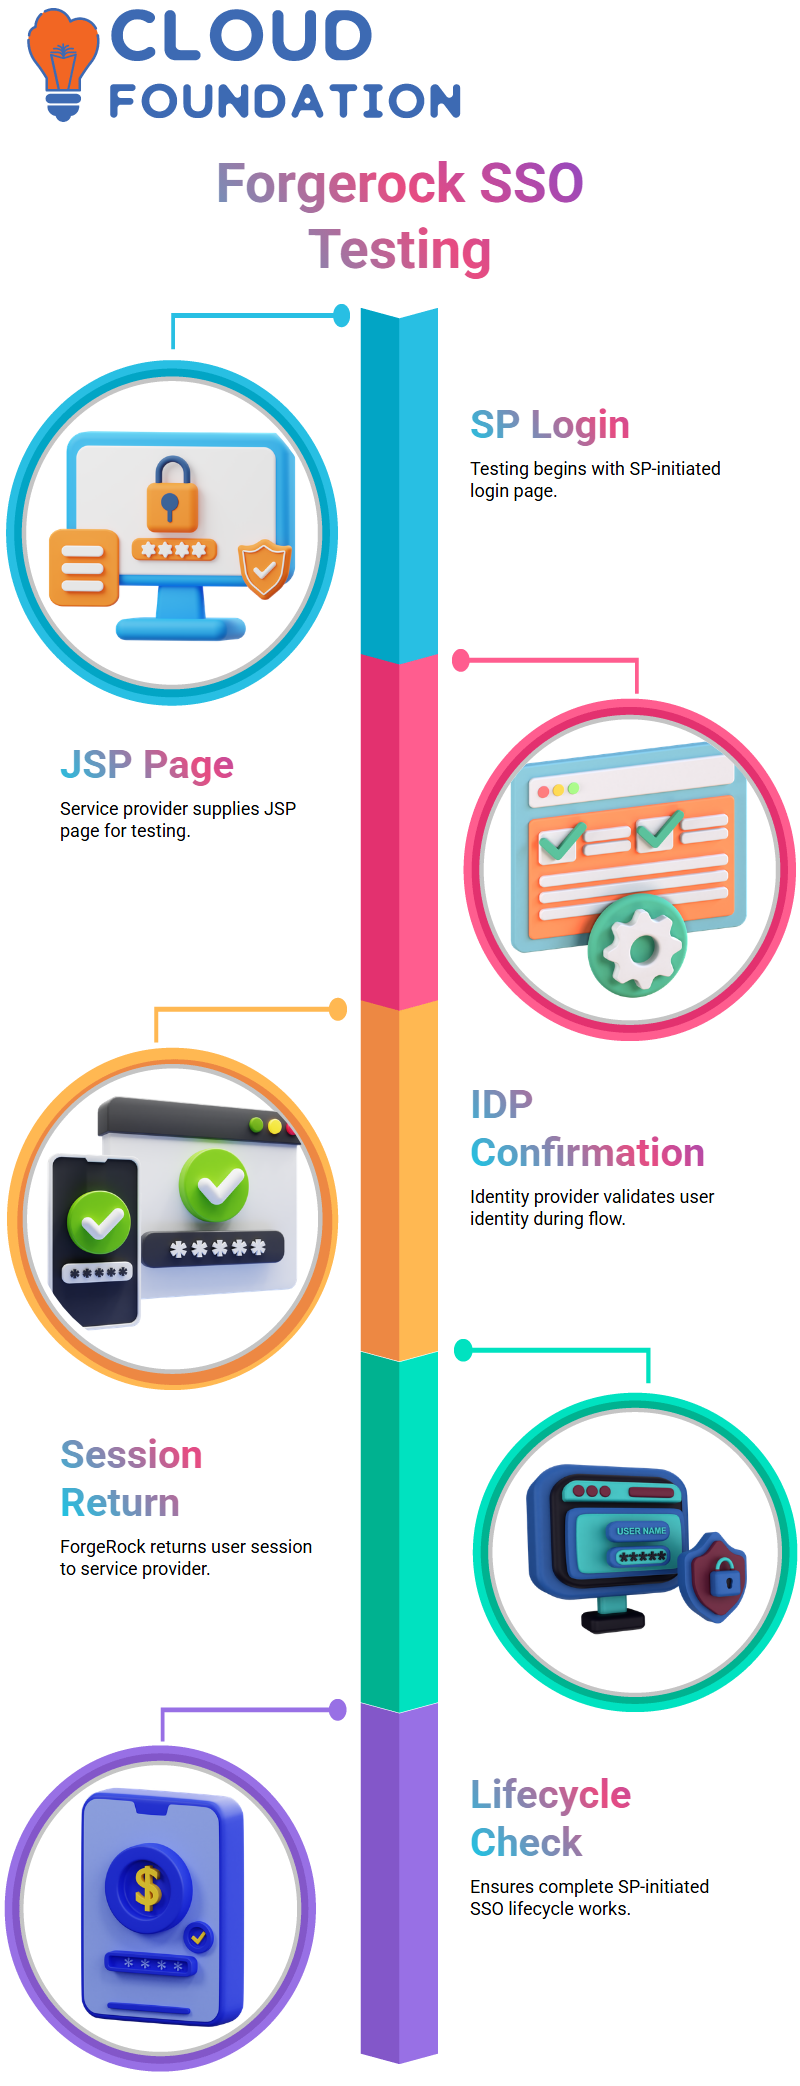
The JSP page that the service provider gives me is what I use to test the SP-initiated login page in Forgerock.
Forgerock sends the login request through the set flow when I hit the page. Once the IDP confirms that I am who I say I am, ForgeRock sends me back to the SP with the right session.
This whole process helps me make sure that the Forgerock setting works with the whole SP-initiated SSO lifecycle.

ForgeRock Course Price

Vanitha
Author