Salesforce OmniStudio Training Guide
Salesforce OmniStudio Interface
Navigating the Salesforce OmniStudio Interface can be easy once you know.
It’s from your App Launcher, explore its components dropdown, and you should have everything needed for velocity development in no time.
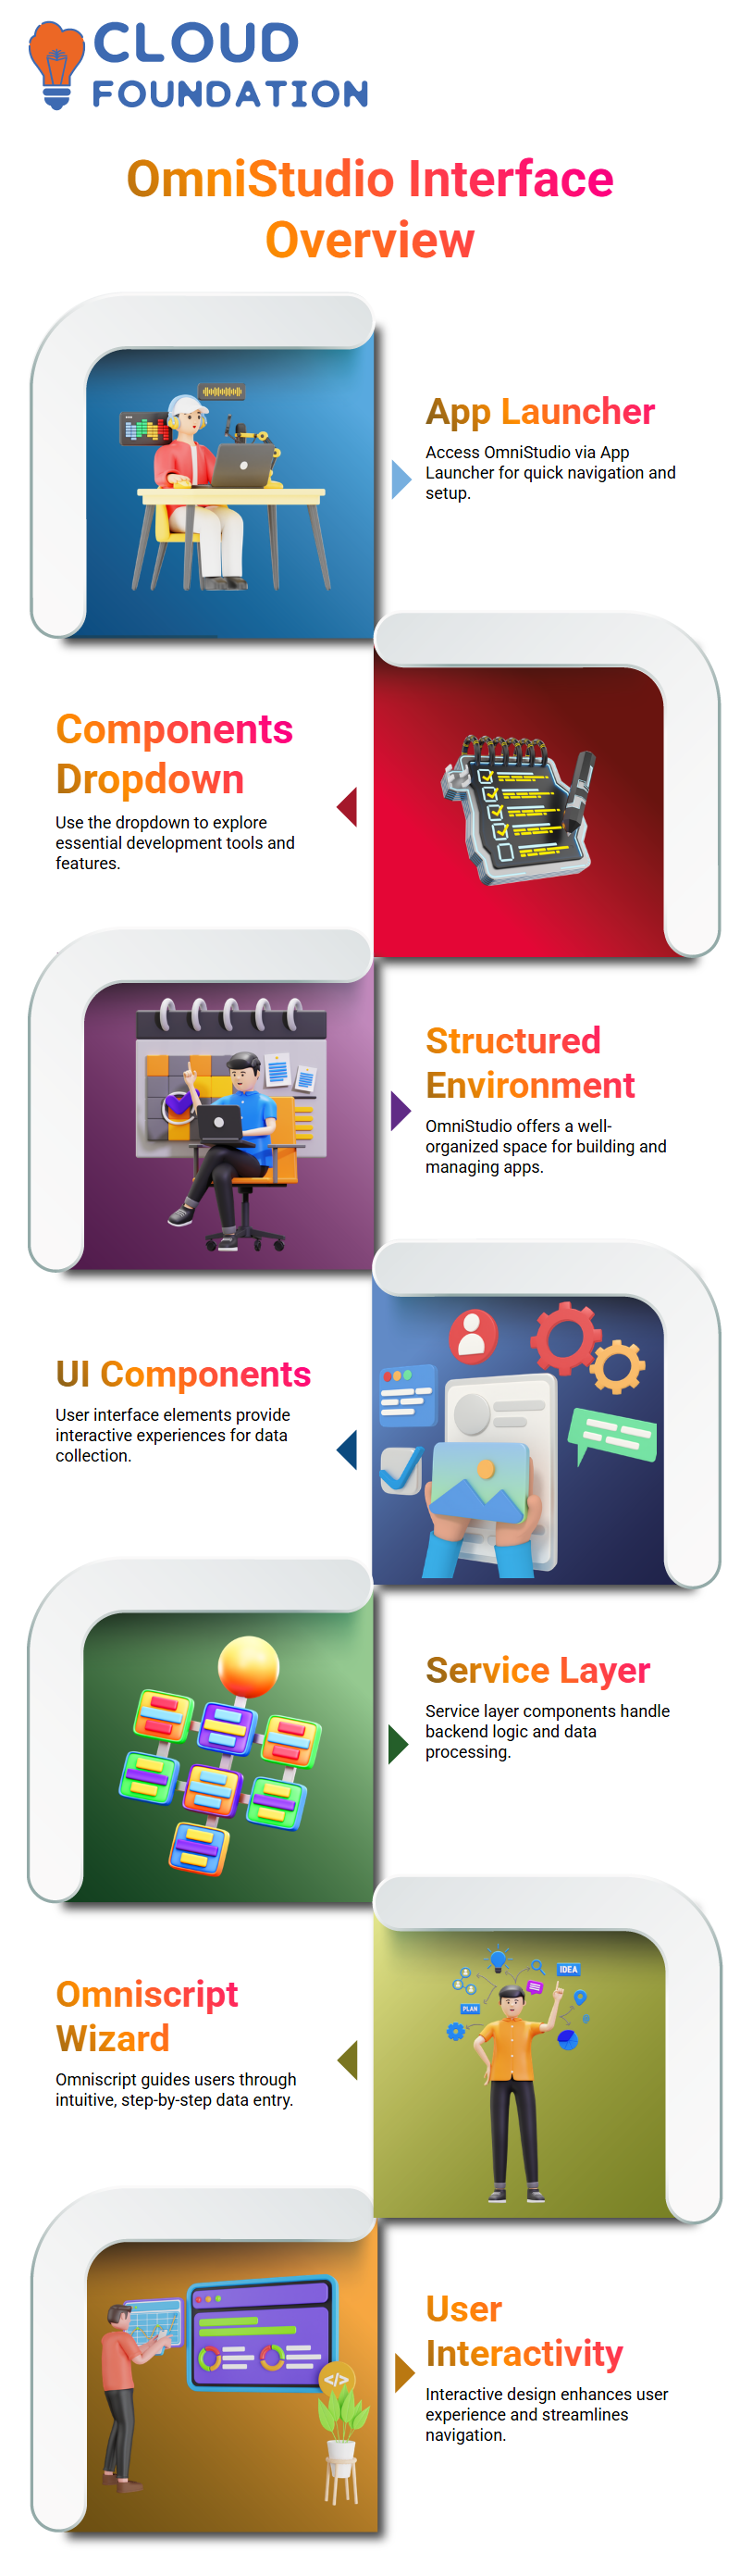
Salesforce OmniStudio provides a structured environment for efficiently building and managing applications.
UI and Service Layer Components in Salesforce OmniStudio
Salesforce OmniStudio, it quickly became evident how important it was to understand the distinction between user interface components (UI) and service layer components (SL)
Salesforce OmniStudio features Omniscript as a powerful User Interface component. Still, unlike standard user interfaces, it offers users an interactive user experience reminiscent of using an intuitive wizard for information collection, such as name, phone number and email.
Through Omniscript, you can navigate pages effortlessly while collecting vital user details – this interactivity sets Salesforce OmniStudio apart.
Omniscript and FlexCards in Salesforce OmniStudio
Salesforce OmniStudio addresses the distinction between Omniscript and FlexCards, both of which are user interface components that serve different functions.
FlexCards are used only for reading data retrieved from sources, while Omniscript are more for authoring data by creating scripts. FlexCards are designed purely to display them visually.
Omniscript was created explicitly for interactive experiences that require data input or navigation among steps or backend processes.
When designing user experiences in Salesforce OmniStudio, this distinction becomes essential in crafting great user journeys.
Building Interactive Flows with Salesforce OmniStudio
Salesforce OmniStudio uses Omniscript for interactive flow design. Users engage directly with the UI when entering data that requires processing; however, before inserting this information into databases, we often must validate it against third-party systems first.
Integration procedures provide a key service layer component within Salesforce OmniStudio, enabling us to call external applications, retrieve data from external databases, and perform backend operations.
When someone subscribes to a telecom service, we use integration procedures as part of their subscription verification by calling an HTTP action to determine if they are an existing customer.
Navigation Buttons in Salesforce OmniStudio
Navigating between steps in Salesforce OmniStudio doesn’t always require the use of standard buttons.
Create custom next and previous buttons using HTML/JavaScript functions and call predefined methods such as startOmniNextStep for forward movement.
Step Navigation in Salesforce OmniStudio
Working in Salesforce OmniStudio makes navigation between steps second nature.
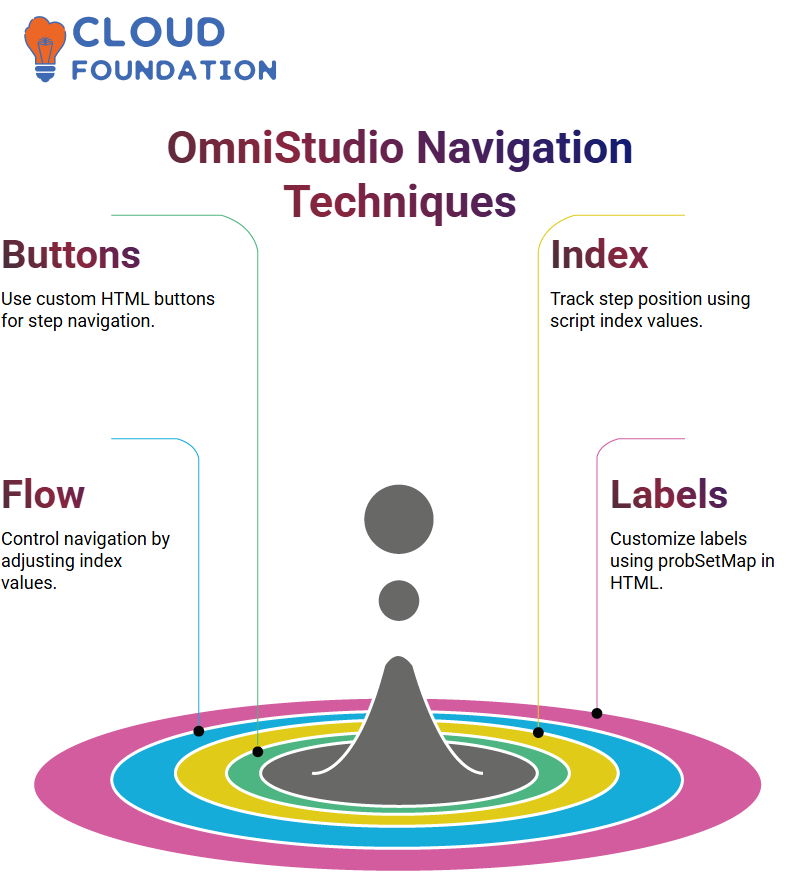
To move backwards, subtract two from the step index – that will control the flow. Salesforce OmniStudio allows me to manage dynamic navigation easily without hardcoding each step – it keeps things neatly structured.
This technique ensures efficient management while maintaining clean logic.
HTML and Labels in Salesforce OmniStudio
Labels directly from Salesforce OmniStudio in HTML files using the underline probSetMap. The label allows for customisation options as desired, whether that be hiding it entirely.
By leveraging Salesforce OmniStudio’s methods and properties, you can build dynamic interfaces that engage users’ needs through their methods and properties, empowering them to design solutions that are both functional and user-friendly.
Importing and Rendering HTML in Salesforce OmniStudio
Importing HTML components in Salesforce OmniStudio is simple. Just use import statements to bring in text box components and then edit their custom HTML. This approach enables me to apply specific elements only within certain parts of my scripts.
Rendering custom HTML enables us to dynamically initialise variables and set properties, providing unparalleled control when developing responsive and interactive forms in Salesforce OmniStudio.
Debugging Salesforce OmniStudio Scripts
Debugging is a key component of the Salesforce OmniStudio workflow, often involving inspecting console logs to view and identify errors.
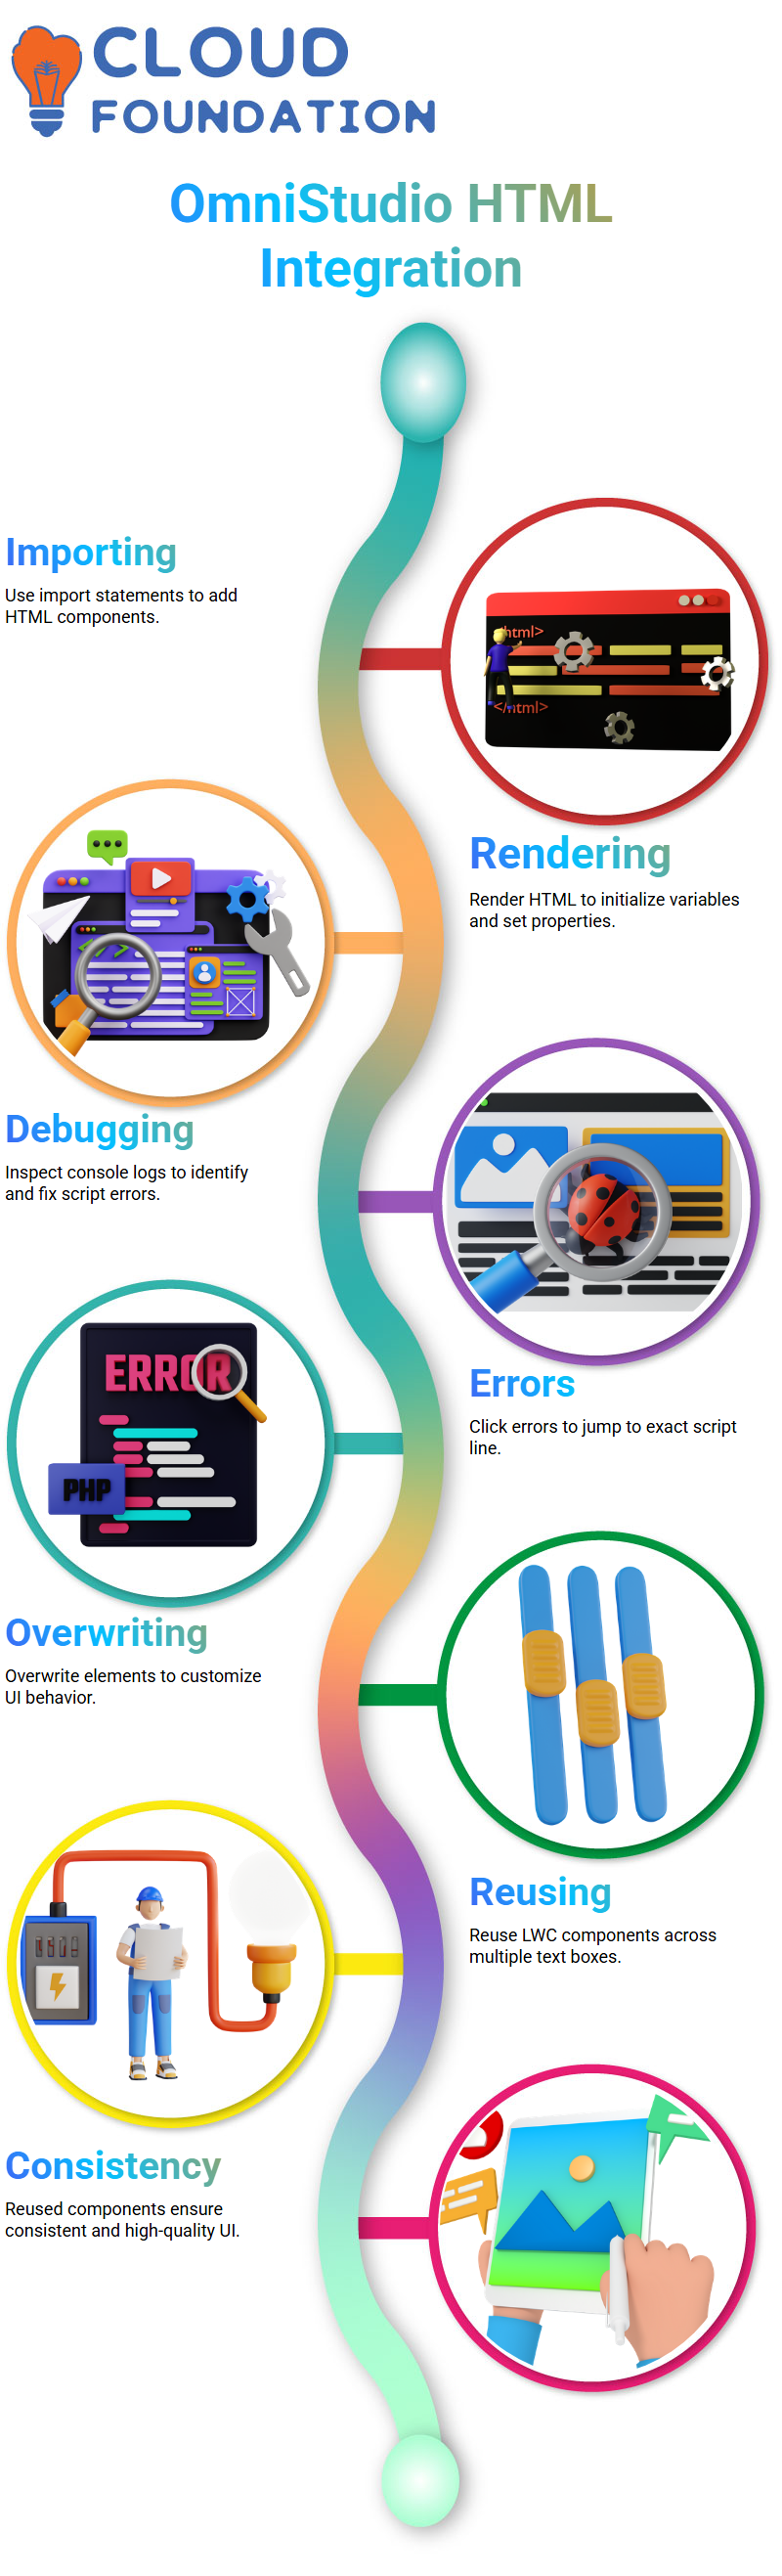
When an error does arise, clicking on it takes me directly to its relevant line in my.js file.
Utilising Salesforce OmniStudio ‘s debugging process to maintain clean and efficient code. From overwriting elements to initialising variables.
LWC Components in Salesforce OmniStudio
One of the greatest strengths of Salesforce OmniStudio lies in its ability to reuse LWC components across text boxes.
Overwrite one text box with custom components and apply that LWC to another element for reuse.
Reusing components saves both time and ensures consistency throughout my UI, resulting in high-quality outcomes. Salesforce OmniStudio makes component management seamless.

Salesforce Training
LWC Elements in Salesforce OmniStudio
We demonstrated how to create and customise an entire LWC component within Salesforce OmniStudio using drag-and-drop techniques.
This included elements such as text boxes for names and number fields for phone numbers. Some fields were overridden using LWC, while others remained standard.
For example, we overrode the “Name of Customer” field using an LWC component. When scrolling down in Salesforce OmniStudio, you will notice this overridden component, providing an enhanced user experience within Salesforce OmniStudio.
This personalisation approach further customises the user journey with Salesforce OmniStudio.
Data Communication Between LWC and Salesforce OmniStudio
Salesforce OmniStudio makes passing data between Omniscript and LWC easy. Use the Omniscript method from Omniscript, as this contains all relevant details from Omniscript.
To send data back from LWC to Omniscript, use the Call Rasp method. This allows me to update properties in Omniscript according to what’s defined in LWC, ensuring that changes made there are reflected in the Salesforce OmniStudio interface.
Integrating LWC with Salesforce OmniStudio
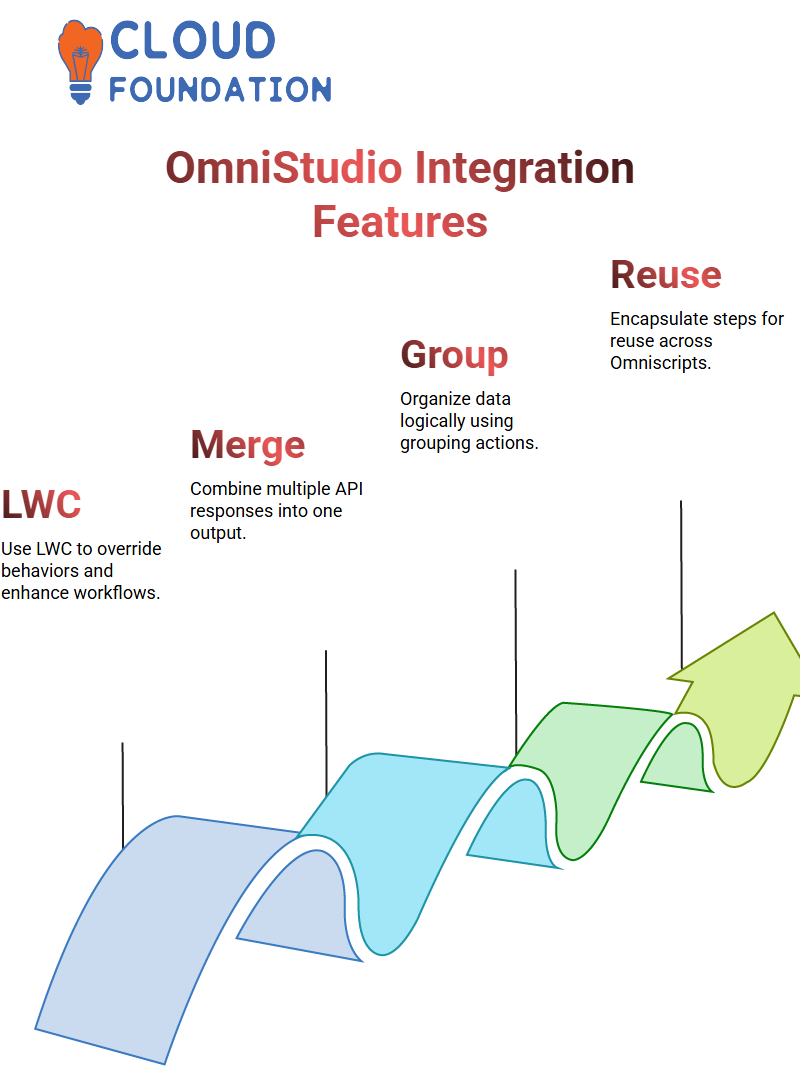
LWC and Salesforce OmniStudio were another topic we addressed during training, although not always necessary; sometimes using LWC with Open Script in Salesforce OmniStudio may provide helpful ways to override specific behaviours or overwrite certain rules.
Learn to effectively combine these technologies using Salesforce OmniStudio, gaining greater control over components and workflows.
Integration Procedures in Salesforce OmniStudio
Salesforce OmniStudio integration procedures offer an expansive set of actions beyond HTTP and data load operations.
They include list actions to merge responses from multiple sources into a single output, formatted according to response types, as well as grouping actions for logical organisation of your data sets.
Salesforce OmniStudio ‘s advanced capabilities make it a reliable platform for developing scalable and maintainable solutions.
From merging API data, handling exceptions gracefully or handling merging data from different APIs gracefully, integration procedures have you covered!
Why doesn’t Omniscript use these actions directly? The reason lies in both reusability and functionality: Salesforce OmniStudio integration procedures provide reusable components.
Instead of repeating steps across various Omniscript, we encapsulate them in a single integration procedure for ease of reuse and improved functionality.
Integration procedures offer advanced features not available through Omniscript, such as try-catch blocks, conditional logic loops, and caching, which facilitate complex business logic but are absent in Omniscript.
Salesforce OmniStudio integrates procedures for this feature, which has become essential in supporting complex business logic but remains unavailable via Omniscript.
Salesforce OmniStudio Data Integration
Salesforce OmniStudio makes data transactions seamless. If one fails, any amounts deducted must be reversed; this is precisely where Salesforce OmniStudio excels.
Salesforce OmniStudio features four data types: Load, Transform, Extract and Turbo Extract. The load is designed for insert and update operations.
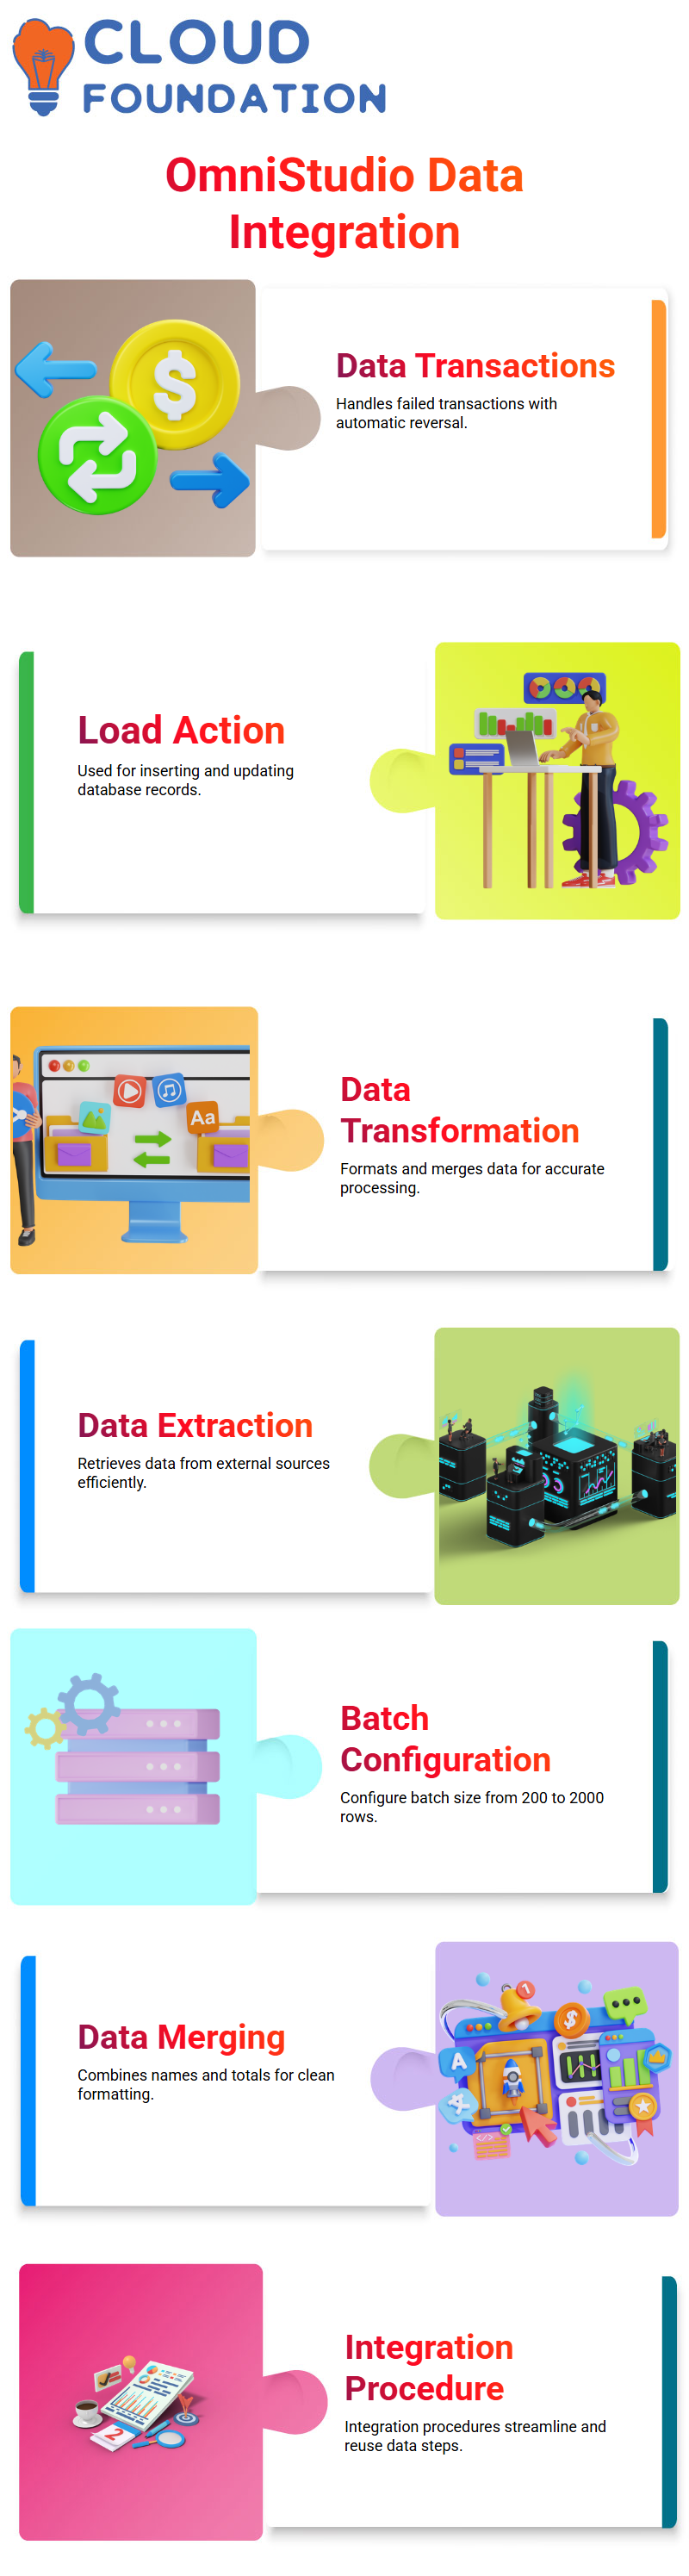
Once selected, it may optionally include description fields before proceeding to batch size configuration. By default, 200 rows will be assigned, but up to 2000 can also be configured if required. This is followed by saving and opening Data Raptor (DR).
Transforming and Loading Data with Salesforce OmniStudio
Once we receive a response from an HTTP action, it must be formatted correctly before being inserted into our database.
Salesforce OmniStudio ‘s data transformation tools provide methods to merge names, calculate subscription totals accurately, and format them according to specific requirements.
Once the data has been transformed, we use a data load action to add it to our database. All three steps — HTTP action, data transformation, and data load action — are usually combined into an integration procedure, which makes the entire process reusable across Omni scripts in Salesforce OmniStudio.
Data Insertion in Salesforce OmniStudio
Once you understand Salesforce OmniStudio ‘s data entry flow, inserting data is straightforward. First, we create a Data Raptor. Next, we launch Salesforce OmniStudio from the App Launcher.
Finally, we access the Components dropdown, where velocity components are listed.As previously discussed, Data Raptors are excellent tools for extracting data.
Now, we will switch our focus to inserting and updating records using Salesforce OmniStudio, which enables us to easily insert single or multiple records across objects with or without relationships between objects.
Multiple Records with Salesforce OmniStudio
To insert multiple records at once, the input will be passed as an array. Following the execution, two new records were created, which, upon querying, confirmed their presence. Salesforce OmniStudio supports bulk inserts seamlessly.
Understanding how to insert both single and multiple records accurately is vitally important; Salesforce OmniStudio makes this task straightforward with its intuitive user interface and straightforward execution flow.
Multiple Object Records in Salesforce OmniStudio
Salesforce OmniStudio enables the insertion of records across multiple objects. One of its greatest strengths lies in this flexibility, which allows documents to be added even between objects that don’t share relationships, thus enabling the addition of records to multiple tables simultaneously.
If the objects are related, such as parents and children, Salesforce OmniStudio makes this process seamless, guaranteeing data integrity across related objects.
Multi-Object Inserts in Salesforce OmniStudio
Inserting multiple objects using Salesforce OmniStudio began with inserting single records before expanding my scope to include various records. The exercises are extremely valuable, as real-world data rarely comes in one-record batches.
 Salesforce OmniStudio excels at multi-object inserts. Regardless of whether you insert parent and child records simultaneously or separately, Salesforce’s rollback mechanism ensures that your data remains consistent throughout the process.
As part of building confidence and understanding how Salesforce OmniStudio manages things, consider exploring various combinations, such as single records with multiple objects or multiple records with numerous objects and observing how Salesforce handles each combination.
Doing this helps both build your confidence as an IT user and gain a complete picture of all that the platform offers.

Salesforce Online Training
Linking Parent and Child Records in Salesforce OmniStudio
The linking of parent and child records. The goal was to insert both account and contact records simultaneously in Salesforce OmniStudio; this is made possible without needing separate insert statements.
Clicking ‘add link’ was all it took to establish a relationship between my contacts and accounts, where the domain object was ‘accounts’.
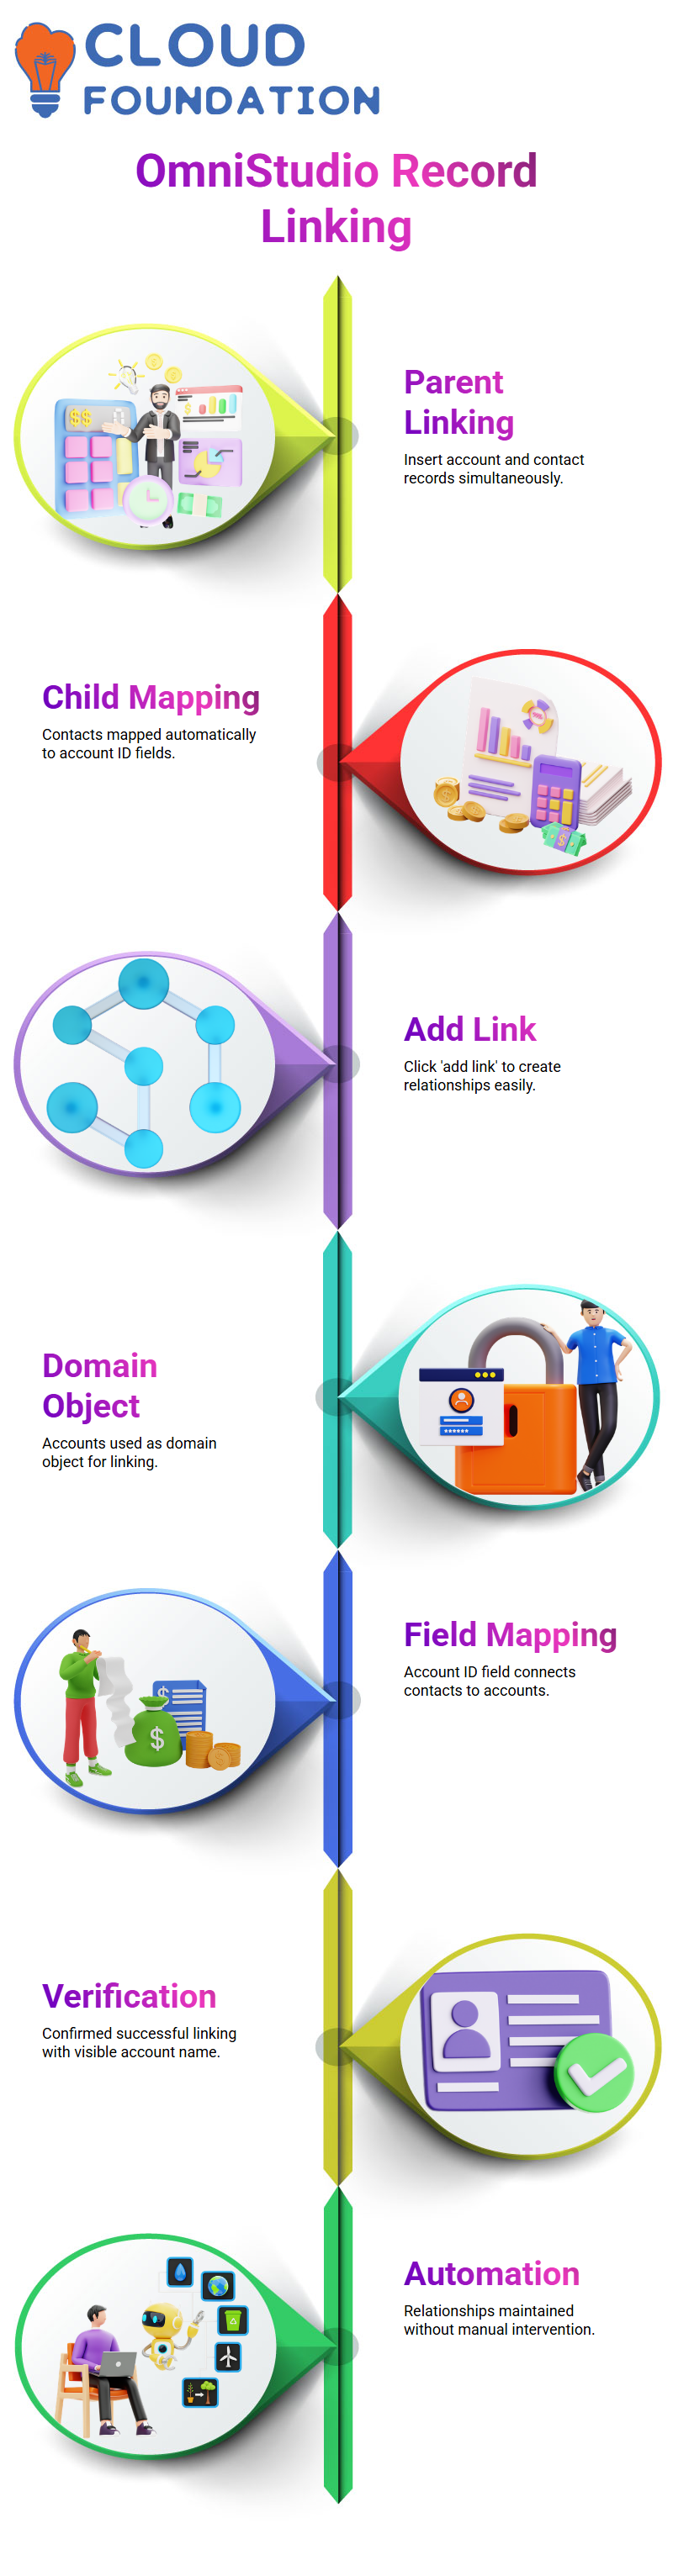
The account ID as the field, while contacts mapped directly onto it through Salesforce OmniStudio, which automatically handled the mapping of contacts to account ID fields.
Verifying Parent-Child Mapping in Salesforce OmniStudio
The account name was linked accurately, unlike previous instances when the field remained blank, which is evidence that Salesforce OmniStudio successfully linked both parent and child records together.
Establishing links in Salesforce OmniStudio is intuitive. The platform ensures that relationships are maintained without requiring manual intervention from you or anyone else.
Salesforce OmniStudio Object and Field Mapping
As part of my testing procedure, by select and map fields on Salesforce OmniStudio before commencing unit testing.
Once complete, unit tests began by executing the Salesforce OmniStudio to create accounts successfully. Upon checking later, the revenue parameter had indeed passed, despite being stored as unmapped as expected (it simply stored a blank value).
One record was added successfully, and we could see the ECC name provided. To verify, we queried the creation date for today. Due to the confusion in several fields, there is a need for date filtering to locate the latest record.
This process represents Salesforce OmniStudio’s standard flow: object selection, field mapping, and execution.
Rollback on Error in Salesforce OmniStudio
Salesforce OmniStudio features an innovative feature called ‘Rollback on Error.’ Enable this option by checking one box in the options, and it will automatically roll back any records inserted by an unsuccessful subsequent insert attempt.
Testing this idea, they performed a preview. At first, it appeared as though a record had been created with its ID displayed, but upon opening that ID, there wasn’t anything there, as Salesforce OmniStudio had rolled back due to an error in the contact record.
OmniStudio ‘s feature to prevent partial inserts is truly remarkable; it ensures that all records either successfully enter their data set or none at all, saving both manual effort and providing greater ease of use for end users.
Transaction Management in Salesforce OmniStudio
The transaction Management in Salesforce OmniStudio. When inserting records into multiple objects simultaneously, things may go awry; for example, inserting one record could work perfectly while another object fails with an error.
Salesforce OmniStudio successfully addresses this issue with transaction rollback: If the second insertion fails, Salesforce rolls back its initial transaction to maintain consistency between transactions, ensuring that both deduction and addition work as intended.
![]() This feature is particularly significant when handling real-world applications that require both deduction and addition simultaneously, such as when transferring funds between accounts.
This feature is particularly significant when handling real-world applications that require both deduction and addition simultaneously, such as when transferring funds between accounts.
Avoiding Complex Workarounds with Salesforce OmniStudio
Some individuals attempt to manage this manually by manually inserting objects through separate data operations and adding conditions to monitor failures; however, Salesforce OmniStudio eliminates the need for this approach.
Activate “Rollback on Error” and let Salesforce OmniStudio handle the heavy lifting. With a straightforward checkbox replacing complex logic and data operations,
Salesforce OmniStudio ‘s ease of creating clean data workflows without needing extra code snippets. Salesforce OmniStudio enables easy maintenance with minimal additional programming effort.
Data Input in Salesforce OmniStudio
Before integrating an actual Omni script, simulate data input directly in Data Raptor using Salesforce OmniStudio to test mappings and ensure everything functions as expected.
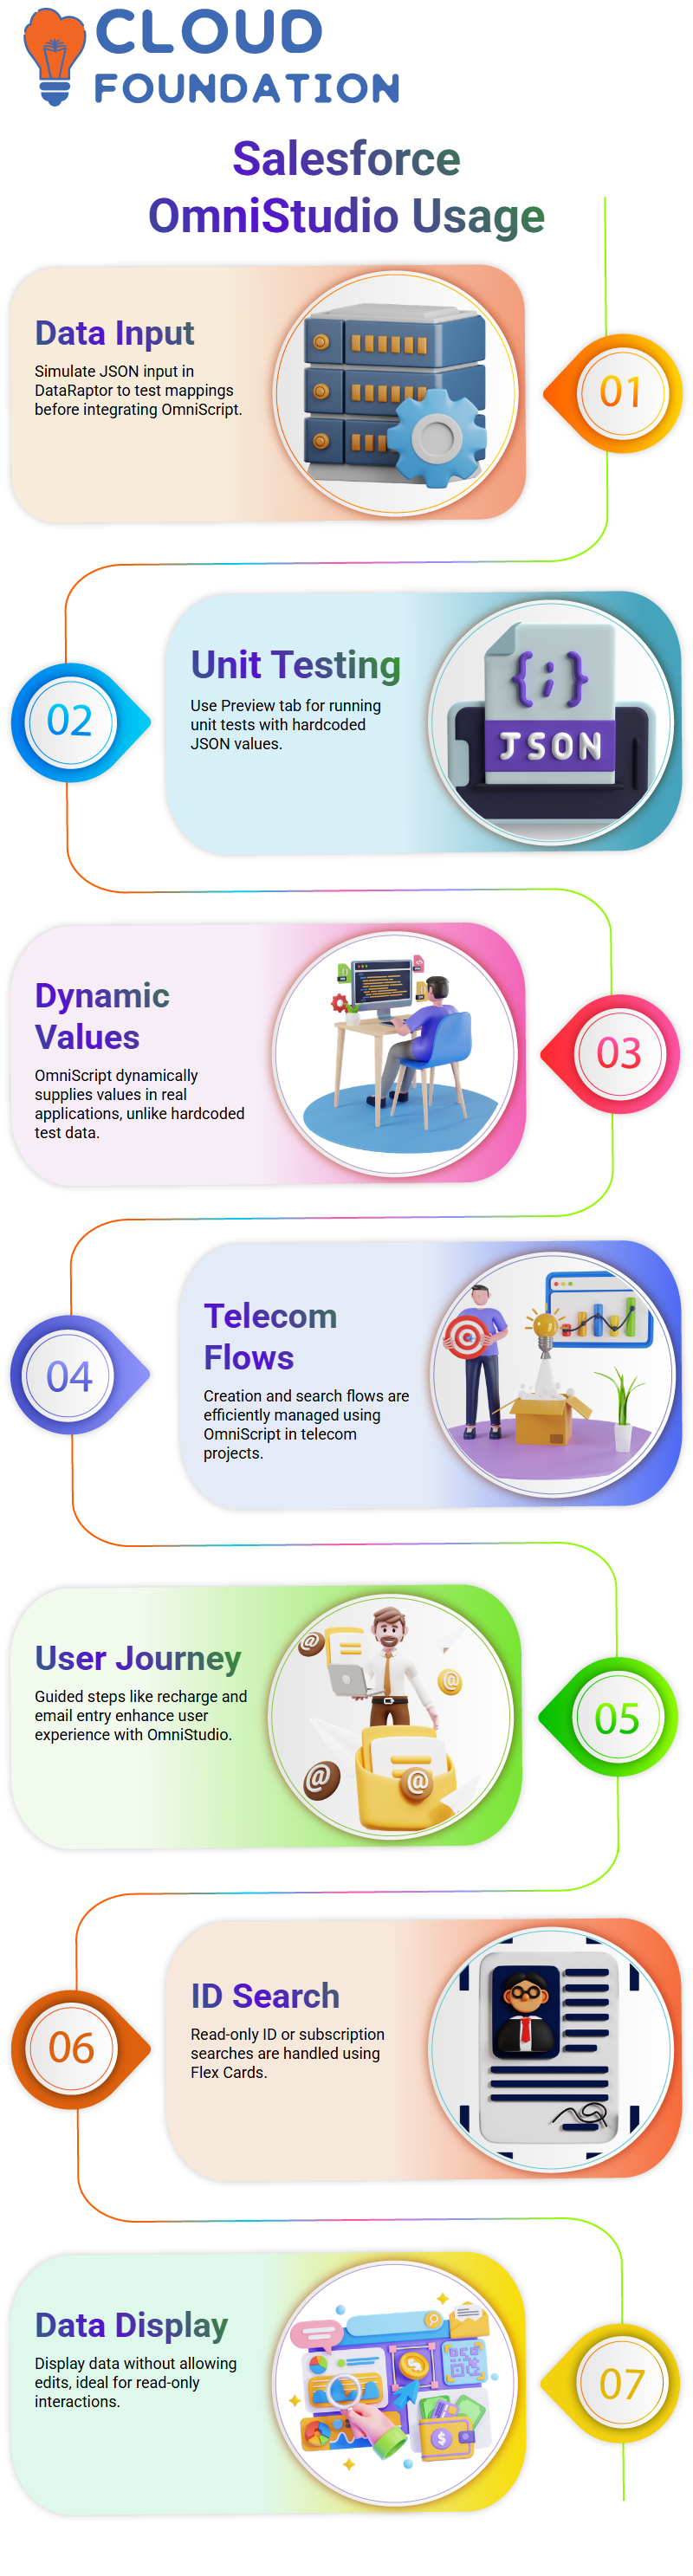
Copy and paste the JSON input directly into the Preview tab to run unit tests for unit test purposes.
Though these values were hardcoded during testing, in reality, Salesforce OmniStudio would draw them dynamically from the Omni script for real applications.
This flexible solution makes Salesforce OmniStudio immensely effective for building scalable and responsive solutions.

Salesforce Course Price

Vinitha Indhukuri
Author