Terraform Cloud Integration Training
Integration Terraform GitHub
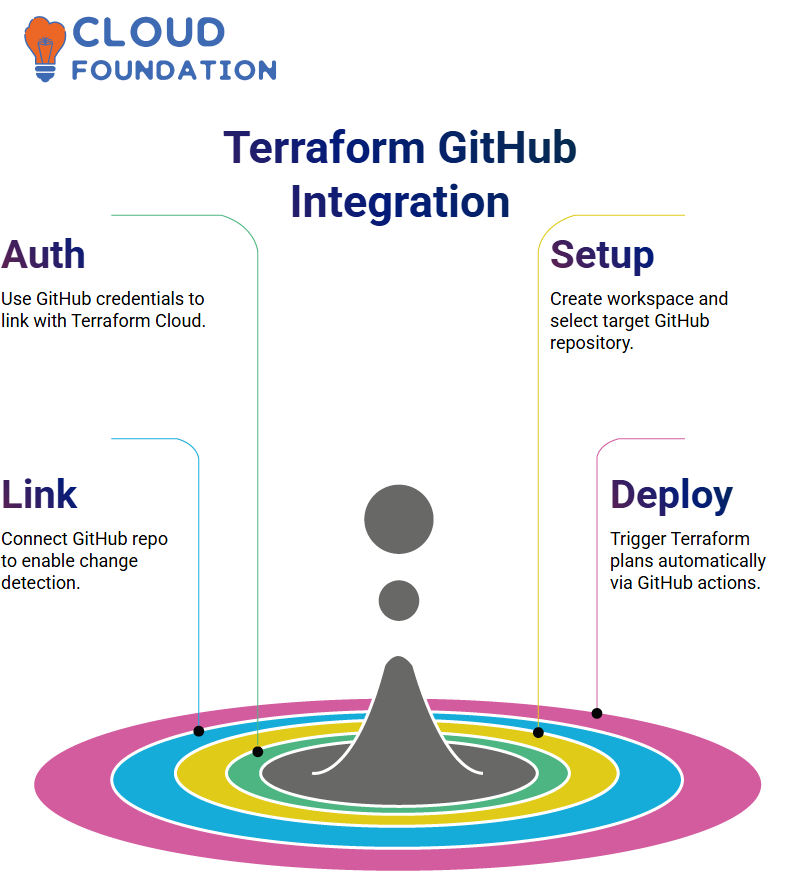
Terraform Cloud requested my client ID and client secret from GitHub so it could establish a secure link with my repository. I used these credentials when prompted by Terraform to paste them.
After pasting my credentials into Terraform Cloud, I authorised access and skipped over the SSH key step. Once that process was completed, my GitHub repository list appeared within the Terraform Workspace Setup screen, where I selected the RTF Service repo before adding a brief description and clicking ‘Create Workspace’.
At this point, my Terraform Cloud workspace is successfully linked to my GitHub repository, allowing Terraform to detect changes and plan actions accordingly automatically.
Experiencing the Terraform workflow firsthand was truly exciting — from creating infrastructure as code to seamlessly linking my version control system.
Once I completed all steps in the workflow, Terraform Cloud made managing environments for collaborative teams much simpler than before.
Terraform Continuous Deployment
Once my workspace was connected to Terraform Cloud, the repo on GitHub began being monitored closely. Every time I initiated a pull request or committed code changes into my main branch, Terraform would initiate its action plan based on my new configuration settings.
This continuous workflow eliminates manual trigger steps for Terraform commands, meaning I no longer have to run “terraform plan” and “terraform apply” manually. Instead, Terraform Cloud detects changes automatically and plans accordingly.
Terraform Cloud’s tight integration with GitHub means I no longer have to manage deployments manually; once authenticated and linked with my workspace, everything runs in sync, making collaboration across teams much more streamlined.
At each step in my journey with Terraform, it consistently provided me with the automation I required – another indication why teams rely so heavily on its infrastructure deployment capabilities.
If this is your first time setting up Terraform, a cloud-based workflow should be your go-to choice for a successful setup.
Terraform Cloud Authentication AWS
Establishing authentication between Terraform Cloud and AWS is critical for seamless infrastructure management.
When we first used Terraform locally, we authenticated with AWS using secret and access keys; now, Terraform Cloud requires similar authorisation from AWS.
Terraform Cloud is currently connected to GitHub; to link with AWS, we must first establish authentication.
To accomplish this step, navigate to your workspace, access the settings for the variable, and then enter the variable section, where authentication settings will be made available for customisation.
Within your workspace, environment variables such as AWS_ACCESS_KEY, AWS_SECRET_ACCESS_KEY, and AWS_REGION can be configured so that Terraform can interact securely with AWS.
Variables for Terraform Cloud
Referencing AWS documentation and selecting the required environment variables for authentication can be helpful. Some key variables you will need for authenticating access include AWS_ACCESS_KEY, AWS_SECRET_ACCESS_KEY and AWS_REGION.
Once you have determined your key values, navigate to Terraform Cloud’s workspace, then Variable Settings, and add each variable as needed, marking them as sensitive if necessary to protect sensitive values. Create each variable before proceeding.
These variables enable Terraform Cloud to authenticate AWS requests without disclosing credentials.
Terraform Cloud for Infrastructure Deployment
Terraform Cloud provides easy resource management thanks to its authentication features. By setting variables within each workspace, Terraform ensures smooth deployments.
Terraform Cloud simplifies starting new runs by connecting to a specified repository, fetching files from it, and creating an execution plan—all through its user-friendly graphical user interface, rather than manually typing commands.
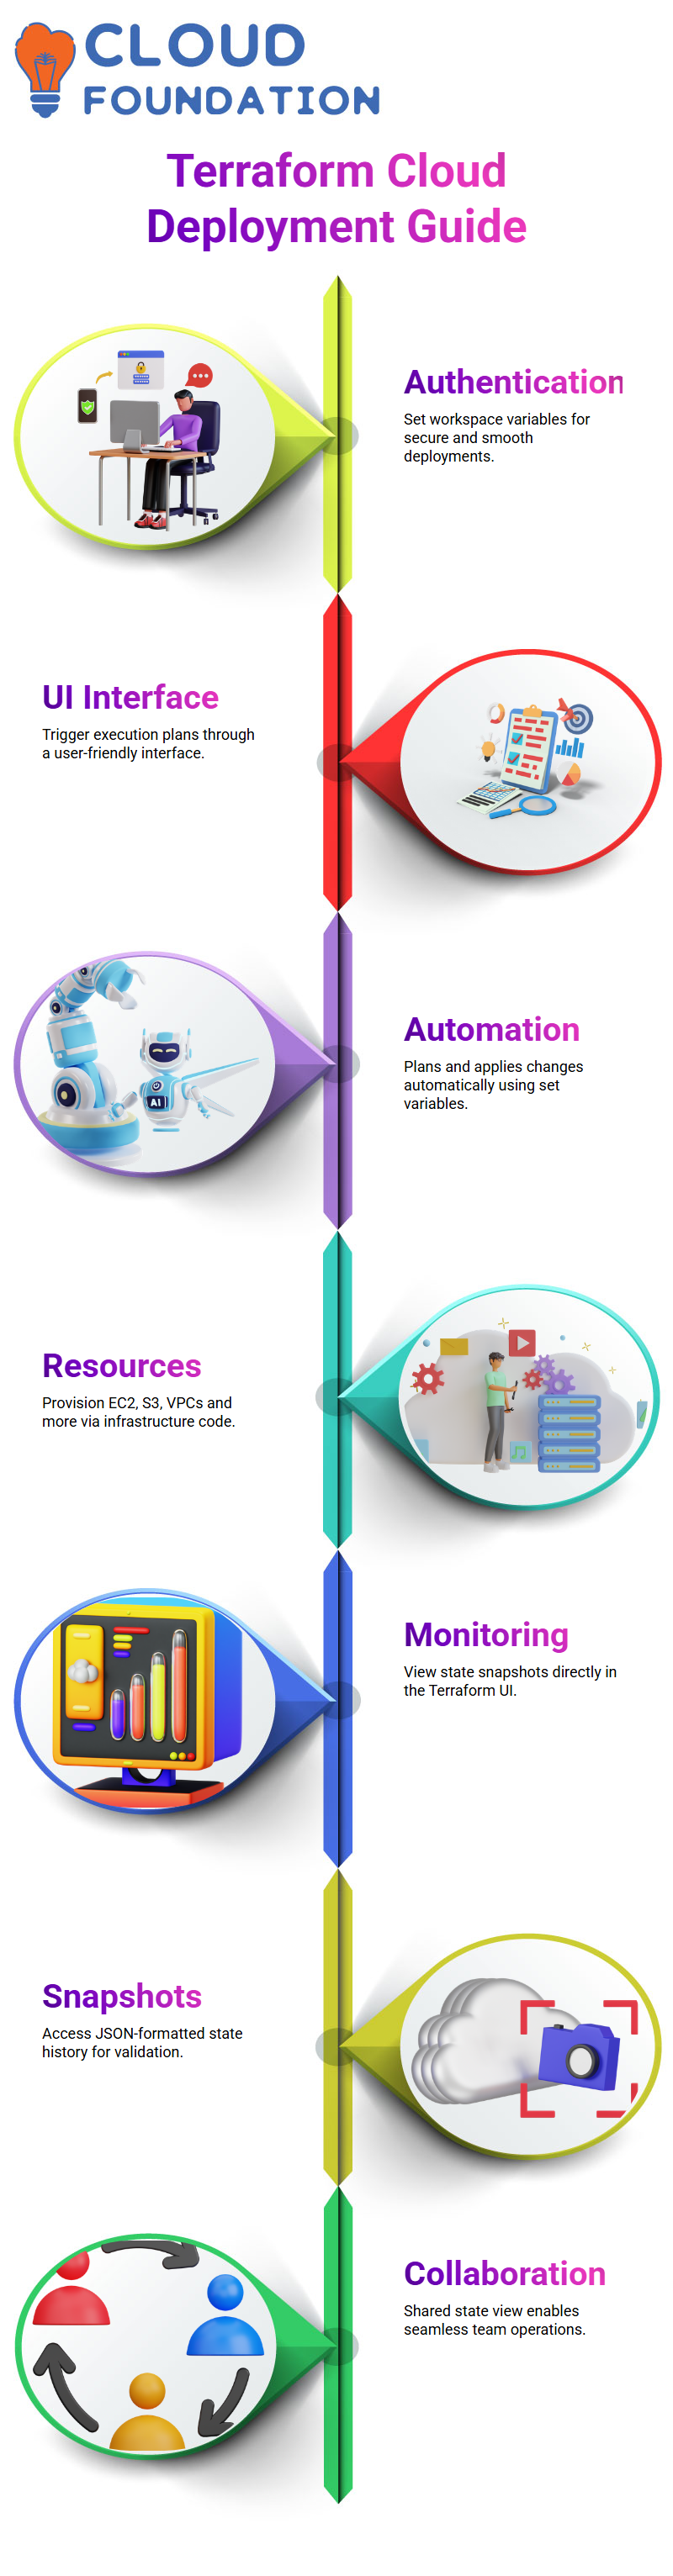
Terraform Cloud can automatically execute plans, apply changes, and provision resources, such as Amazon EC2 instances, Amazon S3 buckets, and Virtual Private Clouds (VPCs), using any configured variables.
Monitoring Terraform Cloud
Terraform Cloud makes managing and monitoring state files extremely straightforward.
On its user interface (UI), I must click on the ‘State’ section and view historical state snapshots, which provide access to a JSON-formatted state file stored locally by Terraform.
This allows me to make all changes immediately accessible from anywhere in the world.
I have used Terraform’s State View repeatedly to validate that updates or changes occurred as expected, whether that was for new instances, VPCs, or S3 buckets. Its central state management makes operations between teams seamless.

Terraform Training
Destroying Resources with Terraform Cloud
To destroy resources, I have two options available to me. One would be deleting their resource block directly in the instance.
While another user is visiting the Terraform Cloud dashboard under “Settings”, “Destruction and Deletion”, and queueing an “Enforce Destroy Plan”, a prompt appears for a workspace name.
Once confirmed, it displays its graphic plan, just like when using “terraform plan -destroy.”
Terraform then executes its plan and removes all defined resources — whether that’s an EC2 instance, VPC network, or S3 bucket—from existence by taking careful steps that log and verify each step taken in its destruction process.
Destroy a Single Resource in Terraform?
Is there an easy way to target just one resource with Terraform Cloud’s UI? One possible workaround is to comment out or remove resource blocks before applying plans.
Terraform Cloud ensures that the missing resource is detected as soon as the subsequent plan execution occurs, and then proceeds with its destruction via targeted deletion.
 I will continue to explore this feature and report back if a more direct approach for its removal becomes apparent.
Terraform Files on GitHub
Terraform files directly through the GitHub web interface. Locate your repository, click ‘Add file’, and start writing Terraform code directly.
However, I recommend making any necessary updates directly on your local machine.
Why does direct editing on GitHub leave no local copies for me to edit, making development safer? Once my updates are ready to commit and push to GitHub, Terraform Cloud takes over automatically and manages them accordingly.
Terraform Cloud in the Real World
Terraform’s visual and automated Cloud interface makes learning it intuitive; even without writing manual commands, one can manage entire infrastructure lifecycles through GitHub pushes and Terraform Cloud plans.
Hands-on training has consistently proven exceptionally effective in my sessions. Tomorrow or whenever convenient, I recommend revisiting these concepts and practising them directly.
Let me know if a quick revision session would be beneficial- we can arrange it.
Terraform Mastering Infrastructure as Code
Terraform is an incredible tool that simplifies cloud infrastructure management. If this is your first time encountering it, don’t fear: I will guide you step-by-step on how to get started using it to automate cloud deployments.
The best way to understand the software is through experimentation, such as watching recordings or lab projects for hands-on experience, while asking questions. I bet you already have some questions in mind.
Terraform enables engineers to define infrastructure efficiently through code. Repetitive and scalable, it makes life simpler when creating or expanding infrastructure based on code.
Terraform enables quick deployments of simple cloud instances or complex networking setups, offering a declarative approach with assured consistency.
Terraform’s core principles make it both simple and powerful, enabling you to apply it across various cloud providers and gain complete control over your cloud environment. Once mastered, its flexibility provides complete freedom in tailoring cloud environments according to individual business needs.
As you use Terraform, you will quickly realise how easily and efficiently it simplifies infrastructure provisioning, replacing manual configuration with its intuitive process of provisioning services and automating deployments.
All changes and updates can be tracked efficiently, resulting in smoother deployments over time. As soon as you become proficient with Terraform, you’ll be able to define infrastructure using code, automate deployments and manage resources effortlessly.
Terraform Execution Plan
Terraform provides us with a powerful yet intuitive means for building and managing infrastructure more effortlessly than ever.
One key command, Terraform plan, allows us to see changes before analysing configuration files and current states, and implement them to suggest modifications needed to achieve our desired state.
Terraform Apply and Auto-Approve
Once we are satisfied with our plan, we execute Terraform apply, which connects to our provider and creates the necessary resources.
In general, Terraform would request confirmation; however, in an automated environment like CI/CD, this cannot happen manually.
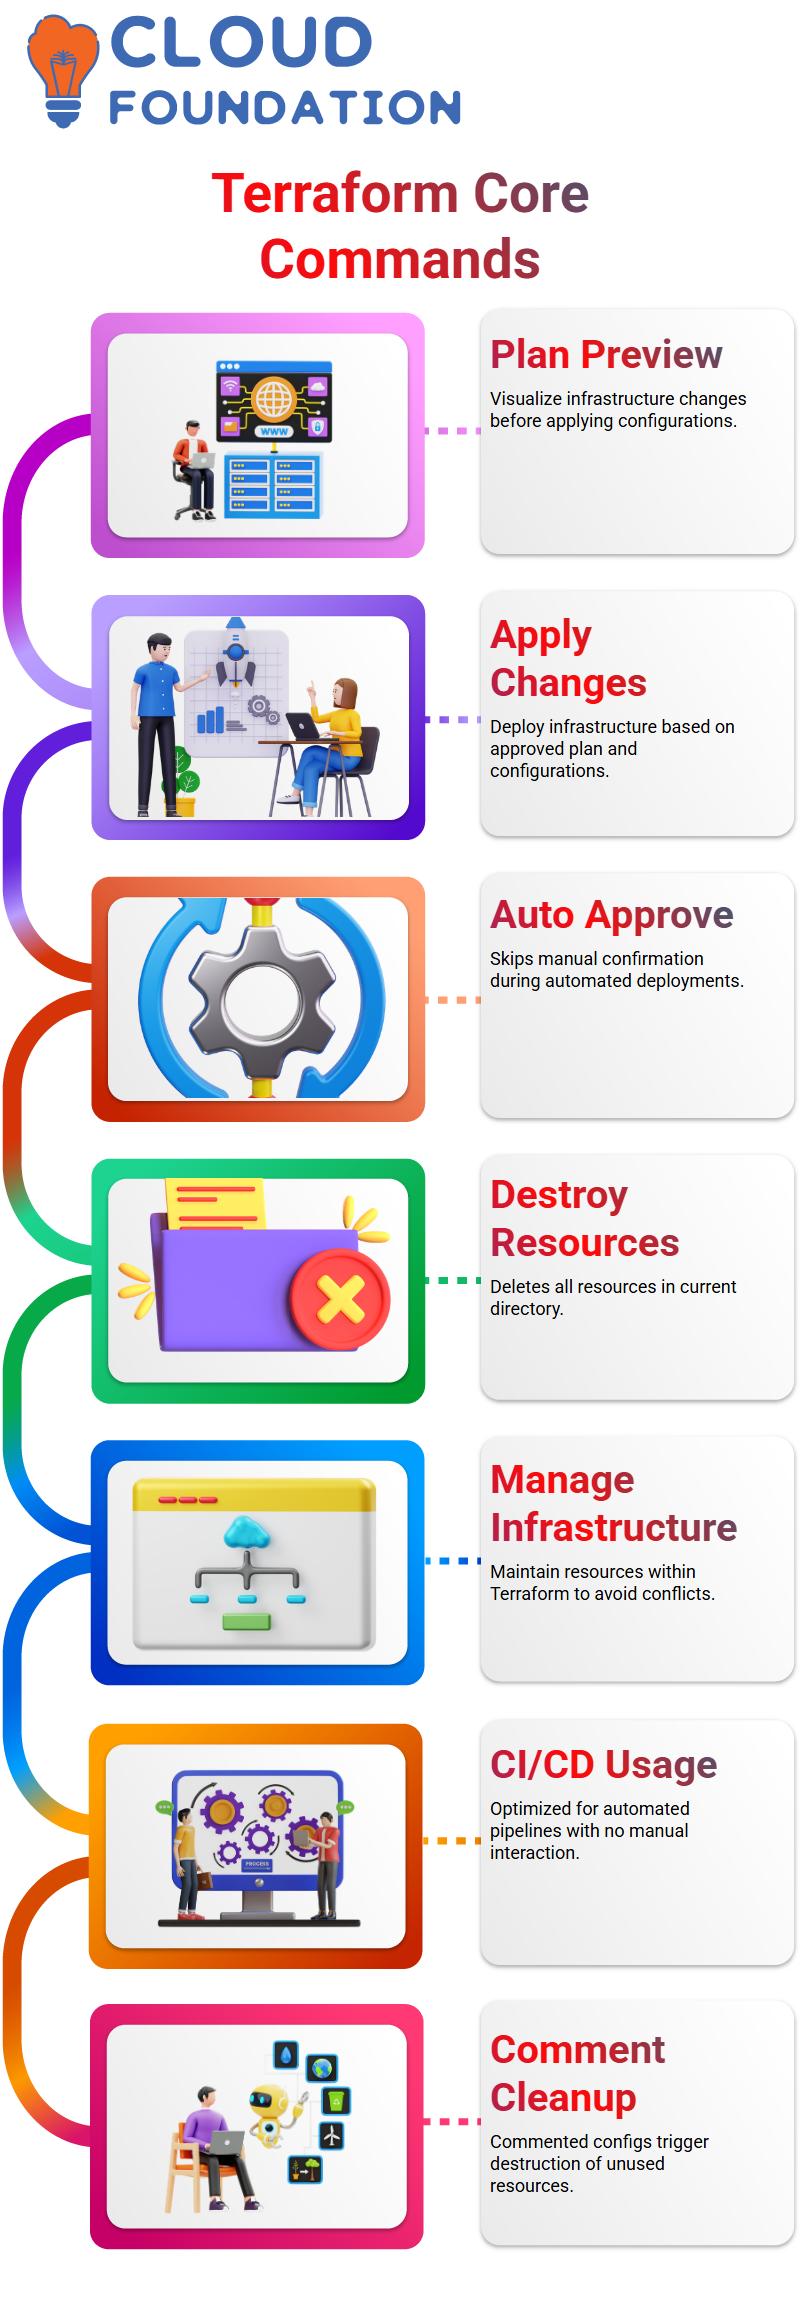
Auto-approve flag is used to facilitate deployments with automation-driven setups more smoothly by skipping confirmation steps with the Terraform application ‘terraform apply -auto-approve. This ensures swifter and smoother deployments.
Terraform Destroy
Terraform provides an effortless method for clearing away resources. By running’ terraform destroy’, all resources within an individual directory will be deleted to maintain proper infrastructure management.
Best practice dictates that resources created using Terraform should always be managed within Terraform; manual deletions outside of Terraform could result in inconsistencies within future configurations.
Terraform provides us with the flexibility needed to manage our infrastructure efficiently. An essential command in Terraform is “Terraform destroy”; this enables us to evict all resources when required.
Terraform simplifies resource destruction by enabling us to comment out any configurations that are no longer needed. Once commented out, Terraform understands which resources need to be destroyed and takes the appropriate actions accordingly.

Terraform Online Training
Destroying Specific Resources with Terraform
As part of managing multiple resources, knowing when it’s necessary to remove just one without impacting others can be key in keeping things under control.
Terraform’s default destroy command removes all resources within a directory, which might not always be ideal.
Terraform’s targeted deletion functionality enables precise control over infrastructure cleanup by specifying individual resources to delete.
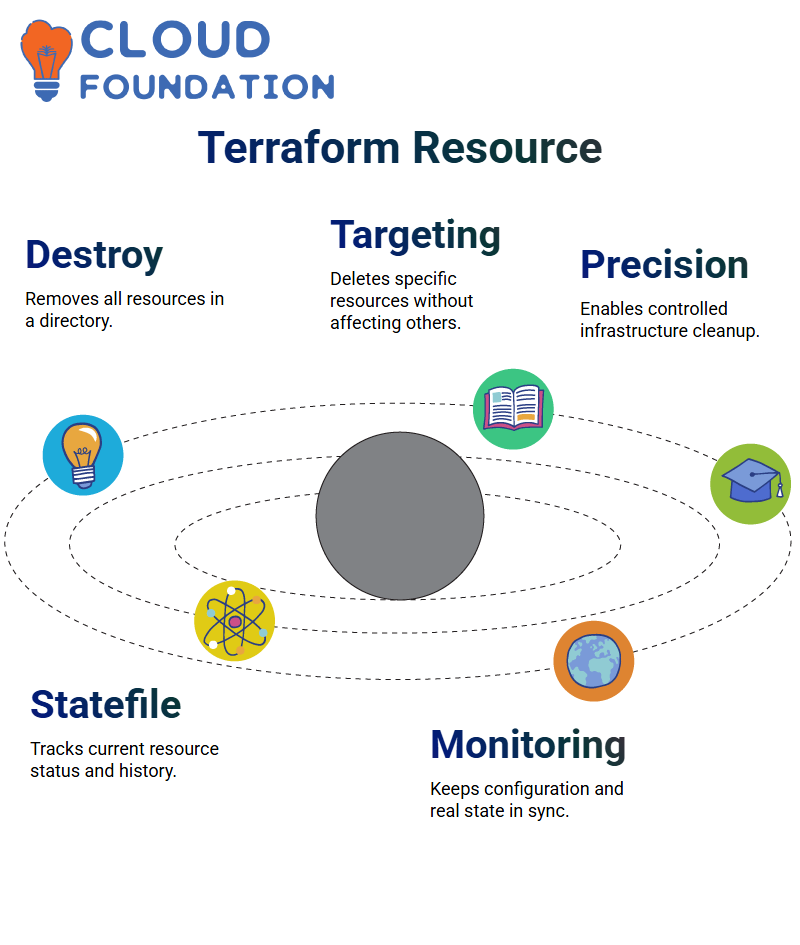 This ensures precise management while also avoiding unintended deletions.
Terraform State File in Infrastructure Management
Terraform maintains a state file, terraform. tfstate, to store all infrastructure details. This file enables Terraform to monitor the current resource status of what is defined in the configuration files, allowing it to track changes over time and compare them with the desired configuration settings.
Terraform automatically updates this state file each time we create or destroy resources, providing details such as resource names, attributes, and provider information in this report.
It plays an integral part in helping Terraform maintain an overview of what already exists, as well as any necessary modifications that need to be made.
How Terraform Determines What to Destroy
When we run “terraform destroy,” Terraform inspects both its state file and configuration file for any instances where resources that appear in both places but don’t belong there are found; it assumes any such resource should be destroyed and proceeds accordingly.
Terraform uses automated detection to ensure our infrastructure always matches its desired state, such as when we add two EC2 instances but remove one from the configuration.
In this scenario, Terraform detects mismatched instances and marks them for destruction, ensuring our infrastructure remains consistent with its intended state in real-life conditions.
Commenting Out Resources in Terraform
Another way to eliminate resources without resorting to Terraform Destroy is to comment them out in your configuration file.
Terraform recognises commented-out resources as nonexistent and marks them for destruction accordingly.
Terraform uses multi-line comments by placing “/**/”, while single-line ones use “#”. By commenting out an individual resource block, Terraform automatically detects that it is no longer needed and plans for its destruction.
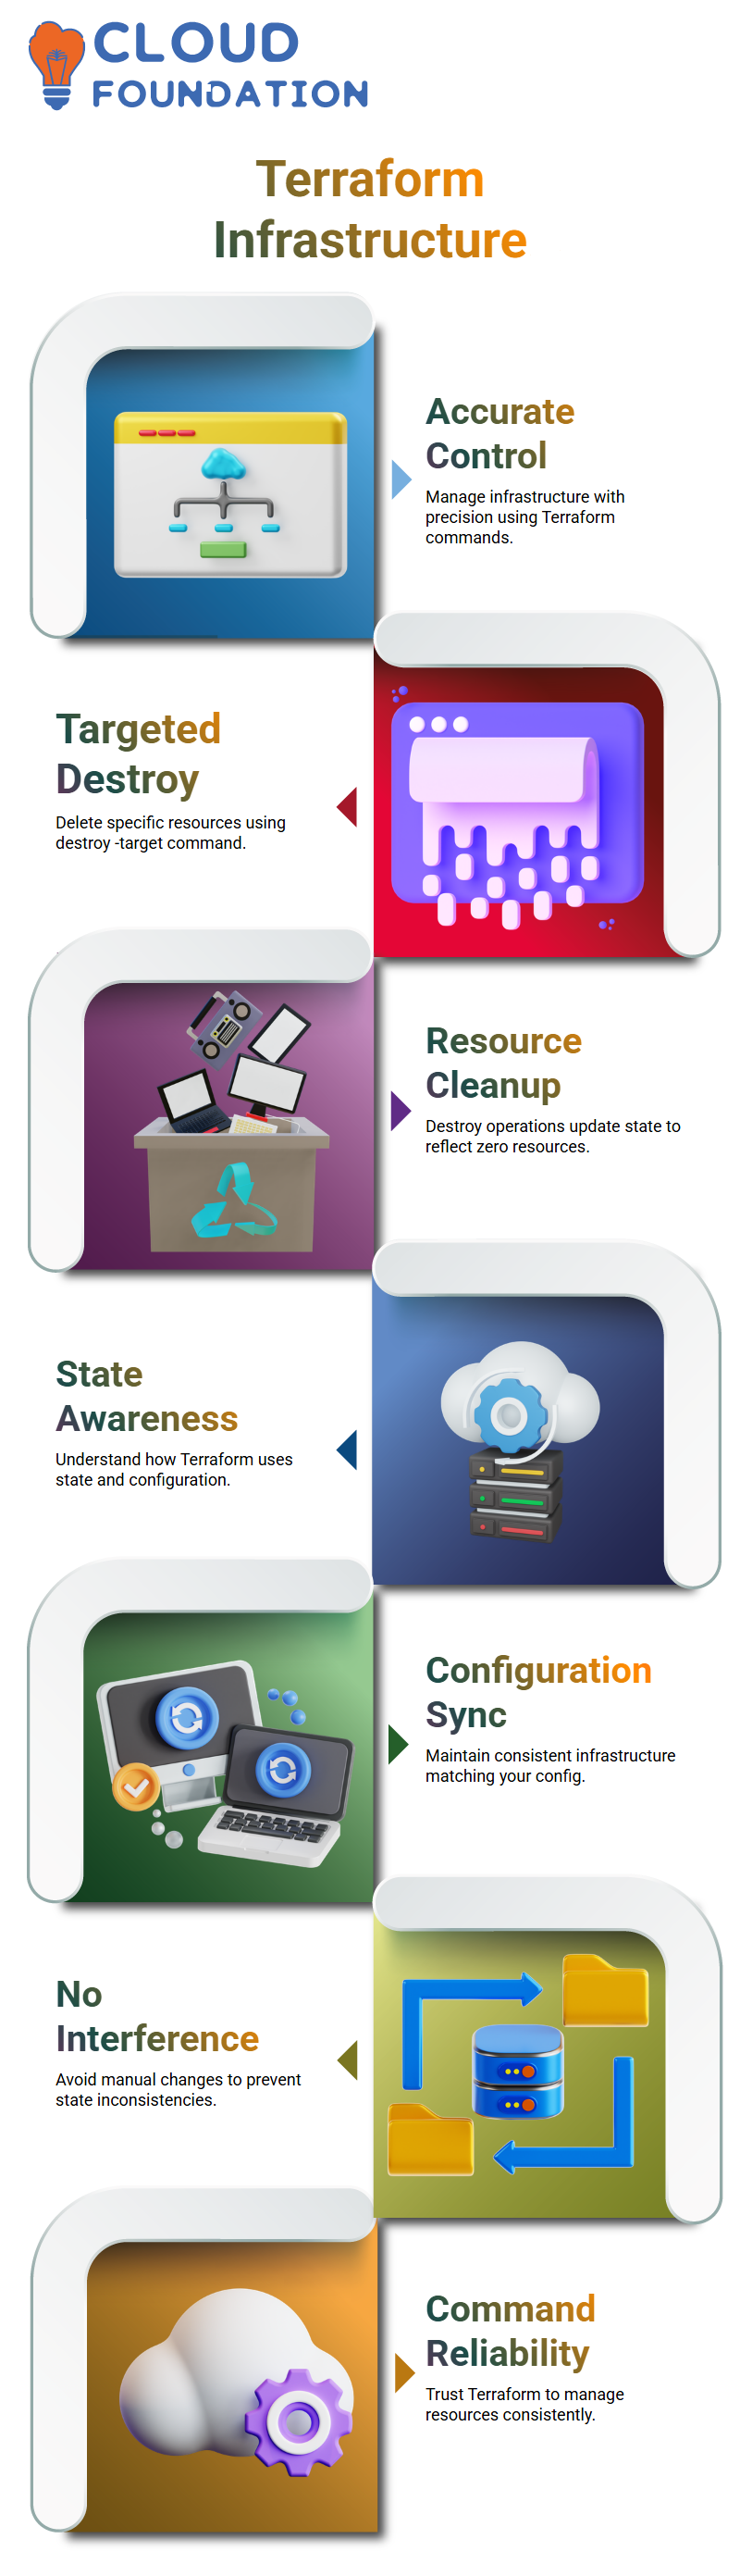
Efficient Resource Management with Terraform
Terraform provides an efficient method for controlling infrastructure with precise accuracy. Through commands like “terraform destroy -target” and “terraform plan,” as well as commenting out resources, we can precisely manage our infrastructure with this platform.
Understanding how Terraform interprets state files and configuration changes allows us to make well-informed decisions.
From adding resources or eliminating old ones, Terraform ensures our infrastructure remains robust and predictable.
Terraform Resources Efficiently
Terraform makes resource management simple. By initiating a destroy operation, I can use Terraform to delete all resources associated with my configuration quickly; once finished, its .tf state file updates to reflect that no resources remain present.
One golden rule to remember when running Terraform commands: avoid making manual modifications.
Terraform prints changes dynamically, so any interference could lead to inconsistencies with infrastructure updates and result in inaccurate data. Instead, entrust Terraform with managing them correctly.

Terraform Course Price

Vinitha Indhukuri
Author