Terraform Training for Beginners
Terraform
Terraform is an efficient tool for infrastructure management. Open Terraform’s main interface on your laptop. The tf file; explore its resource blocks quickly to see how Terraform organises everything.
Once Terraform and AWS CLI are set up, authenticate with your access key and security credentials before running Terraform commands to initialise and apply changes.
This step brings your configurations to life. Terraform is designed for automation and efficiency.
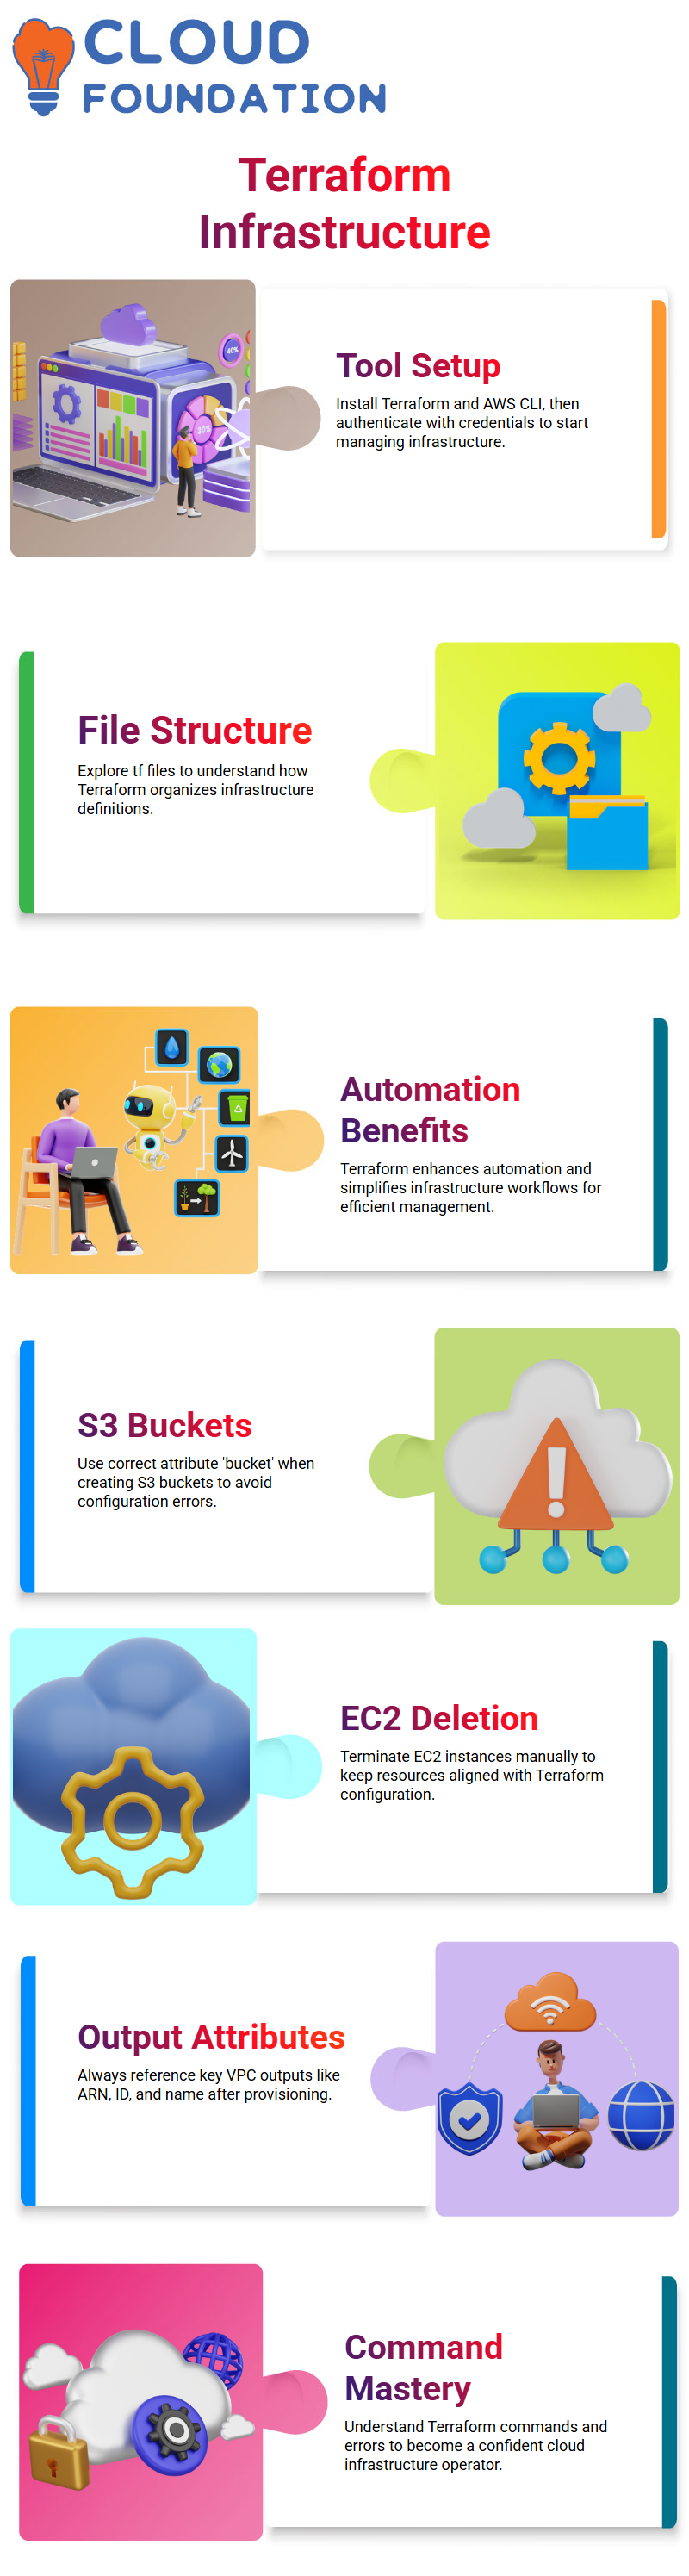
Once familiarised with its structure, you’ll see it helps significantly streamline infrastructure management.
Terraform Managing Resources
Terraform is a powerful tool for efficiently managing infrastructure. Let’s learn about its fundamentals as we explore its use case, as well as some common hurdles while setting up resources like S3 buckets or VPCs with it.
When creating an S3 bucket, it is crucial to use the correct attribute names. Though you might believe ‘name’ to be sufficient in referencing it, Terraform requires us to refer to it by its full name: bucketet.
Attempts made using names other than ‘bucket’ will lead to errors being raised by Terraform; therefore, it’s always a good practice when creating S3 buckets to validate the configuration before applying changes and saving any changes made to them.
Terraform offers an alternative solution for managing existing EC2 instances that need to be deleted.
It provides an efficient means of terminating resources by accessing your AWS console and manually terminating an instance running within that account.
This ensures that only those resources required remain provisioned, and that they are provisioned in Terraform version 1.1 or greater.
A Virtual Private Cloud (VPC) alongside an S3 bucket using Terraform. You must retrieve key output attributes, such as VPC ARN, ID, and name, from the Terraform output at all times for reference purposes.
Terraform provides an efficient method of infrastructure as code management. Mastering its commands, understanding resource attributes, and troubleshooting errors will enable you to become a more confident cloud operator.
Started with Terraform State and Formatting
Terraform state files, TF state and lock files hold critical infrastructure information.
While Terraform itself doesn’t place much importance on white spaces or indentations, I always strive for legible code.
Poor formatting makes it difficult to determine where each block belongs when copying and pasting from other sources or editing in environments like Visual Studio Code, leading to further confusion when copying and pasting code from multiple sources into a single document.
Instead of manually correcting formatting issues, I use Terraform’s’ terraform fmt’ command. It automatically organises my code structure for me while also reordering and cleaning up the code.
Before validating or executing any configuration, I always ensure everything has been formatted using Terraform; that habit makes troubleshooting much simpler.
Validating Terraform Configuration with Confidence
Once my code has been formatted, the next step I take is running Terraform validate. This command verifies that my configuration is syntactically valid by checking for unsupported arguments, missing quotes, and undeclared variables, such as unsupported arguments being flagged as invalid in Terraform syntax validation checks.
Once, I made an error by mistyping an AMI argument; Terraform validated it and suggested the correct spelling immediately, providing invaluable debugging assistance.
When I also referenced an unknown variable once more, Terraform informed me exactly where my mistake had occurred, as well as a suggested fix to get everything back online quickly and seamlessly.
Now it is part of my routine: before running any “terraform plan” or “terraform apply”, I always ensure that everything has been validated successfully by Terraform.
If there are no issues, Terraform’s successful completion message signals that my configuration is ready for its next steps.
Unveiling Terraform Attributes
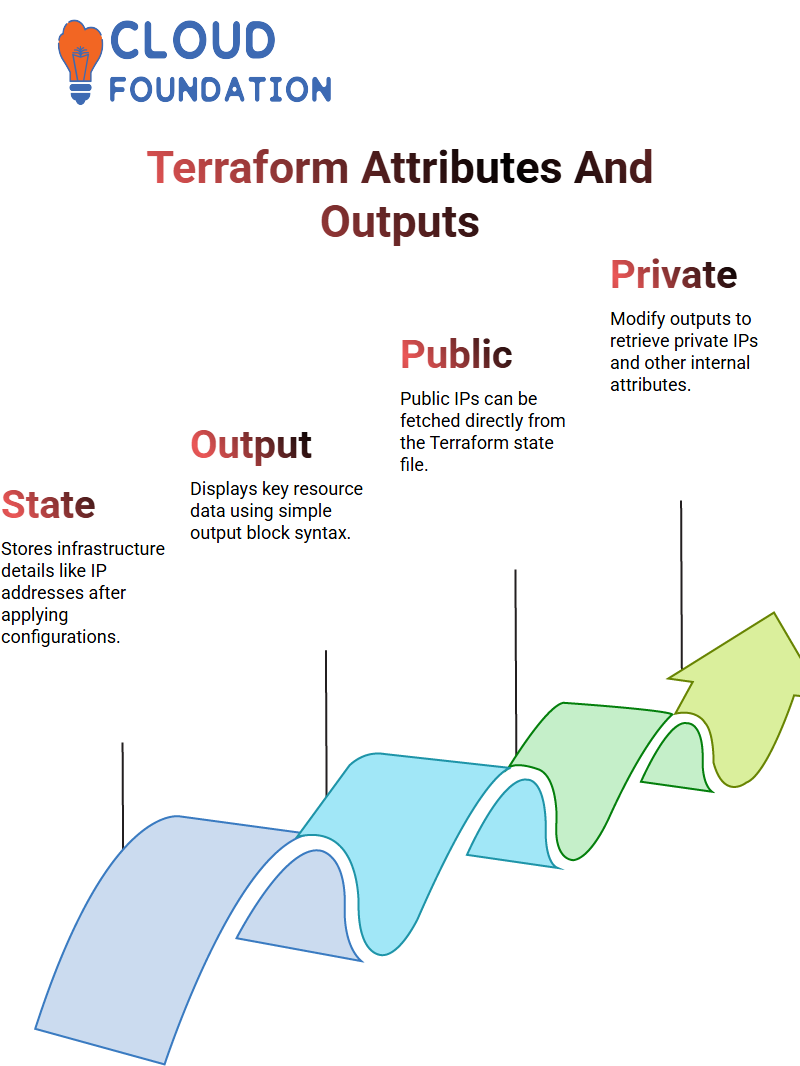
Next, I explored how Terraform allows me to retrieve attribute values. Every resource we define contains attributes. When we apply a configuration setting to it, these show the actual values assigned, like public IP addresses.
Here’s an actual example from life. I needed to determine which public IP address my AWS instance had acquired without accessing its console. Using Terraform proved invaluable.
After running “terraform apply,” my state file displayed all details about that public IP (although in real environments, such files might be hidden and off-limits).
Terraform makes my workflow smoother and more predictable; formatting, validating, or outputting attributes are now consistent and predictable.
The more I discover Terraform, the more I appreciate how well-designed infrastructures have become easier to manage thanks to Terraform.
Terraform Outputs
Terraform provides us with an effective means of accessing and controlling resources. Once I create my resource, Terraform output values provide key attributes of my resource for quick reference.
For instance, when working with cases, Terraform simplifies access to required data with its public IP fetch feature.
Terraform provides me with the flexibility to modify my configuration and change the output to display private IPs instead of public ones. Terraform then retrieves this private address for me.
I can then retrieve various attributes, such as DNS names, placement locations, and instance types. This allows for endless customisation possibilities!
One common question when working with Terraform is how to display multiple attributes simultaneously. Unfortunately, Terraform doesn’t support concatenating values into a single output block.
Instead, I must declare an output block for every attribute I wish to display; for both private and public IPs, this ensures clear and structured output when working with this platform.

Terraform Training
S3 Bucket with Terraform
Let’s try something a bit different this time: instead of working with instances, I want to create an S3 bucket using Terraform.
This requires some adjustments in my resource block: instead of setting “Instance,” specify “aws_s3_bucket” instead as my resource type.
As part of my configuration process, I set the necessary bucket attributes, including name and tags for the bucket ID, before creating output blocks that provide details about them to Terraform after applying my configuration.
This ensures I receive accurate bucket details after Terraform applies my settings.
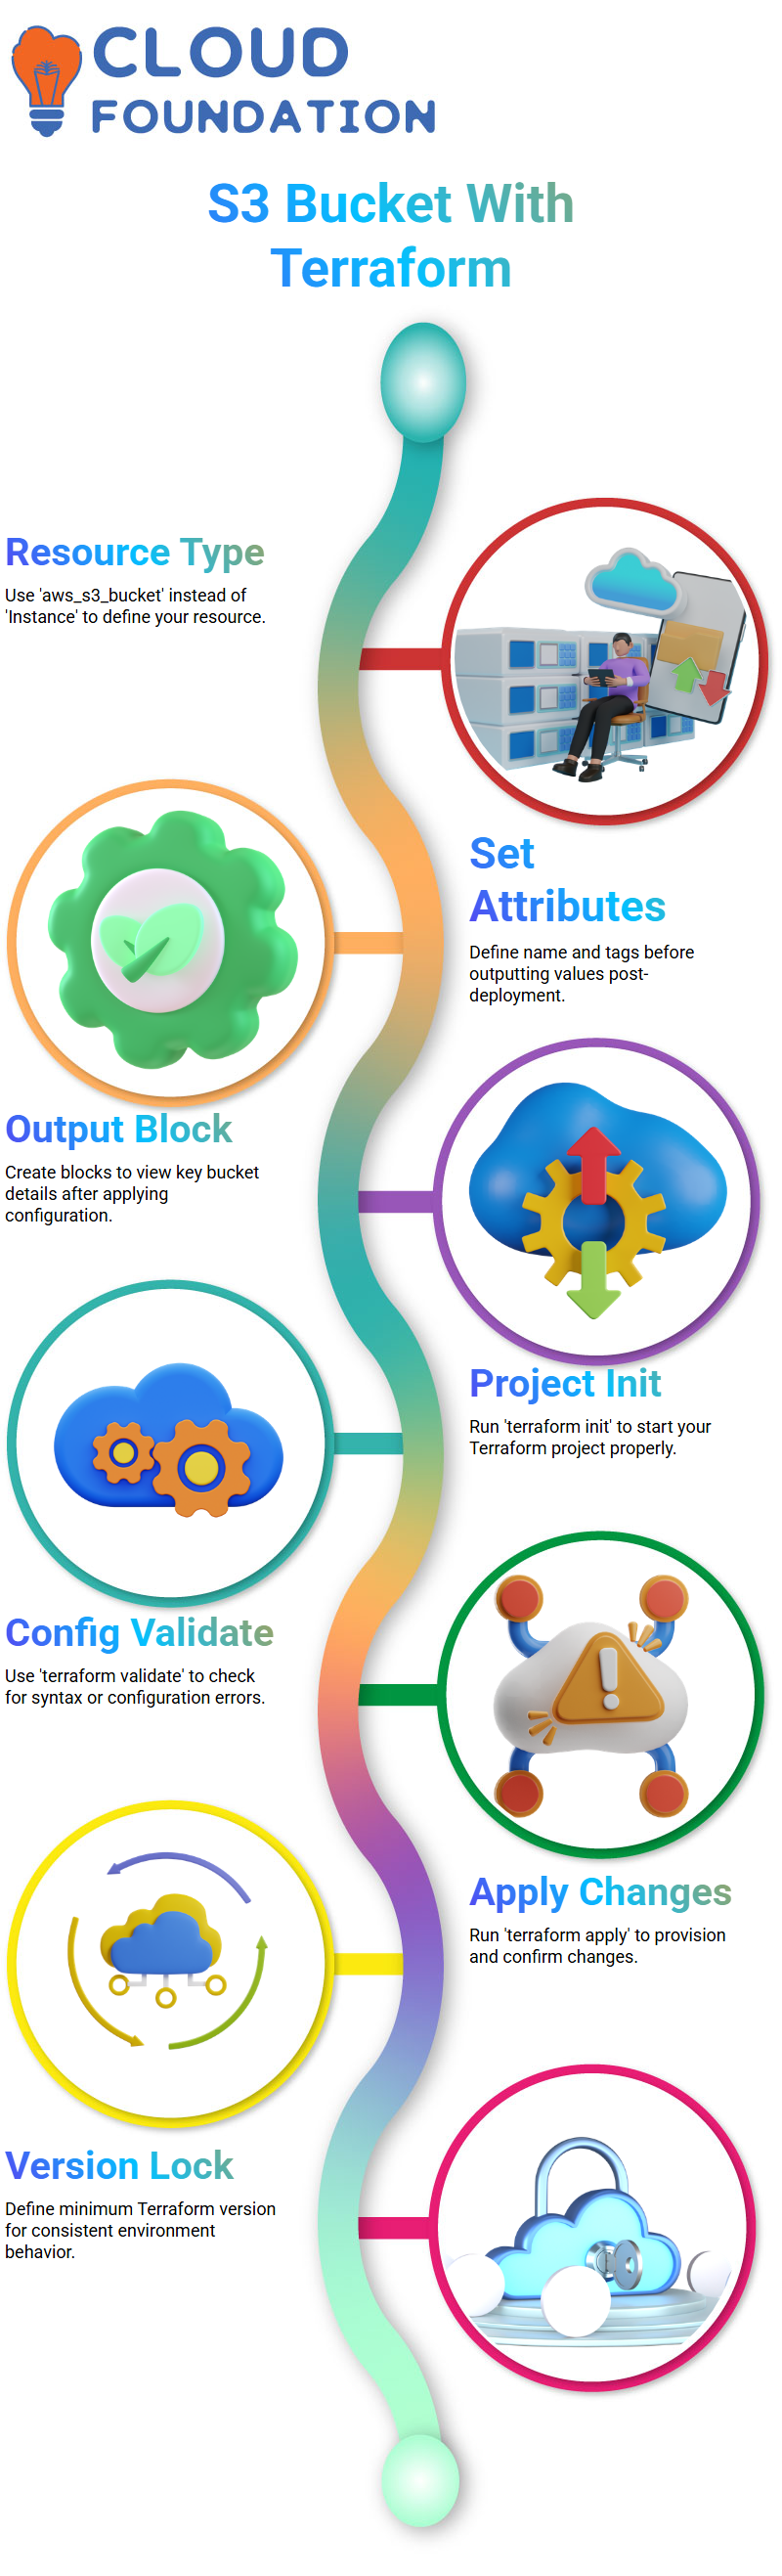
To accomplish this task, I initiate my Terraform project using the ‘ terraform init’ command, format my configuration with the ‘terraform fmt’ command, and validate it with ‘ terraform validate’ before applying the changes to my S3 bucket and outputting the values using ‘ terraform apply’.
Terraform Version Constraints
As soon as I start working with Terraform, the first step I take is always defining version constraints. For instance, I might write “>=0.14.3” to ensure the configuration works across environments with consistent versions. This step helps ensure reliable implementations.
A Terraform version in the Terraform block ensures a predictable setup. Otherwise, Terraform will pick a random version when running automatically, although this may be convenient at times, it may not provide optimal stability.
Terraform Provider Block
Let’s consider providers. In Terraform configurations, I create a block called “required_providers”, where I list each provider I require; for instance, if using AWS as my provider, I write out source and version details like: hashicorp/aws “5.6.1 “
Terraform uses this information to select an appropriate provider plugin from its Registry.
When I am working on a project, I typically copy and paste the source from Terraform into my main tf file to inform Terraform of which cloud resources I wish to manage.
How Terraform Initialises and Uses Plugins
Once I created the Terraform block and provider block, the next step is to run the “terraform init” command to download the necessary plugins and set up my local working directory.
This step is essential because Terraform downloads any critical updates and creates my working directory locally.
Terraform provides clear feedback during this process, telling me which plugins it is installing and whether initialisation was successful.
If there’s any issue with versions, Terraform alerts me immediately, so I don’t spend my time debugging later.
Terraform Format, Validate, Plan, and Apply
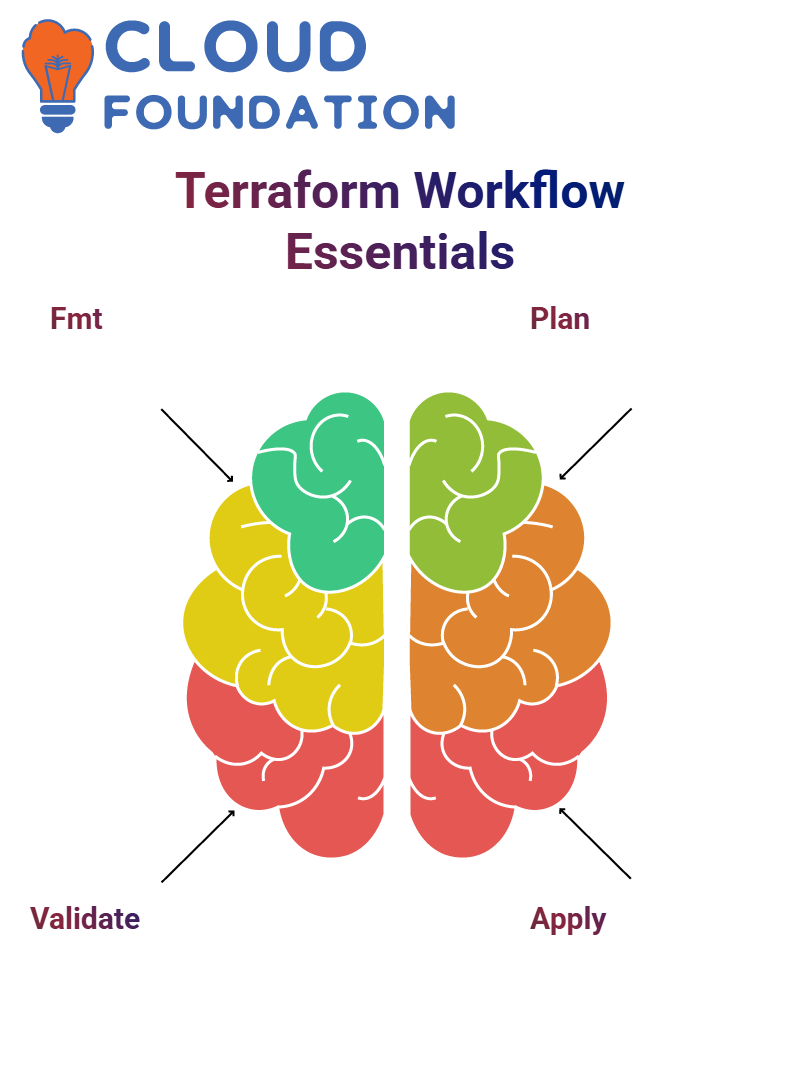
Once I have initialised a project, the first thing I do is run Terraform fmt to ensure all files are formatted correctly before running Terraform Validate to detect syntax or configuration issues.
Next, I use Terraform Plan as my favourite part of working with it. This command performs a dry run that shows me exactly what will happen when applying my configuration, fetching the current infrastructure state information, while outlining the planned actions to take.
If the plan output looks satisfactory, I use Terraform to apply the configuration in the main file and create my resources.tf file.
 Should any resource later need to be deleted from existence using Terraform’s’ destroy’ Command, I can run that command instead to clear it away.
The Role of main.tf in Terraform Projects
Tf in Terraform Projects setup utilises it as the central configuration file, where resources such as EC2 instances, databases, and networking components can be registered; therefore, it forms the core of my Terraform projects.
Other Terraform files, such as variables.tf, outputs.tf, and providers. Tf. TF serves specific functions; however, its primary function is.tf contains the core logic, and this is where I tend to write most of my code when designing complex infrastructure solutions.
Terraform Remote State Management
Terraform is an invaluable tool for efficiently managing infrastructure. Working in teams, however, handling configurations stored locally with Terraform may prove challenging; what if your laptop crashes unexpectedly or all members require input for one configuration at the same time? In such situations, remote state management becomes essential a capability that Terraform’s remote state management enables.
If you’re unfamiliar with GitHub, here is why its use for Terraform projects is imperative: many top companies such as Google, Microsoft, Amazon and Facebook rely on GitHub as part of their infrastructure management strategies; having your Terraform repository there not only facilitates collaboration but can showcase your skills to prospective employers as well.
Working with Terraform on GitHub simplifies infrastructure management. Once configurations have been uploaded, any team member can clone, modify, and push updates with ease. No longer do team members have to email files back and forth or worry about losing vital Terraform configurations.
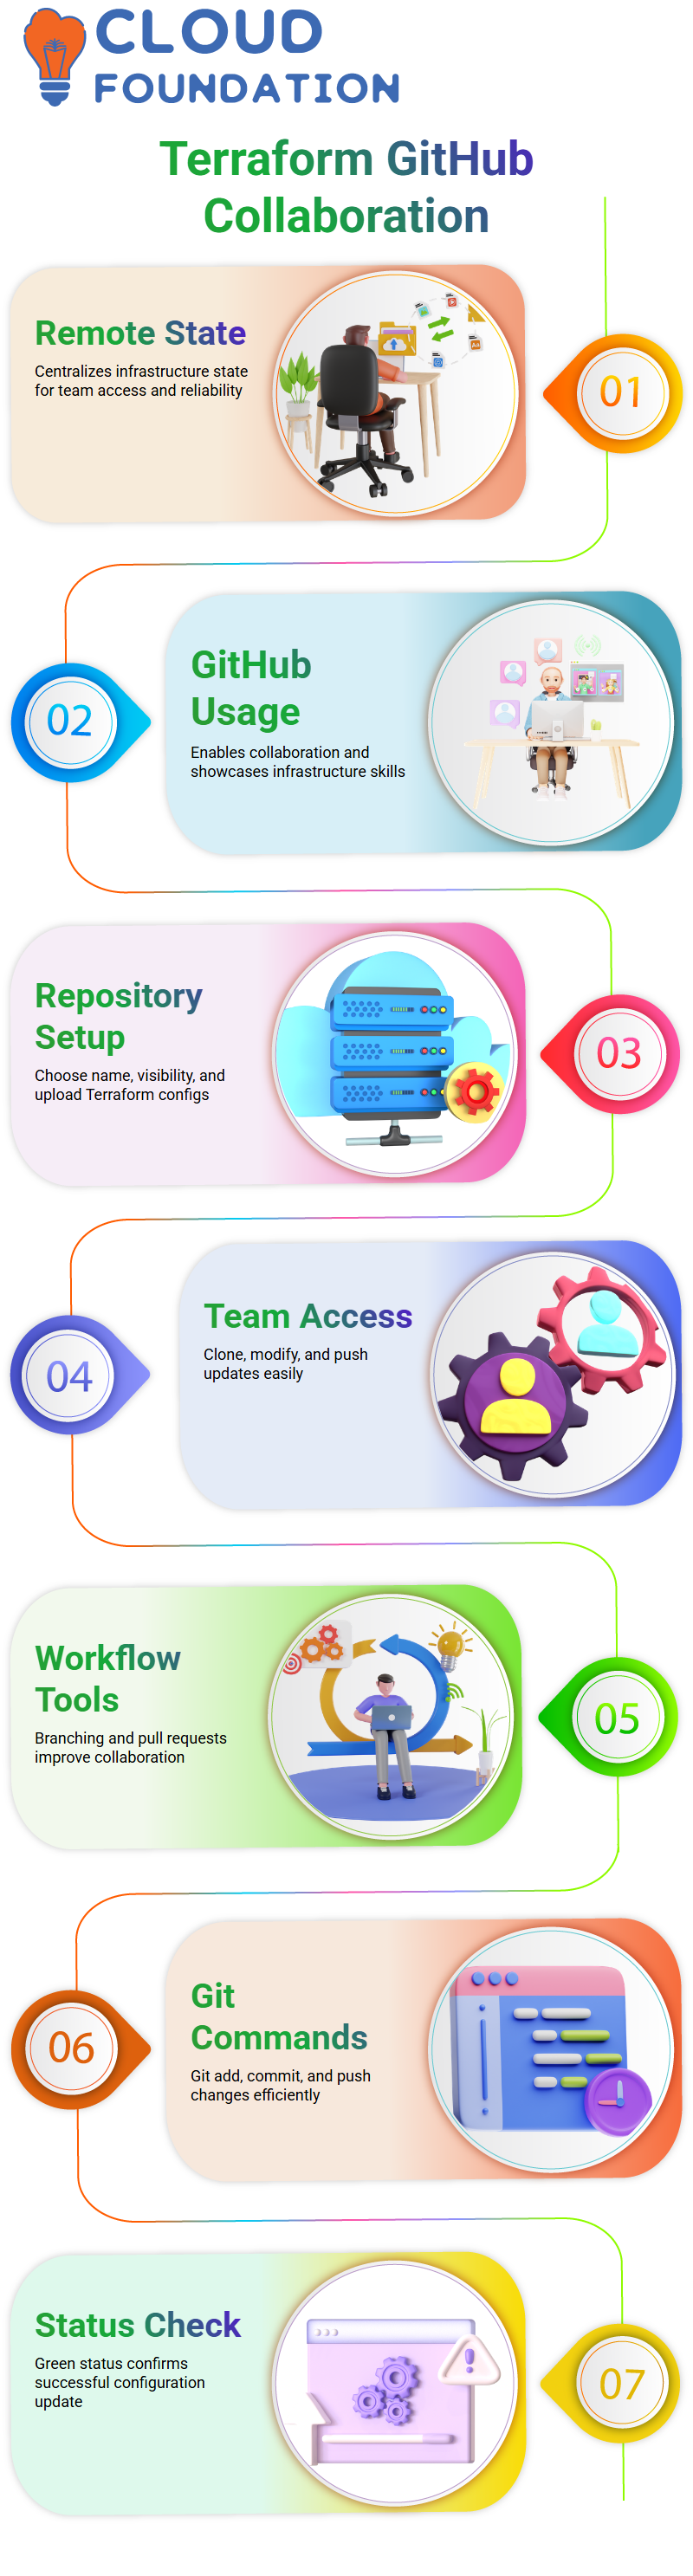
As you delve further into GitHub, you’ll come to appreciate features like branching, pull requests, and version control—each designed to boost Terraform workflow efficiency and facilitate collaboration more smoothly and reliably.
As time goes on, learning these features will make collaboration smoother and more dependable for everyone involved in Terraform development projects.
Terraform Workflow
After saving my file, I checked its Git status, which indicated that one file had been modified. So, I ran “git add instance.tf”, added it to Git, and verified: all became green.
That green light indicates that everything has been completed successfully and is ready for later review and delivery to Git.
Next, I committed the change with an informative commit message such as ‘Modified instance. The tf file is used to help track changes effectively.
Once committed and updated on GitHub using Git Push (git push), it was ready and up to date.

Terraform Online Training
Terraform for Efficient Cloud Management
Terraform is an infrastructure-as-code tool that empowers users to manage and provision cloud resources efficiently. From creating virtual machines, networking configurations, or storage solutions, Terraform simplifies the process by using declarative configuration files for setup.
Terraform simplifies cloud deployment through automation. Instead of manually configuring resources through cloud consoles, Terraform scripts enable you to define desired infrastructure states more precisely. When executed by Terraform, these configurations are applied consistently and efficiently for maximum effectiveness and consistency.
Terraform stands out among its rivals with its state management capability. Terraform uses an existing infrastructure as the baseline, which tracks changes and updates.
Updates or modifications occur seamlessly, as Terraform displays an overview before applying any changes, ensuring users fully comprehend what will change before any updates take place.
Terraform’s support for multiple cloud providers—AWS, Azure, and Google Cloud—makes the tool particularly valuable in hybrid or multi-cloud environments, enabling organisations to optimise their cloud strategies according to business requirements.
Terraform makes security an essential aspect of cloud resource management by offering version control and auditing tools, allowing teams to review changes before implementation to minimise risks and comply with security policies.
Terraform enables users to deploy complex architectures with ease. From setting up Kubernetes clusters or configuring load balancers to simplifying intricate configurations with reusable code, Terraform makes deployment effortless for users.
Tracking Terraform Changes through Git
Git is great because it allows me to monitor every change to my Terraform configurations in real-time. It shows modifications whenever any file changes are detected.
After staging and committing, it indicates that I have no outstanding commits, signalling that I have successfully aligned everything as intended and am up to date.
Terraform Command Flow
Here’s my process for using Git: first, I navigate to the folder and run “git init,” then check its status before adding any files or making modifications, and finally commit with appropriate messages.
After doing that, I configure my metadata, such as username and email, so Git can identify who is pushing changes forward.
Once I create a remote repository, I add it using’ git remote add origin’ and push my local content to the main branch. Refreshing on GitHub then allows your Terraform configurations to appear as though by magic.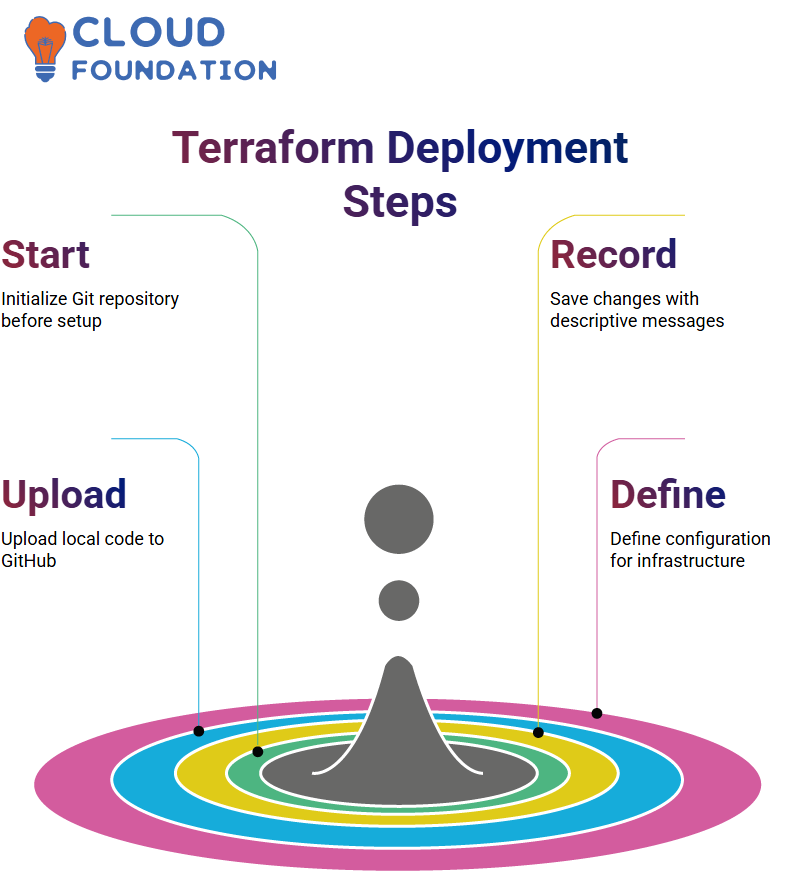
Deploying Your First Terraform Configuration
Now comes the exciting part — deploying our first Terraform configuration! Terraform makes creating infrastructure as straightforward as writing a few lines of code.
Start Terraform, create and apply our initial configuration file, and implement the necessary changes. Terraform will automatically provide resources, ensuring a swift cloud deployment experience.
Terraform’s Multi-Cloud Flexibility
Terraform’s standout feature is its multi-cloud compatibility. While other tools might restrict you to just a single provider, Terraform enables seamless integration across AWS, Azure, GCP and Alibaba Cloud platforms.
Terraform provides businesses looking for redundancy or global expansion the flexibility of using configurations from one provider across different cloud environments without needing to rewrite code for each service provider individually.
It enables organisations that require redundancy or global growth the chance to reuse configurations without writing new code every time.
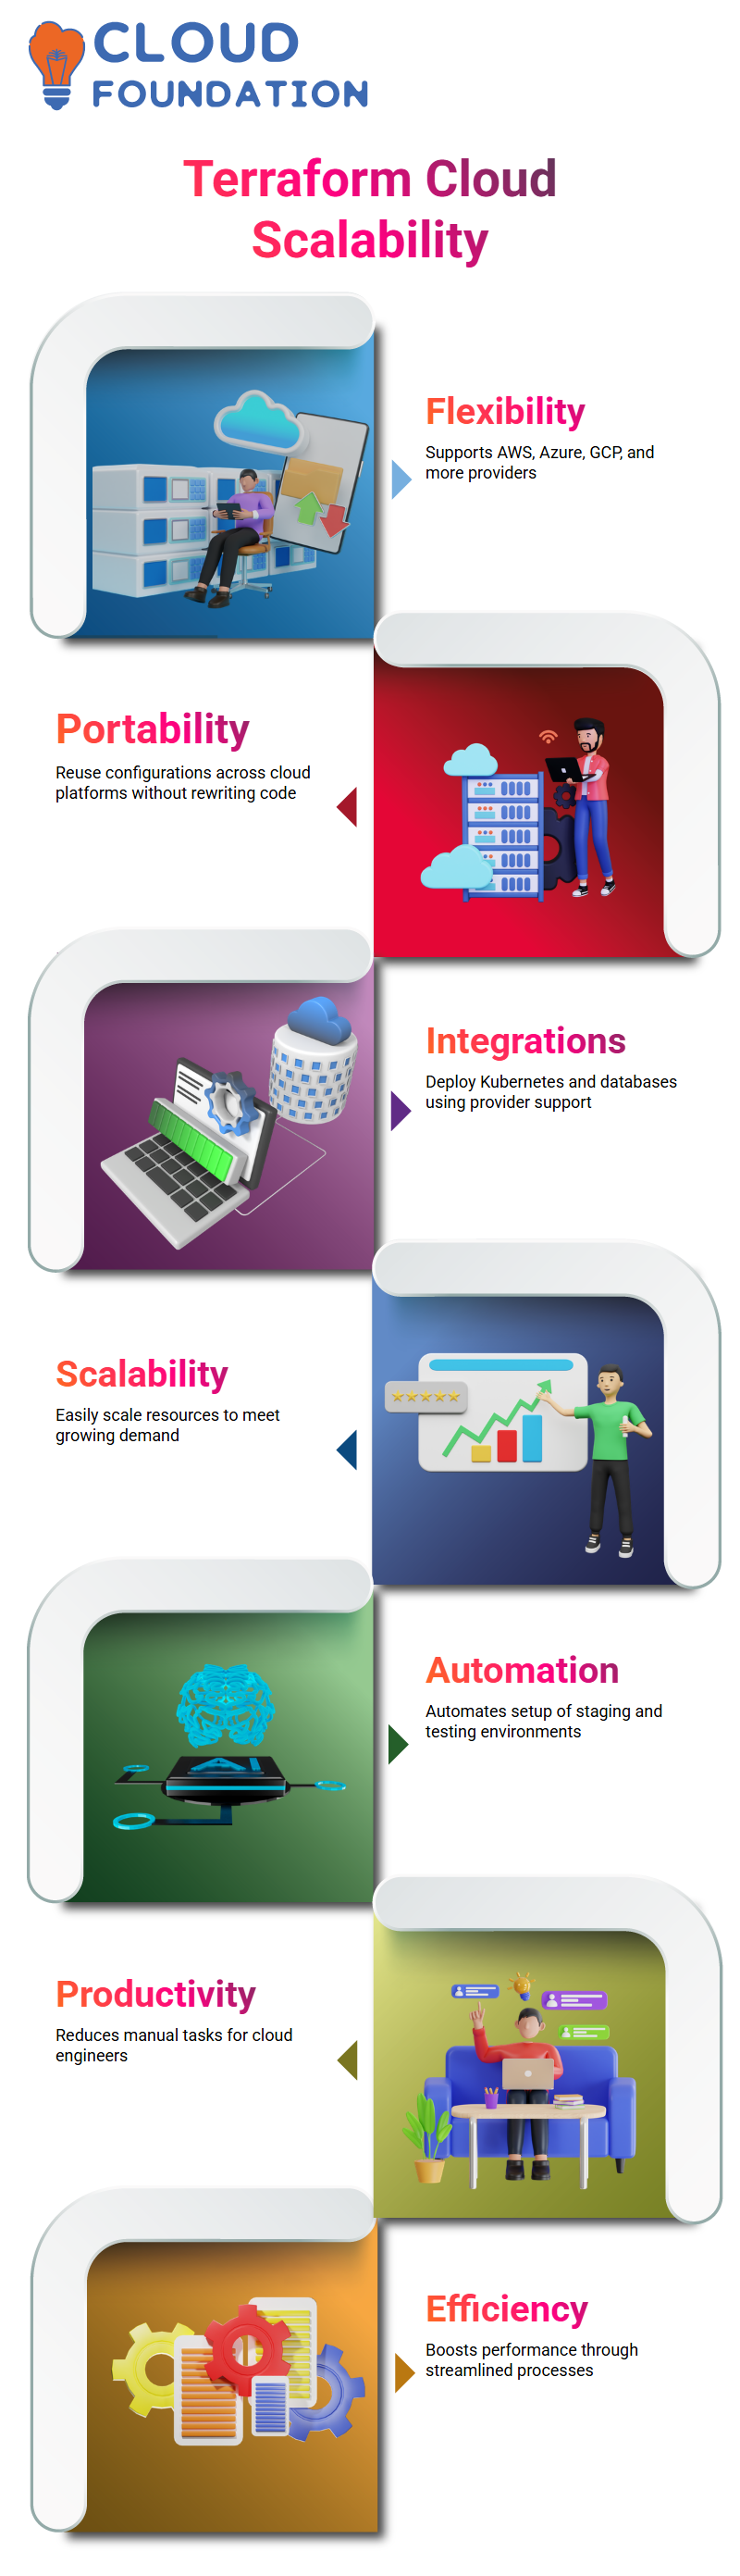
Terraform offers official support for over 30 cloud service providers, making deployment of Kubernetes clusters, databases or storage solutions much simpler with Terraform’s integrations for each cloud provider.
Terraform for Scalable Automation
Terraform provides effortless infrastructure scaling. As my application attracts more traffic, Terraform allows me to deploy additional servers or instances without manually configuring each resource individually.
Terraform’s automation features enable efficient deployment of infrastructure across testing and staging environments. Instead of spending hours manually setting up identical configurations, I can provision environments instantly using Terraform.
Terraform’s ease of use drastically boosts my productivity as a cloud engineer; now I can focus on optimising performance rather than performing administrative tasks.

Terraform Course Price

Vinitha Indhukuri
Author