How to Debug Go SO Queries in Guidewire Claim Center
Welcome to an essential guide on troubleshooting within the Guidewire Claim Center.
If you have experienced issues during database instance creation, don’t panic: many other users have faced similar hurdles before. There is always an effective solution available; let’s dive right in and figure this one out together.
Guidewire Claim Center database upgrades may occasionally cause errors due to the creation of new database instances failing.
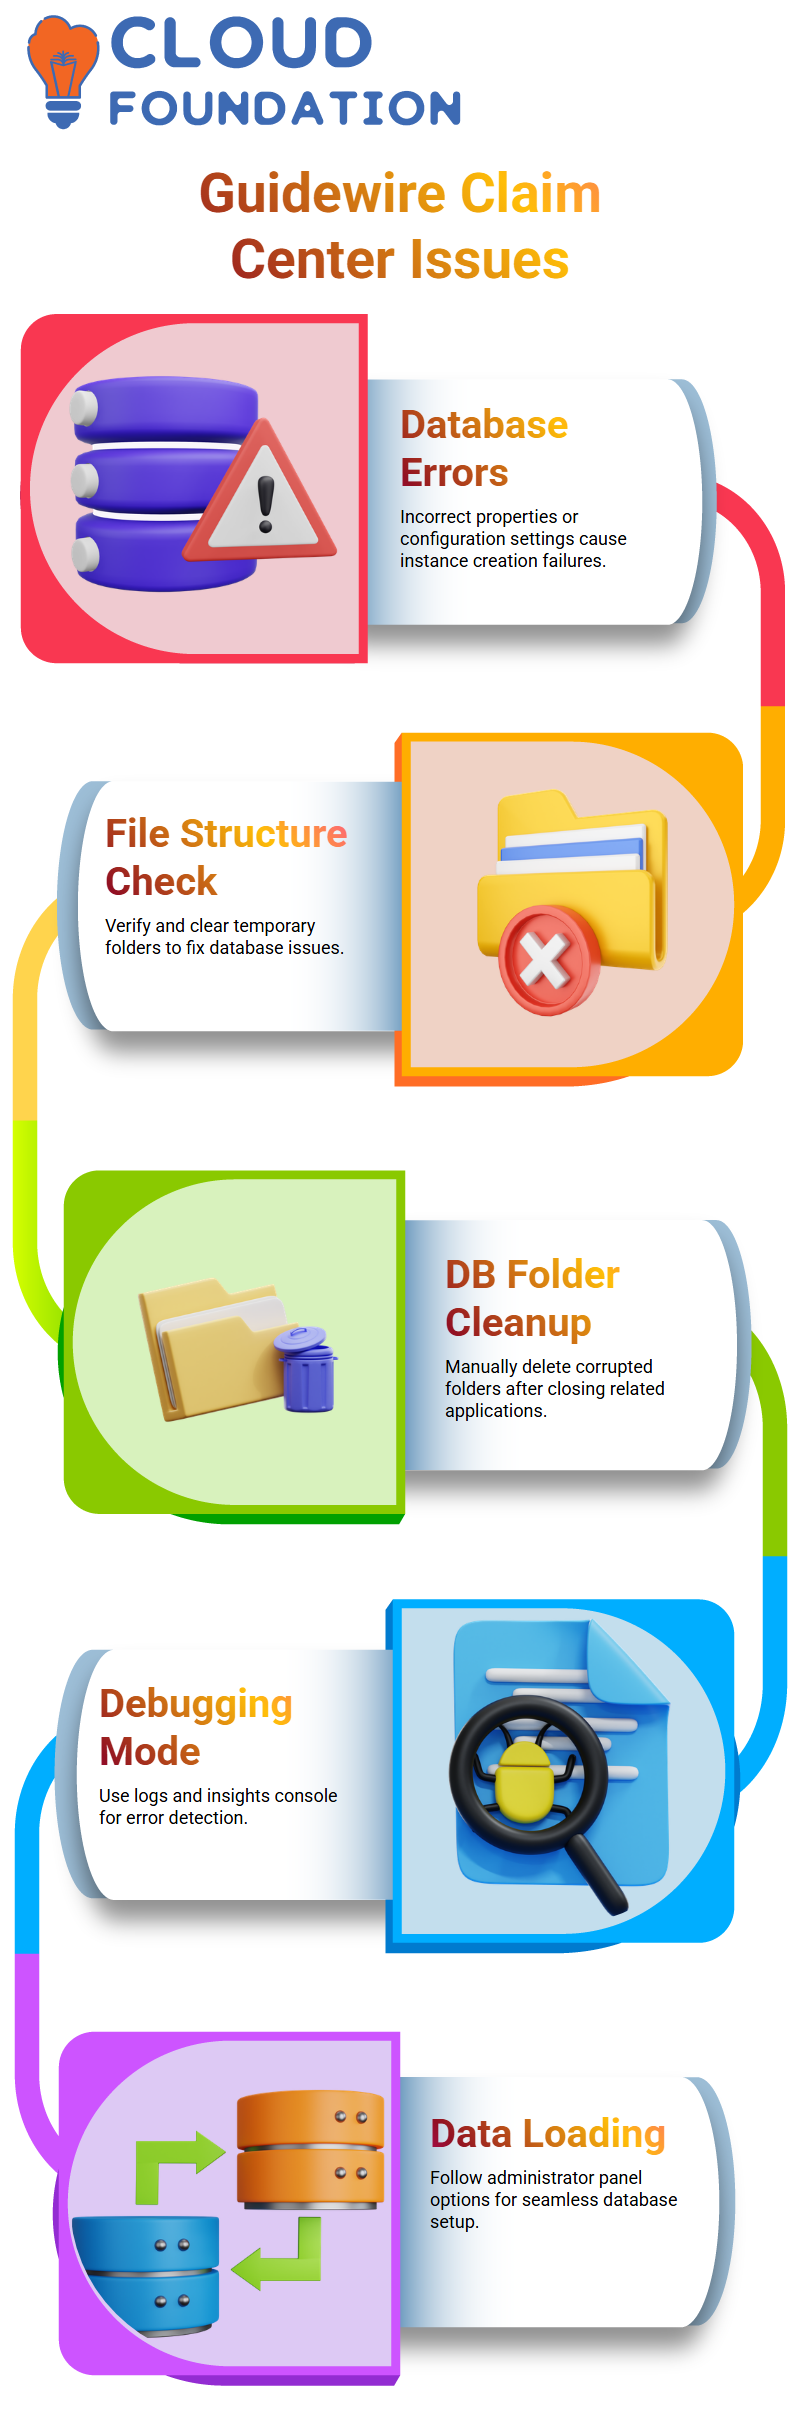
This might happen due to incorrect extension properties or mistakes with configuration settings for the new instance being created.
Navigating the Guidewire Claim Center File Structure
Let’s locate the appropriate folders first. Navigating your file structure where your database and Guidewire Claim Center files reside can help; check parent folders as well as temporary (TMP) ones on C drives for any temporary (TMP) folders that could hold files causing issues; clearing these out may solve it altogether.
Guidewire Claim Center provides users with an option for dealing with database drops or folder corruption: manually delete the affected DB folder to begin recovering data.
Be sure to close any associated applications, such as the development studio, before proceeding further.
Rebuilding and Debugging of Guidewire Claim Center
After clearing out your DB folder, restart your server. Running in debug mode within Guidewire Claim Center enables you to quickly identify errors via its detailed logs and insights console.
Next step in setting up the Guidewire Claim Center database should be loading sample data.
Navigating to the administrator panel and following drop-down options to load required records should ensure a seamless experience in terms of database installation in local environments.
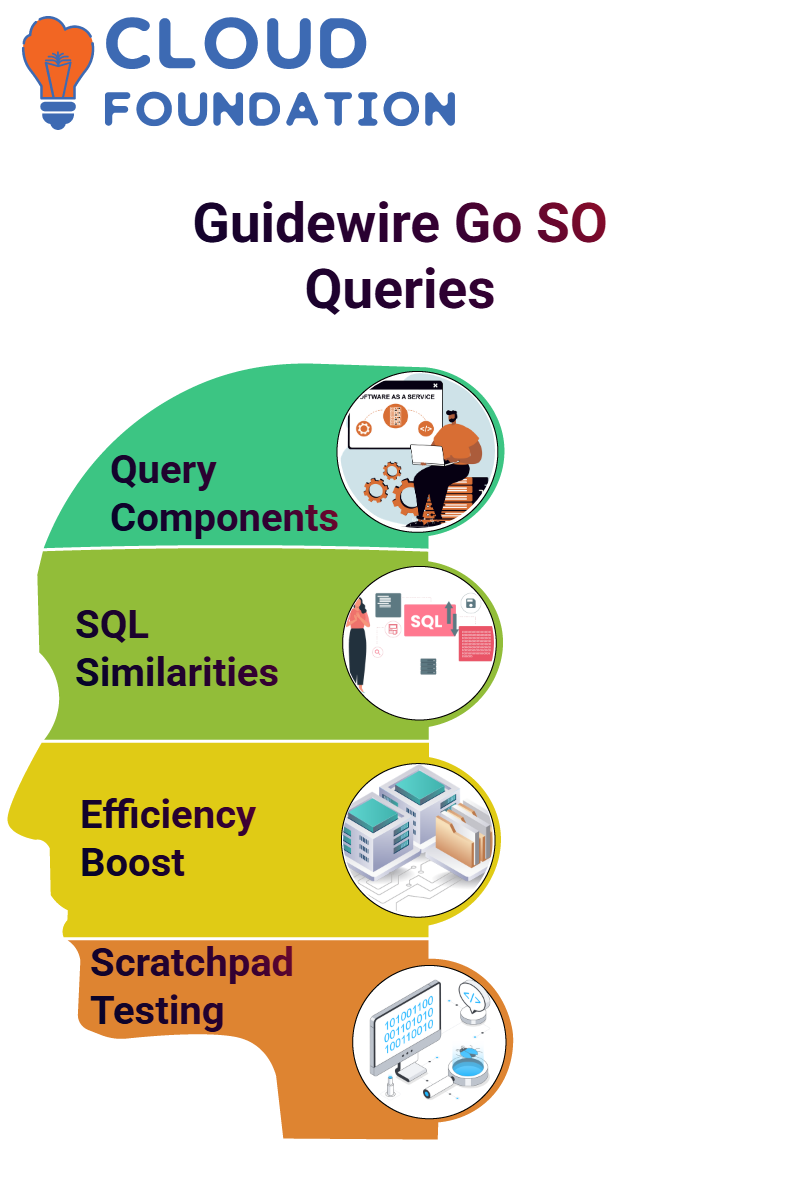
Mastering Go SO Queries in Guidewire Claim Center
Go SO queries in Guidewire Claim Center work similarly to SQL queries in terms of retrieving or updating database records, while serving as your mainstay when managing database interactions as a Guidewire developer.
Every Go SO query consists of two major components, the query object and the result object.
The former specifies table and constraint specifications, while the latter handles result retrieval and display – this approach simplifies database operations while increasing efficiency.
Use Go SO Scratchpad for Real-Time Testing
Go SO Scratchpad serves as the main method in Guidewire Claim Center and allows users to run code, test changes, and view real-time results via the console.
A print statement may help verify outputs or debug issues more efficiently than ever.
To search for an entity such as “AB Person”, create both a query object and a result object using for-loops to iterate over multiple rows in the result object, providing accurate analysis within Guidewire Claim Center.
Understanding Queries at Guidewire Claim Center
So let’s dive right in. Guidewire Claim Center makes working with queries easy if you want to iterate through each result in an array and print specific fields.
I started printing just the “first name” field from my result object so we can spot details easily when debug mode is enabled and fully operational on our server. Guidewire Claim Center simplifies query creation with its writing constraints in a query object instead of as results objects, which allows for greater customization than in previous systems.
After specifying which entity data needs to be pulled from, constraints can be added using compare methods, particularly useful if filtering by specific values (like first names being equal) can narrow results considerably.
Another experiment I conducted involved filtering field selection based on certain conditions, such as last name. Guidewire Claim Center allows you to easily set constraints like “equal to” using its Reload package; this makes retrieving targeted results simpler.
I looped through its result object iteratively to retrieve all fields at once. Guidewire Claim Center makes it simple and intuitive to combine constraints using logical operators like AND and OR.
For instance, when filtering results by both first name and last name using the compare method consecutively, otherwise for OR constraints, Guidewire Claim Center provides an intuitive method for concatenating filters within the query object.
Guidewire Claim Center provides users with two default database configuration options when working with databases: a Database for local development and a SQL Database setup via its configuration file.
While both options provide user-friendly solutions, customization allows Guidewire Claim Center to seamlessly adapt to both development and production environments.
Guidewire Claim Center allows for personalized results printing based on your needs, with individual fields preferentially being selected manually for clarity purposes; additionally, it lets you view backend SQL queries directly by printing their query objects until their select methods.
This feature offers developers actionable insight. Production support projects often favor SQL databases due to their robust table format. While Guidewire Claim Center defaults to As2Database for local development environments, its ability to integrate SQL makes it suitable for more varied use cases; As2Database should therefore remain the go-to option while exploring further potential use cases of SQL in more advanced use cases.

Guidewire Claim Center Training
Understanding GOSU Blocks in Guidewire Claim Center
Hello there, let’s examine an essential concept in Guidewire Claim Center–GOSU blocks.
GOSUs can help to streamline your workflow in various situations, and we have everything you need to know here.
Working with GOSO blocks requires using a specific syntax that begins with round braces, backslashes, variable names (typically “LT”, but you can customize this), curly braces to define logic (often “LT”, but others could be easily added), and curly brackets to define your logic within.
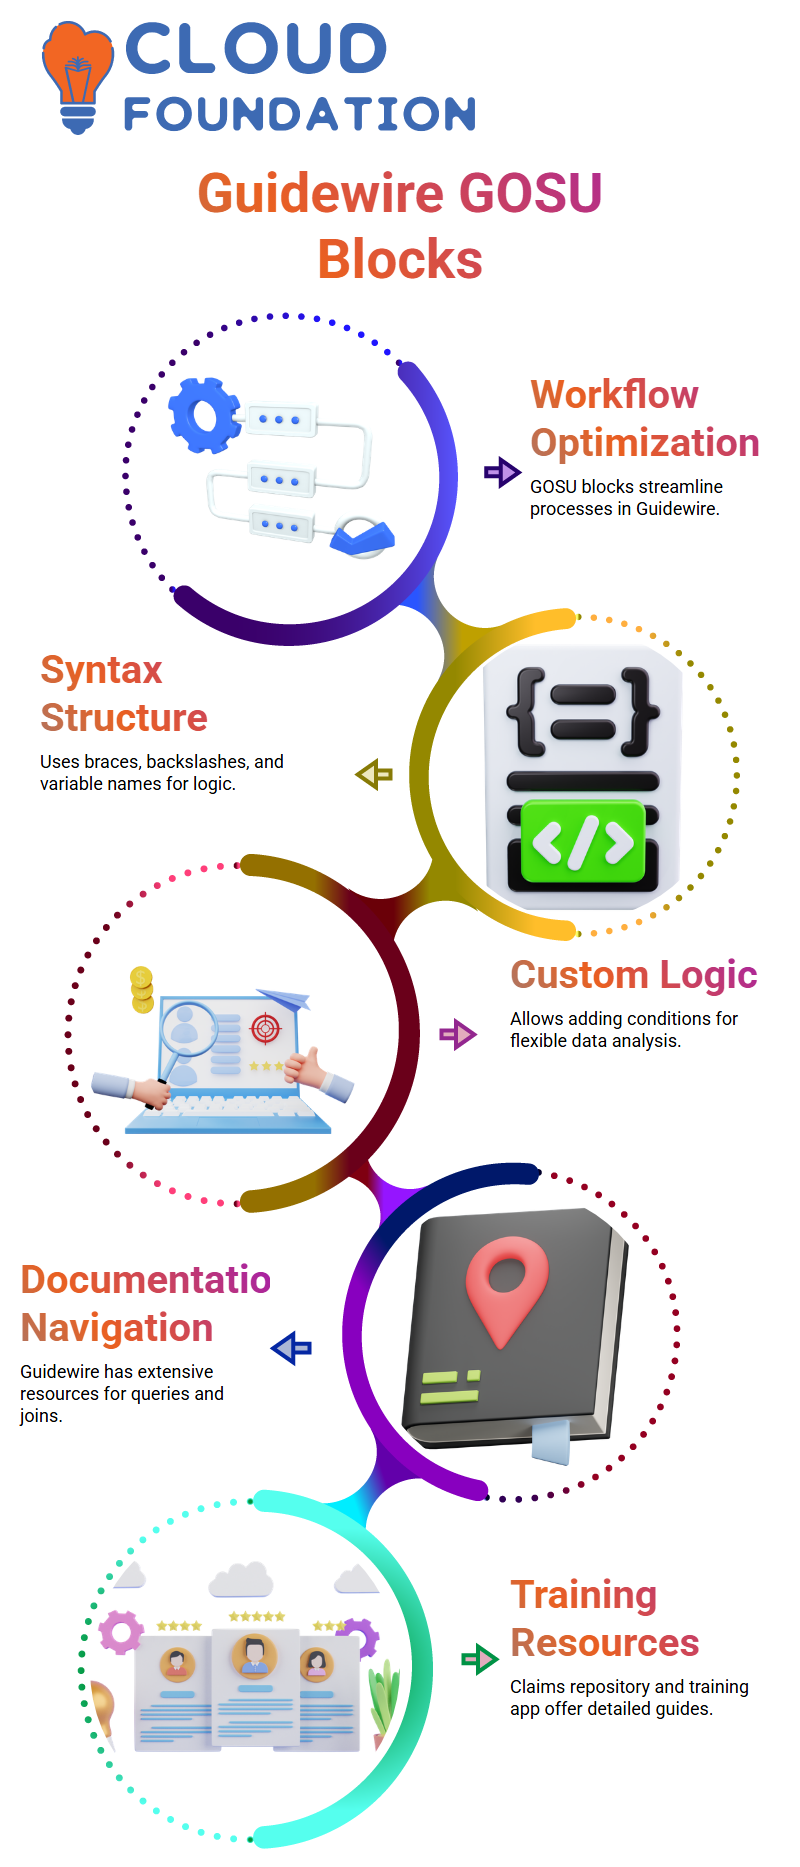
With its straightforward structure, it makes adding conditions or other custom features simple and accessible for anyone working on data analysis systems.
How to Navigate Guidewire Claim Centre’s Documents
Navigating Guidewire Claim Centre’s extensive documentation may seem intimidating at first, but you’ll soon realize its treasure trove of helpful knowledge is waiting.
For specifics regarding joins–outer, inner, etc.–your best option would be checking either their claims repository or training app, which both offer extensive resources.
Create Transactions in Guidewire Claim Center by Grouping Transactions Together Using Bundles
Guidewire Claim Center uses bundles as the essential building block in database transactions, like money transferring between accounts – each operation must either succeed fully, or roll back completely if there’s any sort of glitch – something bundles facilitate.
![]()
Writing Queries in Guidewire Claim Center
Guidewire Claim Center queries tend to be straightforward and focused on business logic, though more advanced scenarios might necessitate joining tables or referencing specific entities.
Guidewire Claim Center allows for this via its join method, which connects entities effectively while still making sure to reference relationships correctly.

Guidewire Claim Center Online Training
Guidewire Claim Center: Deciphering Precision and Scale in Custom Fields
While working at the Guidewire Claim Center, I often faced difficulties regarding precision and scale when using custom fields.
Precision refers to decimal point accuracy (up to four decimal places); scale determines how many decimals can be allowed per decimal place; these two elements play an integral part in creating numerical fields with accurate values that remain pertinent over time.
Guidewire Claim Center requires manually setting initial values when upgrading, so I encountered difficulty when specifying initial values for my upgrade. In attempting to figure out whether these fields had predefined settings or required manual input. Turns out: manual definition was required.
Scale determines available decimals while precision ensures they meet specifications up to an agreed-upon level – two distinctions essential in creating effective and reliable custom fields. Let me walk through some of the relationships I explored.
For instance, in Guidewire Claim Center, I discovered AB Contact to be the root object for one particular list view; when diving deeper, I discovered multiple flag entries associated with each contact – something essential when trying to display history entries or legal cases accurately.
Created using Guidewire Claim Center PCF files specifically created for this task. I defined required variables, row iterators, and the array name used as iteration targets – these act like Java loops by iterating through each entry of an array.
By adding editable columns with text cells, date cells, custom labels, etc, the history entry list becomes polished and user-friendly. As I journeyed through Guidewire Claim Center, I quickly discovered that setting up a list view involves using specific page structures and seamlessly incorporating row iterators.
Editable list views require custom configuration at both row and cell levels for proper functioning; using custom fields (description or display name), I was able to develop editable components tailored specifically for user needs.
Guidewire Claim Center features several read-only fields designed for specific uses, including automatically generated history objects.
These read-only fields make operations simpler while protecting system integrity; if you wish to add custom editable fields, however, modifications or creation must take place accordingly – with Guidewire Claim Center, your options are practically limitless in terms of customizing data effectively and managing it successfully.
Guidewire Claim Center: Generating List Views
Guidewire Claim Center makes exploring list views an engaging experience, thanks to PCF files being loaded seamlessly; with just a single click, you can modify display fields instantly.
Creating editable list views makes for such a captivating journey. Before, during sessions, we covered modes and functionalities.
What excites me, though, is practicing them yourself using Guidewire Claim Center; creating PCF files as we did enables fast learning while deepening comprehension.
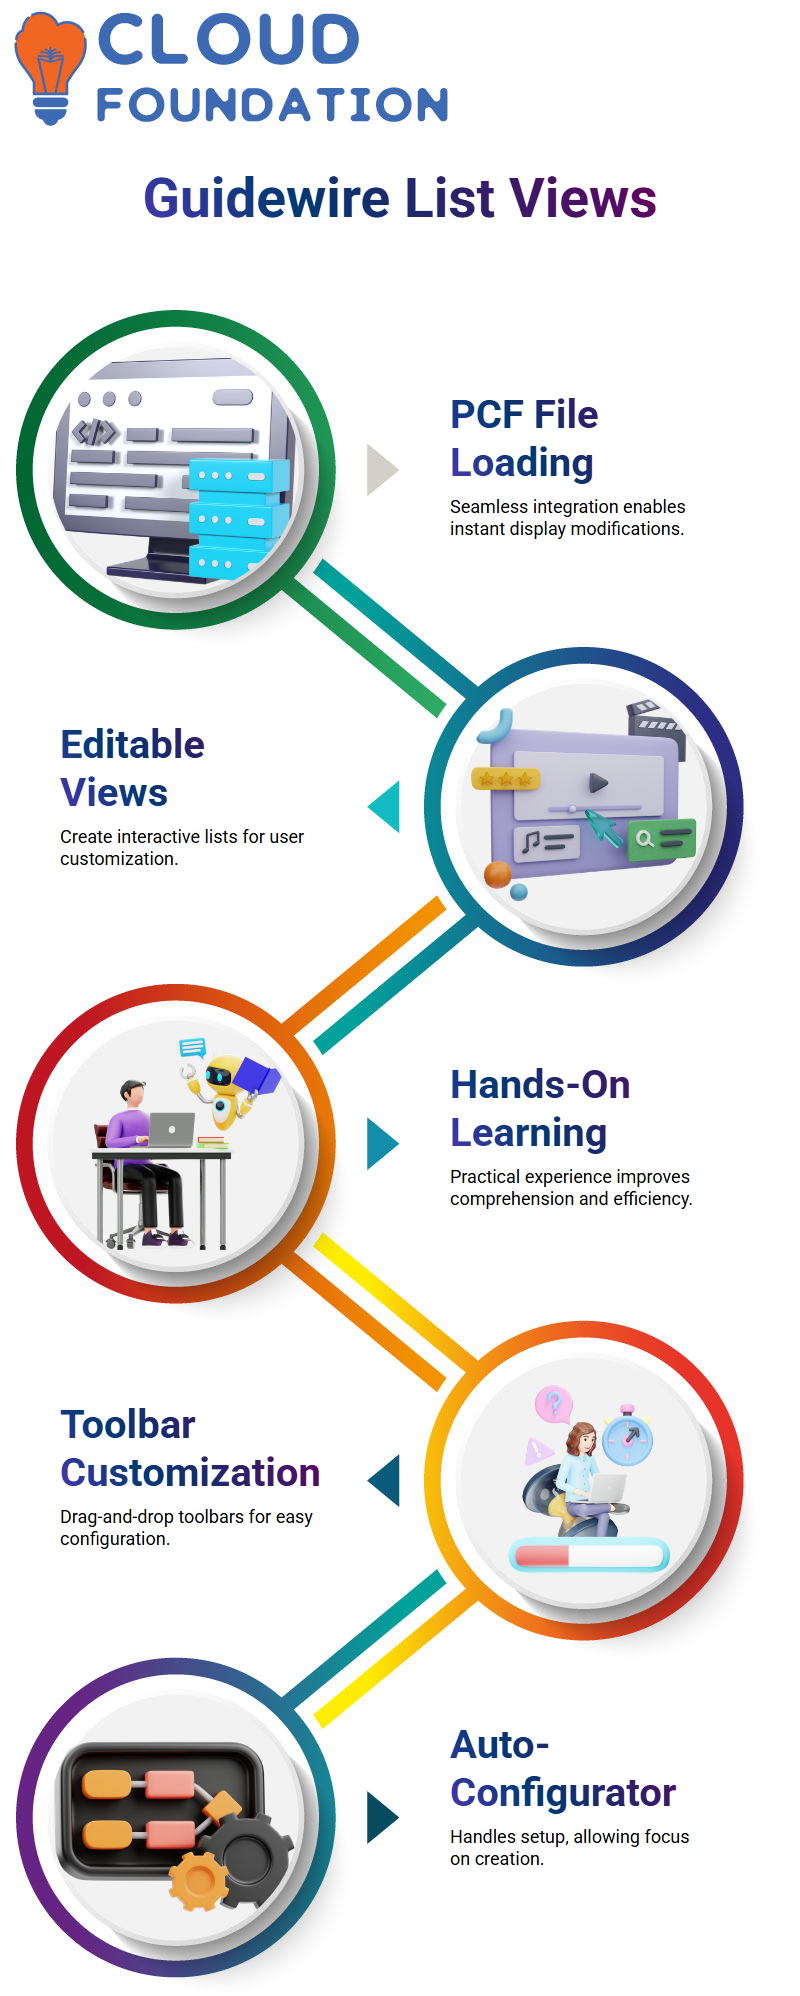
I see Guidewire Claim Center as a creative learning experience where participants get hands-on experience to deepen their understanding faster.
Guidewire Claim Center: Toolbar Customizations
Guidewire Claim Center makes adding toolbars simple. Simply drag-and-drop to add them, as the auto-configurator takes care of everything for you.
With such an intuitive design, all your time can be focused on creation rather than endless configuration work.
Guidewire Claim Center: Lab Sessions and Beyond
Lab sessions dedicated to list views and detail views offer great opportunities to hone your Guidewire Claim Center skills.
From creating entities to configuring tools, these sessions allow for free experimentation – imagine what depth of understanding comes with designing solutions on your own.
Guidewire Claim Center: Configuration and Integration Insights
Guidewire Claim Center goes far beyond mere configuration; its primary strength lies in integrations.
Here you can create APIs, establish endpoints and design both in-house and external app connectivity solutions. Through features like publishing/consuming as well as predefined plugins your technical abilities expand significantly in meaningful ways.
Guidewire Claim Center: Creating Objects Seamlessly
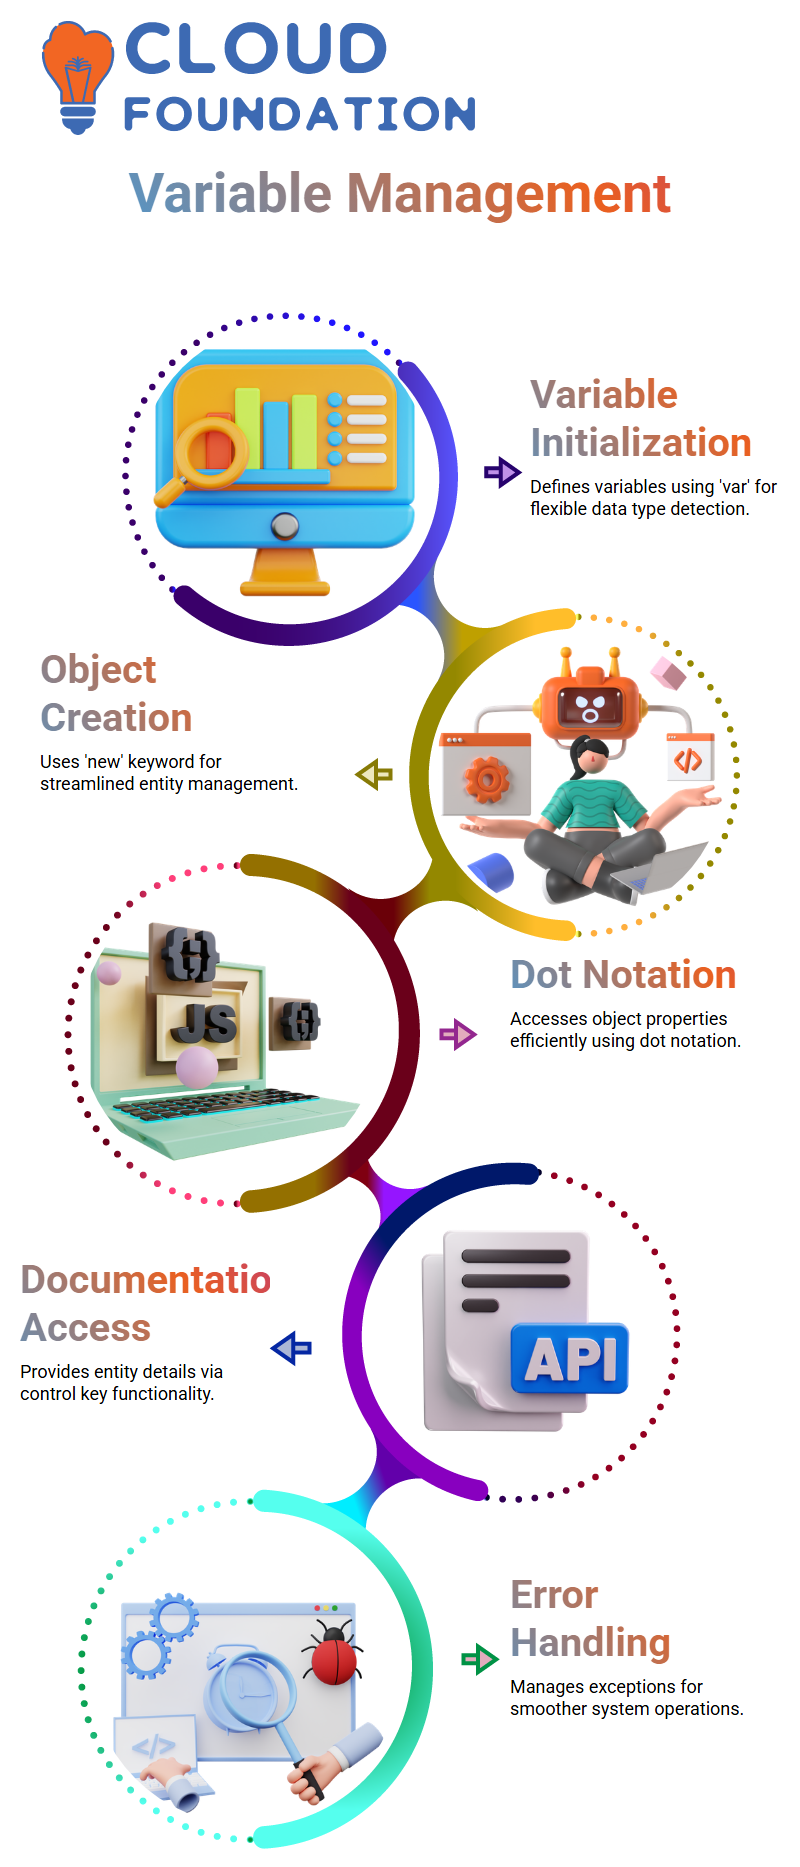
Guidewire Claim Center makes object creation straightforward. Say you need an entity, for example “EB Company”, you would simply name your variable with “var”, name the variable with ‘new’, initialize with an entity, and use its ID instead – unlike Java, this streamlines the process! Once an object has been created, its properties can be easily accessed using dot notation. For instance, to print its text ID property, simply use an object followed by “.text ID”. This ensures efficient handling of entities and properties within Guidewire Claim Center.
Guidewire Claim Center: Utilizing Documentation and Error Handling
Guidewire Claim Center provides powerful tools to better comprehend documentation and manage errors. Simply by pressing Control on an entity variable such as “EB Contact” or “EB Company”, its documentation can be displayed, providing details regarding functionality, return type, exception handling, etc. It makes understanding their behaviour much simpler! Guidewire Claim Center excels at error handling. Entities throw exceptions when necessary, providing you with ample opportunity to address issues effectively. Grasping these concepts is essential in operating smoothly within its environment.
Guidewire Claim Center Integration with Banking Systems
Let’s consider how Guidewire Claim Center seamlessly interacts with banking systems. Imagine this–once your claim has been approved in Guidewire Claim Center, it goes straight into bank processing, where it gets processed for claim payment and sent directly back out again for claimant payment. Since Guidewire Claim Center handles claims while the billing center handles invoices/premiums separately, all related payments stay in Guidewire Claim Center without going via the billing center at all.
Claim Reconciliation Batch in Guidewire Claim Center
Each night, Guidewire Claim Centre’s reconciliation batch kicks into gear. First, it retrieves files from shared directories containing information on claims cleared by banks, reads these rows, and processes each claim, updating their statuses within Guidewire Claim Center to “Closed”. FTP servers are utilized to fetch these files to keep all claims up-to-date with banking actions and ensure timely reconciliation processes are followed through on.
Guidewire Claim Center Reporting Integration
Guidewire Claim Centre’s Reporting Integration Batch consolidates daily claim data into an XML format before sending it directly to an insurance reporting system via web services. Newer systems might accept JSON instead; legacy insurance systems often prefer XML instead for smooth operations when reporting.
Telematics Integration in Guidewire Claim Centre
Telematics integration adds another level to the Guidewire Claim Center. Imagine reporting a claim with an FNWL (First Notice of Loss). Once submitted, an integration batch checks if vehicle information like VIN is available as well as whether this claim meets the criteria to enter “New Loss Validation Level.” Once these conditions have been fulfilled, integration triggers and brings in data for that claim daily, ensuring timely updates within Guidewire Claim Center.

Guidewire Claim Center Course Price

Gayathri
Author
“Empowering Your Digital Journey with Insightful Expertise”